It’s hard to believe we’re moving now in 2024 and I’m so excited to continue sharing inspiration with Pretty Pink Posh products with you. After gathering some colored cardstock, I added an A2 piece of dark green cardstock to my card base. I used the largest Eyelet Rectangle Die to cut a piece of dark blue cardstock and adhered it to the center of the card base.
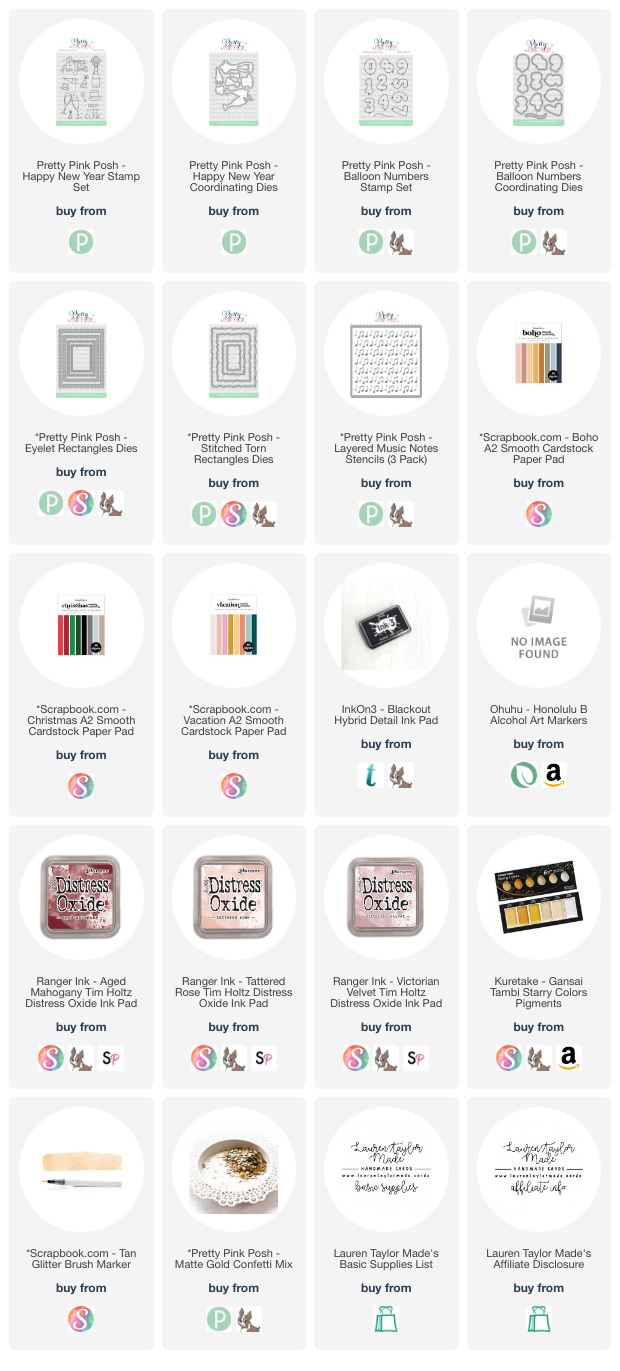
The next layer is a piece of cream cardstock and I stenciled Distress Oxides in Aged Mahogany, Tattered Rose and Victorian Velvet with the Layered Music Notes Stencils. I splattered on some champagne gold watercolor to give it some shine and when it dried, I used the second largest Stitched Torn Rectangle Die to cut it out. Before attaching this piece to my card base with foam adhesive, I embossed the “Happy New Year” sentiment in gold from the Happy New Year Stamp Set.
 |
 |
Using the Happy New Year Stamp Set and Balloon Numbers Stamp Set, I stamped my images with an alcohol marker friendly black ink. I used Ohuhu Art Markers to color my images; you can watch the video today to see the colors I used as well as how I added some white colored pencil and glitter markers to turn my balloons into mylar balloons! I used the Happy New Year Coordinating Dies and Balloon Numbers Coordinating Dies to cut out the images.
My balloons were added to the card base with liquid adhesive and I layered on the champagne bottle, champagne glasses and party horn with foam adhesive. For some final touches, I added sequins from the Matte Gold Confetti Mix around the card. I hope you’re having a had a wonderful holiday season and I wish you a Happy New Year!


Post a Comment