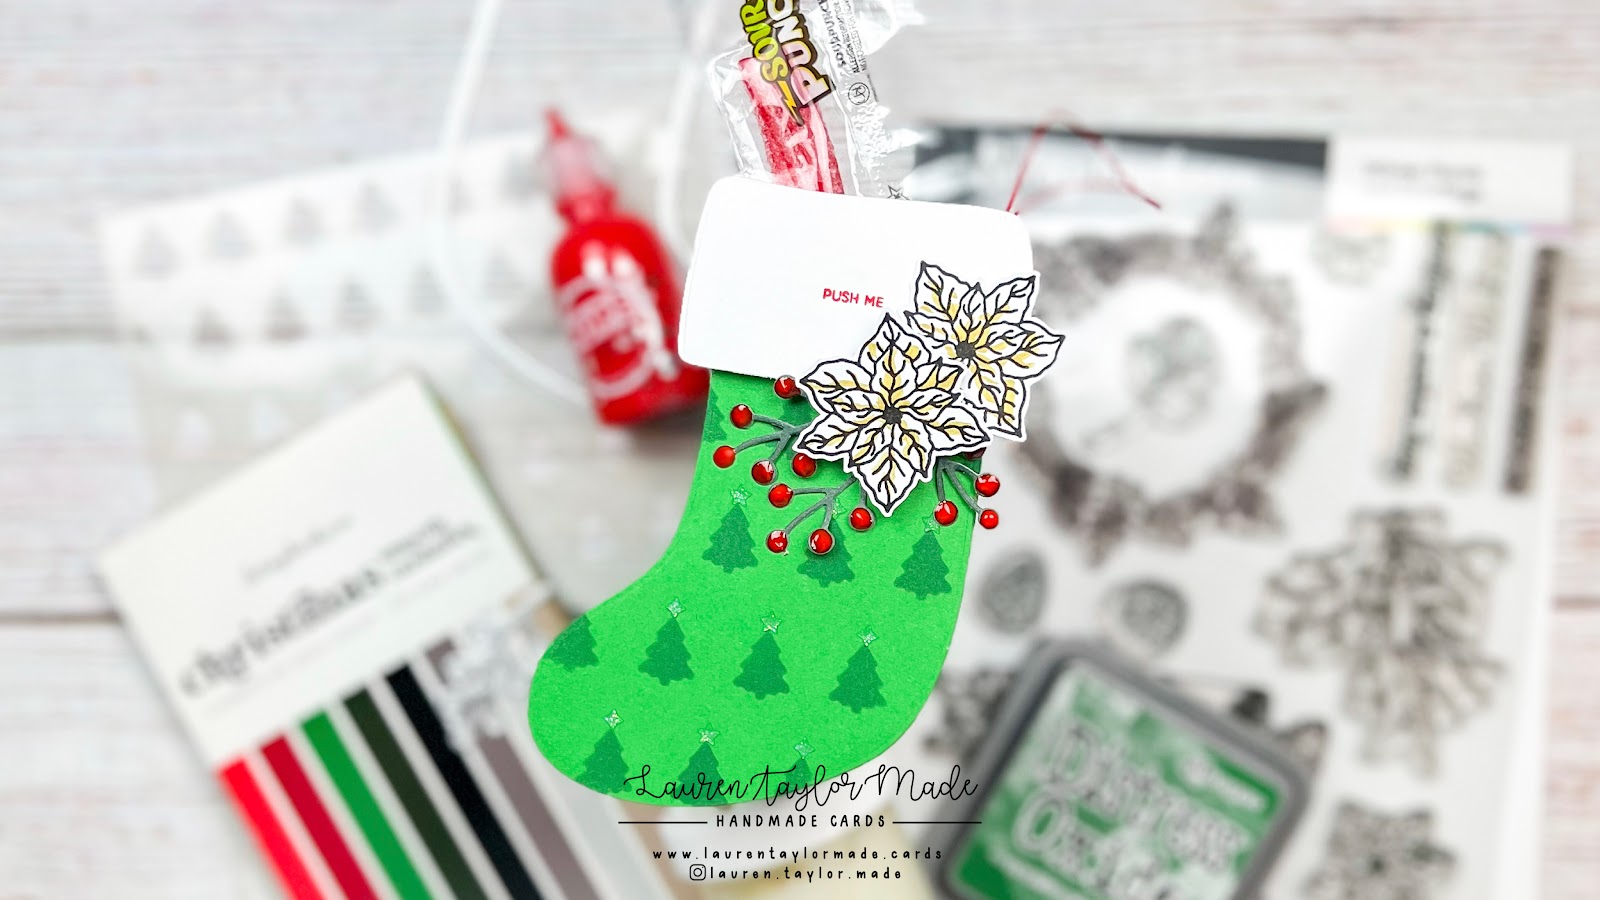
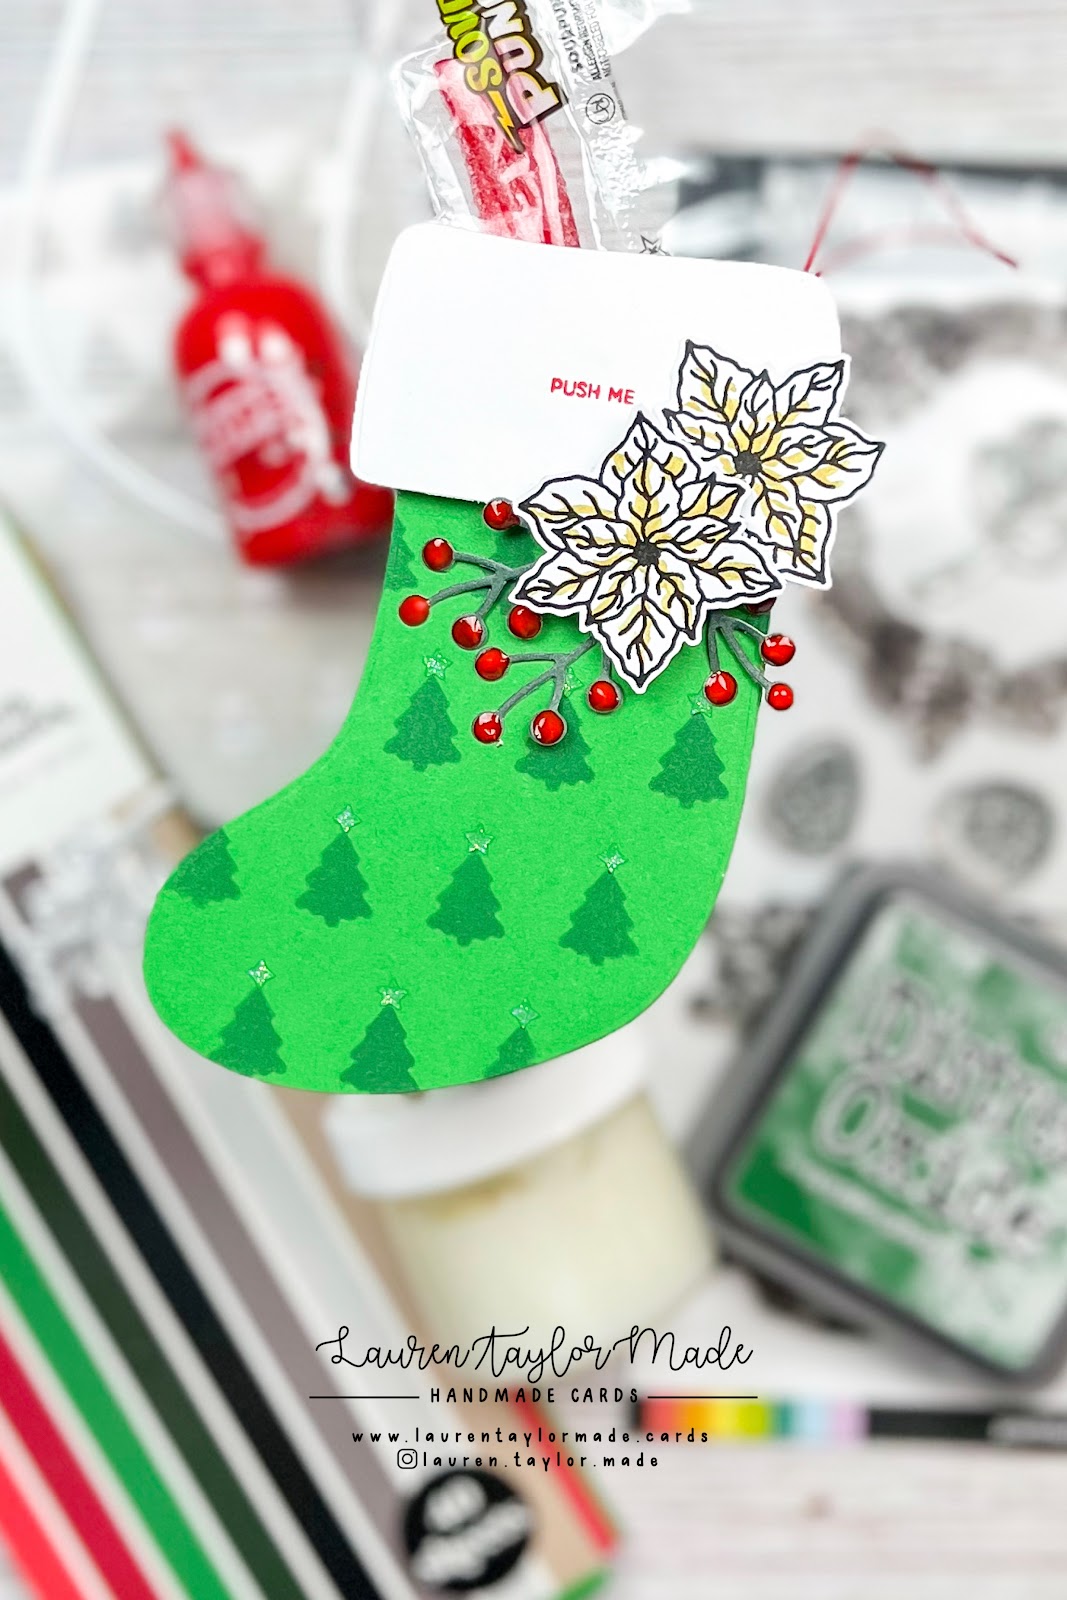
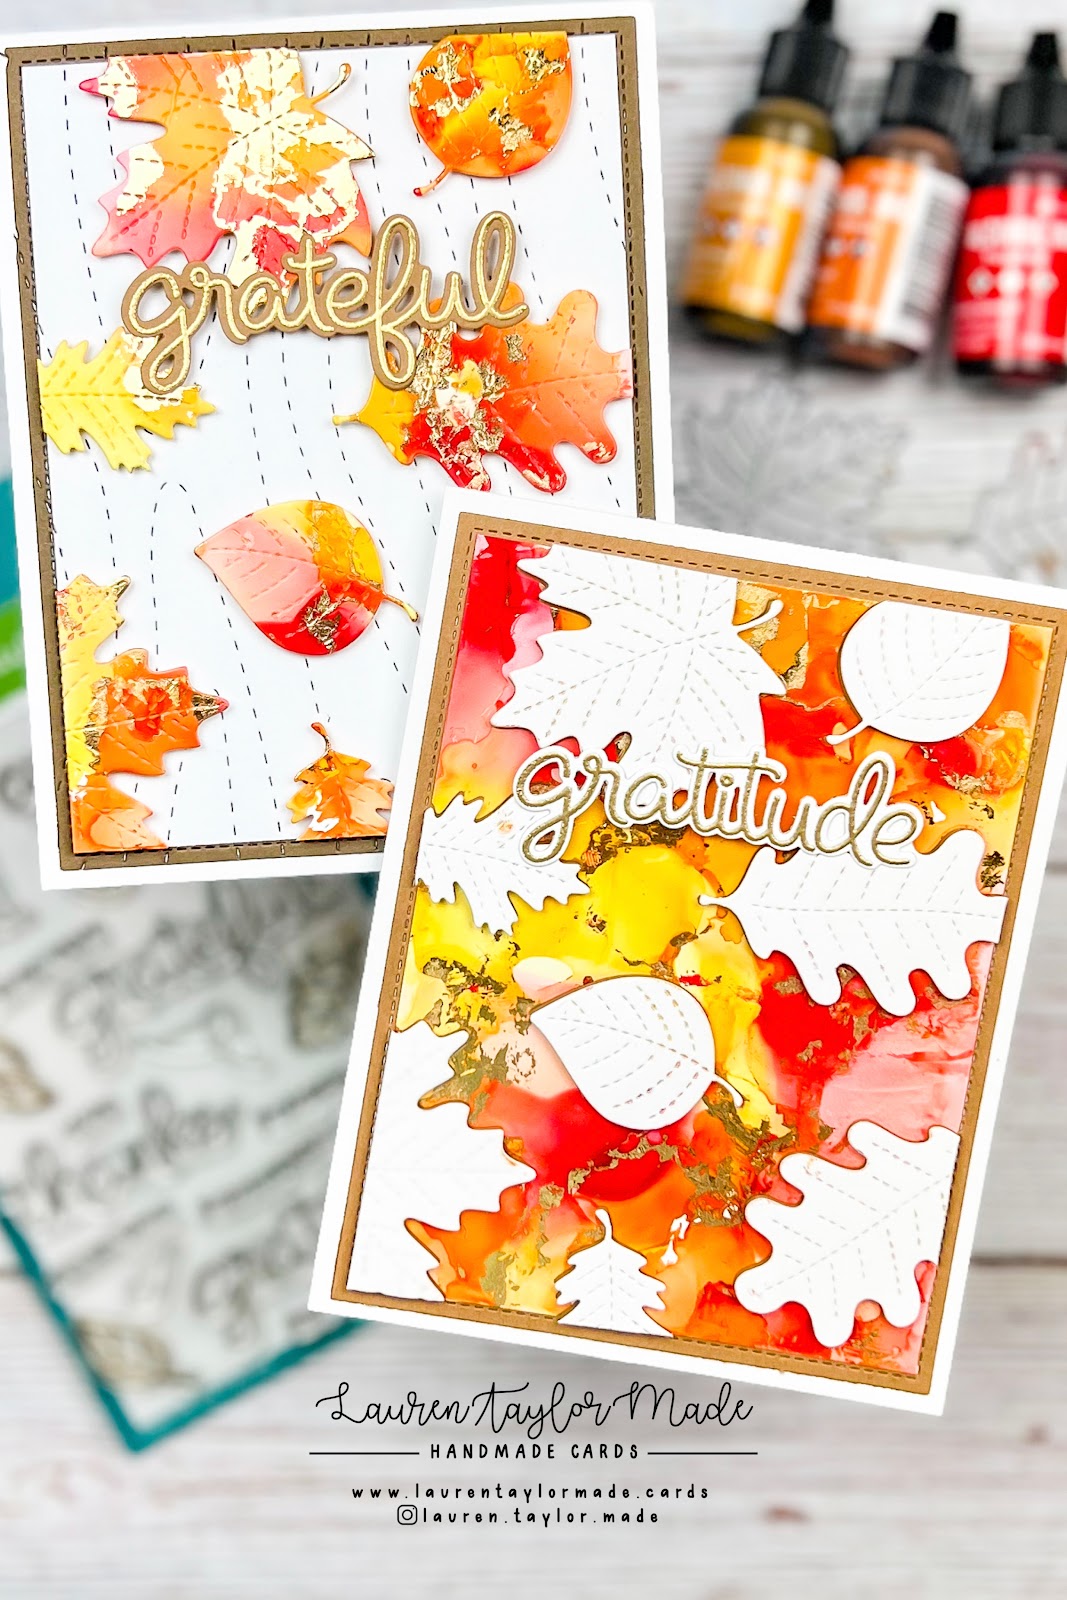
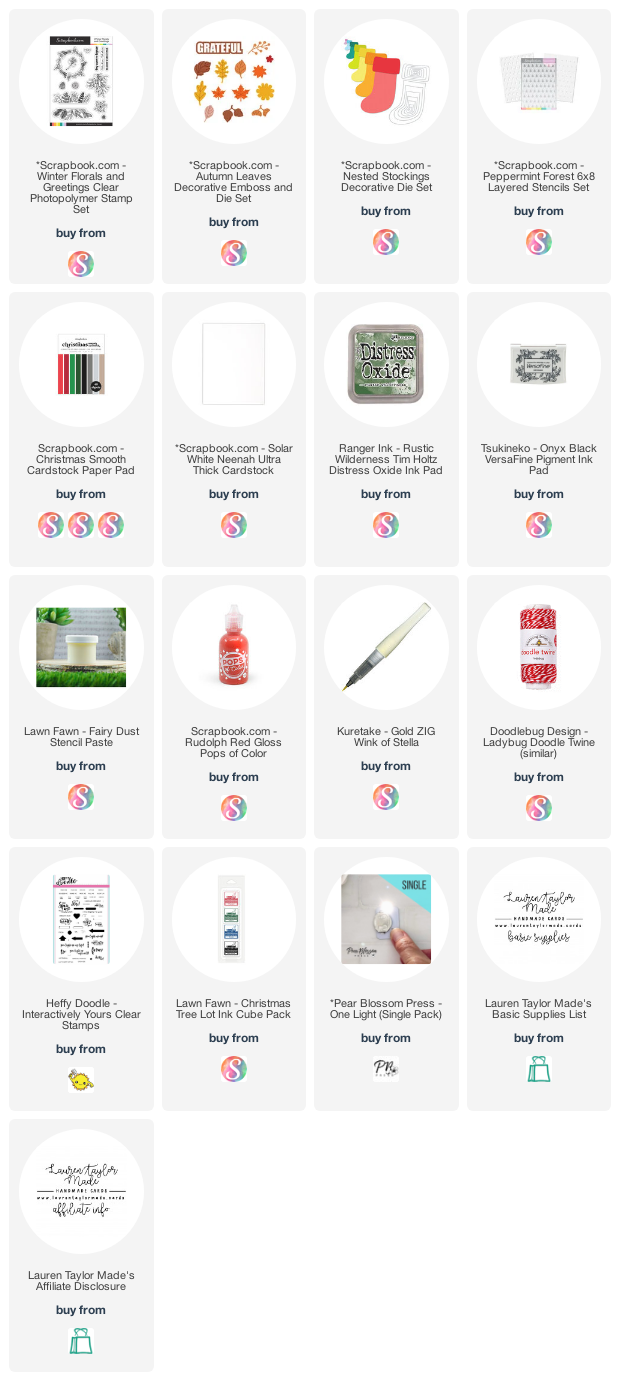
Switching it up with some tag inspiration today! I have two different tags to share with you - a cute little stocking tag and a version where you can light it up! To make the tag, I die cut two sets of stockings in the third largest size in the stackables. Using the Peppermint Forest Stencils, I added green trees and sparkly stars using a stencil paste.
I applied adhesive just around the edges of the green stockings to create a pocket. The stocking topper is adhered to the back of the stocking with a piece of twine to create a tag, while I popped up the front, white stocking topper to give some dimension.
The poinsettias are stamped with black ink, fussy cut out and I added some Gold Wink of Stella to add some accents and sparkle to the stamped images. The sprigs are die cut out of a darker green stocking and I added some Rudolph Red Pops of Colors to create a holly berry look to the sprigs. These are layered with wet adhesive and the same foam adhesive to ensure they flowers are stable.
In the light up version of the tag, before I adhered down the the white stocking topper and floral pieces, I adhered a One Light to the stocking so that the light shines through the center of a poinsettia! I also stamped a "push me" sentiment so the tag receiver will now there's something special about the tag.
I hope you like this tag idea and let me know in the comments if you'd like to see more tag ideas for Christmas!
PIN THIS
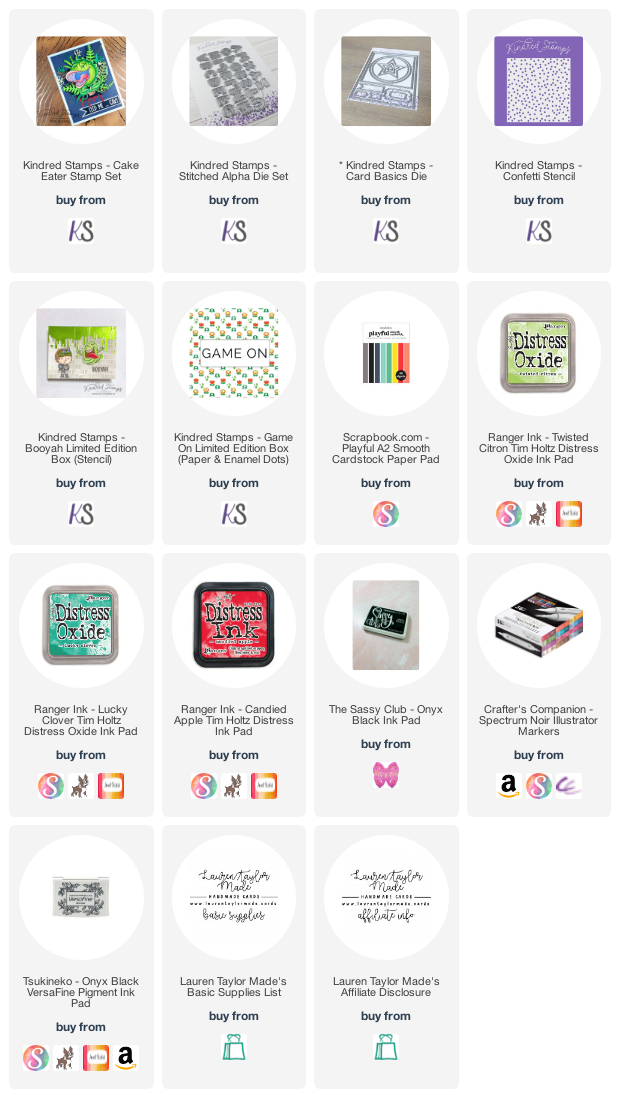
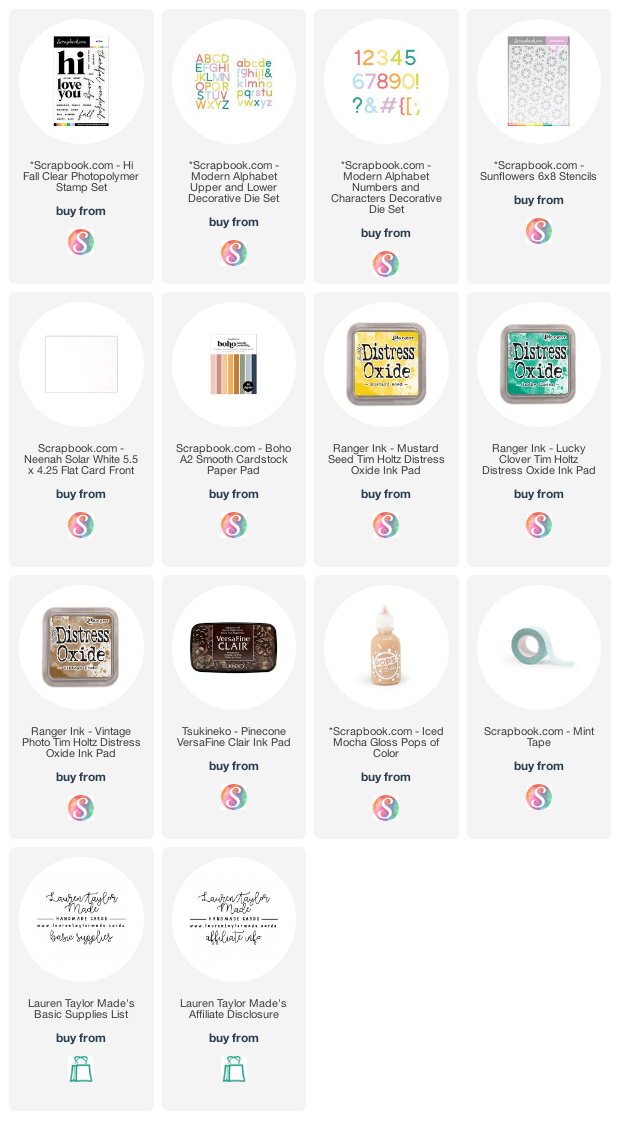
SUPPLY LIST
Read More