Showing posts with label christmas. Show all posts

One Cute & One Sassy Christmas Cards with Emergency Card Kit 12 from Sassy's LLC

Sunday, August 24, 2025

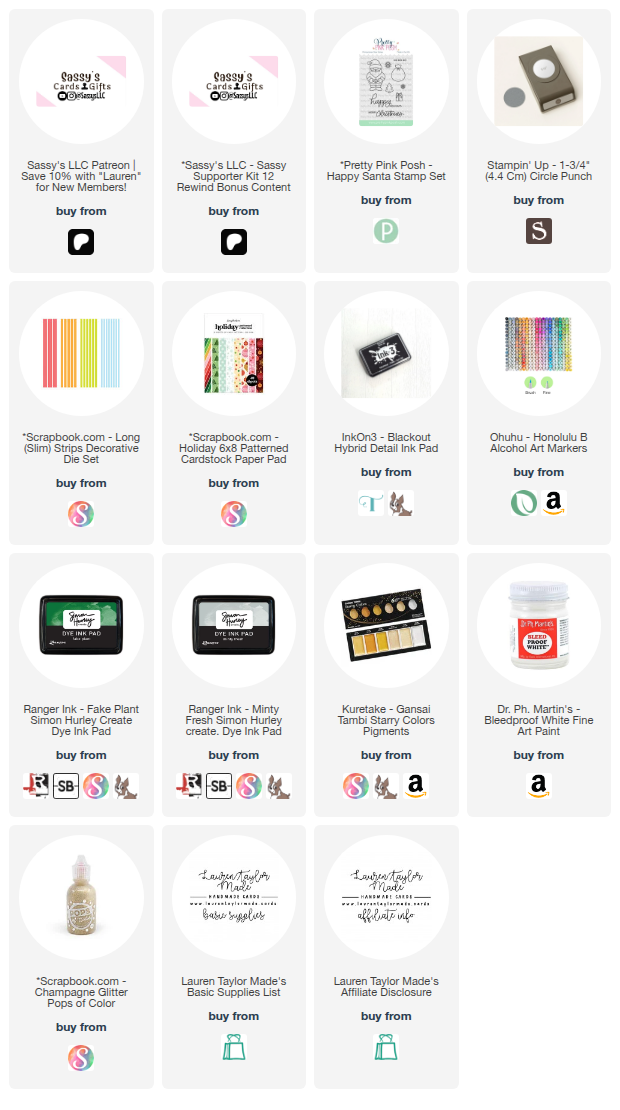
Hi friends! Thanks for joining me for a Christmas on the 24th project. Today I’m sharing two cards I created using the Emergency Card Kit Volume 12 from Sassy LLC. Since I don’t currently have a color printer, I had fun experimenting by printing some of the bonus elements directly onto patterned paper. I love how this gave me a fresh way to showcase the playful designs, like the cheeky “ho, ho, ho” sentiment and the tree panel that I paper pieced from pink patterned cardstock. I also added some soft ink blending, splatter details, and a bit of fussy cutting to bring each panel to life before layering everything according to the kit’s sketch.

For the first card, I let the bold “ho, ho, ho” panel shine on snowy blue patterned paper, pairing it with strips of starry patterned paper and foam-dimensioned layers to really make the sentiment pop. The second card features the paper-pieced tree, grounded with a bit of ink blending and framed with pastel gray panels inspired by the kit’s sketch. To finish, I added gold and white splatter, then popped up the elements with foam adhesive for extra depth. The playful mix of soft colors and bold details makes each card unique while still keeping a cohesive look between them.

I had so much fun creating these two cards with Kit 12 — the mix of printed elements, soft gray layers, and sassy sentiments make for quick but impactful holiday cards. And just a little note: I’ve moved my Christmas card series to the 24th of the month instead of the 25th. That’s because I’ll be sharing SheetLoad Rewind on the 25th, and I also want to give myself the flexibility to make more than just Christmas cards each month.

VIDEO TUTORIAL


PIN THIS
SUPPLY LIST

Read More

Holiday Cheer with Christmas Products from Scrapbook.com

Friday, July 25, 2025

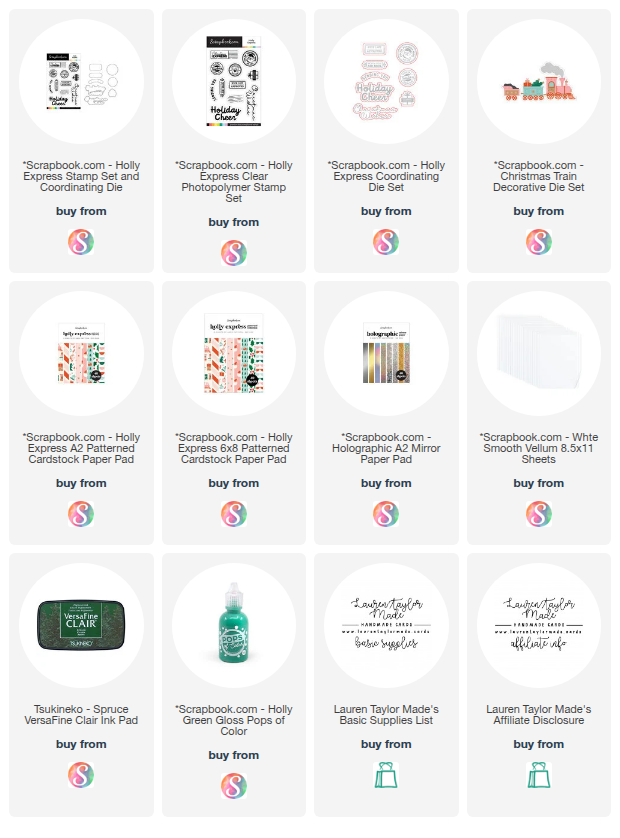
All aboard the holiday express! I’m thrilled to be part of the SheetLoad Rewind Team, and for this festive project, I used one of Scrapbook.com’s Christmas collections paired with the July 2022 SheetLoad of Cards sketch from Call Me Crafty Al. While I closely followed the original layout, I gave it my own twist—replacing the cardstock square with a vellum piece and swapping out one patterned triangle for a whimsical Christmas train engine die cut. Using Scrapbook.com’s Holly Express paper, I pieced together a pink locomotive with dashes of gold mirror cardstock, adding just the right amount of holiday shimmer.

With just one card fully assembled on camera (because no one needs to watch me glue together 12 tiny wheels), the video captures the joy of intricate die cutting, vellum layering, and strategic foam tape placement. The bold Holiday Cheer sentiment stamped in a festive green ties everything together, and I finished the card with glossy Holly Green Pops of Color for a cheerful, dimensional accent. Don’t forget to check out the video below to see how it all came together—and yes, I really did make a dozen of these beauties!

VIDEO TUTORIAL


PIN THIS
SUPPLY LIST

Read More

Rustic Merry Wreath for Christmas in July with Cardstock Warehouse

Monday, July 21, 2025

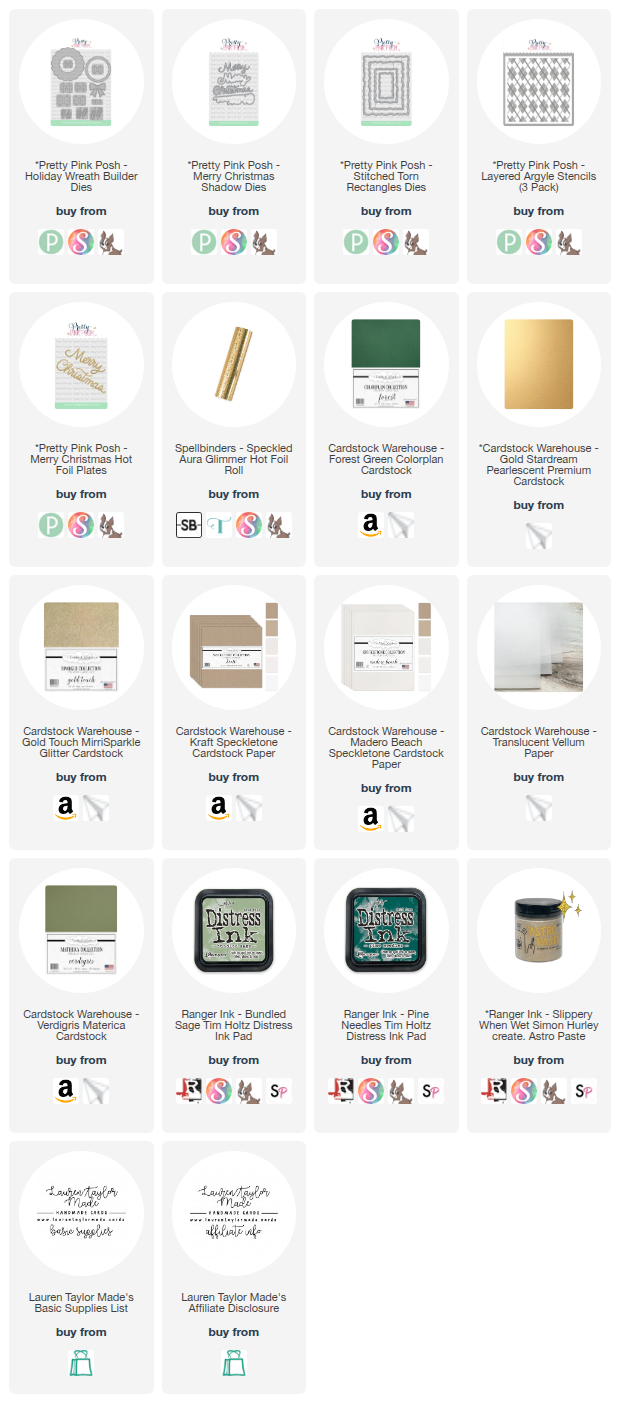
Hi, friends! Is it ever too early to celebrate the holidays? I don’t think so! Today I'm bringing you some Christmas in July cheer with a handmade card inspired by a cozy, rustic holiday color palette. I started by gathering a selection of gorgeous Cardstock Warehouse papers: Forest Green Colorplan, Verdigris Materica, Gold Touch MirriSparkle, Kraft Speckletone, Madero Beach Speckletone, Gold Stardream, and Translucent Vellum. To build my base, I die cut the largest torn rectangle from Madero Beach cardstock and inked it with the Layered Argyle stencils using Distress Inks in Bundled Sage and Pine Needles, finishing the last layer with a touch of Slippery When Wet Astro Paste for a gold shimmer. While that dried, I hot foiled the "Merry" sentiment using Speckled Aura Glimmer foil and Pretty Pink Posh’s Merry Christmas foil plate onto Kraft Speckletone cardstock. I then die cut it with the coordinating shadow die and backed it with Madero Beach cardstock for a contrast drop shadow.

For the wreath centerpiece, I used the Holiday Wreath Builder die set to cut leaves and accents from my various green and gold cardstocks. I layered the wreath together with liquid adhesive and added a bold, gold sparkle bow using foam adhesive for dimension. The entire wreath was mounted onto a translucent vellum torn rectangle, which helped it stand out while still showcasing the background stenciling beneath. To finish it all off, I added the layered "Merry" sentiment to the center of the wreath and adhered the vellum panel onto the inked background. I love how the natural krafts and greens contrast with the elegant gold shimmer—it feels both rustic and refined, perfect for a handmade holiday greeting. This Christmas in July card was a joy to make, and I hope it inspires you to start crafting for the season now! Be sure to check out all the papers available at Cardstock Warehouse.

PIN THIS
SUPPLY LIST

Read More

Let it Snow for Christmas in July with Cardstock Warehouse

Monday, July 14, 2025

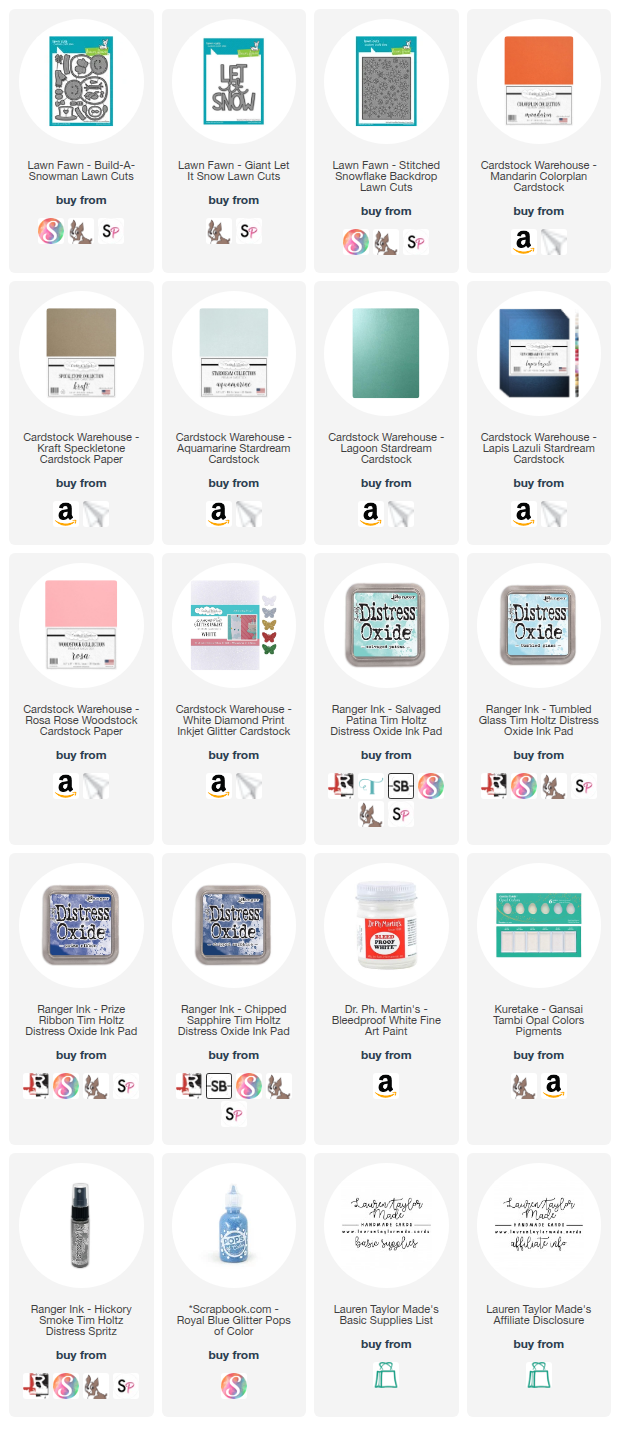
Hi, friends! I’m bringing you some frosty fun with a Christmas in July card featuring beautiful Cardstock Warehouse papers and Lawn Fawn dies! I created a cool, wintery ombré background by ink blending Distress Oxides over the Lawn Fawn Stitched Snowflake Backdrop die. I used Salvaged Patina, Tumbled Glass, Prize Ribbon, and Chipped Sapphire to build up that snowy sky, then added layers of texture with splashes of opal blue watercolor, white paint, and Hickory Smoke Distress Spritz for extra depth.

For the sentiment, I die cut "Let It Snow" using White Glitter Cardstock and Lapis Lazuli Stardream to create a crisp, shimmering drop shadow. The star of the card is a sweet snowman, built with the Lawn Fawn Build-a-Snowman die set and lots of bright Cardstock Warehouse papers for his scarf, earmuffs, and cute face. I popped up the snowman with foam adhesive for dimension and finished the card with some Royal Blue Glitter Pops of Color scattered across the background like falling snow. I love how this card feels both playful and festive—perfect for getting a head start on those holiday cards!
PIN THIS
SUPPLY LIST

Read More

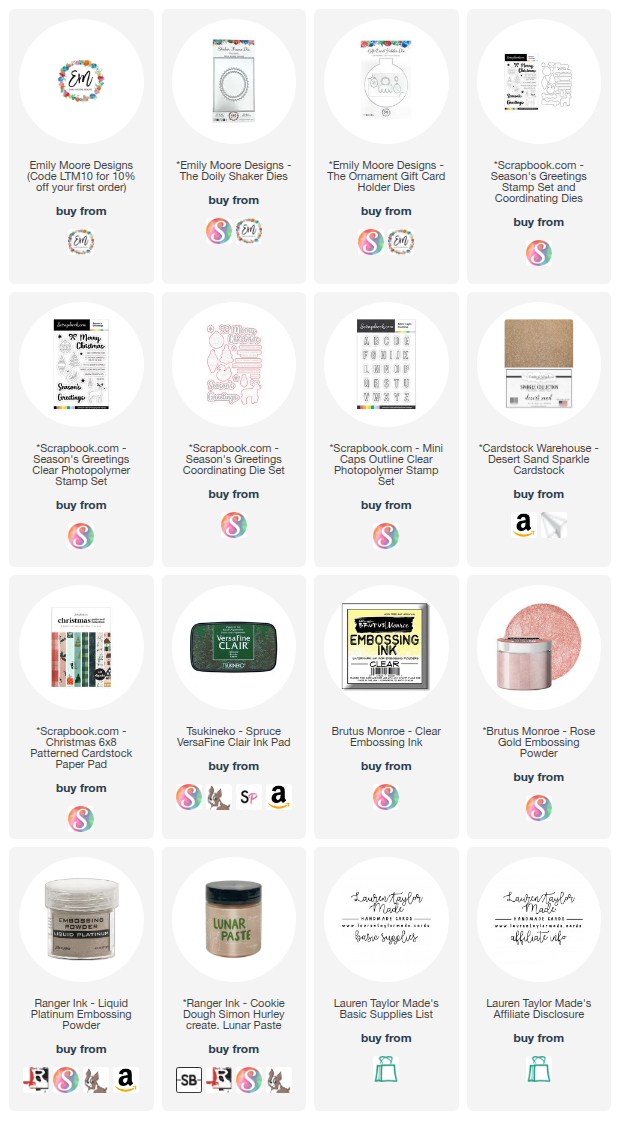
Christmas Ornament Gift Card Holders with Emily Moore Designs

Tuesday, April 29, 2025

Hello, crafty friends! Welcome back to my "Christmas on the 25th" series, where I bring you a touch of holiday cheer every month, even in April! I'm so excited to share this festive handmade gift card holder with you. Make sure you watch the video below to see all the steps in action! I'm especially thrilled because this project features products from a wonderful new-to-me company, Emily Moore Designs. I had the pleasure of meeting Emily at Creativation, and she generously gifted me some of her beautiful dies and stencils.

In today's video, I'm focusing on the ingenious Ornament Gift Card die set and the charming oval die from the Doily Shaker dies. My vision was to create a gift card holder that's not only functional but also a keepsake – something that can be reused or even hung on the Christmas tree as an ornament! I started by die-cutting the ornament base from patterned paper and white cardstock, layering them for stability, being careful to leave the gift card slot notches unglued.

For a touch of elegance, I added a sparkly champagne gold ornament topper. Then, using the scalloped oval die, I created a space for a stamped "Merry Christmas" sentiment. To complete the look, I even crafted my own metallic-looking charms using white cardstock and Simon Hurley's Lunar Paste – a fantastic technique Emily herself shared! This little ornament gift card holder truly elevates the act of giving, adding a personal and handmade touch to your presents. Don't forget to check my links below for a special discount code from Emily Moore Designs – you won't want to miss it!

VIDEO TUTORIAL


PIN THIS
SUPPLY LIST

Read More

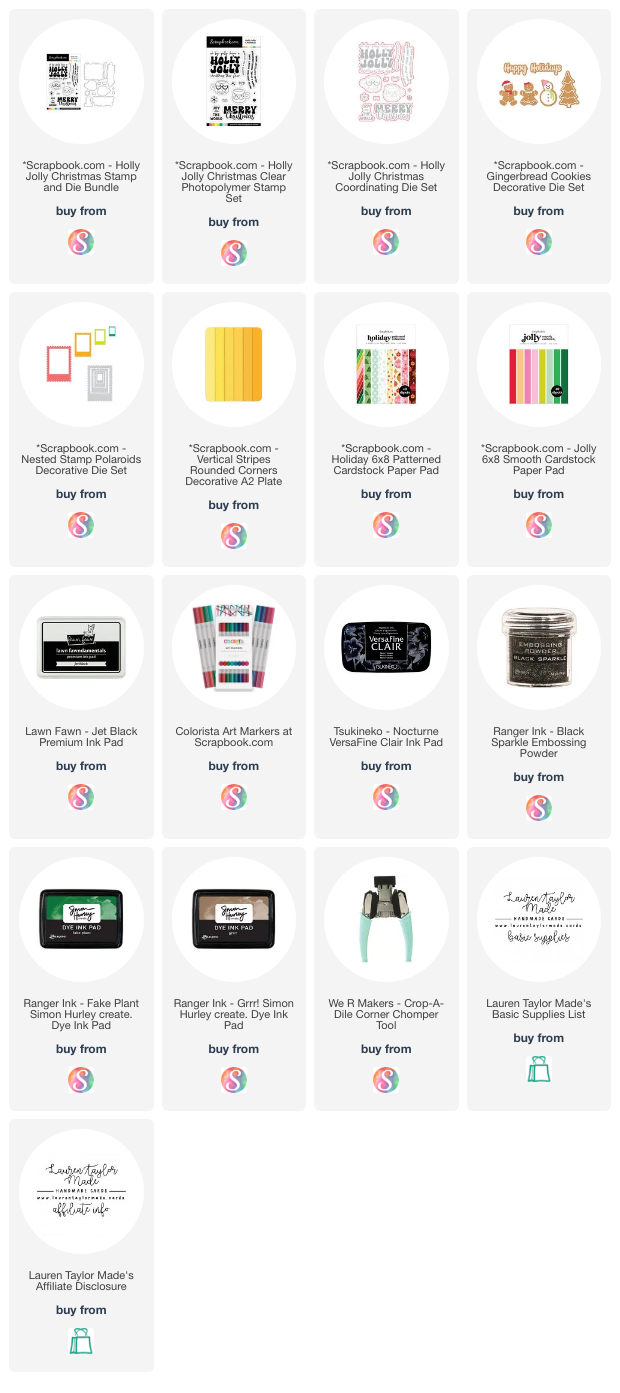
Holiday Treats Card with Scrapbook.com

Tuesday, March 25, 2025

Welcome back to my craft room, friends! It's time for another installment of my Christmas on the 25th series! This month, I'm thrilled to showcase some absolutely adorable products from Scrapbook.com. Get ready for a festive card featuring their Holly Jolly Christmas stamp and coordinating dies, the Nested Stamp Polaroid dies, and the oh-so-cute Gingerbread Cookie dies. I also incorporated the Vertical Stripes Rounded Corners die and papers from the Jolly and Holiday 6x8 paper pads. In my YouTube video, you'll see how I stamped and colored the sweet mug images with Colorista Art Markers, focusing on a simple, cartoon-style coloring technique. Then, I created a vibrant background using the striped dies and layered everything onto a rounded-corner A2 card base. The final touch? A sparkly, embossed sentiment that really makes this card shine!

To recreate this card, start by die-cutting all your pieces as shown in the video. Stamp and color your mug images, then cut them out with the coordinating dies. Create your striped background, and then use the Nested Stamp Polaroid die to cut a frame for your scene. Add ink blending for an ombre effect on the frame. Arrange your die-cut elements, including the gingerbread cookie, onto the card front. Stamp and emboss your sentiment, then adhere all the pieces using a mix of foam tape and liquid adhesive for dimension. For a full visual walkthrough, be sure to watch my YouTube video where I demonstrate each step in detail. Don't forget to start working on your holiday cards throughout the year to avoid the last-minute rush! Let me know in the comments what brands or stamp sets you'd like to see featured next!

VIDEO TUTORIAL


PIN THIS
SUPPLY LIST

Read More

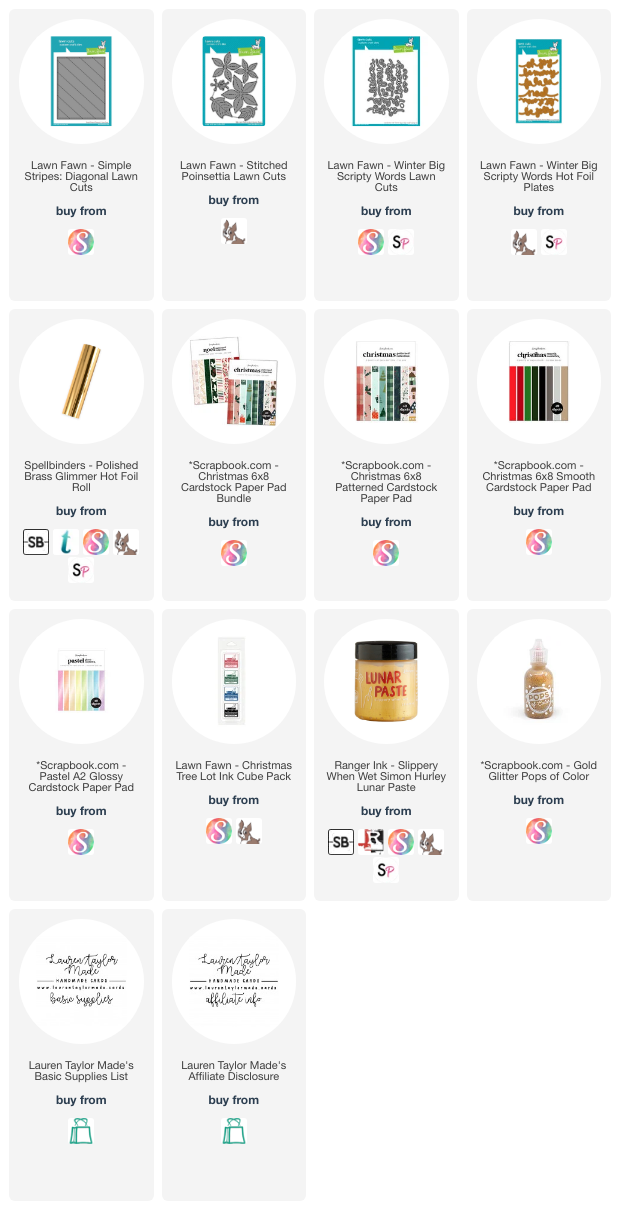
Oh Joy & Noel Poinsettia Cards for Christmas

Tuesday, February 25, 2025

Hi friends! Thanks for joining me in my craft room today. Since it's the 25th of the month, it's time for some holiday and Christmas inspiration! This time, I focused on die-cutting rather than stamping, using some beautiful Lawn Fawn dies and hot foil plates. I brought in the Stitched Poinsettia Lawn Cuts, Winter Big Scripty Words hot foil plates, and coordinating dies, along with some extras from Lawn Fawn and Scrapbook.com. To add some shine and texture, I incorporated metallic elements like hot foiling, Lunar Paste, and Pops of Color. I love how these elements bring depth and shimmer to my projects!

For my poinsettias, I die-cut the petals from bright and burgundy red cardstock, then used ink blending to add more dimension. A touch of Simon Hurley’s Lunar Paste in "Slippery When Wet" along the edges gave them a beautiful gold accent. After layering them together with a slightly off-center arrangement, I added glossy pastel cardstock centers to complete the flowers. For the card bases, I used a mix of patterned paper from a Christmas pad and cut them into diagonal stripes to create fun backgrounds. Finally, I hot-foiled my sentiments in polished brass foil, layered them for a chipboard-like effect, and adhered them to the card. A final touch of gold Pops of Color added just the right amount of sparkle! I’m really happy with how these turned out, and I hope they inspire you to dive into your holiday crafting. Let me know what you think!

VIDEO TUTORIAL


PIN THIS
SUPPLY LIST

Read More

Winter Wand-erland - New Release from Miss Ink Stamps

Saturday, January 25, 2025

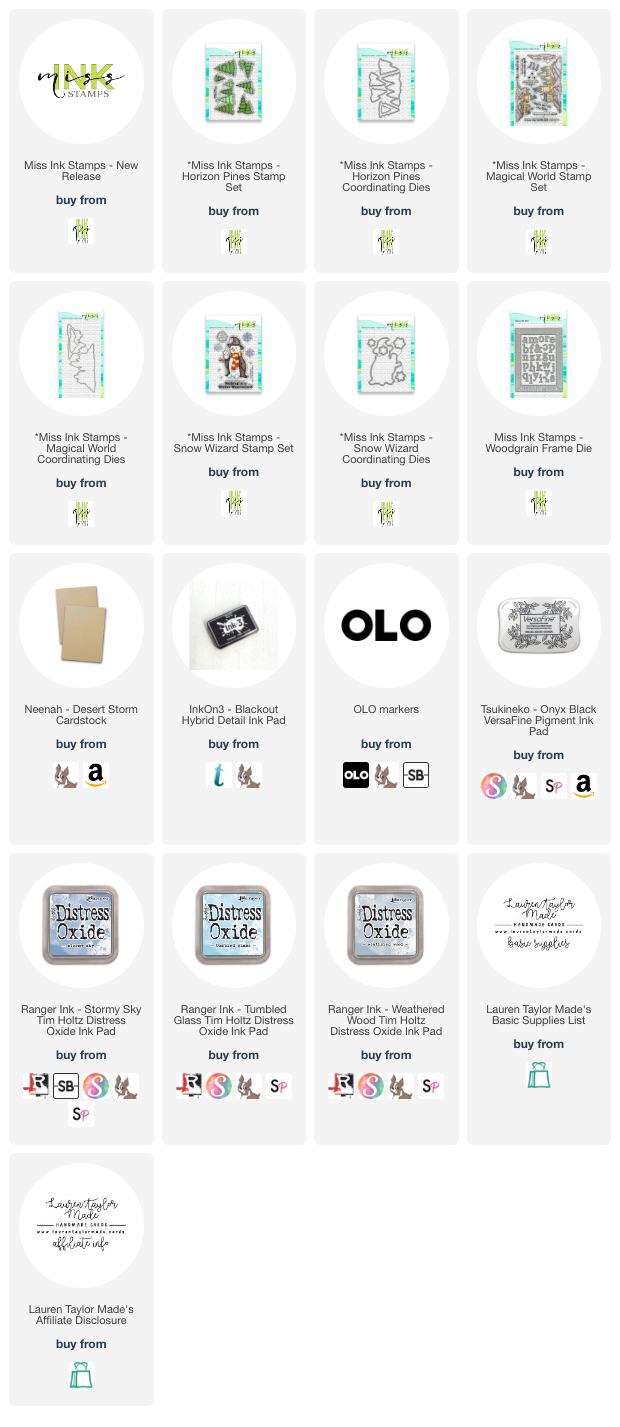
Hey friends, welcome back for another “Christmas on the 25th” project. Today, I’m sharing a fun winter card featuring new stamps from the Miss Ink Stamps release. This magical card combines the newly released "Magical World," "Snow Wizard," and "Horizon Pines" sets to create a whimsical, frosty scene. I started by stamping, coloring, and die-cutting the castle, snowman, and trees with OLO markers and coordinating dies. For the background, I used Weathered Wood and Stormy Sky to create a moody winter sky and Tumbled Glass for a subtle frozen lake effect. The rustic woodgrain frame and snowy elements tie the whole design together, creating a cozy yet magical vibe.

Once the pieces were ready, I used liquid glue and foam adhesive to assemble the scene, adding dimension and fun details like highlights with a white gel pen. The snowman’s scarf and hat are inspired by a certain wizarding house (my favorite!) for a personal touch. I finished the card with the sentiment “Walking in a Winter Wonderland,” stamped in black and bubble-cut for a playful look. This card is perfect for winter greetings, holidays, or a fandom-inspired surprise! Be sure to watch my full YouTube tutorial for a closer look at the process and use the links below to shop the entire Miss Ink Stamps release. Happy crafting, and I’ll see you in the next one!

VIDEO TUTORIAL


PIN THIS
SUPPLY LIST

Read More

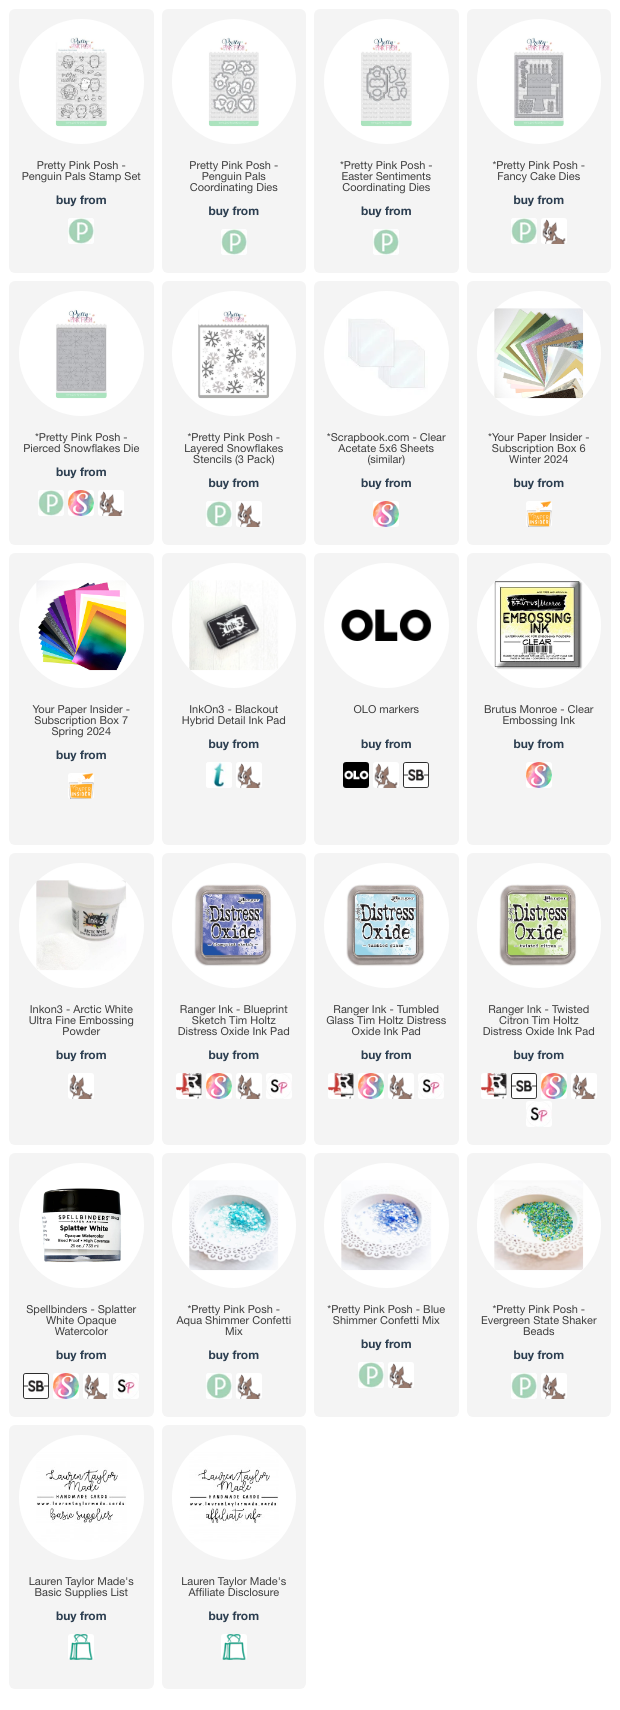
Merry Wishes Penguin Shaker Card with Pretty Pink Posh

Tuesday, January 14, 2025

I’m so excited to share a fun wintery interactive card with you today, featuring some of my favorite stamps - the adorable Penguin Pals Stamp Set. For this card, I’m combining a layered snowflake stencil background with a shaker element and some cute penguins making snow angels. To start, I created a soft, snowy background using the Pierced Snowflakes Die on light blue cardstock. For the stenciling, I used three layers: first, a soft blue (Tumbled Glass Distress Oxide), then a darker blue (Blueprint Sketch Distress Oxide), and finally, a pop of green (Twisted Citron Distress Oxide) inspired by the Evergreen State Shaker Beads I planned to use in my shaker. The combination of tones in the snowflakes looks so beautiful and wintery, and adding some white splatters with opaque watercolor really made the background feel like a snowy scene.

Next, I stamped the penguins from the Penguin Pals Stamp Set and colored them with my Olo markers. I kept their color scheme simple, using warm grays for their bodies and bright yellow-orange for their beaks and feet. To tie in with the background, I gave each penguin a colorful scarf in shades of blue and green. After cutting them out with the Penguin Pals Coordinating Dies, I started planning my card layout, placing the penguins around my embossed sentiment on a shimmery blue label cut from the Easter Sentiments Coordinating Dies. To turn this card into a shaker, I used a frame from the Fancy Cake Dies and added acetate to the back. I carefully applied foam adhesive to create a space for the shaker elements, making sure there were no gaps where the beads and confetti could fall out.

For the shaker filling, I used a mix of Evergreen State Shaker Beads, Blue Shimmer Confetti Mix, and Aqua Shimmer Confetti Mix, which added lots of sparkle and movement to the design. Once everything was securely in place, I attached the shaker to a top-folding A2 card base. I couldn’t resist adding the adorable penguins around the sentiment, making it feel extra festive and full of winter cheer. I absolutely love how this card turned out—it’s fun and full of sparkle without being overly glittery. I hope this tutorial inspires you to create your own shaker cards this new year season, and if you love penguins as much as I do, this stamp set is a must-have! Thanks for stopping by, and I can't wait to share more creative inspiration with you soon!

VIDEO TUTORIAL


PIN THIS
SUPPLY LIST

Read More

Merry Rex-mas Christmas Dinosaurs Card with Pretty Pink Posh

Wednesday, December 25, 2024

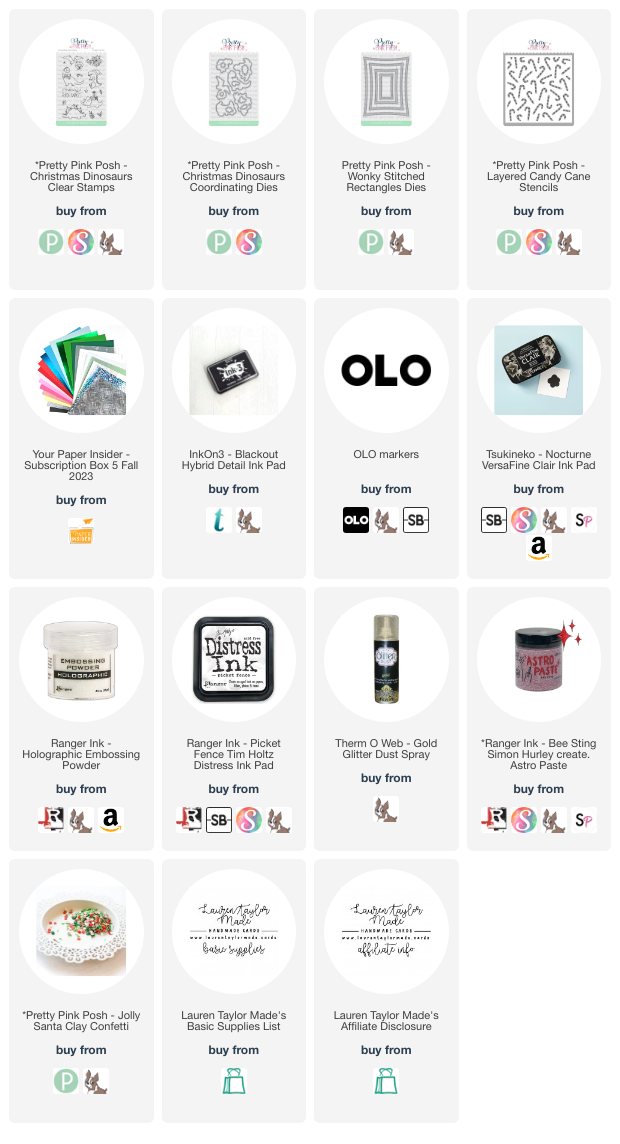
In today’s tutorial, I’m excited to show you how to create a fun and whimsical Christmas card featuring the adorable Christmas Dinosaurs Stamp Set. I started off with some stenciling using the Layered Candy Cane Stencil Set. For the first layer, I applied Picket Fence Distress Ink through the stencil, focusing on the outer edges of the candy canes. I had to layer the ink a few times to get a nice, vibrant result, especially since I was working on green cardstock. After the ink dried, I sprayed the whole panel with Gold Glitter Dust, which not only seals the white ink but also gives it a beautiful shimmer. For the second layer, I added Bee Sting Astro Paste to give my candy canes some red stripes. The glitter really pops once the paste dries, giving the candy canes a stunning, glittery look!

Next, I moved on to the dinosaurs—my favorite part of this card! I stamped all of the Christmas Dinosaurs from the set with alcohol marker-friendly black ink and then used Olo markers to color them in. I wanted to keep them in more natural, reptile-inspired colors so I used browns, greens, oranges and blue. Once I had all my Christmas Dinosaurs colored in, I die-cut them with the Christmas Dinosaurs Coordinating Dies. To create some separation between the busy stenciled background and the dinosaurs, I layered them on vellum cut from the second largest Wonky Stitched Rectangles Dies. Vellum is perfect for this because it softens the design and lets the cute critters stand out without getting lost in the background. I also added a holographic embossing powder to the "Merry Rex-mas" sentiment, giving it a subtle, shimmering finish. 

To finish up, I used foam adhesive to pop up the dinosaurs on the vellum. I then adhered the whole piece to my A2 card base and added some extra embellishments with red and white clay confetti. These little Jolly Santa Clay Confetti are perfect for adding just the right touch of holiday cheer. I’m so happy with how this card turned out—it’s whimsical, sparkly, and full of festive fun! I hope this tutorial inspired you to try some stenciling and get creative with your holiday cards this year. Happy crafting and happy holidays!

VIDEO TUTORIAL


PIN THIS
SUPPLY LIST

Read More