Magical Monsters Zoyfold Card with Popsiclesticks

Tuesday, July 29, 2025

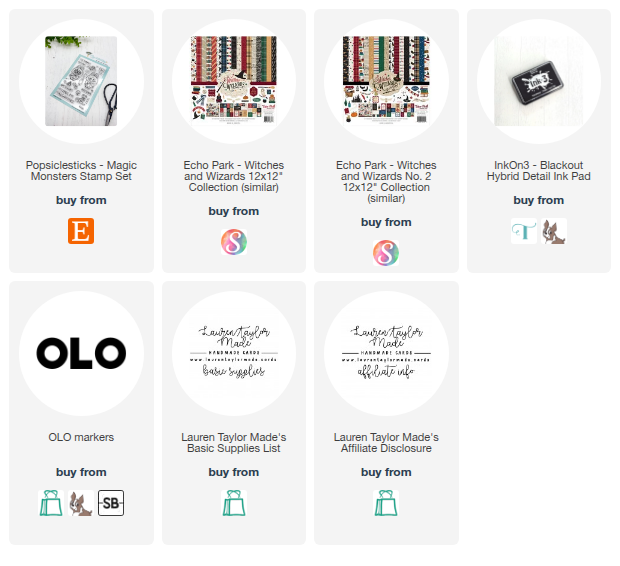
This card is extra special because it’s my 200th consecutive Craft Roulette card — made during the Paperganza event, no less! For the occasion, I used the original “Zoy-Fold,” which blends a classic Z-fold and a Joy-fold together for something extra interactive. I started with a 4.25" x 11" card base and created a Z-fold by scoring in half and folding the front panel back at 2 1/8”. For the Joy-fold part, I trimmed a mini card ¾" smaller on all sides, so it nestles perfectly in the center. The patterned papers come from the Wizards & Witches and Wizards & Witches No. 2 6x6 paper pads by Echo Park — from red star tones to yellow lightning bolts and magical wand prints, they help set the spellbinding scene.

The stars of the show are the Magic Monster stamps from Popsiclesticks. I stamped all the images with InkOn 3’s Blackout Hybrid Ink and colored them with OLO Markers, then fussy cut everything out. I also used the Mini Slimline Stitched Layers die set to cut a banner for the front. I shortened the banner slightly so it wouldn't block the interactive opening and stamped the fun sentiment "I 'Lab' Magic" — a playful nod to a beloved magical fandom. I added the friendly wizard, his broom, a golden flying ball, and a few tiny stars with both foam adhesive and liquid glue for added depth.

Inside the card, I continued the magical adventure. The first panel reveals a tiny owl carrying a letter with the sentiment "Hoot Hoot." Open it all the way to see the enemy wizard monster, a spooky skull, a snake, and the cheeky sentiment "Pottah!," followed by the triangle symbol and "The 'boo' who lived." And finally, tucked into the joy fold’s inside panel is a larger sentiment: “I put a spell on you cursed with cuteness.” This card is full of movement, magic, and miniature surprises, and it was the perfect way to celebrate this creative milestone!

PIN THIS
SUPPLY LIST

Read More

Limited Edition Cards with Kindred Stamps

Friday, July 25, 2025

Hi friends! I’m featuring two playful cards using the new Limited Edition stamp set from the latest Kindred Stamps release. This set is full of quirky charm and expressive little characters perfect for fun, heartfelt cards. One of these cards is featured in this week’s Fandom Friday YouTube video (embedded below!), while the second one is a bonus project using the other two images from the set.

For the video card, I created a shaker centerpiece! I started by stamping and coloring one of the characters with Ohuhu alcohol markers after using InkOn3 Blackout Ink for crisp lines. I die cut a piece of patterned paper from the Emotional paper pack using the stitched rectangle from the Card Basics die set. I added a strip of layered patterned paper from the Showtime and Emotional paper packs, then created a shaker element using two acetate circles and circle dies from the Card Basics set. I filled the shaker with Kindred sequins from my stash and adhered it to the center of the card. I added my colorful little friend to the center of the shaker and finished the card with a sentiment strip that says “you’re my la-boo-boo,” stamped in Very Peri ink. A few enamel dots and an inside sentiment—“Limited Edition Besties”—complete the card!

For the second card, I used the remaining two seated characters. I die cut some landscape-style patterned paper from the Around the World paper pack and adhered it to an A2 card base. Then I trimmed white cardstock with a nested A2 rectangle die and stamped the sentiment “you’re limited edition” in the center. I popped this panel up with foam adhesive and added the two adorable seated characters on either side of the sentiment. A few pink enamel dots add a soft touch, and I finished the card inside with the sentiment “you’re the rarest pull of all”—perfect for a friend who’s one of a kind!

VIDEO TUTORIAL


PIN THIS
SUPPLY LIST

Read More

Holiday Cheer with Christmas Products from Scrapbook.com

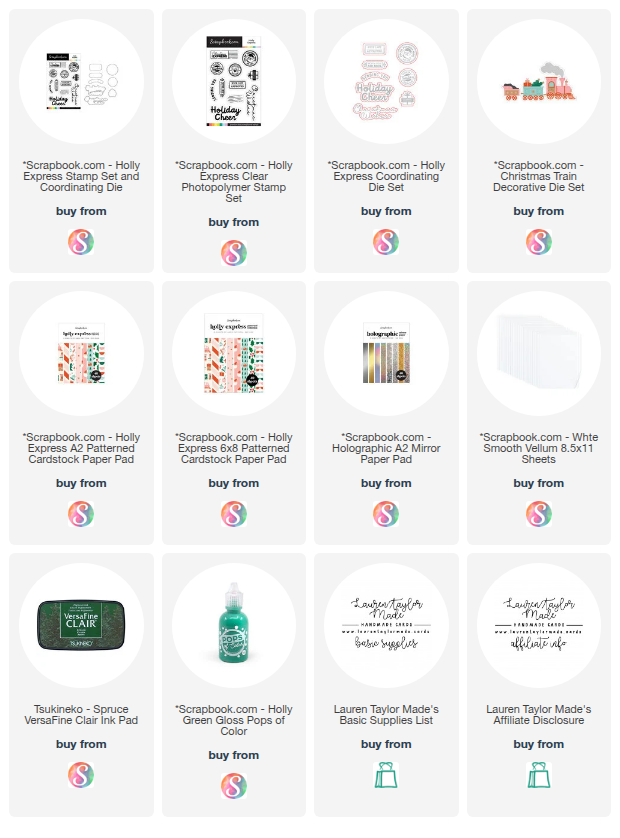
All aboard the holiday express! I’m thrilled to be part of the SheetLoad Rewind Team, and for this festive project, I used one of Scrapbook.com’s Christmas collections paired with the July 2022 SheetLoad of Cards sketch from Call Me Crafty Al. While I closely followed the original layout, I gave it my own twist—replacing the cardstock square with a vellum piece and swapping out one patterned triangle for a whimsical Christmas train engine die cut. Using Scrapbook.com’s Holly Express paper, I pieced together a pink locomotive with dashes of gold mirror cardstock, adding just the right amount of holiday shimmer.

With just one card fully assembled on camera (because no one needs to watch me glue together 12 tiny wheels), the video captures the joy of intricate die cutting, vellum layering, and strategic foam tape placement. The bold Holiday Cheer sentiment stamped in a festive green ties everything together, and I finished the card with glossy Holly Green Pops of Color for a cheerful, dimensional accent. Don’t forget to check out the video below to see how it all came together—and yes, I really did make a dozen of these beauties!

VIDEO TUTORIAL


PIN THIS
SUPPLY LIST

Read More

Rustic Merry Wreath for Christmas in July with Cardstock Warehouse

Monday, July 21, 2025

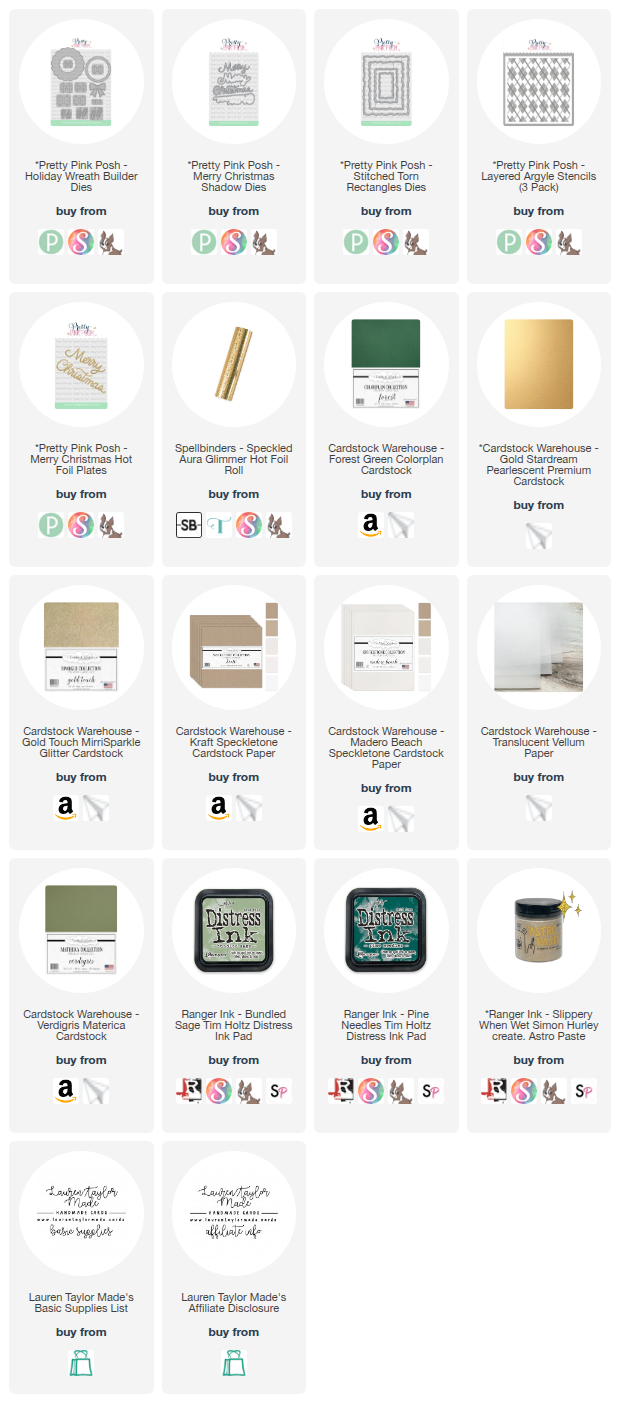
Hi, friends! Is it ever too early to celebrate the holidays? I don’t think so! Today I'm bringing you some Christmas in July cheer with a handmade card inspired by a cozy, rustic holiday color palette. I started by gathering a selection of gorgeous Cardstock Warehouse papers: Forest Green Colorplan, Verdigris Materica, Gold Touch MirriSparkle, Kraft Speckletone, Madero Beach Speckletone, Gold Stardream, and Translucent Vellum. To build my base, I die cut the largest torn rectangle from Madero Beach cardstock and inked it with the Layered Argyle stencils using Distress Inks in Bundled Sage and Pine Needles, finishing the last layer with a touch of Slippery When Wet Astro Paste for a gold shimmer. While that dried, I hot foiled the "Merry" sentiment using Speckled Aura Glimmer foil and Pretty Pink Posh’s Merry Christmas foil plate onto Kraft Speckletone cardstock. I then die cut it with the coordinating shadow die and backed it with Madero Beach cardstock for a contrast drop shadow.

For the wreath centerpiece, I used the Holiday Wreath Builder die set to cut leaves and accents from my various green and gold cardstocks. I layered the wreath together with liquid adhesive and added a bold, gold sparkle bow using foam adhesive for dimension. The entire wreath was mounted onto a translucent vellum torn rectangle, which helped it stand out while still showcasing the background stenciling beneath. To finish it all off, I added the layered "Merry" sentiment to the center of the wreath and adhered the vellum panel onto the inked background. I love how the natural krafts and greens contrast with the elegant gold shimmer—it feels both rustic and refined, perfect for a handmade holiday greeting. This Christmas in July card was a joy to make, and I hope it inspires you to start crafting for the season now! Be sure to check out all the papers available at Cardstock Warehouse.

PIN THIS
SUPPLY LIST

Read More

You're Smokin' Burger Shaped Card with Trinity Stamps

Sunday, July 20, 2025

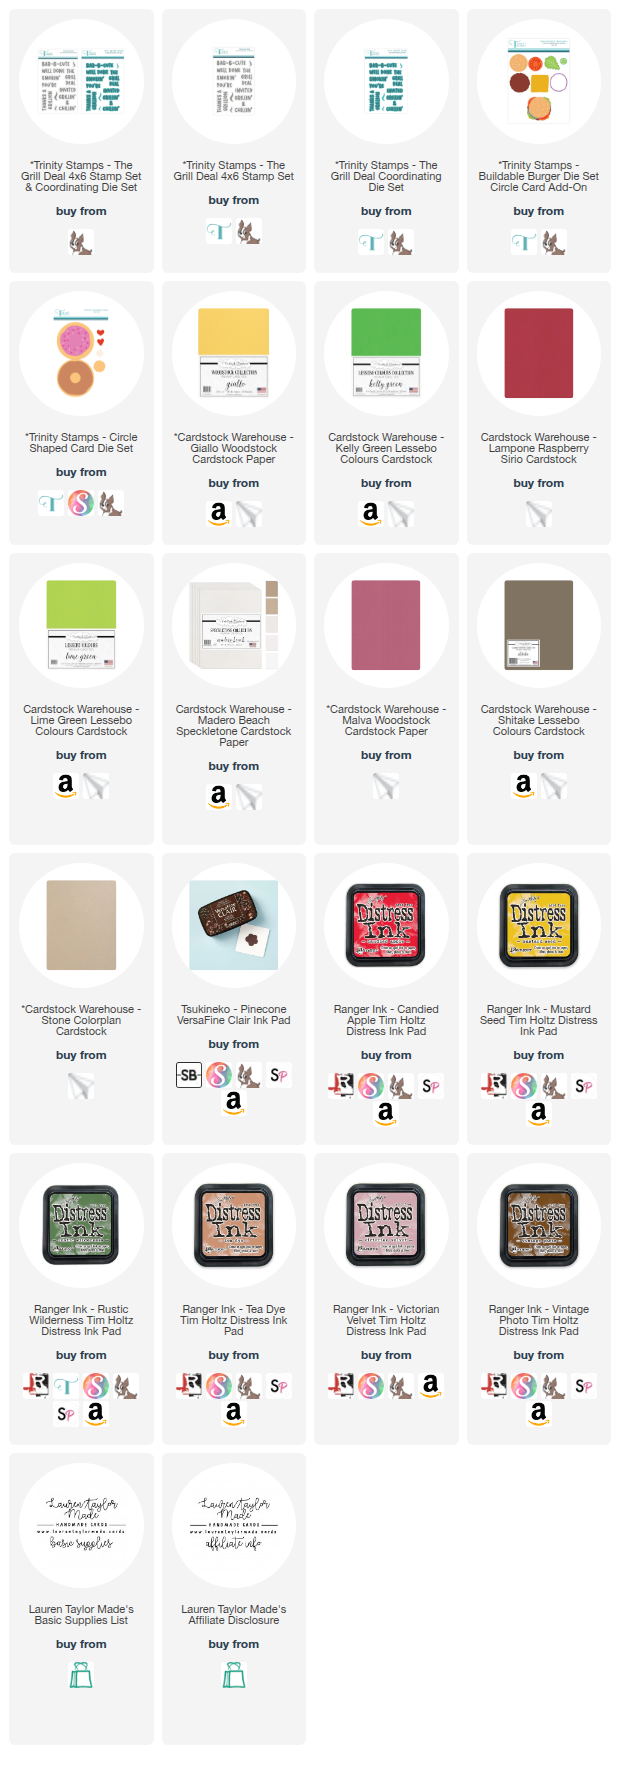
If you’re craving a creative cardmaking project, this one’s extra juicy! For today’s card, I’m sharing a super fun shaped design using the new Buildable Burger Die Set with the Circle Card Add-On from Trinity Stamps. I cut all the burger layers from various shades of Cardstock Warehouse papers and added extra dimension by ink-blending the edges with Distress Inks. From the rich red “tomato” in Candied Apple to the crisp lettuce and pickles in Rustic Wilderness, each layer comes to life with texture and depth. Even the bun got some love with Vintage Photo for toasty edges and adorable little sesame seed die cuts for a realistic finish.

I assembled the burger onto a circle-shaped card base die-cut from speckled cardstock, giving it that perfect “fast food wrapper” look. To finish the card, I stamped the sentiment “You’re Smokin’” from the Grill Deal stamp set in Pinecone VersaFine Clair and popped it right onto the bun. On the inside, a cheeky “Bar-B-Cute” finishes off the card with a smile. This card is perfect for summer birthdays, BBQ invites, or just for fun—and you can watch the entire process in my YouTube Short embedded below!

VIDEO TUTORIAL


PIN THIS
SUPPLY LIST

Read More

Retro Digital Pet Easel Card with The Sassy Club

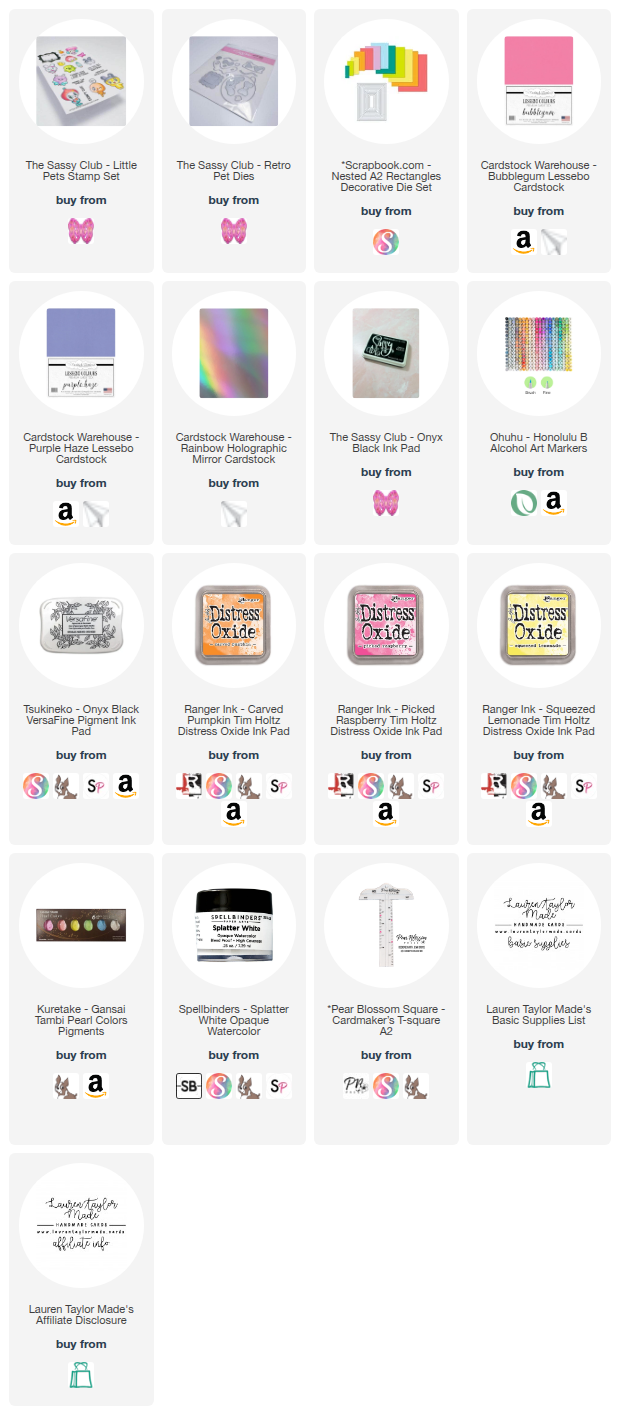
I’m so excited to be joining my talented crafty friends again as we create cards inspired by other creators in our community. This time, we’re drawing inspiration from the lovely Tracy of Not Afraid of Color. I was really struck by a dragonfly card of hers that had a gorgeous sunset color palette—vibrant pinks, oranges, yellows, and purples. I brought those dreamy colors into my ink-blended background using Distress Oxides, then added a holographic twist and lots of playful detail. Since it’s also Sassy Sunday and a belated Fandom Friday, I thought it was the perfect time to bring in The Sassy Club’s Little Pets stamps and Retro Pet die set—nostalgically inspired by the iconic virtual pocket pets from our childhoods.

I turned my digital pet into the centerpiece of a fun easel card with layered cardstock in bold purples and pinks, and a rainbow holographic chain for some extra flair. The sentiment “You’re not old, you are retro” fits the theme perfectly and makes this a super fun birthday card! I added two more little pets to the inside with foam tape so they hold the easel open. Check out the full tutorial in the video below to see how it all comes together and to hop along with the rest of our amazing collaboration group!

VIDEO TUTORIAL


PIN THIS
SUPPLY LIST

Read More

You're Scoops of Fun with Scrapbook.com

Thursday, July 17, 2025

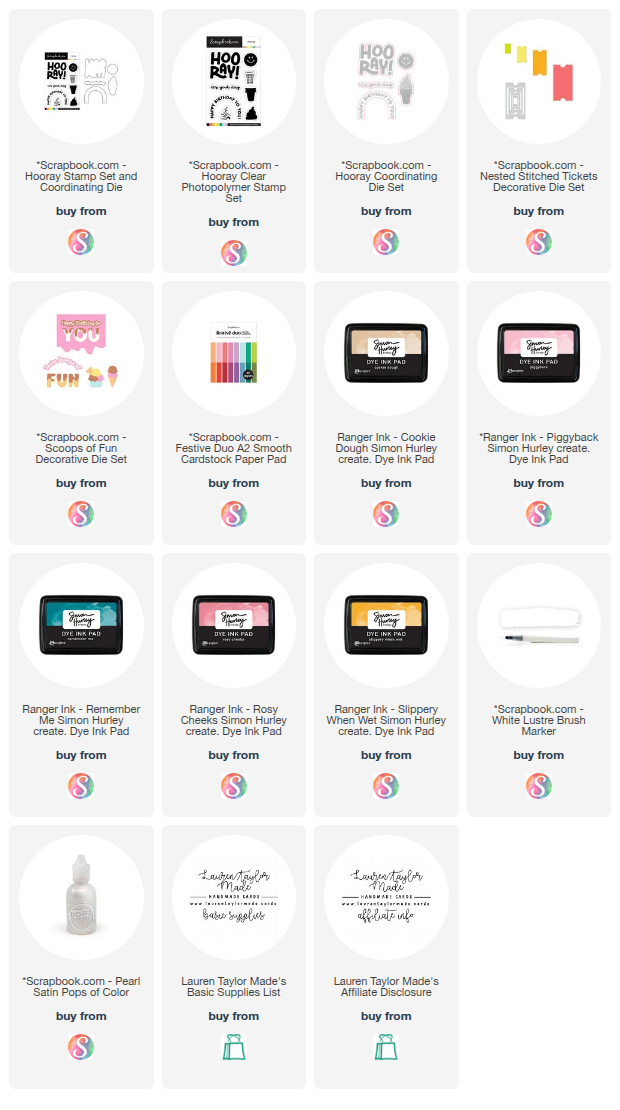
This playful card is bursting with sweet summertime vibes thanks to Scrapbook.com’s Exclusive Products. I started by die cutting the smallest ticket shape from pink and purple cardstock, then cut the largest ticket from teal and its border from dark blue—all from the same Festive Duo A2 paper pad. I arranged the small tickets along the edges of a light blue A2 card panel, alternating the colors for a fun border effect. The large teal ticket became the centerpiece, popped up with foam adhesive and finished with the top and bottom border edges for extra dimension.

For the sentiment, I used the Scoops of Fun Die Set—cutting "you're scoops of" from white cardstock with a pink shadow, and layering the word "fun" in purple with a melty pink top layer. I added splatters of white using the White Luster Brush Marker to tie everything together. Two ice cream cones from the Hooray Stamp Set (stamped in colorful inks and cut with the coordinating die) were layered in between the sentiments, and I finished the card with pearl satin Pops of Color for a soft touch. This one’s definitely a treat!

PIN THIS
SUPPLY LIST

Read More