Showing posts with label easter. Show all posts

Happy Spring with a Leafy Wreath using Pretty Pink Posh

Tuesday, March 24, 2026

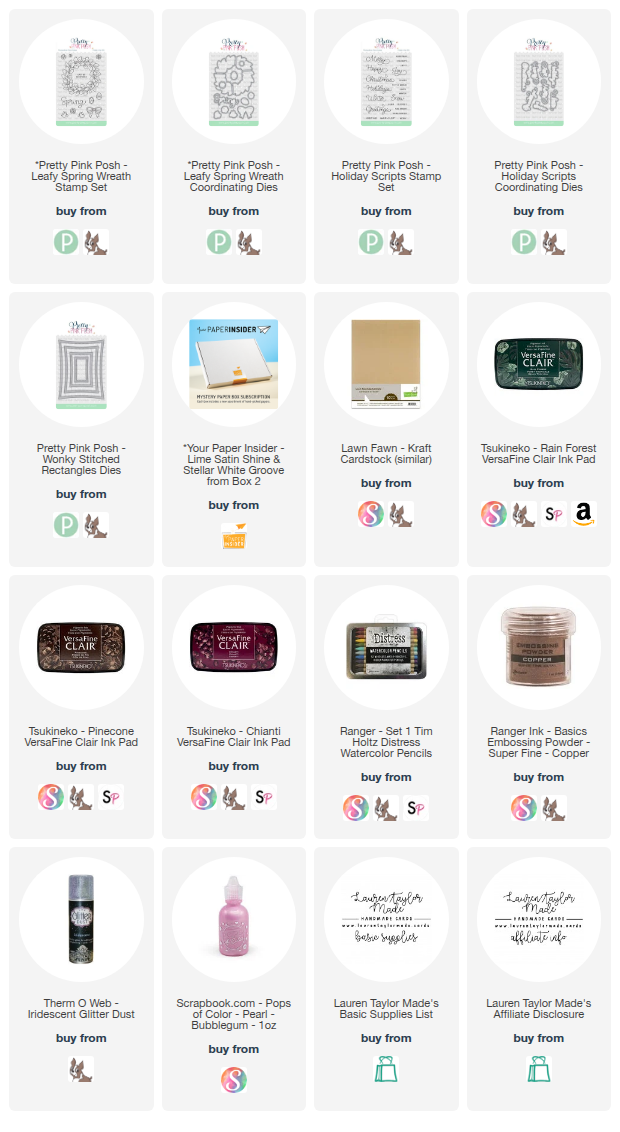
For today’s card, I used Pretty Pink Posh products to create a soft and cheerful spring wreath design. I started by stamping the wreath from the Leafy Spring Wreath stamp set in Rain Forest VersaFine Clair ink onto white cardstock. I stamped the flowers from the same set in Chianti VersaFine Clair ink and the bow in Pinecone VersaFine Clair ink. I colored all of the images with Tim Holtz Distress Watercolor Pencils, activating the color with a small brush and water. Once everything was dry, I used the coordinating Leafy Spring Wreath dies to cut out the wreath, flowers, and bow.

Next, I stamped the word happy from the Holiday Scripts stamp set and the word spring from the Leafy Spring Wreath stamp set onto kraft cardstock using Pinecone VersaFine Clair ink. I embossed both words with Ranger Ink copper super fine embossing powder and die cut them with their coordinating dies. For the background, I die cut textured white cardstock with the largest Wonky Stitch Rectangle die and layered it onto an A2 card base that I covered with lime satin shine paper. I assembled the card by adhering the rectangle panel, then the wreath, and layered the flowers using a mix of liquid glue and foam adhesive. I popped up the bow and the happy spring sentiment with foam adhesive to finish the card.

PIN THIS
SUPPLY LIST

Read More

Rainbow Egg Shaker Mini Slimline Card

Sunday, March 8, 2026

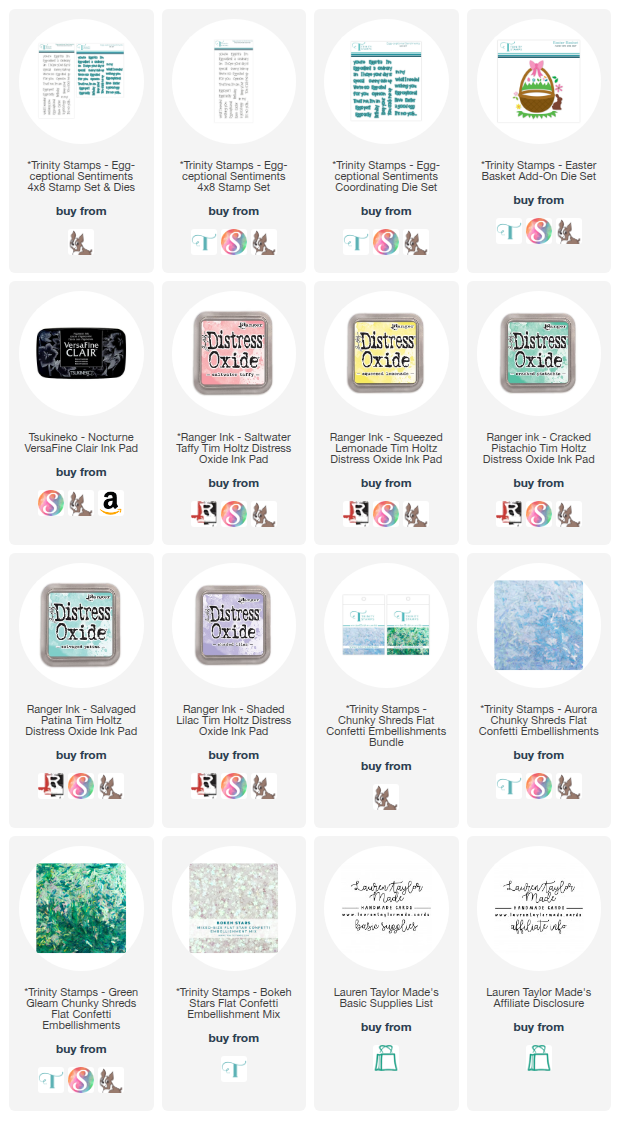
Today I am sharing a bright and cheerful Easter shaker card using Trinity Stamps. I started with a 3 by 6 inch piece of white cardstock and blended a soft rainbow using Distress Oxides in Saltwater Taffy, Squeezed Lemonade, Cracked Pistachio, Salvaged Patina, and Shaded Lilac with my Trinity Stamps Blending Buddies. Once the colors were blended, I spritzed the panel with water and Hero Arts White Iridescent Shimmer Mist to add texture and sparkle. I gently dabbed up the excess moisture with a towel and set the panel aside to dry completely.

Next, I created the shaker panel. I cut a 2 by 6 inch strip of white cardstock and used the egg die from the Easter Basket Add On die set from Trinity Stamps to cut three egg windows. I adhered a piece of acetate to the back of that panel to create the shaker front. Using 3mm foam adhesive strips, I built the shaker well and filled it with Aurora and Green Gleam chunky shreds flat confetti and a few star confetti pieces for extra sparkle. I sealed the shaker and adhered the panel slightly off center onto the rainbow background so more of the color could peek through on one side. For the sentiment, I stamped “Have an egg-cellent Easter” from the Egg-ceptional Sentiments stamp set using Nocturne Versafine Clair ink and cut them out with their coordinating dies. I adhered the sentiment to the shaker panel and then attached the entire piece to a mini slimline card base measuring 3 by 6 inches.

VIDEO TUTORIAL


PIN THIS
SUPPLY LIST

Read More

Hoppy Spring Bunny Card with Pretty Pink Posh

Tuesday, March 3, 2026

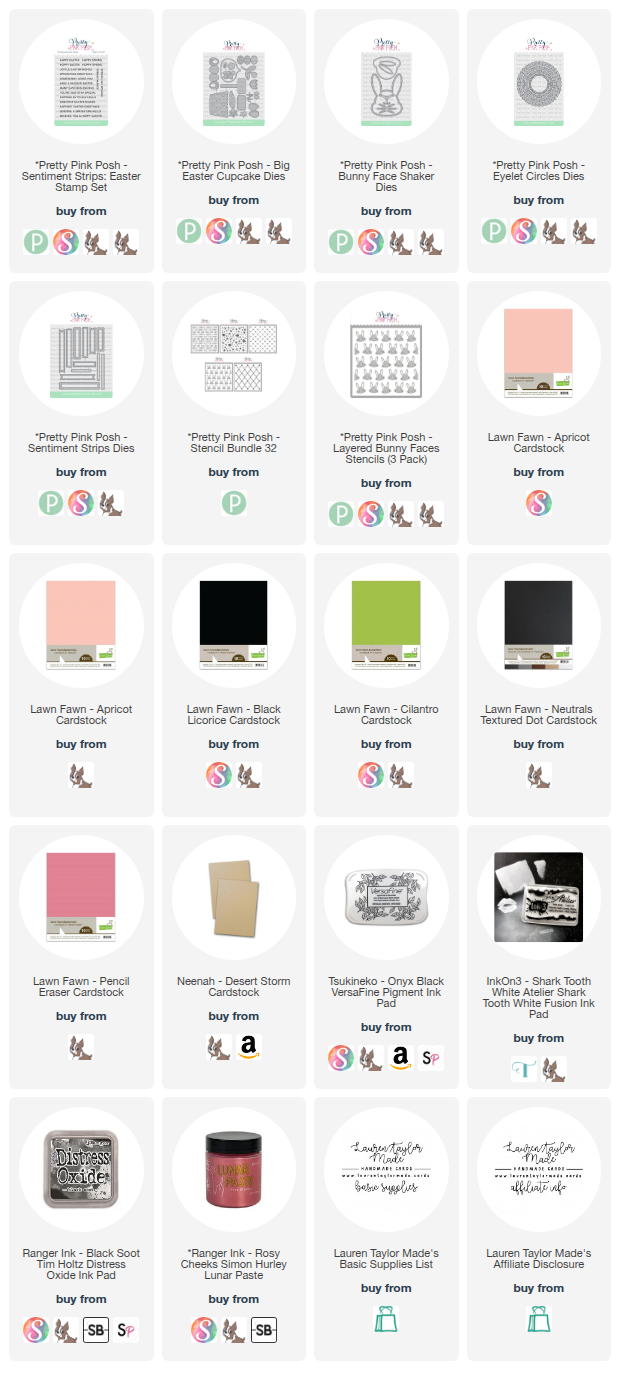
Today is another throwback card I made for Pretty Pink Posh using the Layered Bunny Faces with a white pigment ink for Stencil (A) with the bunny shapes, Black Soot Distress Oxide for Stencil (B) with the bunny face details, and Rosy Cheeks Lunar Paste for Stencil (C) with the bunny ears and nose! I used kraft cardstock as I thought it would be so fun to have the bunnies in white.

When the stenciled bunnies were dry, I trimmed the panel to 4-1/4x5-1/2” (A2 size). I cut Bunny Face Shaker dies from white, black and pink cardstock to create a matching bunny face to the stenciled panel. I also cut the second largest Eyelet Circle out of pink cardstock, the carrots from Big Easter Cupcake in green and orange cardstock, and finally my Sentiment Strips out of white cardstock. I used “Hoppy Spring” from the Sentiment Strips: Easter stamp set!

PIN THIS
SUPPLY LIST

Read More

To My Peeps Easter Card with Trinity Stamps

Thursday, February 19, 2026

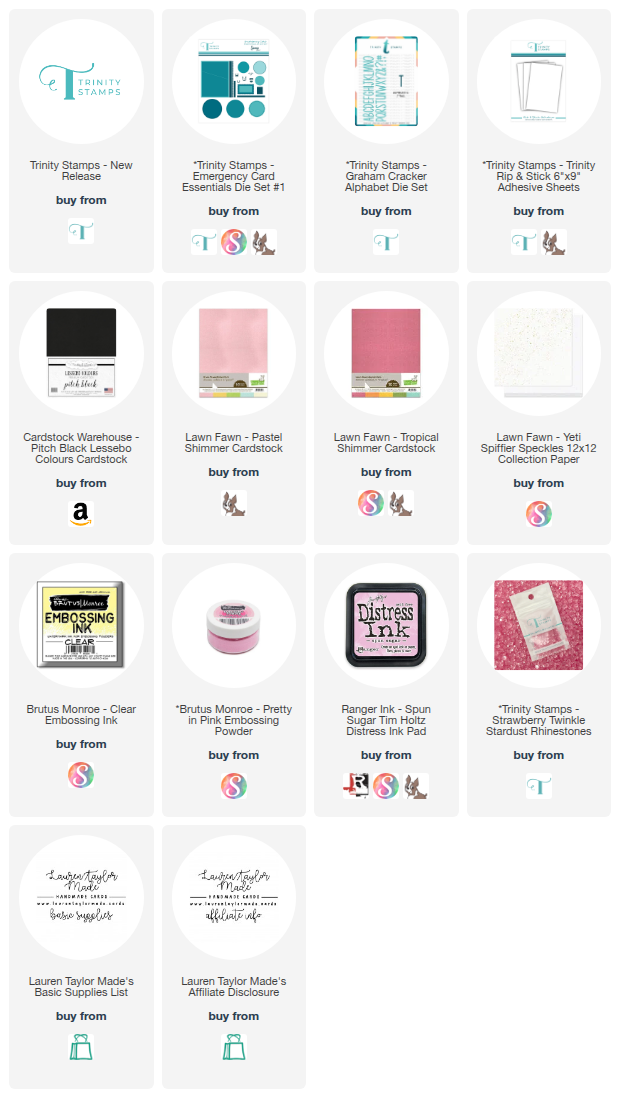
Today I am sharing a card for the Trinity Stamps design team YouTube Hop featuring the new release, and I had so much fun leaning into all the spring and Easter vibes. I used the new Peep Trio die set to cut three light pink peeps and layered them onto a darker pink trio base using thin foam adhesive. I added their little faces with black cardstock die cuts and my poke tool for placement. For the background, I used the diagonal die from Emergency Card Essentials Die Set #1 and ink blended Spun Sugar Distress Ink over a speckled white and gold pattern paper to create a soft pink trapezoid layer that peeks out behind the Peeps.

For the sentiment, I combined die cutting and stamping. I used the Graham Cracker Alphabet die set to spell out “my peeps” and turned the letters into stickers with adhesive sheets so I could easily line them up with my T square ruler. I felt like the card needed a little more balance, so I embossed a secondary sentiment from the Simply Sentimental Easter stamp set onto black cardstock using pink embossing powder. After trimming it with a rectangle die, I adhered it just above the die cut sentiment. I finished the card with Strawberry Twinkle Stardust rhinestones for extra sparkle and mounted everything onto a top folding white A2 card base. Be sure to watch the hop and check the description for details on the giveaway!

VIDEO TUTORIAL


PIN THIS
SUPPLY LIST

Read More

Easter Basket Spring Card with Pretty Pink Posh

Tuesday, April 22, 2025

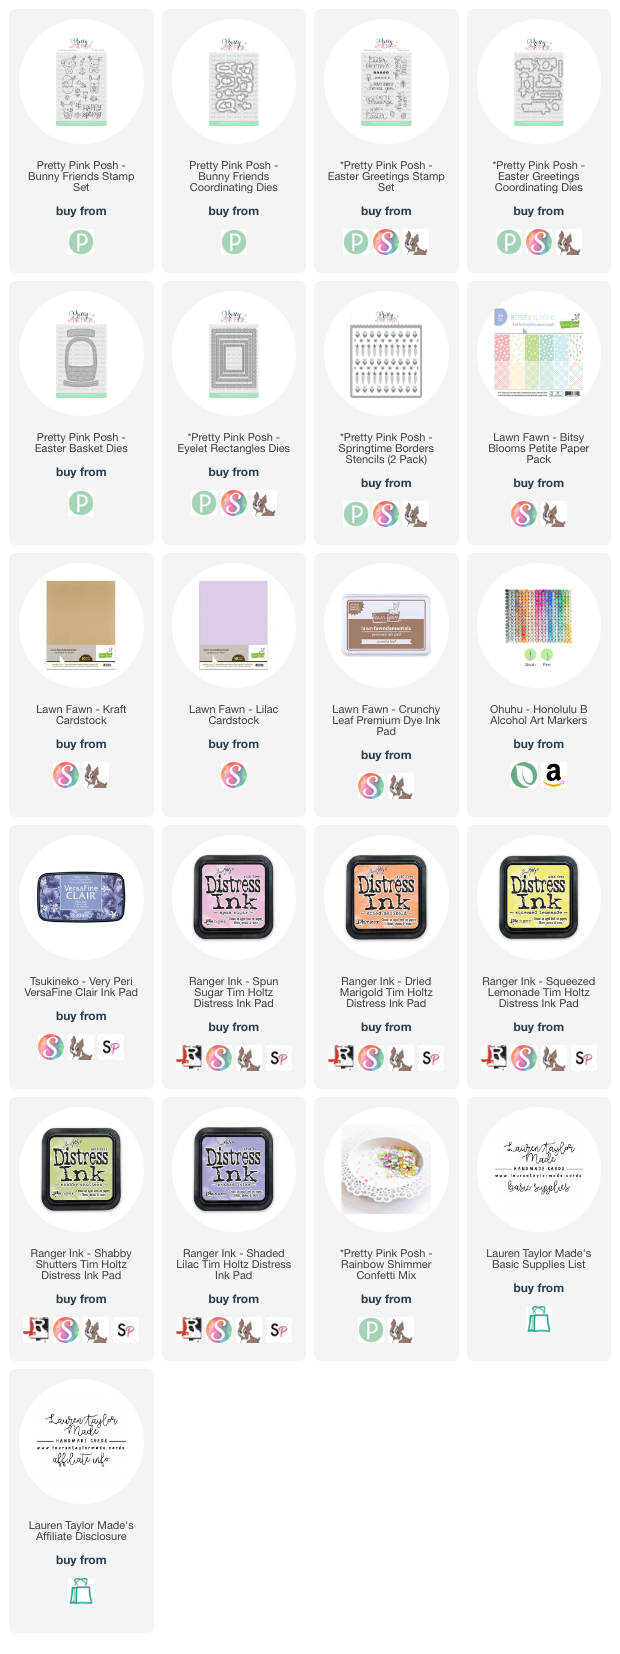
Today I'm sharing a cheerful Spring or Easter-themed card featuring a delightful mix of Pretty Pink Posh products. I used the new Easter Greetings Stamp Set and Coordinating Dies alongside the adorable Bunny Friends Stamp Set and Coordinating Dies, Easter Basket Dies, and Eyelet Rectangle Dies. To add a touch of spring floral details, I incorporated the Springtime Borders Stencils. I began by die-cutting my Easter basket and creating a pastel stenciled background using Distress Inks in soft, springy hues. The layering stencils were key to creating the charming floral and carrot border. I used Spun Sugar, Shaded Lilac, Dried Marigold, Squeezed Lemonade, and Shabby Shutters Distress Inks to bring the designs to life. 

I then assembled my Easter basket with patterned paper accents. The Bunny Friends were stamped, colored with alcohol markers, and paper-pieced with pastel patterned paper for their eggs, adding a fun touch to mix in coloring and patterned paper. After arranging the bunnies and basket, I stamped "Happy Spring" from the Easter Greetings set onto lilac cardstock. I then adhered all the elements to an A2 card base, using a mix of foam and liquid adhesive for dimension. To finish, I added Rainbow Shimmer Confetti sequins for a touch of sparkle. I'm absolutely delighted with how this card turned out and how well all the Pretty Pink Posh products work together! Be sure to watch the YouTube video below for a detailed step-by-step tutorial. Happy crafting!

VIDEO TUTORIAL


PIN THIS
SUPPLY LIST

Read More

Spring Raccoon Floral Card with Pretty Pink Posh

Tuesday, April 8, 2025

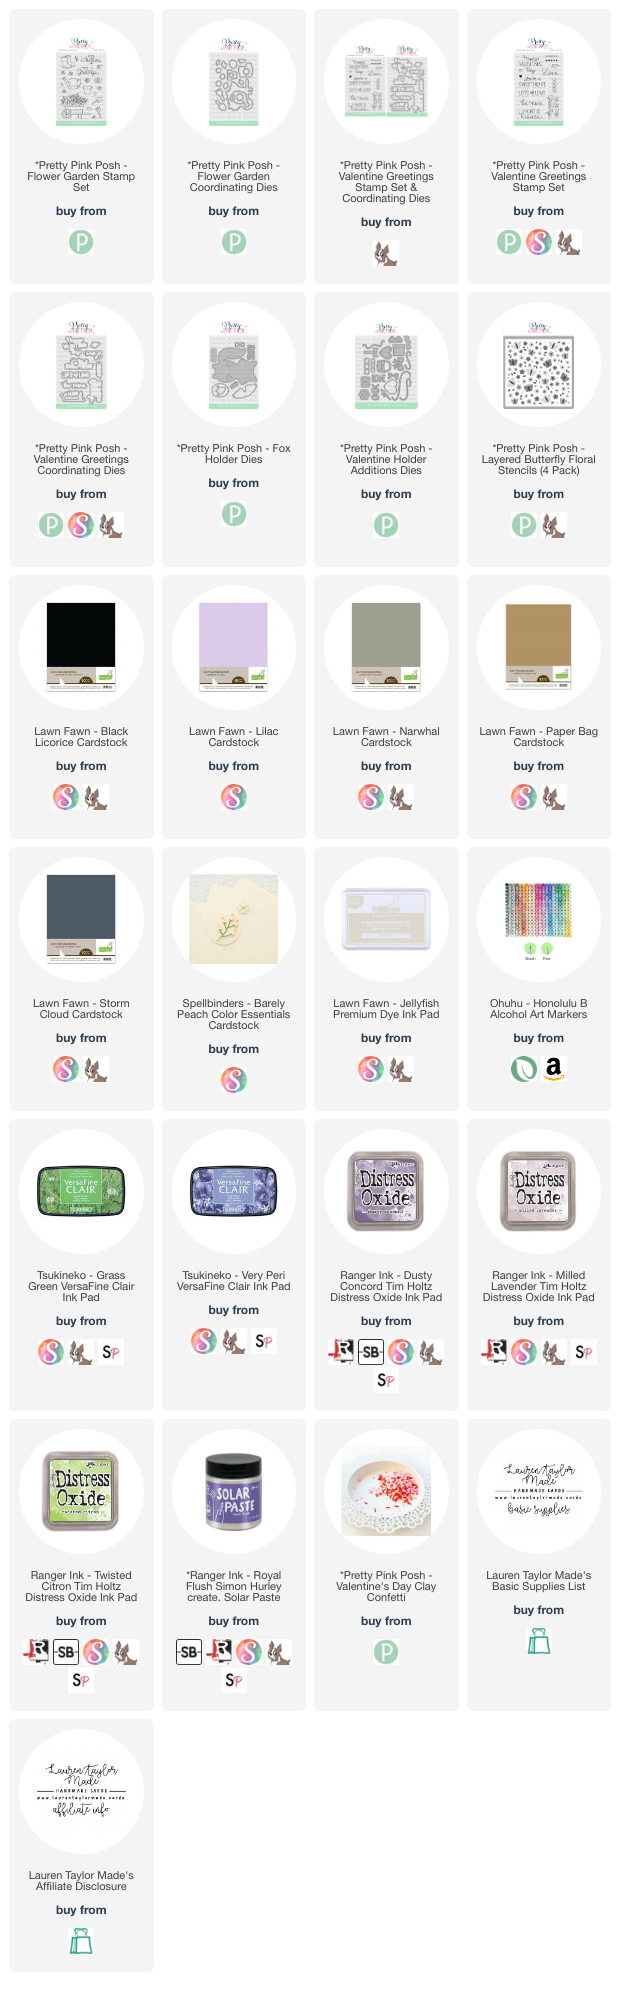
Spring is just around the corner, and I'm celebrating with the cutest raccoon card, all thanks to Pretty Pink Posh! I transformed the Fox Holder Die Set into an adorable raccoon, complete with a bandit mask and striped tail, using their high-quality cardstock. Then, I brought in the Flower Garden stamps and dies for vibrant florals, and added a dreamy background with the Layered Butterfly Floral Stencils. Pretty Pink Posh's products made every step a delight!

Want to see exactly how I crafted this charming card? Head over to the my YouTube channel for a full tutorial! You’ll see how I ink blended the background with Distress Oxide Inks and added a pearlescent shimmer with Lunar Paste. Plus, I'll show you how to assemble the raccoon and floral basket for a dimensional design. Don’t forget to use Pretty Pink Posh's Valentine Greetings stamps and dies for the sentiment, and finish it off with some sparkly heart embellishments from their clay confetti. You won’t want to miss it!.

VIDEO TUTORIAL


PIN THIS
SUPPLY LIST

Read More

Hello Peep Spring/Easter Card with Scrapbook.com

Thursday, February 20, 2025

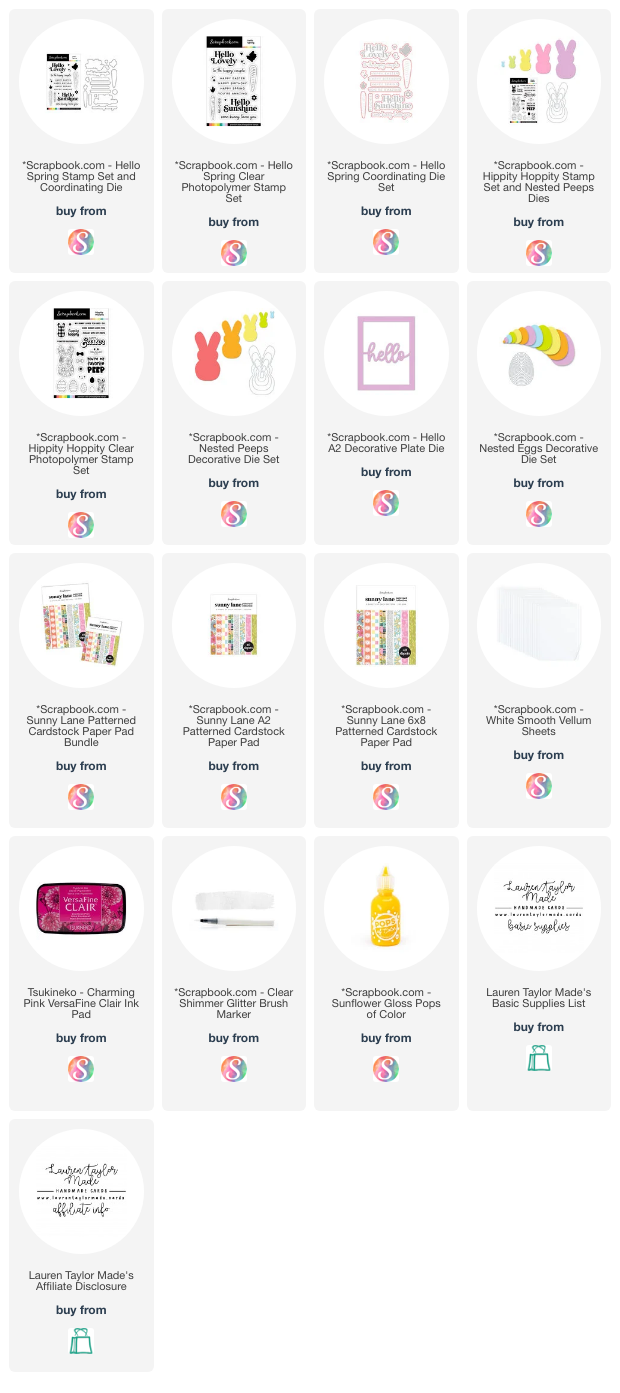
Hi friends! I'm excited to share a fun and festive Easter-inspired card I created as part of this month's Oh So Inspired Collaboration Hop. This month, we're featuring Karen from Karen’s Crafting Company, whose beautiful butterfly and spring-themed cards caught my eye. I decided to take inspiration from her work but with a little Easter twist using the Sunny Lane paper pad from Scrapbook.com. I started by die-cutting a floral pink hall frame and layering it over a colorful floral background. To break up the busy patterns, I added a vellum egg, which softens the design while keeping the background visible. My focal point is a cute little peep bunny from the Nested Peeps die set, cut from a yellow sunburst design paper. I also layered my sentiment by die-cutting the word "hello" twice—once from patterned paper and once from white cardstock—to create a subtle drop shadow effect.

To complete the design, I stamped a coordinating and adorable "Some Bunny Loves You" sentiment onto my die-cut element. Since vellum can show glue marks, I strategically adhered it where my die cuts would cover the adhesive. Instead of foam tape, I opted for a flat design but added shimmer splatter using a clear glitter brush for extra sparkle. Finally, I embellished the card with Sunflower Gloss Pops of Color, tapping the back to shape them into enamel-dot-like accents. I love how this card turned out, and I hope Karen enjoys seeing how her creativity inspired me! Be sure to check out the full video hop for more incredible projects from my fellow crafters. Let me know in the comments what you think about this Easter-inspired take on Karen’s original design!

VIDEO TUTORIAL


PIN THIS
SUPPLY LIST

Read More

Spellbinders February 2025 Clubs - 3 Card Ideas

Wednesday, February 19, 2025

Hi friends! Welcome back to my craft room. Today, I’m diving into the February Spellbinders Club kits, and I have to say, this month’s collection has truly surprised me in the best way. While I usually lean toward cartoonish designs, I experimented with a few different styles this time and had so much fun! I created three distinct cards using the kits: a nostalgic Wizard of Oz-inspired design, a soft and elegant purple floral card, and a cheerful springtime chick card. Each one showcases the versatility of these kits, and I can’t wait to share them with you!

For my first card, I was inspired by the classic Wizard of Oz. Instead of the iconic ruby red slippers, I took inspiration from the original book and crafted shimmering silver shoes, setting them against a vibrant poppy field. To bring this scene to life, I die cut my flowers from redish-pink cardstock with dark centers for a realistic touch. I love how these little details bring so much charm to the finished card! The gingham background ties everything together, reminiscent of Dorothy’s dress, making this a whimsical and nostalgic piece.

The second card features the Glimmer Hot Foil Plate with gorgeous purple hues, giving it a delicate springtime feel. To enhance the elegance, I layered the beautiful die-cut floral panel over an embossed white background. The result is a stunning, sophisticated card that’s perfect for Easter or any spring occasion. I love how the foiling adds just the right touch of shine, making the leafy elements pop. I added the foiled sentiment and adorable chick die cut to make it elegant with a pop of fun!

I also created a charming card using the clear stamp set, a foiled plate, and an embossed panel. The stamped images, featuring a sweet bunny and chick, were colored with alcohol markers and nestled within a die-cut oval frame for a delicate focal point. I added a foiled sentiment for a touch of elegance and layered the entire design onto an embossed background, which added subtle texture without overpowering the scene. This card has a soft, storybook-like feel, making it perfect for spring celebrations. I love how the oval shape brings a unique dimension to the design, and the combination of embossing and foiling adds just the right amount of sophistication.

I love how each of these cards turned out, and I’d love to hear which one is your favorite! Let me know in the comments, and don’t forget to check out my video for all the step-by-step details. Happy crafting!

VIDEO TUTORIAL


PIN THIS
SUPPLY LIST

Read More

Springtime Hello Card with Pretty Pink Posh

Monday, April 15, 2024

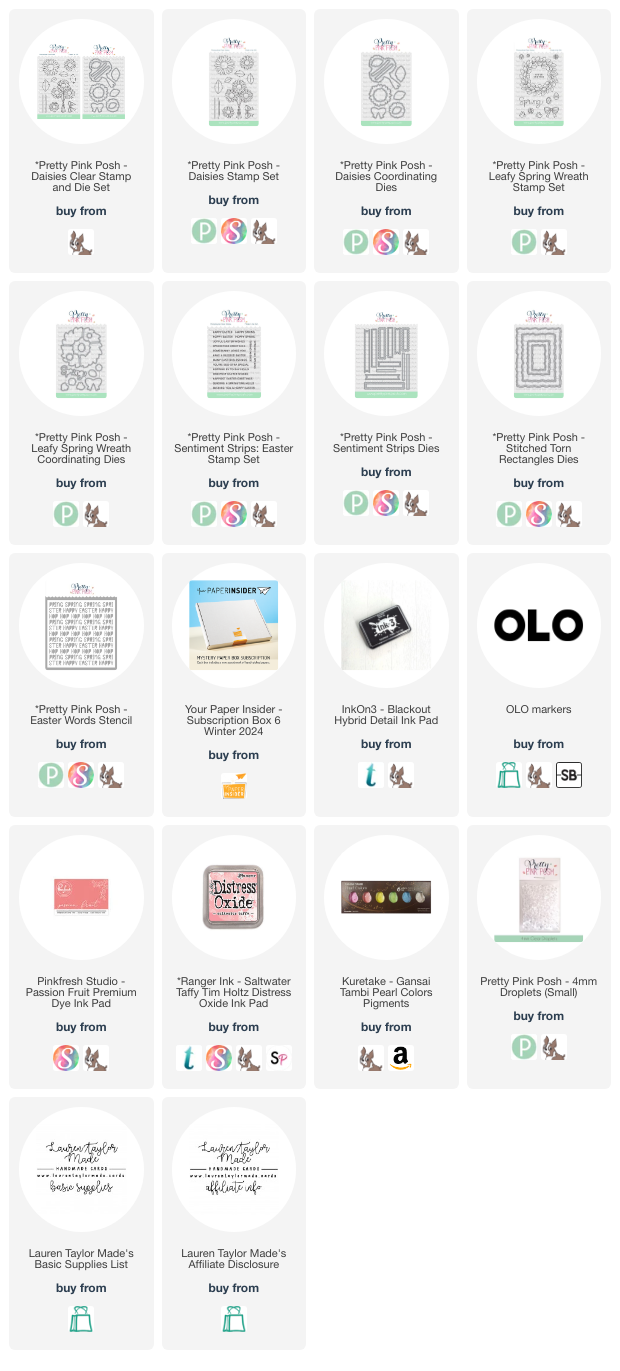
Hi, friends! I felt inspired to combine flowers for a Spring wreath from this year and last year’s Spring releases! I started with my background and I had a natural, apricot cardstock in my stash and I did a tone on tone look by blending Saltwater Taffy Distress Oxide with the Easter Words Stencil. After splattering a green, metallic watercolor, I used the largest Stitched Torn Rectangle Die when it was dry.

Next I stamped my images with an alcohol marker friendly black ink - I stamped the wreath and small flowers from the Leafy Spring Wreath Stamp Set along with the daisies and bow from the Daisies Stamp Set. I used my OLO markers to color them in and you can see the colors in my video today.

When I was done coloring, I used the Daisies Coordinating Dies and Leafy Spring Wreath Coordinating Dies to cut all of the images out. I planned out my wreath and adhered the flower and bow to the wreath with liquid adhesive. I used foam adhesive to attach my wreath to the stenciled panel. I had a yellow, scalloped Sentiment Strip Die cut from another project and was happy it matched the yellow of my flowers!

I cut another strip from white cardstock and stamped my sentiment from the Sentiment Strips: Easter Stamp Set with pink ink. I layered the die cuts together and popped it up on my panel with foam adhesive as well. The panel was attached to my card base and I added a few 4mm Clear Droplets on the wreath to give it some subtle shine and a dewy look! I hope you enjoyed today’s card - I’m so inspired by the apricot, pink, green and yellows… Beautiful colors for Spring!

VIDEO TUTORIAL


PIN THIS
SUPPLY LIST

Read More

Spring Box Card with Pretty Pink Posh

Wednesday, March 27, 2024

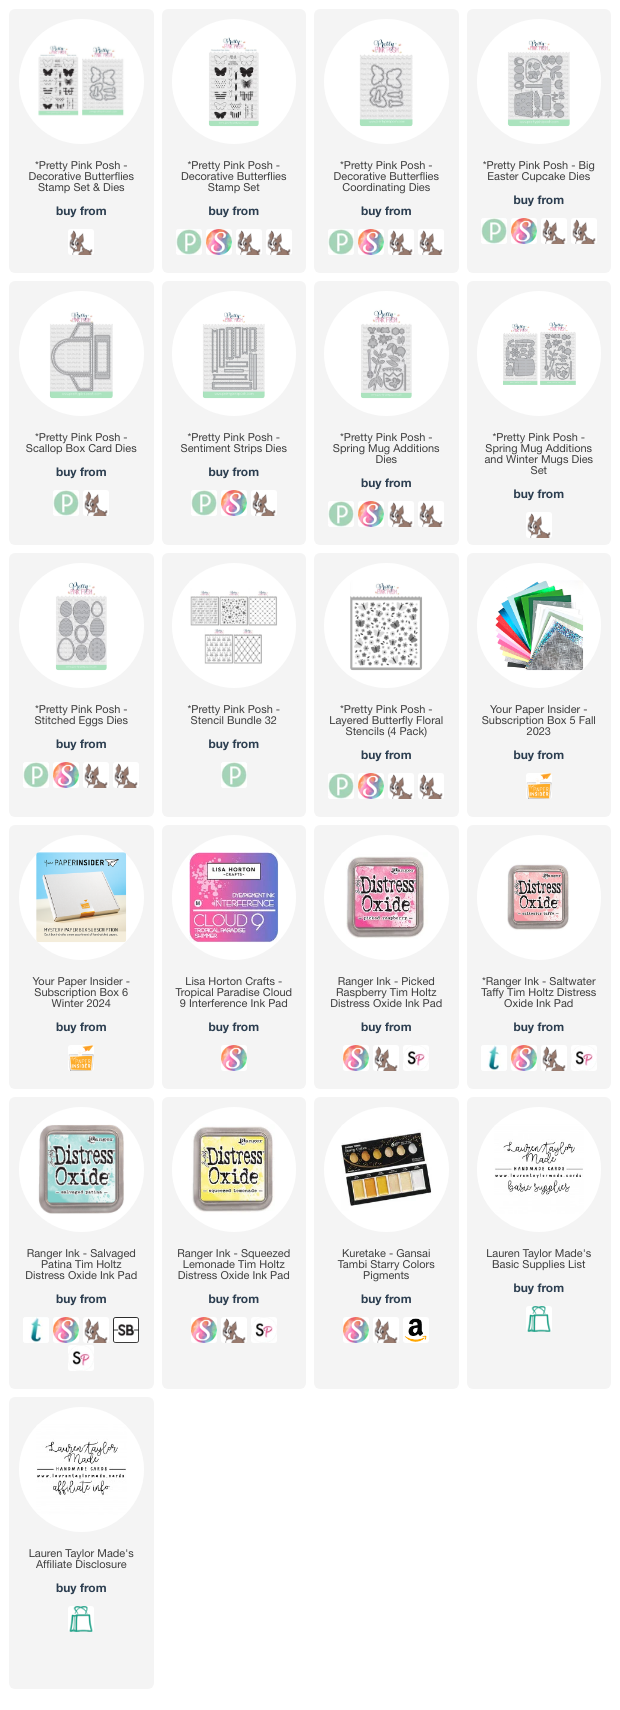
Hi, friends! I’m continuing my collection of making holiday themed box cards with Spring and Easter! I started with die cutting the Scallop Box Card Dies out of yellow cardstock for the base pieces and smooth, white cardstock for the scalloped pieces to do some ink blending. I used the new Layered Butterfly Floral Stencils with Distress Oxides in Picked Raspberry, Saltwater Taffy, Salvaged Patina, and Squeezed Lemonade to create the design on the scalloped die cuts.

I assembled the Scallop Box Card base together and added the stenciled scalloped pieces to the panels. Using a large piece of watercolor cardstock, I used the same Distress Oxides to ink squish and blend all the colors to give a watercolor look. I also splattered on gold watercolor for some sparkle! When it was dry, I used the Stitched Eggs Dies and Decorative Butterflies Coordinating Dies to cut out eggs and butterflies. I die cut as much as I could out of the panel, but only a used a few for today and I’ll save the rest for a future project.

For the butterflies, I also stamped the bodies from the Decorative Butterflies Stamp Set with a pink ink and used the Coordinating Dies to cut them out. I glued them to the center of the butterfly die cuts from the watercolor cardstock. I also cut the bunny feet and flower stem from the Big Easter Cupcake Dies, strips from the Sentiment Strips Dies, and flowers and leaves from the Spring Mug Additions Dies. I glued all of the layering dies together and created a scene on the shelf piece of my box card with the eggs, butterflies and flowers. I love the softness of the eggs and bright pink of the flowers!

I stamped my sentiment from the Decorative Butterflies Stamp Set onto my die cuts and added the sentiment to the front of the box card. My little bunny feet are sticking up above the sentiment and they’re my favorite part of the box card! Box cards have been so fun to make and I love having my Valentine, St. Patrick’s Day and now Easter box cards on my desk! I’d love to know what I should make for May - probably something for Mother’s Day? What would you like to see?!
VIDEO TUTORIAL


PIN THIS
SUPPLY LIST

Read More