Showing posts with label spellbinders. Show all posts

Flying By to Say Hi Kits with Cardstock Warehouse

Tuesday, May 27, 2025

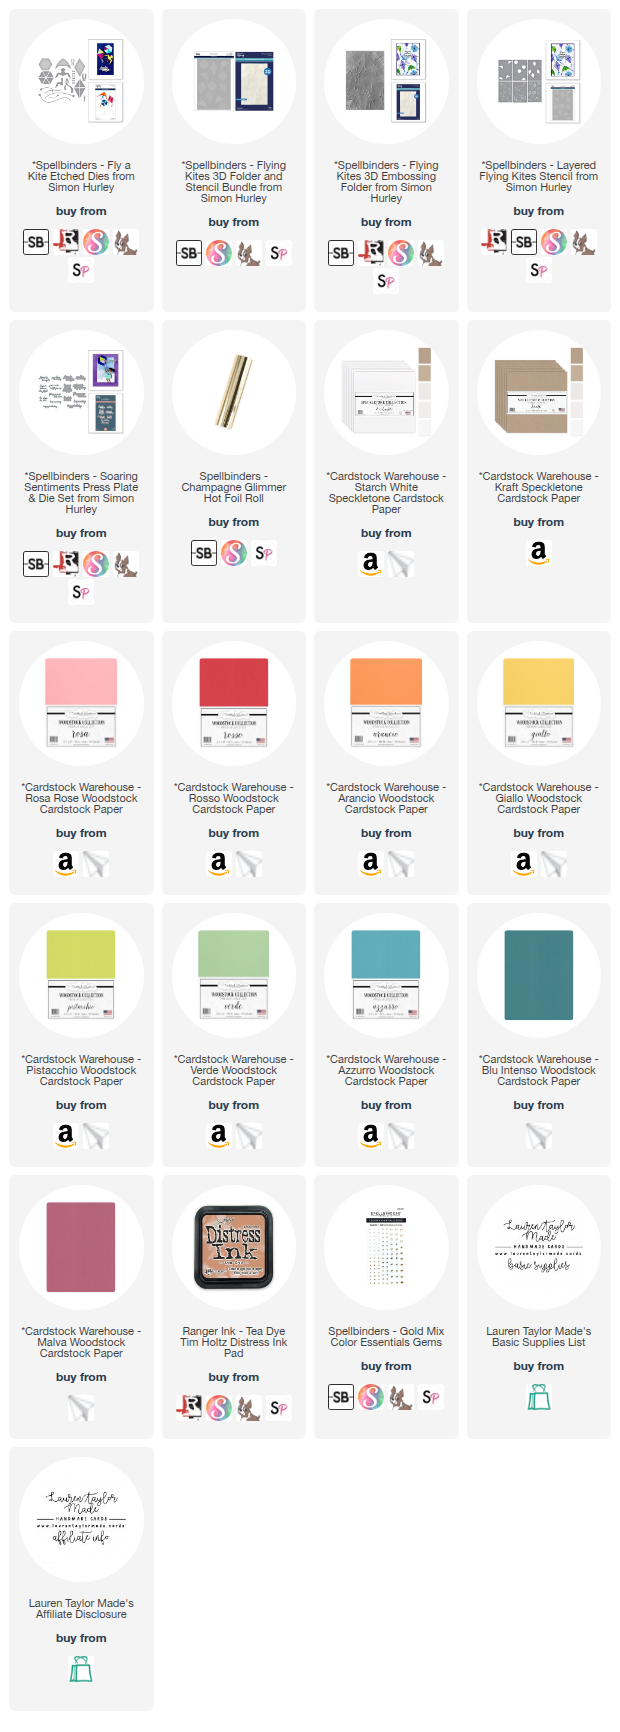
Get ready to take your card making to new heights with this vibrant and cheerful creation! I recently had the pleasure of crafting a card that all started with the incredible selection of cardstock from Cardstock Warehouse. For this project, I reached for the rainbow in their Woodstock Cardstock line, die-cutting the adorable kites from the Fly a Kite Etched Dies in a spectrum of red, orange, yellow, teal, green, blue, purple, and pink. The smooth texture and rich color saturation of this paper made each kite pop with its own unique personality. Even the kite strings, cut from Speckletone in Kraft, added a lovely contrast. Trust me, the quality of Cardstock Warehouse paper truly elevates your die-cutting projects!

To add a heartfelt message to my whimsical scene, I reached for the Soaring Sentiments Press Plate from Simon Hurley. The crisp impression I achieved on Kraft cardstock using champagne foil was simply stunning, and the coordinating die made cutting it out a breeze. For the background, I wanted to create some subtle texture and visual interest. I embossed a panel of Starch White Speckletone with the delightful Flying Kites 3D Embossing Folder. Then, using just one layer of the Layered Flying Kites Stencils and some Tea Dye Tim Holtz Distress Ink, I gently added a touch of color and definition to the embossed kites. This subtle stenciling really brought the background to life!

Putting it all together was such a joy! I trimmed my embossed panel to 4-1/8 x 5-3/8 inches and adhered it to a standard A2 card base. To give the kites and the "flying by to say hi" sentiment some dimension, I popped them up with foam adhesive – it really makes them feel like they're soaring off the card! A few strategically placed Gold Mix Color Essentials Gems added the perfect touch of sparkle and shine to finish it off. If you're looking for cardstock that cuts beautifully, comes in a fantastic array of colors and textures, and truly makes your handmade cards shine, look no further than the Woodstock Collection. You won't be disappointed!

PIN THIS
SUPPLY LIST

Read More

You Grow Girl Propagated Plants Card with Spellbinders

Monday, May 5, 2025

Hello fellow paper crafters! Today's card is inspired by Craft Roulette Episode #265's parameters. I used a mix of Spellbinders dies and some basic dies from my stash to bring this vision to life. The result? A botanical-themed card with a touch of shine, perfect for encouraging a friend or celebrating an achievement. To create this card, I started by die-cutting a variety of plant images using Spellbinders Laboratory Glass, Propagated Plants, Propagation Garden Frames, Sealed Flowers, and leaves from Sentimental Ampersand from various colored cardstock. For a fun twist, I cut test tubes from blue pearlescent vellum to mimic water and assembled the plant pieces, adding Shabby Shutters and Mowed Lawn Distress Inks to some of the lighter green die cuts for added dimension. I also assembled the test tubes, adding white measurement die cuts for detail, and distressed the Propagation Garden Frame with Vintage Photo Distress Ink. 

For the card base, I used Charming Patterned Paper from Scrapbook.com, die-cutting it with the Admit One A7 die, and cut another pattern using the Large Stitched Rectangle Stackable, adding some splatters of Frosty Blue glitter. I adhered the larger panel to an A7 card base and then glued the smaller, glittered panel to the center before arranging and adhering all the die-cut elements – plants, test tubes, and frame – onto the card, using foam adhesive behind some of the flowers. The "You Grow Girl" sentiment, stamped with Mowed Lawn Distress Ink and die-cut with its coordinating die from Propagation Garden Sentiments, was the perfect finishing touch, popped up with foam adhesive for emphasis. I hope this inspires you to get creative with your dies and create something amazing! 

PIN THIS
SUPPLY LIST

Read More

Mother's Day & Father's Day Cards with Spellbinders March 2025 Clubs

Wednesday, March 19, 2025

Hello, fellow paper crafters! Get ready to dive into the world of Spellbinders' March Clubs, because we're crafting up some seriously swoon-worthy cards for Mother's Day and Father's Day! First up, let's bloom into Mother's Day with a stunning floral card. I started by adhering a vibrant purple A2 cardstock panel to my base. Then, I took my Embossing Folder of the Month and embossed an eggshell panel, giving it gorgeous texture. Using the coordinating Stencil of the Month, I blended lush greens and purples to create a dreamy floral background. After adhering this to the card, I die-cut a cluster of flowers, leaves, and a butterfly from various Spellbinders dies, adding dimension with foam tape. The Glimmer Hot Foil Plates of the Month were perfect for foiling "Mom" and "forever my role model" in purple. A sprinkle of white watercolor splatter and some sparkly gems finished this masterpiece! It's a card that truly celebrates the queen of our hearts!

Now, let's switch gears and tee up for Father's Day with a golf-themed card that's a hole-in-one! I began with a patterned paper A2 panel on my card base. Then, using rectangle dies, I created a kraft cardstock frame. Inside the frame, I layered blue and green cardstock, using the Small Die of the Month to craft a charming grassy area. I die-cut and assembled a golf club, ball, and tee from various cardstocks, adding dimension with foam adhesive. For the sentiments, I stamped "Dad" and "celebrate big today" in crisp black ink on white cardstock and die-cut them. A mix of foam and liquid adhesive ensured everything popped perfectly. This card is sure to score big with Dad!

These March Clubs from Spellbinders made creating these holiday cards so effortless and fun. The coordinating elements, from the embossing folder and stencils to the glimmer plates and dies, work together seamlessly, allowing you to create cards with ease. Whether you're crafting for Mother's Day or Father's Day, these clubs offer endless possibilities for personalization and creativity. Don't miss out on the chance to elevate your card-making game and create truly memorable cards for the special people in your life! Happy crafting!

PIN THIS
SUPPLY LIST

Read More

Spellbinders February 2025 Clubs - 3 Card Ideas

Wednesday, February 19, 2025

Hi friends! Welcome back to my craft room. Today, I’m diving into the February Spellbinders Club kits, and I have to say, this month’s collection has truly surprised me in the best way. While I usually lean toward cartoonish designs, I experimented with a few different styles this time and had so much fun! I created three distinct cards using the kits: a nostalgic Wizard of Oz-inspired design, a soft and elegant purple floral card, and a cheerful springtime chick card. Each one showcases the versatility of these kits, and I can’t wait to share them with you!

For my first card, I was inspired by the classic Wizard of Oz. Instead of the iconic ruby red slippers, I took inspiration from the original book and crafted shimmering silver shoes, setting them against a vibrant poppy field. To bring this scene to life, I die cut my flowers from redish-pink cardstock with dark centers for a realistic touch. I love how these little details bring so much charm to the finished card! The gingham background ties everything together, reminiscent of Dorothy’s dress, making this a whimsical and nostalgic piece.

The second card features the Glimmer Hot Foil Plate with gorgeous purple hues, giving it a delicate springtime feel. To enhance the elegance, I layered the beautiful die-cut floral panel over an embossed white background. The result is a stunning, sophisticated card that’s perfect for Easter or any spring occasion. I love how the foiling adds just the right touch of shine, making the leafy elements pop. I added the foiled sentiment and adorable chick die cut to make it elegant with a pop of fun!

I also created a charming card using the clear stamp set, a foiled plate, and an embossed panel. The stamped images, featuring a sweet bunny and chick, were colored with alcohol markers and nestled within a die-cut oval frame for a delicate focal point. I added a foiled sentiment for a touch of elegance and layered the entire design onto an embossed background, which added subtle texture without overpowering the scene. This card has a soft, storybook-like feel, making it perfect for spring celebrations. I love how the oval shape brings a unique dimension to the design, and the combination of embossing and foiling adds just the right amount of sophistication.

I love how each of these cards turned out, and I’d love to hear which one is your favorite! Let me know in the comments, and don’t forget to check out my video for all the step-by-step details. Happy crafting!

VIDEO TUTORIAL


PIN THIS
SUPPLY LIST

Read More

No Place Like Home BetterPress Card with Spellbinders

Thursday, February 13, 2025

Hi friends! I'm so excited to share a fun and creative project with you today as we hop along with my fellow crafters in the Creator Collective. We're celebrating the launch of Justine's Farm Collection from Spellbinders, a beautifully whimsical farm-inspired set designed by our own talented creator, Stationary by Justine.

This collection brings adorable farm scenes to life, and I had the pleasure of using the Farm Sweet Farm BetterPress set to create a charming letterpress card. With the help of a registration template, I carefully arranged my plates, selected a beautiful palette of BetterPress ink colors, and built a layered farm scene featuring a vibrant sky, a classic red barn, and lush green fields. The detailed images and coordinating sentiments made the process so much fun, and I love how the finished piece came together!

If you’re inspired by this collection, I invite you to hop along with us over on YouTube! Each creator in our collective has put their unique spin on these delightful farm-themed designs, and there’s so much inspiration to discover. Plus, there’s a giveaway—Justine is offering a $25 Spellbinders store credit to one lucky winner! To enter, simply comment on each of our videos in the hop. Be sure to check out the video description for all the links, and I can't wait to see what you think of my card and what the rest of the collective has created. Happy crafting!

VIDEO TUTORIAL


PIN THIS
SUPPLY LIST

Read More

Forever Yours Valentine Cocktail Card with Cardstock Warehouse

Thursday, January 30, 2025

Creating a cocktail-themed card was such a fun and creative process, and I’m excited to share it with you today! The supplies I used really brought this design to life, including the Forever Yours stamps and dies, Love on the Rocks etched dies, and the Columns embossing folder, all from Spellbinders. Pairing these with a gorgeous selection of cardstock from Cardstock Warehouse made it easy to create a cohesive and eye-catching design.

To start, I cut a piece of light pink cardstock from the Sweetheart Shades collection to 3-3/4” x 5” and ran it through my machine with the Columns embossing folder. This added such a lovely texture and set the stage for the rest of the card. Next, I stamped the Forever Yours sentiment on the Onyx Black Stardream cardstock using clear embossing ink from Brutus Monroe and Arctic White embossing powder from Inkon3. The crisp contrast of the white sentiment on the black cardstock really made it pop.

The highlight of the card was the cocktail glass from the Love on the Rocks etched dies. I die-cut all the elements – the glass, liquid sections, ice, strawberries, and pick – using a mix of Sweetheart Shades, Onyx, Pistachio, Stone, Nubuck, and Gesso White cardstock. Assembling the cocktail was so satisfying, and it turned out beautifully! For some added interest, I splattered black paint over the embossed pink background and adhered it to an A2 card base.

The cocktail and sentiment were popped up with foam adhesive for dimension, and I finished the design with a few Graphite Gems for a touch of sparkle. This card was a delight to create, and it’s perfect for celebrating a special occasion or the perfect Valentine. I hope this inspires you to experiment with layering textures, colors, and die-cut elements in your own card-making projects. Cheers to creativity!

PIN THIS
SUPPLY LIST

Read More

Pretty Insects Birthday Cards with Spellbinders January 2025 Clubs

Monday, January 13, 2025

Hi friends! I’m so excited to share a couple of card ideas using the January 2025 club kits from Spellbinders. This month’s kits are packed with beautiful products and designs that will inspire your creativity. From the intricate Glimmer Hot Foil Plate of the Month to the Clear Stamp and Die Set, there’s something for every card maker to enjoy. For my first card, I combined elements like the BetterPress, Glimmer Hot Foil, Aura Glimmer Foil, and the Clear Stamp Set to create a unique "ZoyFold" card. This design blends a Z-fold with a joyfold, offering a creative twist for a fun and interactive card structure.

To match the Craft Roulette challenge theme of elegance, I chose a soft color palette featuring blues, oranges, and florals. I used a charming patterned paper pad and enhanced the design with hot foiling for the "front door" of my ZoyFold card. Tiny magnets help keep the card securely closed, adding both functionality and a bit of hidden charm. I incorporated additional details like the BetterPress butterfly, which I watercolored in coordinating hues, and layered the die cut sentiment to give the card extra dimension. I love how the combination of elegant blues and warm orange accents turned out—it’s a perfect balance of subtle and striking!

For my second card, I highlighted the Small Die and Stencil of the Month kits. Using a blend of Pinkfresh Studio inks and Simon Hurley Astro Paste, I created a vibrant floral background with layered stencils. The centerpiece of the card is a delicate dragonfly with pearlescent vellum wings and metallic gold accents, paired with a bold "Hello" sentiment. This card captures a different kind of elegance, with rich purples and golds complementing the intricate floral details. I hope you’re as inspired by these designs as I was creating them! Let me know in the comments if you’d like a closer look at using magnets in your cards, and don’t forget to check out my live video for even more ideas. Happy crafting, friends!

VIDEO TUTORIAL


PIN THIS
SUPPLY LIST

Read More

Day Takes Flight BetterPress Butterflies with Spellbinders

Thursday, January 2, 2025

Happy New Year, crafty friends! Today, I’m thrilled to share a card I made using the fabulous Spellbinders January 2025 Clubs. These kits are packed with creative possibilities, and I had so much fun experimenting with the BetterPress, Embossing Folder, and Clear Stamp Set. Let me walk you through the steps for this vibrant butterfly-themed card.

I started by stamping the butterfly BetterPress plates onto porcelain cotton cardstock using Monarch Versafine Clair ink. The crisp details were stunning! To add pops of color, I used the Caboodle bonus item to stencil the butterflies with Simon Hurley create. inks in Guppy, Love Struck, Game Over, and Crown Me. Next, I foiled the sentiment in matte gold onto Sugarplum cardstock—this shimmer against the purple is chef’s kiss! I cut out the butterflies and sentiment with the coordinating dies to keep everything neat and polished.

For the background, I embossed a 4" x 5 ¼" piece of white cardstock using the embossing folder, then added splatters of Wilted Violet Distress Spritz for extra texture. After gluing the background to an A2 card base, I adhered the smaller butterfly directly to the card and used foam adhesive for the large butterfly and sentiment to give the design some dimension. A sprinkling of gold gems completed the card with a touch of sparkle.

If you’d like to see these supplies in action and get more inspiration, check out the replay of my livestream! I crafted alongside other amazing Spellbinders influencers, who showcased the Small Die of the Month and a few other club kits. Trust me, you don’t want to miss it—it’s packed with ideas to jumpstart your January crafting. Happy creating!

VIDEO TUTORIAL


PIN THIS
SUPPLY LIST

Read More

December 2024 Clubs From Spellbinders - 3 Card Ideas!

Tuesday, December 10, 2024

I’m excited to share how I created three unique cards using the December Spellbinders Club Kits. Each card showcases different techniques and products from the kits, and in my video today, I walk you through my process step by step. Here’s a breakdown of how each card came together.

For the first card, I started with the BetterPress Plate of the Month, which has this beautiful paisley design that I thought would be perfect for a Valentine's Day or gratitude card. I applied two ink colors—garnet and mulberry—onto the plate, making sure to blend them well for a smooth transition. After pressing the inked plate onto my cotton cardstock, I added a bit of Distress Ink in Seedless Preserves around the edges to create a vignette effect. For the sentiment, I used the "You are my heart's delight" stamp from the Clear Stamp Set, and I applied an emboss-resist technique to make the white embossed sentiment pop against the inked background. To finish the card, I added foam adhesive behind the sentiment for some dimension and sprinkled Lavender Luster Glitter Pops of Color in the open areas to give the design a little extra sparkle.

The second card focuses on the layering Stencils Club, which I had so much fun with! There are five stencils in total, but I chose to use the four layering stencils to create a soft, pastel argyle pattern with Spun Sugar Distress Oxide Ink. I also added the dashed lines in Vintage Photo for a bit more texture. I love how versatile these stencils are—you can mix and match them to create different looks. For the sentiment, I used the Clear Stamp Set again. To keep the card simple and let the background shine, I didn’t add any embellishments, but I did use the 3D embossing folder for some subtle heart details to add even more depth and texture.

For the third card, I decided to make a shaker card, which is always a fun technique. I started by stenciling hearts using worn lipstick distress ink, creating an ombre effect that fades out at the bottom. Once my background was done, I die-cut a window with the "H" die and filled it with sequins and shaker bits for some movement. The die-cut flowers and leaves were layered together to add dimension around the "H," and I love how the colors came together. While I wasn’t thrilled with the placement of the "E-L-L-O" sentiment at first, I ended up liking the way it turned out, especially after I added the sequins to the flowers for some extra shine. The shaker element really makes this card stand out, but I think the second card is my favorite from the bunch.

Throughout these projects, I had a blast experimenting with the different Spellbinders Club Kits, from stenciling and die-cutting to embossing and ink blending. Whether you prefer flat, layered designs or interactive shaker cards, these kits have so much to offer. I hope you enjoy watching me make these cards and maybe even got some inspiration for your own projects. Let me know which card was your favorite!

VIDEO TUTORIAL


PIN THIS
SUPPLY LIST

Read More