Today I am participating in a Parade in the Scrapbook.com Project Gallery! For this parade, creators are making projects with WOW! Embossing Powder and I'm excited to share with you what I made. I was gifted the Twinkly Fizz Trio collection, Cotton Candy Glitter, Mixed Media Embossing Brush and the Polished Silver Super Fine that I used on my card today.
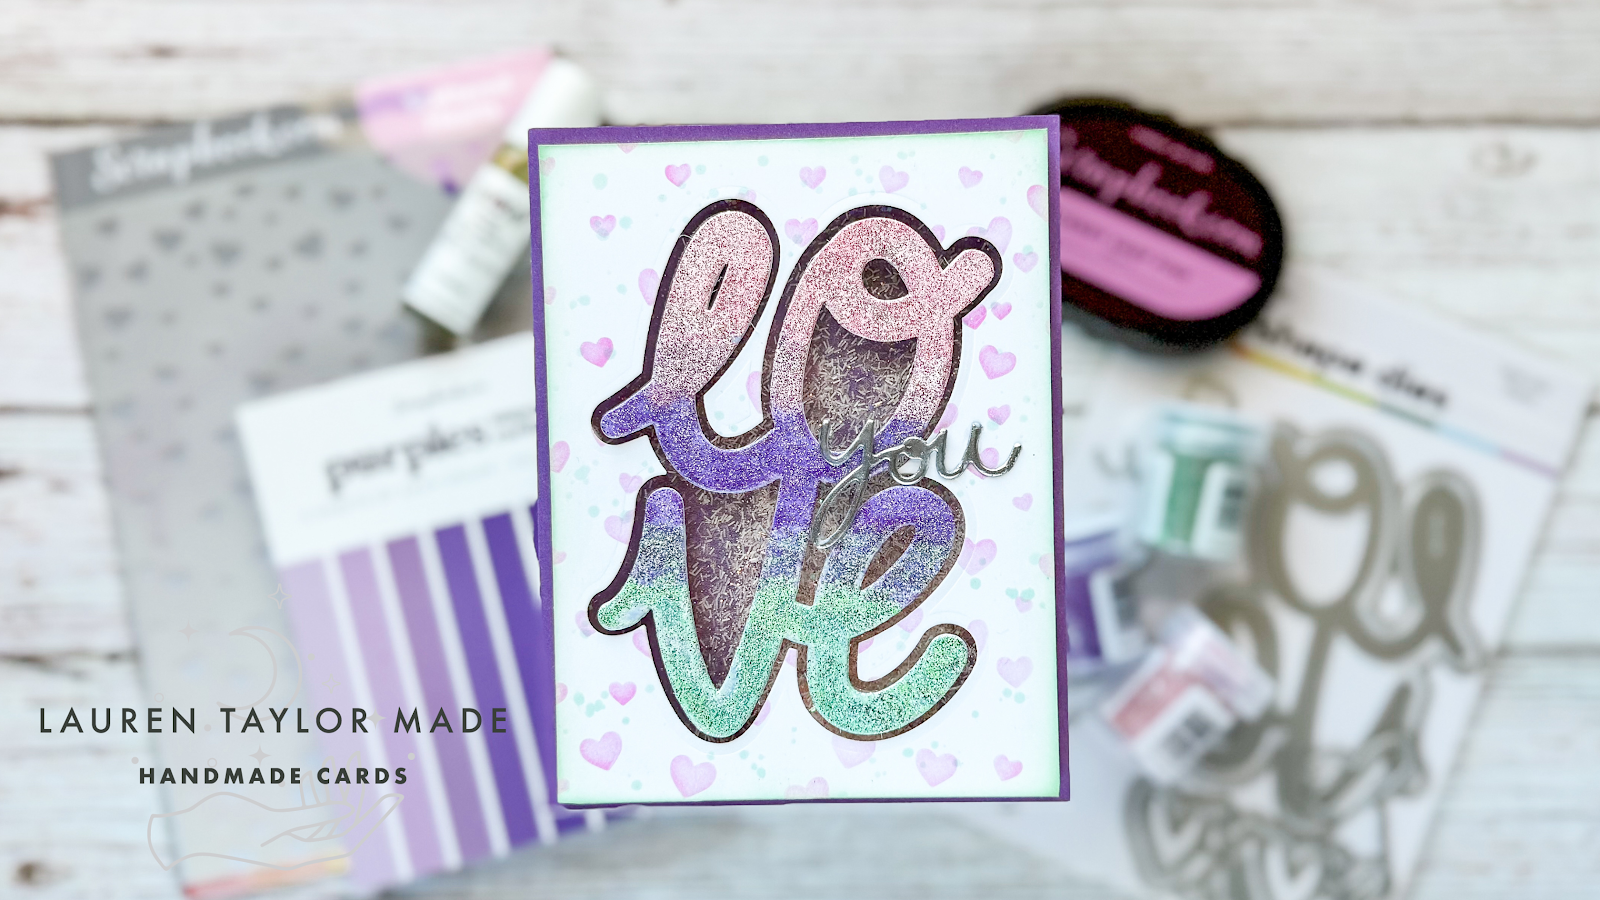
I started with picking Scrapbook.com Exclusives that I thought would be fun to use along with these products and I just loved the soft, pastel colors so I went with a Valentine's Day themed card. I die cut the LOVE die three times in white cardstock and glued them all together. Using the Mixed Media Embossing Brush, I embossed the three Twinkly Fizz colors, blending two colors together when I transitioned into a new color.
To make the shaker panel, I used the shadow die for the LOVE on a panel of white cardstock cut to 4x5.25". I also stenciled on hearts with pink ink, added green ink onto the edges of the panel and splattered on green ink as well. I adhered acetate on the back and foam adhesive around the panel opening and on the edges of the card.
I added the glitter to the center of a piece of A2 purple smooth cardstock and closed up the shaker panel by adding my LOVE panel. This was adhered to an A2 card base and I adhered my embossed LOVE sentiment on top off the acetate. Finally I die cut YOU out of white cardstock and embossed the Polished Silver to the die cut. This was glued to the card front to finish off the card!
Make sure to hop along with us over on the Scrapbook.com Gallery and shop all WOW! products here!
PIN THIS
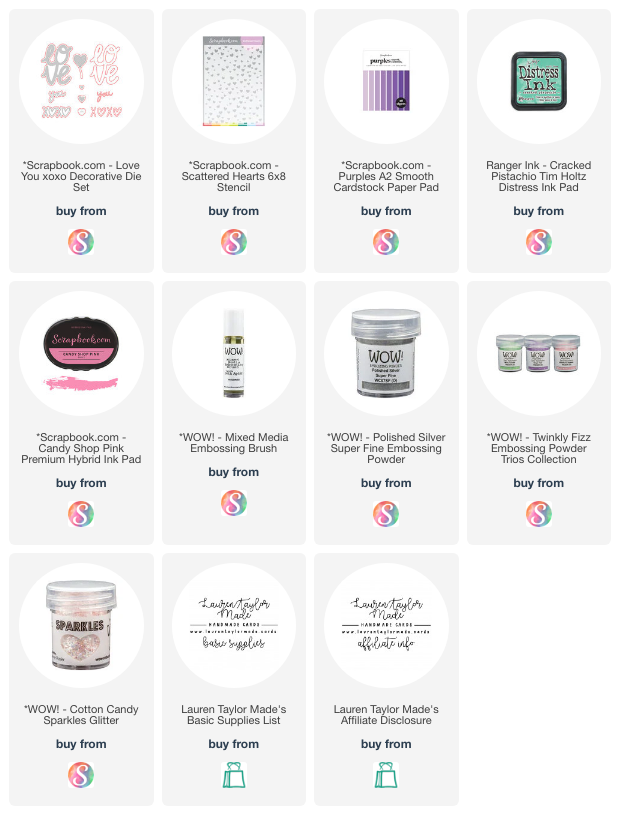
SUPPLY LIST
Read More