Showing posts with label graduation. Show all posts

Graduation Shaker Card with Pretty Pink Posh

Friday, July 12, 2024

Hi, friends! I am back with a new Pretty Pink Posh YouTube video today. I have a nephew who promoted from Middle School to High School and he’s had a ceremony this year! I thought this would be a fun time to use his school colors to make a graduation card for inspiration for you today. I started with doing lots of die cutting!

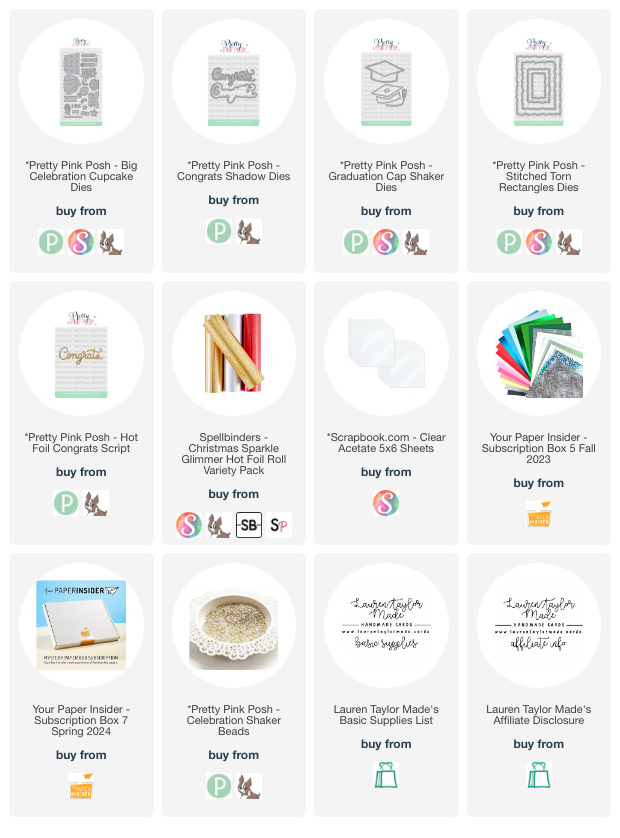
I used the Graduation Cap Shaker Dies, the second largest Stitched Torn Rectangle Die, and a couple dies from the Big Celebration Cupcake Dies out of white, red, glitter red, blue and glitter blue cardstocks. My sentiment is hot foiled in sparkly red foil using the Hot Foil Congrats Script plate and I used the Congrats Shadow Die to cut it out. My graduation shaker was assembled with a piece of acetate and the Celebration Shaker Beads and I adhered it to my Stitched Torn Rectangle Die white background.

I assembled the party wands and added those beneath the graduation cap and popped up my “Congrats” sentiment on top of them. This panel was adhered to my white, A2 card base with thin foam adhesive. I then added the different confetti pieces around the panel and adhered them to the card base with liquid adhesive.

Honestly, this card turned out pretty USA looking - so you could probably replace the graduation cap and sentiment for something a little more patriotic for any US themed holidays you celebrate! I hope this shaker card brings you some inspiration today and maybe a smile to your face, too!

VIDEO TUTORIAL


PIN THIS
SUPPLY LIST

Read More

Celebrate! Independence Day Box Card with Pretty Pink Posh

Monday, July 1, 2024

Hi, friends! I am back with a new video and continuing my Pretty Pink Posh box card series with a celebratory card for the upcoming US holiday, Independence Day or 4th of July! I kept the card basic in case you are not from the US or do not observe the holiday, you can switch out the colors to make it a New Year's Day card or for any other celebratory day or event.

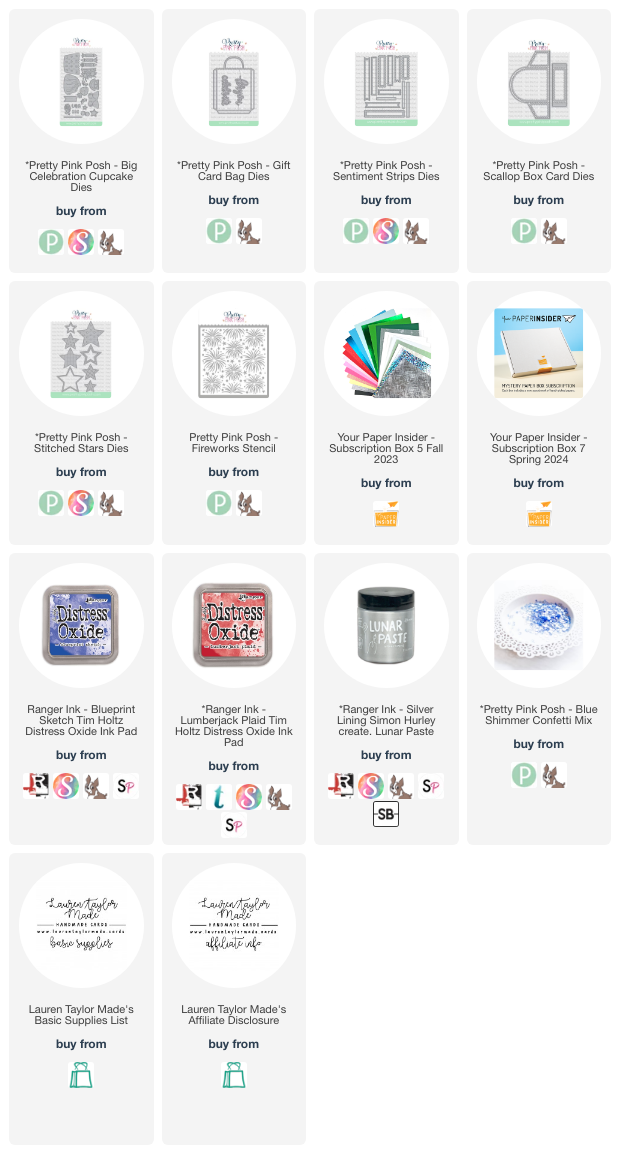
I started with getting lots of die cutting done - the Scallop Box Card base out of white cardstock, a scalloped Sentiment Strip from red cardstock, the sentiment from Gift Card Bag in blue glitter cardstock, and finally fireworks from the Big Celebration Cupcake and smaller stars from the Stitched Stars die sets in different types of red, blue and holographic cardstock - solid, glitter and shiny!

To make the stenciled background, I added Blueprint Sketch and Lumberjack Plaid Distress Oxides to a piece of white cardstock by ink blending with brushes. Once a large enough space was covered, I used the Fireworks Stencil with Silver Lining Lunar Paste to add the stenciled design. I set that aside to dry; once it was dry, I cut the scallop pieces from the Scallop Box Card Dies.

I assembled the box card together, added the stenciled scallop pieces and scattered the stars and fireworks on the card using thin, 1mm foam squares. I adhered the sentiment to the sentiment strip and popped that up on the front of the box card. For some final touches, I added a few Blue Shimmer Confetti around the box card for some extra shine. I hope you like this month’s box card and let me know your suggestions for a future holiday!

VIDEO TUTORIAL


PIN THIS
SUPPLY LIST

Read More

Cards for Kindness - Just a Note Card with Scrapbook.com

Saturday, September 2, 2023

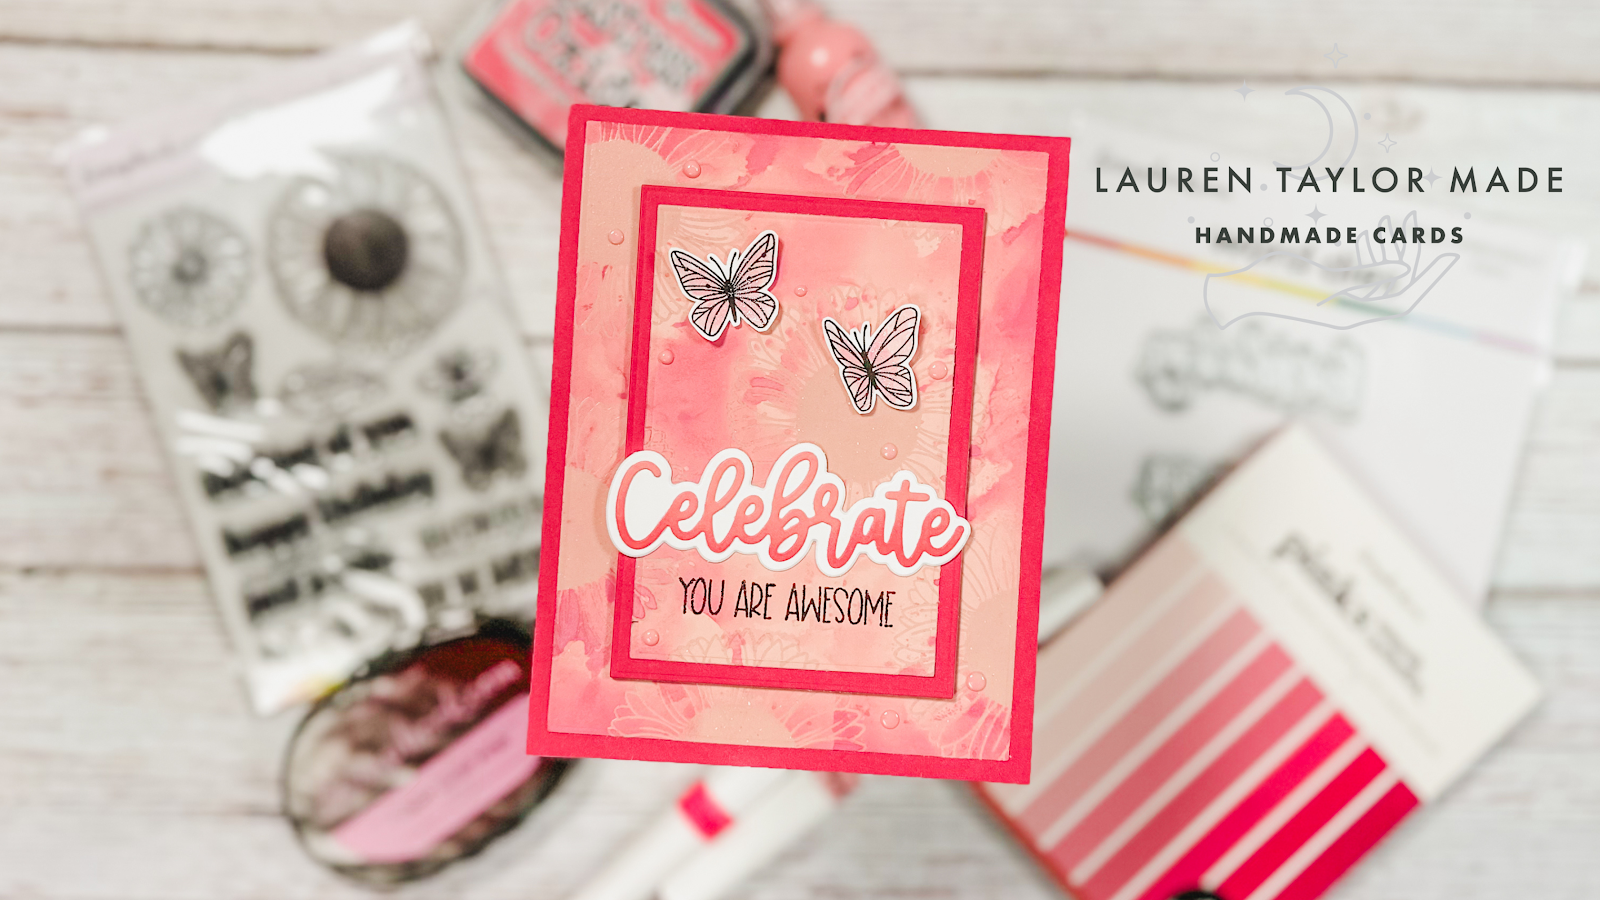
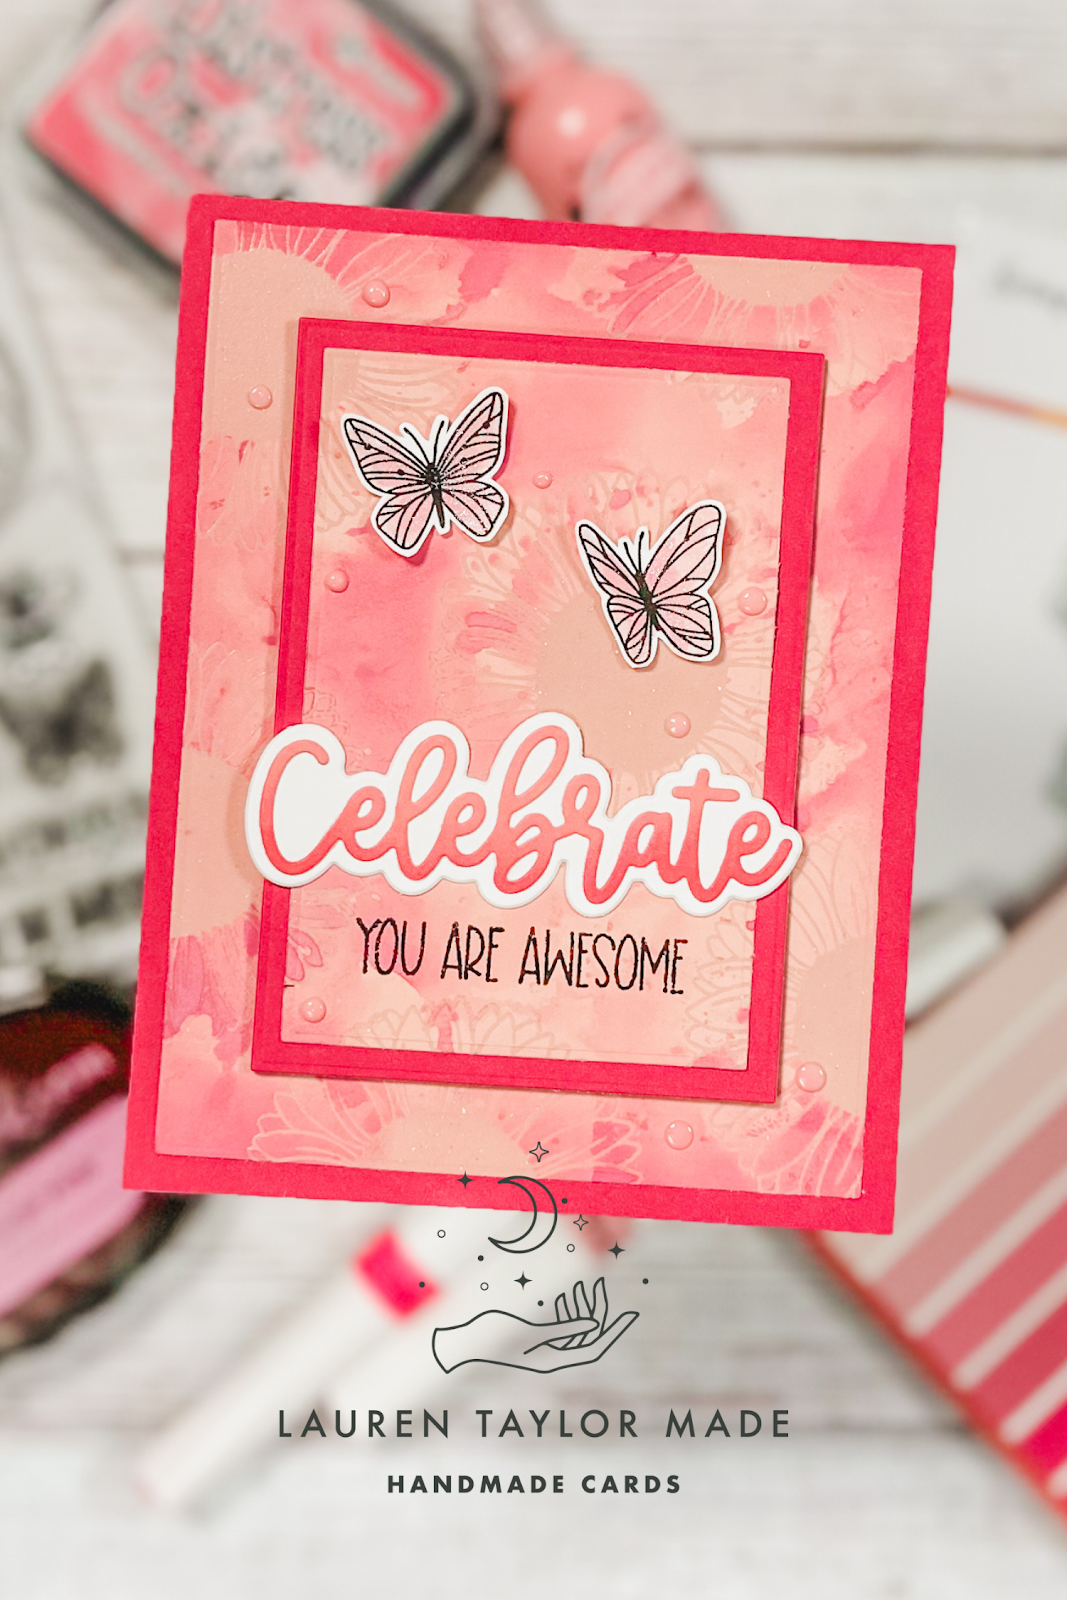
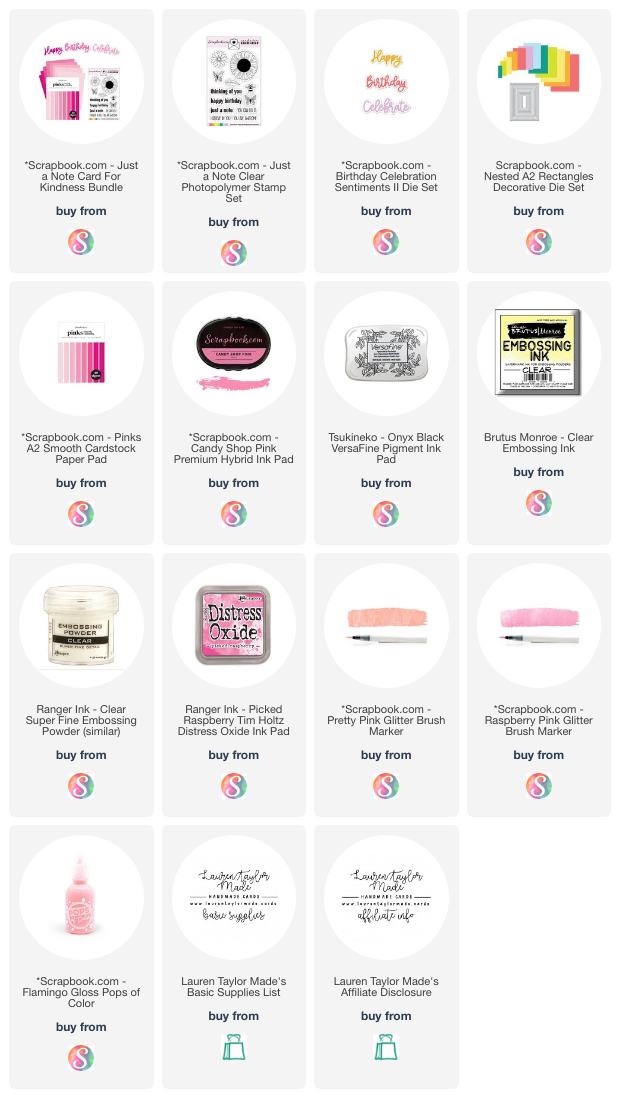
Loving the latest Cards for Kindness stamp set! But what's even more exciting is that comes in an amazing bundle for a limited time, so make sure you shop while you can this weekend. The bundle includes the new Pinks A2 Smooth Cardstock Pad and scripty sentiment dies. I started my card with taking a sheet of the lighter pinks and stamping the larger flower randomly with embossing ink and used clear embossing powder.

Next I ink smooshed some Picked Raspberry Distress Oxide all around the cardstock and then inked up the edges with a foam blender. Then I grabbed a sheet of a darker pink and my Nested A2 Rectangles dies. I used dies next to each other in size to create a second panel with the same cardstock. I glued the layers together, adhered at the A2 panel to a card base and popped up the center panel with foam adhesive.

I stamped the "You Are Awesome" sentiment with black ink (although I'd recommend doing this before adhering it to the card base) and stamped a couple butterflies on white cardstock as well. Then I die cut my sentiment out a middle pink cardstock and used some pink ink to create an ombre effect. I glued this to the shadow die cut out of white cardstock and glued this above my stamped sentiment.

My butterflies were colored in with glitter brush pens in pink and I fussy cut them out. I glued them to the card and then added some pink Pops of Color around the card. I really like how this majorly pink card turned out (really giving me some Barbie vibes) and I hope you enjoy playing with this Cards for Kindness bundle, too!

PIN THIS
SUPPLY LIST

Read More

Whale Congrats! Celebration Card with Scrapbook.com

Monday, August 28, 2023

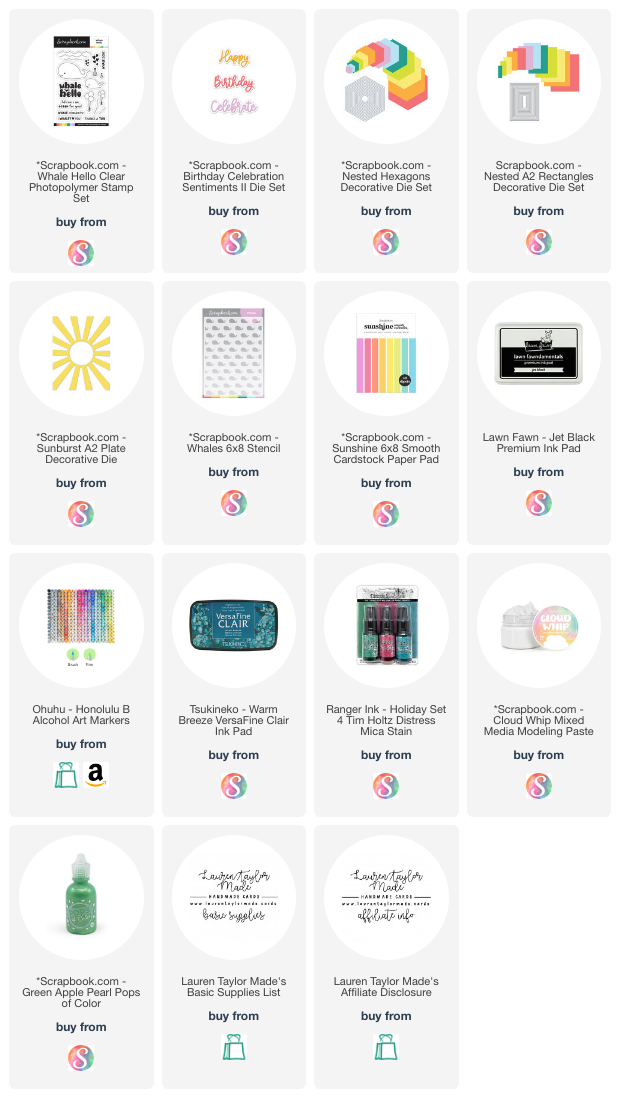
Getting a little punny with today's card! I just love the coordinating Whales Stencil with the Whale Hello Stamp Set together and I wanted to make a fun card that I could save for a nephew in my life. I'm realizing more and more that I don't make enough little kid cards (especially with color schemes and themes my nephews would enjoy) so I'm going to try and make a few more of those.

I have a shorter video sharing the steps of how I made this aquatic mammal card and I hope you enjoy it. I'm working on how to make better ASMR videos, but I'm definitely trying to get better at them. If you have any tips, let me know. Make sure to check out the sales with Scrapbook.com this week, too! It's Cards for Kindness Week and there's some great promotions and freebies going on this week so it's a good time to shop.

VIDEO TUTORIAL

@laurentaylormade whale congrats with @scrapbookcom #craft #crafttok #handmade #handmadecard #asmr ♬ original sound Lauren

PIN THIS
SUPPLY LIST

Read More

Wizard's Apprentice Believe in Yourself Card with Kindred Stamps

Saturday, August 19, 2023

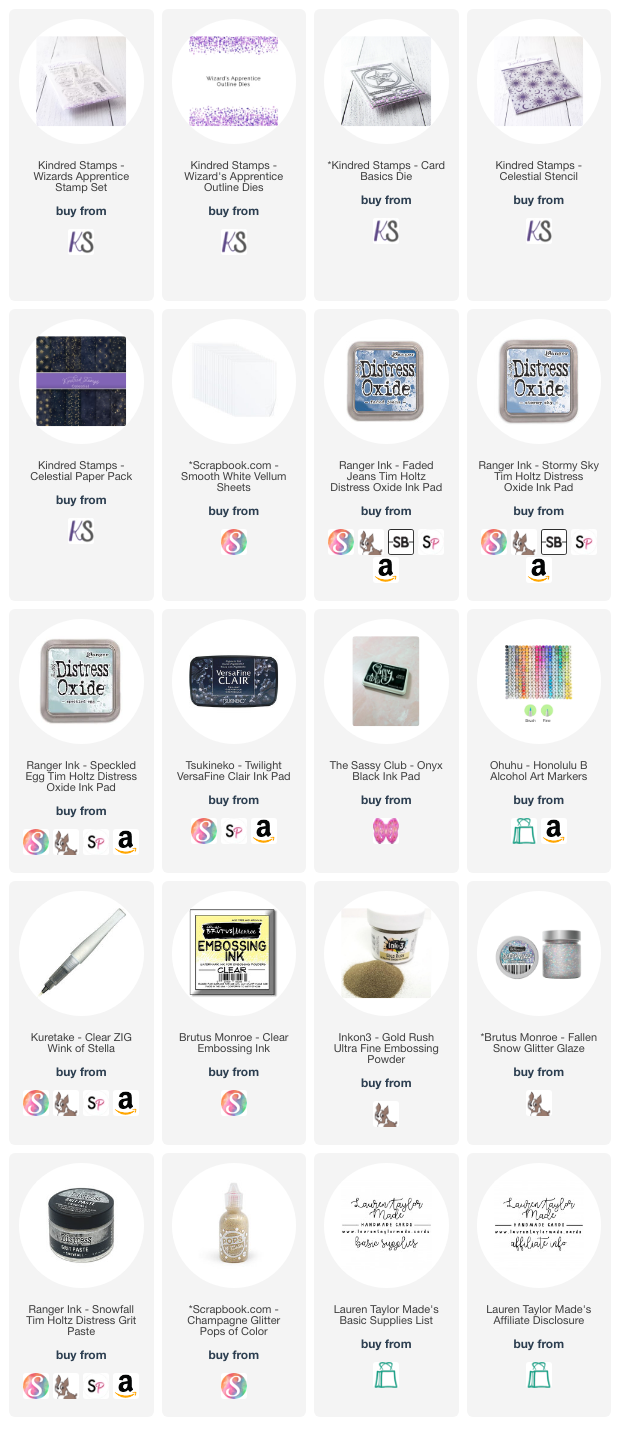
I was so excited to get this stamp set! I just love this movie - it reminds me a lot of my dad and the grumpy owl is one of my favorites. When making this card, I really wanted my characters to shine, so I started with stamping the images and used the coordinating dies to cut them out. Using my Ohuhu Alcohol Markers, I colored in my images and added some white gel pen highlights.

For my background, I used Distress Oxides in Faded Jeans, Stormy Sky and Speckled Egg to ink blend on mixed media cardstock. Using the Celestial Stencil, I added in some clear glitter stencil paste to create a subtle but shiny background. While that was drying, I cut out a sheet of the Celestial Patterned Paper in A2 size and added it to my card base.

I also stamped my sentiment in blue ink and I cut round it, trying to round the corners. I also stamped the magical stars on vellum with gold embossing powder and used the coordinating die for that as well. For my snowy ground, I cut out a small panel using the Card Basics Dies in white cardstock and covered it with Snowfall Grit Paste. I set that aside to dry while I cut out my stenciled background with the rectangle die as well.

The stenciled background was adhered to the card base and once the snowy ground was dry, I added that as well. I popped up my stamped characters and my sentiment next, then added the stars on vellum with liquid adhesive, trying to keep the adhesive hidden behind the stamped images. I also added a few Pops of Color for a little more gold. Finally, I went over my sentiment with a clear glitter brush, but it's hard to capture it on camera. I hope you enjoy this card as much as I loved making it!

PIN THIS
SUPPLY LIST

Read More

Congrats Graduation Shaker Mug Card with Pretty Pink Posh

Thursday, May 18, 2023

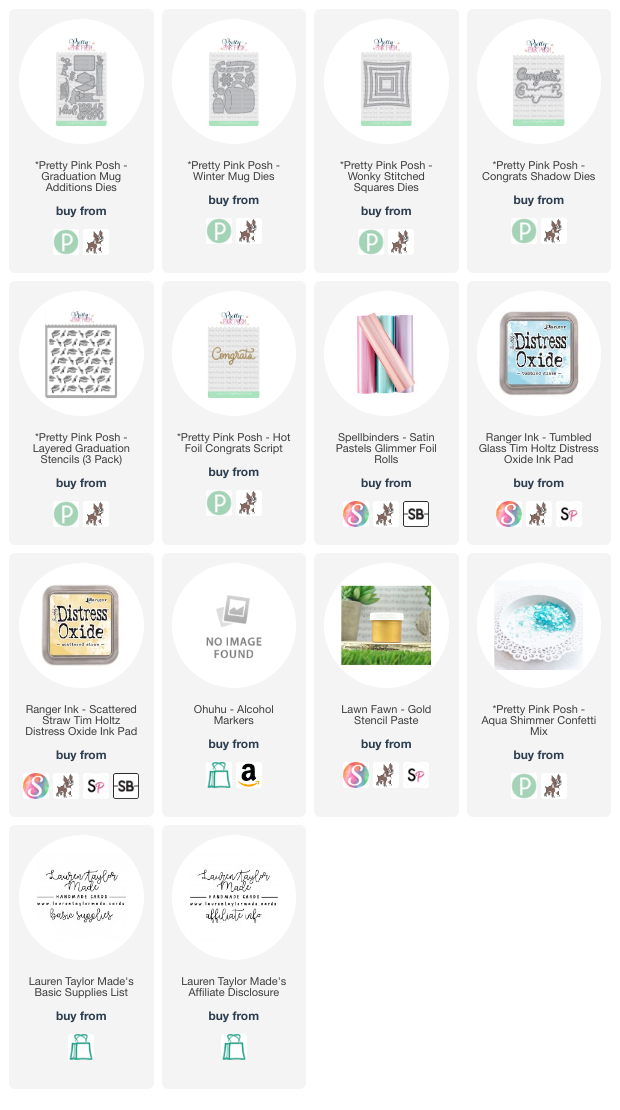
I purchased some pastel satin hot foil during a Spellbinders sale last month and I was so excited to use it on card. Using new graduation themed products from Pretty Pink Posh, I finally used the mint colored foil on the Congrats sentiment! I thought it went pretty well with all of the paper I used from Your Paper Insider Box 1 as well as the Aqua Shimmer Confetti, don't you agree?

In my video today, I have a shaker card using the Pretty Pink Posh Mug Dies - featuring the new Graduation Mug Addition Dies. I love the mix of blues and yellow as they remind me of our local high school and this could definitely be a card I use later for inspiration one day for when Abigail graduates. But I definitely don't want to think about day any time soon, haha!

VIDEO TUTORIAL


PIN THIS
SUPPLY LIST

Read More