Showing posts with label kindred stamps. Show all posts

Amaze It Is Your Birthday Fandom Friday Cards with Kindred Stamps

Friday, September 25, 2026

For this week's Fandom Friday I am featuring the brand new Saviors stamp set from Kindred Stamps, and I am sharing two different card ideas using these adorable characters! For the first card I die cut a rectangle from the Card Basics die set out of a galactic space patterned paper and a stitched circle from a rocky planet looking paper, then spelled out "Amaze" using the Stitched Alpha die set in white cardstock, carefully curving the letters to follow the shape of the circle before securing them with mint tape and foam adhesive. I stamped "It Is Your Birthday" from the Saviors stamp set onto a white sentiment strip, arranged both colored and fussy cut characters onto the circle with layered foam adhesive, and finished the front of the card with a white border card base and a white gel pen for character highlights, with "Why Old. Question?" stamped on the inside.

For the second card I created my own repeating background by freehand stamping the rock alien character and the "Fist My Bump" and "You're a Savior" sentiments randomly onto kraft cardstock using Weeping Willow Simon Hurley ink, then die cut the panel with the Card Basics rectangle die and darkened all four edges with the same ink before adding a watercolor splatter for extra texture. I layered a 1-1/4" strip of galaxy paper with thin 1/4" borders of rocky planet paper peeking out behind it to create a fun little layered accent down the center of the panel, then popped both characters up with foam adhesive so their hands faced each other for that fist bump moment, added the "Fist My Bump" sentiment with foam as well, and finished the inside with "I Think You Are Amaze" stamped in Weeping Willow ink using my Card Maker T Square to keep it centered!

VIDEO TUTORIAL


PIN THIS
SUPPLY LIST

Read More

Mother May I Fandom Friday Cards with Kindred Stamps

Friday, August 28, 2026

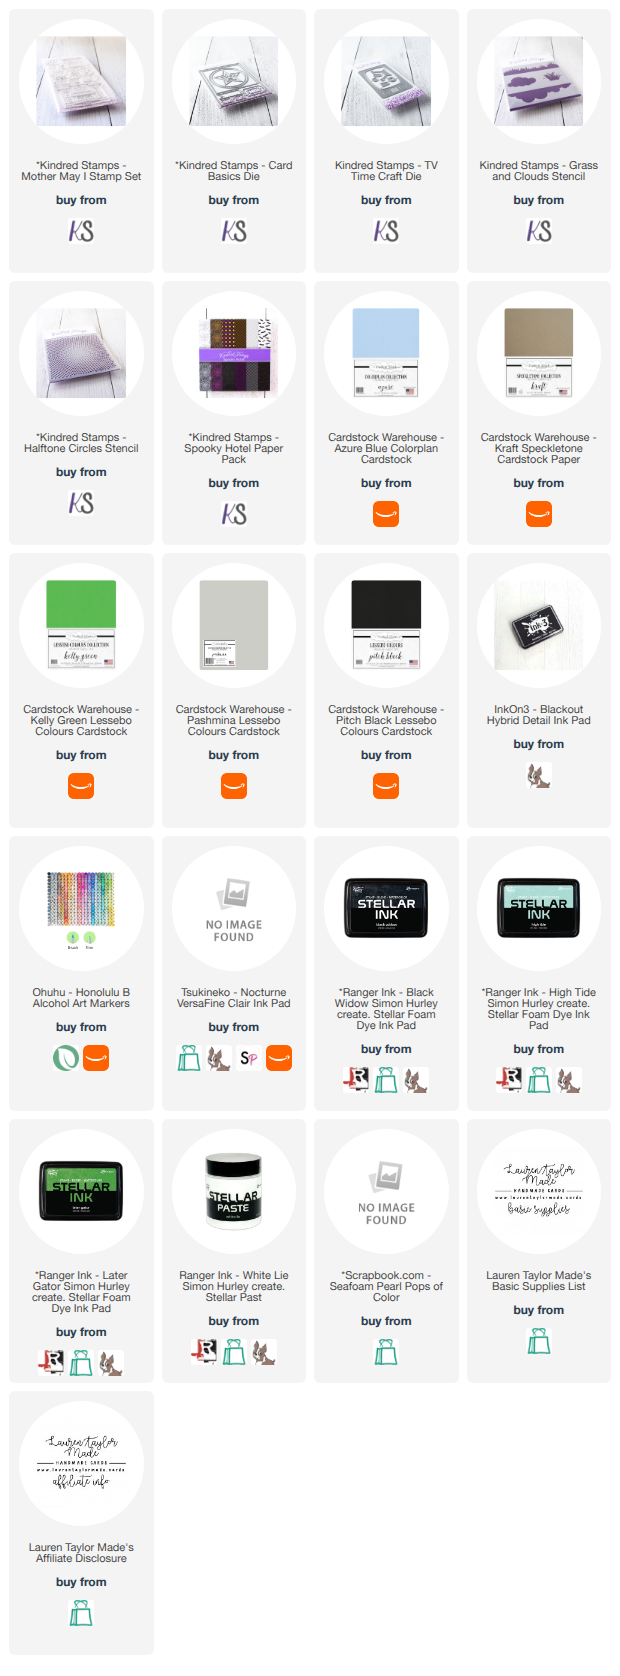
For this week's Fandom Friday I am using the Mother May I stamp set from Kindred Stamps during their throwback sale, and I had so much fun creating three different cards using this iconic set! The main card is a joy fold featuring the spooky house, and since the video walks through all the details of how I put that one together I will keep things high level here, but the basic idea is a side folding A2 card base with a diagonal cut green grass panel on the front, a mini top folding card assembled on the inside, and a layered cloud and gray ground scene on the front of that mini flap with the house popped up on top. The real magic of this card is in the surprise reveals as you open each layer, so I will let the video do the talking on that one!

For the second card I die cut a rectangle from the Card Basics die set out of black cardstock and stenciled White Lie Simon Hurley Stellar Paste through a halftone circle stencil, and while the edges were not perfectly clean I actually love how the messiness of the stenciling ended up suiting the card scene perfectly. I die cut the TV Time die from Kindred Stamps out of gray cardstock and white cardstock for the screen, darkened some of the edges and corners with Black Widow Stellar Ink, then assembled the whole TV before adding the fussy cut shower scene image inside the screen with the "Showering You With Love" sentiment stamped right onto the bathtub. I popped the finished TV up onto the stenciled panel with foam adhesive and glued everything to a landscape A2 card base for a fun horizontal layout.

For the third card I die cut a rectangle from the Card Basics die set out of spooky hotel patterned paper and glued it to the center of a top folding A2 card base, then die cut the larger circle from the same die set out of spider web patterned paper and glued that on top. I die cut the smaller circle out of white cardstock, stamped "World's Best Son" at the top, and glued that to the center of the patterned circle, then stamped and colored the two characters with alcohol markers, fussy cut them out, and popped them up with thin foam adhesive at the bottom of the circle so the sentiment sat above them. I finished with a few Seafoam Pearl Pops of Color scattered around the circle to bring in more of that blue since I colored the mom with blue skin to nod to her current non-living situation, which I think is such a fun little detail!

VIDEO TUTORIAL


PIN THIS
SUPPLY LIST

Read More

Where in the World Fandom Friday Cards with the Perfect Heist Kindred Stamps Release

Friday, July 24, 2026

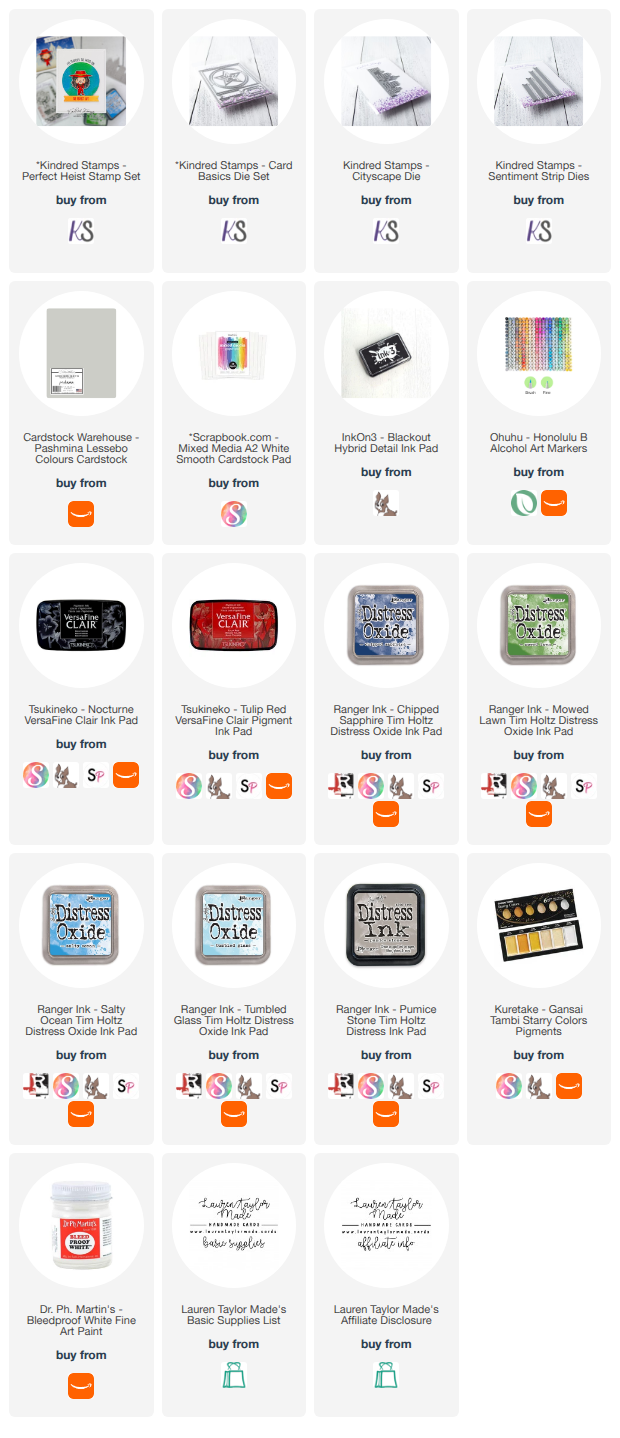
For this week's Fandom Friday I am so excited to be featuring the brand new Perfect Heist stamp set from Kindred Stamps, because this world traveling detective character was literally one of my favorite computer games to play at my grandparents' house growing up and I squealed when I saw this set was coming out!

I stamped both versions of the character in InkOn3's Blackout ink and colored them with my Ohuhu Honolulu alcohol art markers, using warm grays for the hair so it wouldn't feel too cold or flat, and being careful with my skin tone choices so I could do justice to the streaming reboot version of the character who is a woman of color. I colored two different outfit styles to represent both the classic computer game look and the newer streaming reboot, finished both with white gel pen highlights and pink stippled cheeks for a fun cartoon feel, then fussy cut both images before moving on to building the cards.

For the first card I wanted to recreate the feel of the original game logo, so I ink blended Salty Ocean and Mowed Lawn Distress Oxides onto white mixed media cardstock, activated the ink with a little water spritz for texture, then die cut it into a circle using the largest stitched circle from the Card Basics die set from Kindred Stamps to create a planet Earth.

I stamped "I've Searched the World For" in Nocturne VersaFine Clair ink onto a white sentiment panel and "The Perfect Gift" onto a yellow die cut banner from the Sentiment Strip dies in Tulip Red VersaFine Clair, keeping everything clean and graphic to match that classic logo energy. I layered the whole design onto a top folding A2 card base using my Card Maker T Square for centering, popped up the earth circle and the character with 1mm foam adhesive, and tucked the yellow banner just under her feet to finish off the design, then stamped "Where in the World Have You Been" on the inside for the perfect finishing touch.

For the second card I went for a moody night sky vibe by blending Tumbled Glass and Chipped Sapphire Distress Oxides together on white mixed media cardstock, then added large water splatters to activate the ink, followed by opalescent white pigment watercolor splatter from my Starry Colors palette and bold bleedproof white fine art paint for that starry night look. I die cut the cityscape from the Kindred Cityscape die set out of soft gray cardstock from Cardstock Warehouse, leaving about a half inch of ground at the bottom and adding a little Pumice Stone Distress Ink along that bottom edge so it would feel more grounded and dimensional rather than just a flat die cut floating on the card.

I glued the cityscape directly onto the night sky panel rather than popping it up so the attention would stay on the character, stamped "I've Searched the World For You" on a white sentiment strip and placed it in the top right corner, then added my character with one millimeter foam adhesive in the bottom left to balance everything out before attaching the whole panel to a side folding card base for a fun horizontal layout, and stamped "You Make Every Day Feel Like a High Stakes Heist" on the inside!

VIDEO TUTORIAL


PIN THIS
SUPPLY LIST

Read More

Wonky Popsicle Mini Cards with the New Kindred Stamps Release

Friday, June 26, 2026

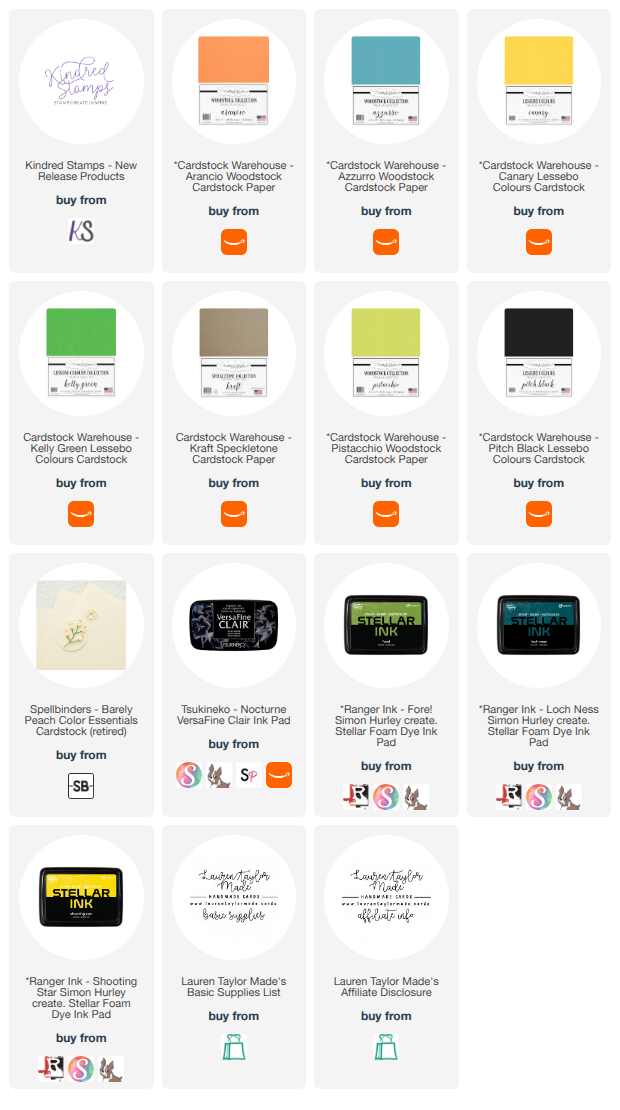
For this week's Fandom Friday, I am celebrating a brand new release from Kindred Stamps featuring the adorable Popsicle Season stamp set and coordinating dies, which include four different ice cream truck popsicle builder dies plus a really fun sentiment set! I decided to die cut each popsicle character twice so I could build one version the way they are supposed to look based on the packaging, and a second wonky version the way these popsicles always seemed to actually come out of the truck growing up.

I started with the bird popsicle, die cutting the body from yellow cardstock, the beak and details from orange, the gumball eyes from a teal blue, and the stick from kraft cardstock, then added a little Shooting Star Stellar Ink to the edges for some extra dimension. For the turtle, I went with a classic red mask and blue gumball eye combination, keeping the first one nice and centered before tilting the mask, spreading the eyes apart, and shifting the smile off to the side for the wonky version.

Next up was the sponge character, where I die cut red shorts, a white shirt strip, and a red tie, then darkened the edges with that same Shooting Star ink before assembling one centered version and one delightfully off kilter version with everything shifted out of place. I followed the same process for the hedgehog popsicle, using Loch Ness Stellar Ink very lightly around the edges since it darkens quickly, then die cutting the face, nose, and green gumball eyes before putting together a normal version and a wonky version with the mouth, ear, and eyes all at odd angles.

A small tip I picked up from making puppets in the past is that gumball eyes look more alive when they sit a little closer to the nose rather than perfectly centered, which made a big difference on the normal versions and made the wonky ones even funnier by comparison!

Once all eight popsicles were built, I decided my favorite wonky version of each one deserved to become its own little mini card, so I die cut shaped card bases using the partial die cutting technique and stamped a different sentiment onto each one. The bird card says "You're So Sweet, Anything Is Popsicle," the turtle became a Father's Day card with "Chill Out, Best Pop Ever," the sponge character got the sweet sentiment "I Love Chilling With You" stamped twice to fit the shape, and the hedgehog finished things off with the punny "I Love You More Than Popsicles from the Ice Cream Truck."

These little mini note cards turned out so much fun, and I love that this die set is endlessly customizable if you want to mix and match colors, eyes, and details to make your own version of each character!

VIDEO TUTORIAL


PIN THIS
SUPPLY LIST

Read More

Music Man Scene Cards with Kindred Stamps

Friday, May 29, 2026

For this week’s Fandom Friday project, I created two classic movie inspired cards using the new Music Man stamp set from Kindred Stamps, and I had so much fun building these little dramatic window scenes! I started by stamping the character image twice and coloring both versions with my Ohuhu alcohol markers. I kept the coloring pretty simple with mostly two and three color blends since the image is on the smaller, detailed side. I used warmer red grays for the hair, soft gray tones for the boom box and sneakers, and blue leaning gray greens for the pants. I tested two different jacket color combinations because I could not decide between a more khaki brown or camel toned jacket, and honestly I still think both versions work depending on the mood of the card. Once everything was colored, I fussy cut the images and started building the scenes for each card.

For the first card, I created a bedroom window scene using patterned paper from the Nanny paper pad as wallpaper for the room. I die cut and stacked several window frames together to create dimension, then ink blended a dusky outdoor forest scene behind the window using Distress Inks and the Forest Stencil from Kindred Stamps. I layered darker blues around the trees for the evening sky, added greens for the tree line, and blended a soft path underneath the character to ground the scene.

After assembling the layered window frame, I added softly ink blended white curtains and attached them with a combination of foam adhesive and liquid glue so they framed the character without covering him up too much. I finished the inside of the card with the “I’ll always be right outside your window” sentiment, which worked perfectly with the whole scene. For the second card, I used the same outdoor blended background but skipped the dimensional window frame to create more of an outside perspective instead. I added the “You’re Beautiful In My Eyes” sentiment to the front and stamped “You’re My Jam” on the inside. I love that both cards feel connected while still telling slightly different versions of the same nostalgic scene!

VIDEO TUTORIAL


PIN THIS
SUPPLY LIST

Read More

Never Grow Up Jungle Cards with Kindred Stamps

Friday, March 27, 2026

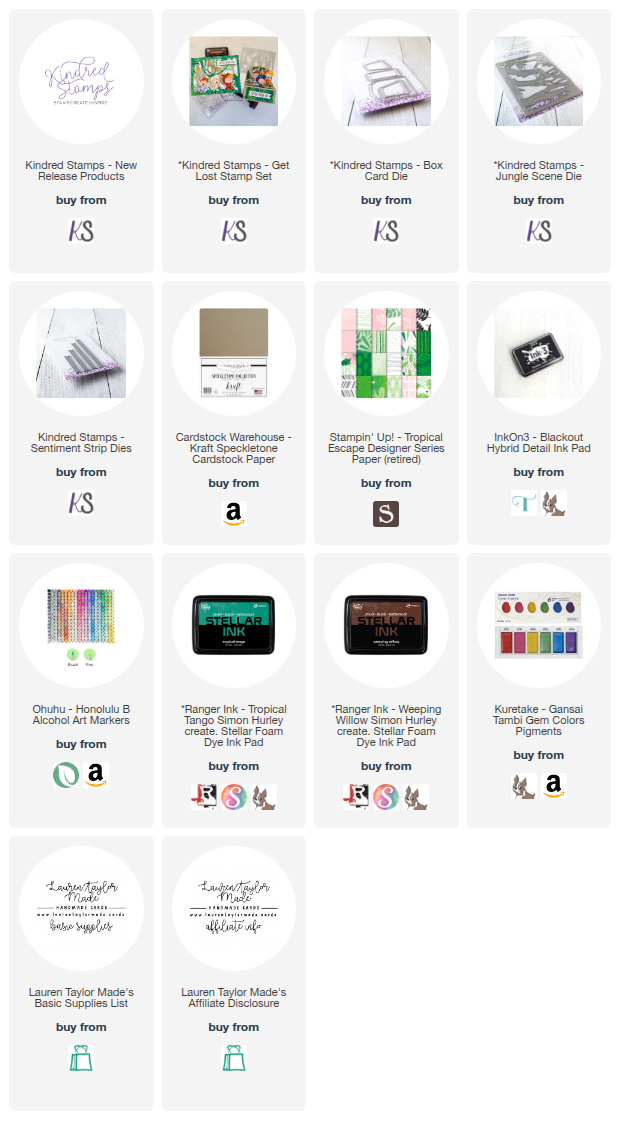
For this Fandom Friday, I am sharing two cards using the newest release from Kindred Stamps and I had so much fun creating a playful jungle scene with these adorable little characters. I stamped all six images from the “Get Lost” stamp set using InkOn3 Blackout Ink, colored them with Ohuhu Honolulu alcohol markers, and fussy cut them out. I wanted the background to feel lush and layered, so I used tropical patterned papers from my stash and die cut a jungle scene, separating out leafy details and wood textures to build dimension.

To add depth and texture, I inked the edges of the wood elements with warm tones and splattered both brown and green watercolor across the panels. Once everything was dry, I layered the die cut greenery over coordinating background panels using liquid glue so I could adjust all the little details and tuck pieces together. This created a full jungle scene that feels rich and slightly wild, which was perfect for these characters.

I created two versions using the same supplies. For the box card, I assembled the base, added the inner steps, and adhered the jungle panels to the inside and back of the card. For the A2 version, I attached the same style panel to the front of a standard card base. I stamped “never grow up” on banner strips for the front and “I’d be lost without you” for the inside and back using a brown ink. I added three characters to each card, using foam adhesive for the A2 card and liquid glue for the box card to keep the dimension balanced. Together, the two cards feel like one continuous scene full of movement and personality.

VIDEO TUTORIAL


PIN THIS
SUPPLY LIST

Read More

Rivals, Romance, and Rink Vibes with Kindred Stamps

Friday, February 27, 2026

Today I am sharing three cards I created using the brand new Hockey Boyfriend stamp set from Kindred Stamps. This set is full of witty sentiments and hockey romance vibes, and I had so much fun turning it into a set of three cards. I stamped all of my images with InkOn3 Blackout Ink, colored them with OLO markers, and fussy cut them out before building each design. My first card has a full process video embedded below, so be sure to watch that for all the blending details. I created a bold background inspired by dramatic rink lighting using Tumbled Glass, Blueprint Sketch, Lumberjack Plaid, Festive Berries, and Wilted Violet Distress Oxides. I masked off the ice section, splattered metallic watercolor, and popped up the couple and the sentiment for dimension. The inside finishes with a cheeky hockey themed rhyme.

For my second card, I went a little softer and cleaner with a powder green panel die cut using the Card Basics die set. I stamped a repeating background sentiment in Bali Blue Versafine Clair ink, varying the pressure for a slightly distressed look. I layered two white circle frames over the panel, trimming them flush with the edges, then popped up the two separate hockey players. I added red and yellow enamel dots for a nod to team colors and finished the front with a strip sentiment popped up on foam adhesive. Inside, I stamped another playful phrase to keep the tone light and romantic.

The third card shifts into an off ice moment with the characters in their everyday clothes. I die cut a circle from kraft cardstock and stamped the sentiment “I’m a loon-atic for you” directly onto it. That circle is popped up over a slate cardstock panel cut with the same Card Basics rectangle die for consistency across the set. I created the phrase “gimme kiss” using white die cut letters backed with adhesive sheets so they functioned like stickers. Placing “gimme” above and “kiss” below the circle balanced the design and added a bold graphic feel.

All three cards came together quickly once the images were colored, and I love how each one has a different mood while still feeling cohesive as a set. From bold rink drama to playful banter to sweet off ice moments, this stamp set makes it easy to tell a story. Be sure to check out the embedded video for the first card and let me know which one is your favorite.

VIDEO TUTORIAL


PIN THIS
SUPPLY LIST

Read More

On the Case with Kindred Stamps for Fandom Friday

Friday, January 30, 2026

For today’s Fandom Friday card, I am playing with the brand new On the Case stamp set from Kindred Stamps and leaning into a classic animated duo vibe that I loved growing up and still enjoy with my daughter. I started by stamping all of my characters in alcohol marker friendly black ink and coloring them with OLO markers with a bit of stippling for texture before fussy cutting everything out. For the background, I wanted to echo that iconic lineup look, so I ink blended a warm gradient using Distress Oxides in Squeezed Lemonade, Fossilized Amber, Wild Honey, and Carved Pumpkin. I blended from light to dark and softened the transitions before die cutting the panel with the Card Basics rectangle die. 

To add extra interest, I splattered red watercolor across the panel for a playful pop of color. I stamped the sentiment "Never Too Small to Be Mighty" onto a die cut sentiment strip, then assembled everything onto a top folding A2 card base. I used a mix of 1mm foam adhesive and liquid glue to layer the characters so they overlapped naturally, keeping tails flat for durability. Inside the card, I finished it off with a coordinating sentiment that ties the whole theme together. I have a members only video to show the coloring for the other characters and a cute set of notecards, too!

VIDEO TUTORIAL


PIN THIS
SUPPLY LIST

Read More