Witching You a Happy Halloween with Hello Bluebird

Sunday, December 31, 2023

Happy New Year's Eve! It's the last day of the month and of the year! I just want to start by saying thank you to you as my blog reader, YouTube video watcher, Instagram follower and all the things. This year has been WILD and I have had so many opportunities within the crafting world that are because of you and your support. I love you all! Since it's the last day of the month, I'm bringing you some Halloween inspiration. 

In today's video, I'm creating my own background with bat dies from Scrapbook.com and I'm using a fun, Halloween color scheme of black, green and purple. The images and sentiment are from Hello Bluebird and I just love this adorable Sabrina witch and the cutie bats! I'm sharing how I colored my images and the overall card assembly. 

Wishing you all a wonderful New Years and I can't wait to show you all the fun for 2024! Thank you all for your support in 2023.

VIDEO TUTORIAL


PIN THIS
SUPPLY LIST

Read More

Batch of Fandom Birthday Cards with Social Paper Plan

Saturday, December 30, 2023

I have been working on projects for upcoming releases during my time off from new things this past week, but I did make thirty-three birthday cards for my grandparents! It's something I like to do each year as a Christmas gift as they are blessed to have what they need so it's a gift that I know they'll use. Because I made so many, I like to keep things simple and not use foam adhesive so they will will go through the mail with one stamp.

The layout is adapted from the December 2023 Show Us Your Sheet LoadSketch from Call Me Crafty Al! I love using the layouts for a starting point and make them my own. I followed the sketch pretty closely, but added some details like stamping in between the patterned paper panels and added lots of images as the "half circle" and my sentiments are on a banner. In order to save some time to make these cards, I used lots of ephemera from Social Paper Plan (who also makes most of the stamps I used and patterned paper) and dies to build up my mini clusters on the card.

All of the birthday cards are completely different as I alternated the paper panels and used lots of different ephemera across the cards. But these are my favorite from the three different styles - one inspired by a Fantasyland, Adventureland and the movie Up! I know my grandparents would love anything I make, but I sure hope they like these when they open them (I'm writing this post ahead of time before I see them during my vacation). Let me know which one is your favorite in the comments!

PIN THIS
SUPPLY LIST

Read More

Kindred Town: More Adult - New Release from Kindred Stamps

Friday, December 29, 2023

It's a new release day from Kindred Stamps and I am excited to share with you my projects for the final release for 2023! I am using the new Kindred Town: More Adult Stamp Set to make some cards that are great for friends and family members with a good (adult) sense of humor. My card are all pretty much the same layout, but I chose different color schemes to make each one unique.

I started with stamping and coloring my building images along with ways to make them their own unique shops. I used alcohol markers to color them in and added white highlights with a white gel pen and lined my Pot Shop sign with a black gel pen. My Liquor Store sign was stamped directly on the building while the Tattoo Parlor and Pot Shop signs were separate. I fussy cut out all of my images when I was done coloring.

My sentiments are all custom and I used the Stitched Alpha and Number Die Sets to cut them out; each of them twice so I could create drop shadows in different colors. My backgrounds are all die cut using the rectangle die from the Card Basics and I splattered different paints on them for some interest and shine. The only one that was different is my Best Bud card where I stamped the leaf to make my own patterned paper and I added green ink along the edges of the white cardstock.

I hope you enjoy these cards with a sense of humor and enjoy the new release from Kindred Stamps! Let me know which stamp set is your favorite to end the year.

PIN THIS
SUPPLY LIST

Read More

Fall Acorn Shaker Card with Pretty Pink Posh

Thursday, December 28, 2023

We're almost to the new year and it's my last Pretty Pink Posh throw back post! I have one more Autumn card that I made this year that I haven't shared yet on my personal blog and it's one of my favorites because it's a shaker card and also beautiful colors. For the Layered Fall Wreath Stencils, I wanted to go a little non-traditional in my colors. I stenciled the leaves with the A layer in different colors of Distress Oxide onto a cream colored cardstock. I used Saltwater Taffy, Speckled Egg, Tea Dye and Vintage Photo with foam blending tools. For the leaf details of the B layer, I used some brown stencil paste which gives the background some subtle texture.

When the background was dry, I trimmed it to be slightly smaller than A2 and glued it to my card base. Then I made an Acorn Shaker from shimmery brown and rose gold cardstock and filled it with Espresso Confetti. I wanted to add in some cute images from the Fall Jar Stamp Set, so I stamped a few out on cream colored cardstock in a brown ink and colored them in with alcohol markers. I used the Fall Jar Coordinating Dies to cut them out and attached them to the top of my acorn. I added a few more Espresso Confetti pieces around my card for some extra shimmery fun.

I hope you've enjoyed seeing a lot of Pretty Pink Posh this past week-ish and it gave you some inspiration for birthday, Spring and Autumn cards for the upcoming 2024 year!

PIN THIS
SUPPLY LIST

Read More

Thankful Mushroom Card with Pretty Pink Posh

Wednesday, December 27, 2023

We're moving from my Spring release projects into Autumn which is the best time of year! My first card is using the Deco Leaves Stencil and I just love this simple but beautiful design! It reminds me of a warm sweater or scarf when it starts to get chilly outside. I used Antique Linen Distress Oxide onto kraft cardstock to create this background with a foam blending tool. For the card, I cut it with the largest Stitched Torn Rectangles Die and layered it with a dark red cardstock onto my card base.

I cut mushrooms and leaves from the Fall Mug Additions Dies and colored them with alcohol markers. I layered them with my Thankful Script Hot Foil Plate sentiment that was cut with the coordinating Thankful Shadow Die, as well as my stamped sentiment from the Sentiment Strips: Fall Stamp Set and Sentiment Strips Dies. Some final touches of liquid embellishments in a vanilla color were added to match the ink of the stenciled background!

PIN THIS
SUPPLY LIST

Read More

Rainy Day Hugs Shaker Card with Pretty Pink Posh

Tuesday, December 26, 2023

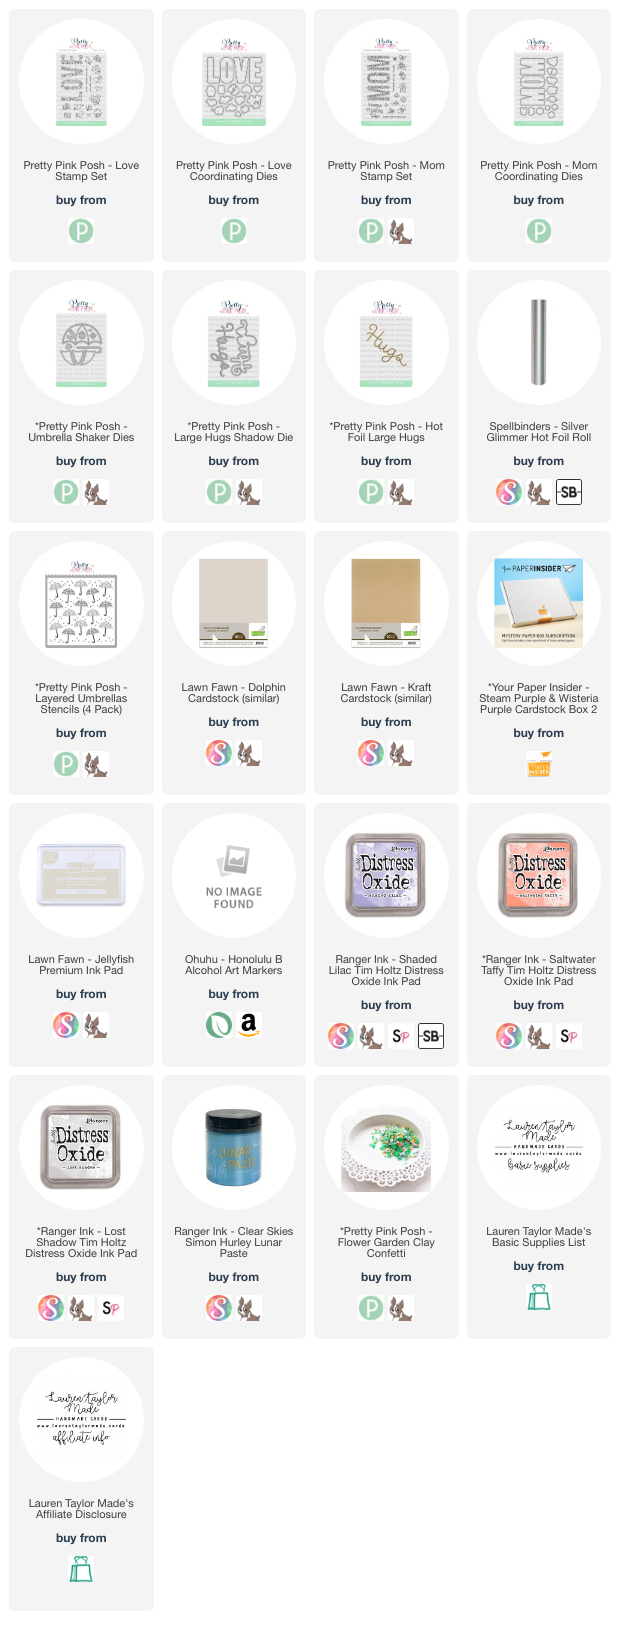
As I write this blog post, it's raining outside and it's so fitting to share this card with the Spring products released earlier this year from Pretty Pink Posh! The Umbrella Shaker Dies and Layered Umbrellas Stencils are just so perfect together and I love that the window die for the Umbrella is separate so you can easily make a shaker, but also have an umbrella die for other types of projects. I like to start with stenciling to ensure my background has plenty of time to dry while I’m creating the rest of the card.

Using Layered Umbrellas, I stenciled the solid umbrella layer with Shaded Lilac Distress Oxide, the polka dot and stripe details with Saltwater Taffy Distress Oxide, the shaft and top with Lost Shadow Distress Oxides and finally the raindrops with Clear Skies Lunar Paste. While the Lunar Paste was drying, I stamped flowers and butterflies from the Love Stamp Set and Mom Stamp Set in a light grey, alcohol marker friendly ink. I used my Ohuhu Art Markers for a no-line coloring look. I die cut them all out using the Love and Mom Coordinating Die Sets.

The sentiment was hot foiled with the Hot Foil Large Hugs and silver foil onto some light purple cardstock. I used the Large Hugs Shadow Die to cut my sentiment. I also did my die cutting from the Umbrella Shaker Dies: the umbrella out of the same light purple cardstock as well as acetate, the umbrella with windows out of purple cardstock, the shaft of the umbrella out of grey cardstock and the handle out of kraft cardstock. I assembled the shaker with all of the Umbrella Shaker die cut pieces and filled it with the new Flower Garden Mix.

The stenciled background is trimmed down to 4x5-¼” and layered onto an A2 piece of purple cardstock attached to a card base. After I laid out my card with the shaker, sentiment and stamped images how I think it would look best, I adhered everything down with wet glue with a few of the flowers popped up with foam adhesive. I hope you enjoyed this shaker and it gives you some inspiration for a rainy day kind of card!

PIN THIS
SUPPLY LIST

Read More

Magical Fandom Christmas Cards with The Sassy Club

Monday, December 25, 2023

It's Christmas! Wishing you a wonderful day if you celebrate - even if you're just at home crafting (which is the dream), I hope you have a lovely day. Today is a bit of a longer video because I couldn't narrow down which of the new holiday products from The Sassy Club I wanted to use today. So I used them all! I'm making four cards (two are similar and made at the same time) today and while the first two are not as Christmas-y, I think you'll have some holiday fun with the second two cards.

When The Sassy Club came out with the Candy Basket Dies, I hit "add to cart" about as quick as I could, but I'm FINALLY opening them up to use the Mouse Ginger Bread Add On Dies with them. I made these two card using both die sets and they're incredibly similar, but oh so cute! I love that they're so easy to put together and you can customize these basket dies.

My last two cards are the festive cards - I used the Sweater Die with the new Xmas Sweater Stamp Set - I made my own sweater design and the Varsity Dies to add the "MM" to personalize my sweater. For the last card, I just wanted to die cut all the things from the Wreath Border Die! I made my own layered wreath with a bow and cute, shiny mouse ornaments. I also added in two aliens ready for Christmas from the new UFO Christmas stamp set. They're not exactly the best fit (hehe) but I just had to use this new set!

I hope you enjoy today's video and that you have some crafty fun this holiday week!

VIDEO TUTORIAL


PIN THIS
SUPPLY LIST

Read More

Wish Big Square Card with Pretty Pink Posh

Sunday, December 24, 2023

Happy Christmas Eve! I hope you have a wonderful holiday - I've been celebrating since yesterday and looking forward to more family today and tomorrow. Today's Pretty Pink Posh project that I made this year that I have not shared is a cutie square card that is perfect for a birthday card. I started with making my background by cutting a wonky square out of blue cardstock and stenciled on clouds and stars and let it dry.

I stamped my balloons with silver embossing powder onto vellum to give my balloons a translucent look. I also stamped my balloon strings and glued them behind the balloons. Next I die cut my "wish big" sentiment out of sparkly white and black cardstock and layered them together. Once my background was dry, I popped it up on my white card base (4.25x4.25") and adhered my balloons and sentiment to the card. 

Wishing you a Happy Holiday and I'll be back tomorrow with some Christmas inspiration since it's the 25th of the Month, and it's going to be some fandom fun!

PIN THIS
SUPPLY LIST

Read More

Make a Wish Birthday Card with Pretty Pink Posh

Saturday, December 23, 2023

Make a wish! I've got rainbows on rainbows with this birthday card using supplies from Pretty Pink Posh. I started with making my background since stenciling with Lunar Paste needs some time to dry. I stenciled on my cake with a brown Distress Oxide and then blended the candles with pink, yellow and teal colored Distress Oxides. For the icing layers, I used pink, yellow and teal colored Lunar Paste and gold for the candle flames.

While it was drying, I stamped and embossed the WISH sentiment with gold embossing powder. I did a resisting technique by ink blending the same Distress Oxides into a rainbow over the sentiment and used the coordinating die to cut the sentiment out. When the background was dry, I trimmed it down to 4x5.25" and added it to purple glitter paper on my A2 card base. I adhered my "make a" that was die cut out of gold cardstock with liquid adhesive and my WISH with foam adhesive.

I hope you like this colorful card as much as I do and that it brought you some inspiration today!

PIN THIS
SUPPLY LIST

Read More