Showing posts with label the sassy club. Show all posts

Ghouls Just Want to Have Fun with The Sassy Club

Saturday, September 6, 2025

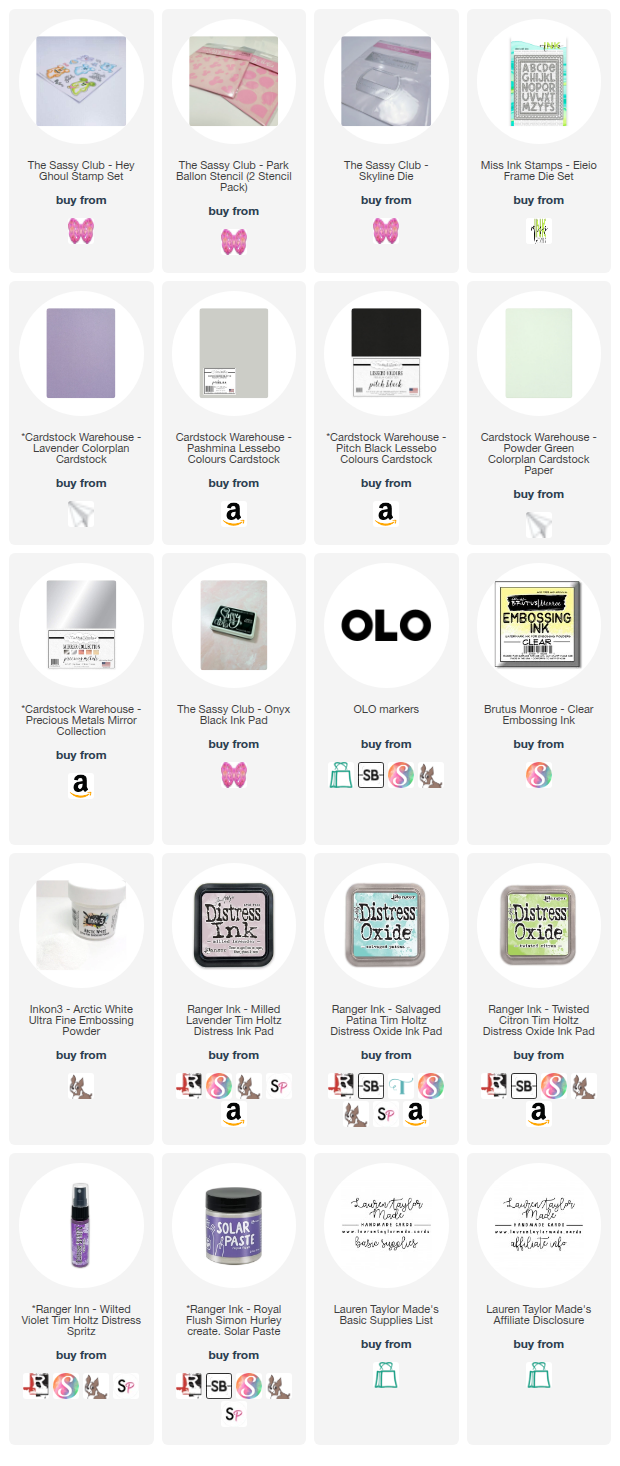
It’s time for another Sassy Saturday, and today I’m sharing a playful card featuring some spooky-cute products from The Sassy Club! I started by trimming down black cardstock to A2 size and layering it on a top-folding card base. For my background, I ink blended through the Park Balloon stencil with Salvaged Patina on the balloon layer and Twisted Citron for the mouse-shaped balloon heads onto grey cardstock. After die cutting it with a scalloped rectangle die, I brought the stencil back in and added some sparkle with Royal Flesh Solar Paste through the star details. A little Wilted Violet spritz splatter gave it that extra touch of shine before setting it aside to dry.

For the focal point, I stamped and colored images from the Hey Ghoul stamp set with OLO markers and fussy cut them out. I also heat embossed the “Ghouls Just Wanna Have Fun” sentiment in white on black cardstock and fussy cut it out, too. The skyline was die cut in pastel lavender and mint/blue-green, with metallic accents for the details. Once assembled, I tucked my ghostly characters into the scene so it looked like they were riding through the skyline on a whimsical night adventure. To finish it all off, I added the sentiment across the bottom for a bold pop. I love how this card feels like a little mix of spooky and sassy—just perfect for today!

PIN THIS
SUPPLY LIST

Read More

To My Favorite Trainer - Trading Card Inspired with The Sassy Club

Saturday, August 30, 2025

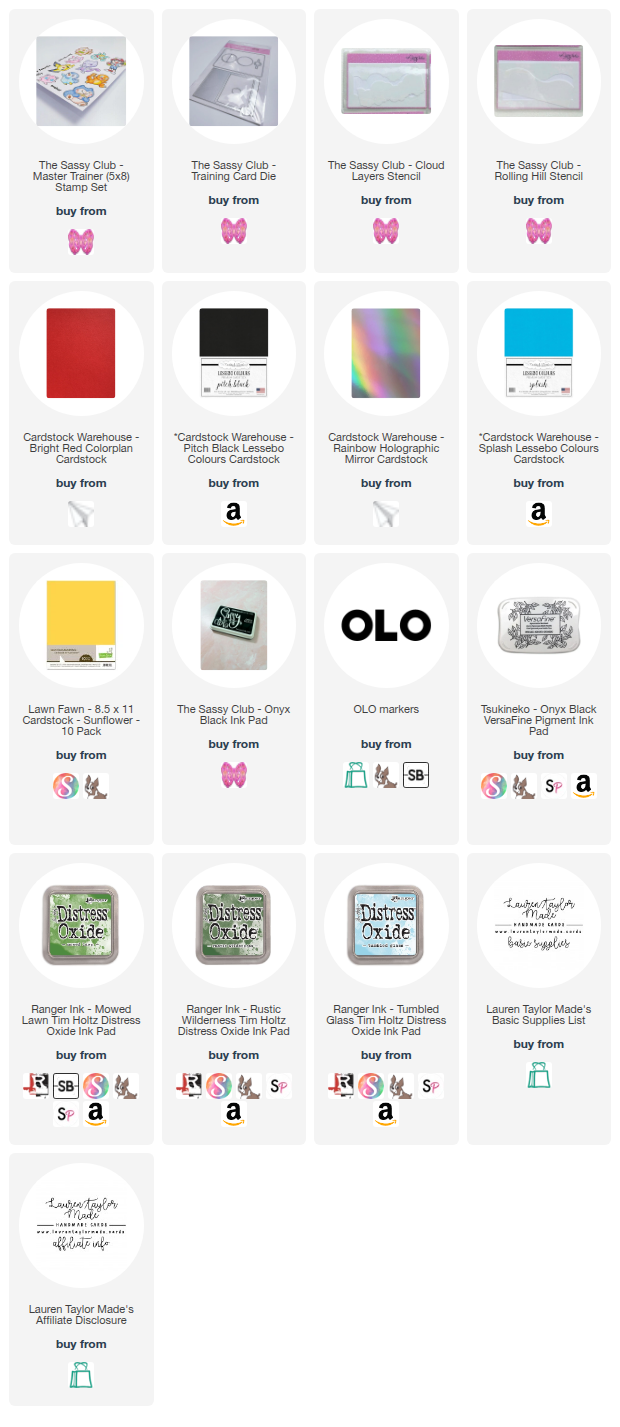
It’s Sassy Saturday and today I’m sharing a card inspired by one of my favorite nostalgic trading cards! I started by creating the base using the rectangle die from the Trading Card die set. To make it a side-folding card, I ran it through my die cutting machine while leaving the left side of the die slightly off the fold so it wouldn’t cut through. For the front panel, I cut the rectangle again from yellow cardstock and adhered it to the card base. I then used the rest of the trading card dies to build up the layered look. The main framed layer was cut from blue cardstock, and I cut it a second time from holographic cardstock, trimming just the long rectangle pieces to layer at the top and bottom for extra shine.

I also added a small circle in the corner where I hand-drew a water symbol to match the theme. For the inside of the frame, I stenciled a scene onto white cardstock using the Cloud Layer and Rolling Hills stencils with Distress Oxides in Mowed Lawn, Rustic Wilderness, and Tumbled Glass. I adhered this background to the frame, popped up a small holographic oval and blue circle with thin foam adhesive, and assembled a little ball element using red, white, and black cardstock.

With the card structure ready, I stamped the sentiment “to my favorite trainer” in the bottom left corner of the blue cardstock and began working on the characters. From the Master Trainer stamp set, I stamped two images in Onyx Black ink and colored them in with OLO markers, adding white gel pen highlights for extra detail. After fussy cutting the characters, I adhered them to the front of the card, completing the playful scene. To finish, I layered all the pieces onto the yellow card base and made sure each element was balanced and popped just right. I love how this card turned out—bright, nostalgic, and full of personality!

PIN THIS
SUPPLY LIST

Read More

Scram! My Favorite Grouch with The Sassy Club

Saturday, August 23, 2025

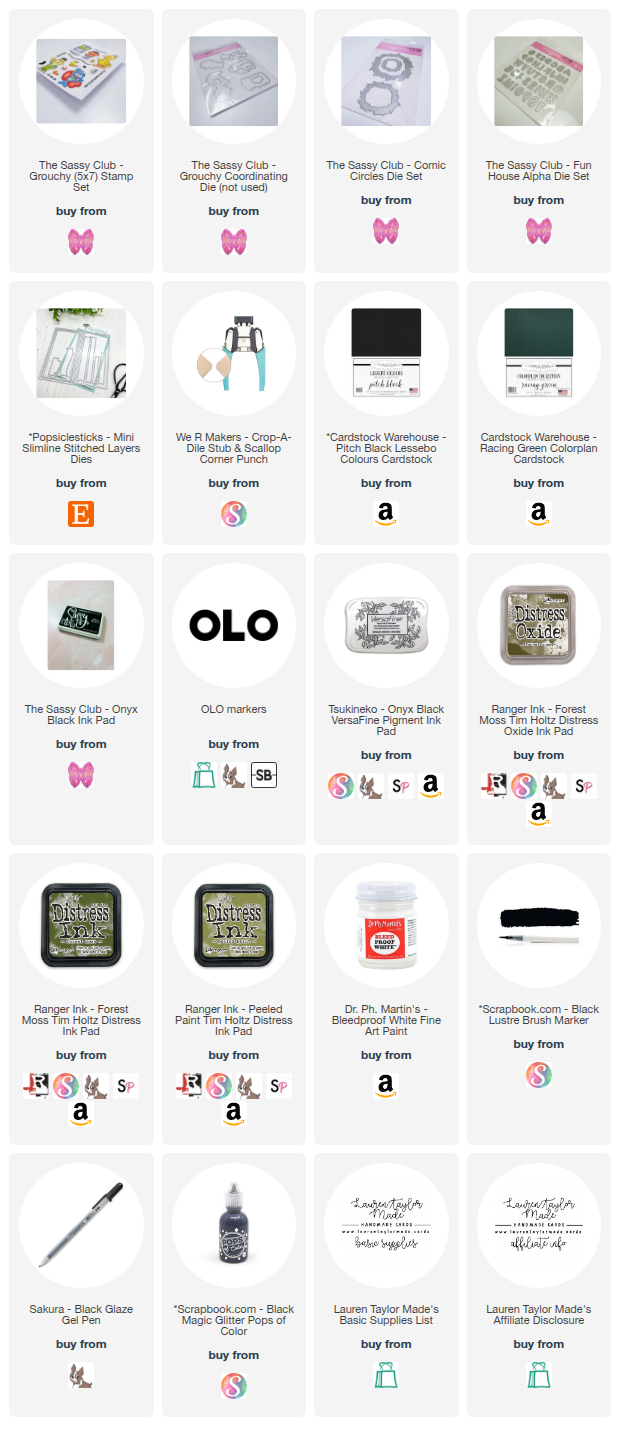
It’s time for another Sassy Saturday, and today I’m sharing a card I created with products from The Sassy Club! For this card, I pulled out the Grouchy stamp set and stamped my little character in Onyx Black ink. I colored him up with my Olo markers—green fur with orangey-red brows, plus a gray and slightly rusted trash can for extra detail. After fussy cutting the image, I added white gel pen highlights to bring him to life. For the background, I started with white cardstock and blended on Peeled Paint and Forest Moss distress inks. To add more texture, I smooshed Forest Moss distress oxide onto my glass mat, spritzed with water, and used a piece of acetate to transfer the ink onto the panel for a fun organic look.

Once that dried, I die cut the two larger shapes from the Comic Circles die set and inked the edges with more Forest Moss. I also splattered on Forest Moss ink, white paint, and a touch of black luster for added depth. For my base, I trimmed down black cardstock to 4" x 5.25" and rounded the corners with a scallop punch, doing the same to my A2 card base for a cohesive look. I layered the die cut circles, then popped up my grouchy character with thin foam adhesive in the center. The “scram” sentiment was die cut from white cardstock with the Fun House Alpha dies, and I added shine with a black glaze pen. To finish, I stamped “You are my favorite grouch” on a banner die cut and placed it at the bottom to balance the design. A few drops of Black Magic Glitter Pops of Color finished everything off with sparkle and dimension.

PIN THIS
SUPPLY LIST

Read More

Sip Sip Hooray Mini Slimline Card with The Sassy Club

Saturday, August 16, 2025

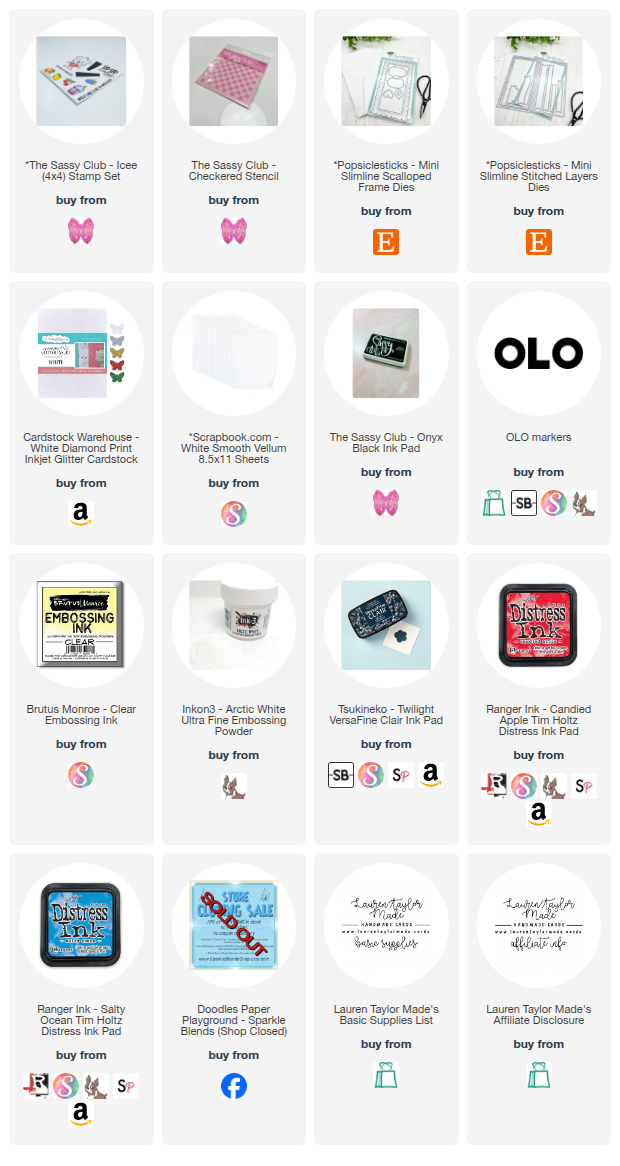
For today’s Sassy Saturday card, I had a blast playing with The Sassy Club’s ICEE stamp set and their checkered stencil. I began by stenciling the checkered pattern on white cardstock using Candied Apple and Salty Ocean Distress Inks. Since the stencil is smaller than a mini slimline card, I had to stencil twice to cover my panel. Once finished, I die cut the panel with the largest mini slimline stitched layer die from Popsiclesticks and adhered it to my 3 ½" x 6 ½" card base. For my shaker element, I cut the mini slimline scalloped frame from white glitter cardstock and layered vellum behind it before turning it into a shaker filled with red, white, blue, and iridescent sequins from my stash. The vellum softens the sequins beautifully, giving them a frosted effect.

Next, I stamped the block stamps with Candied Apple and Salty Ocean inks again, masking to layer them together. Then I tried to make a fun drop-shadow effect using Twilight VersaFine Clair ink and heating embossing the sentiment again but in white embossing powder, then fussy cut it out. For my images, I stamped the Sassy Club ICEE bear mascot, his drink, two raspberries, and two cherries in alcohol-marker friendly black ink and colored them in with markers before fussy cutting. I arranged all of the stamped images and sentiment across the shaker panel, popping some up with foam tape for dimension. To finish, I added a few extra sequins on the card front for sparkle. This colorful shaker makes such a fun summer card and was the perfect project for Sassy Saturday!

PIN THIS
SUPPLY LIST

Read More

Trashy Birthday Spork Cards with The Sassy Club

Saturday, August 2, 2025

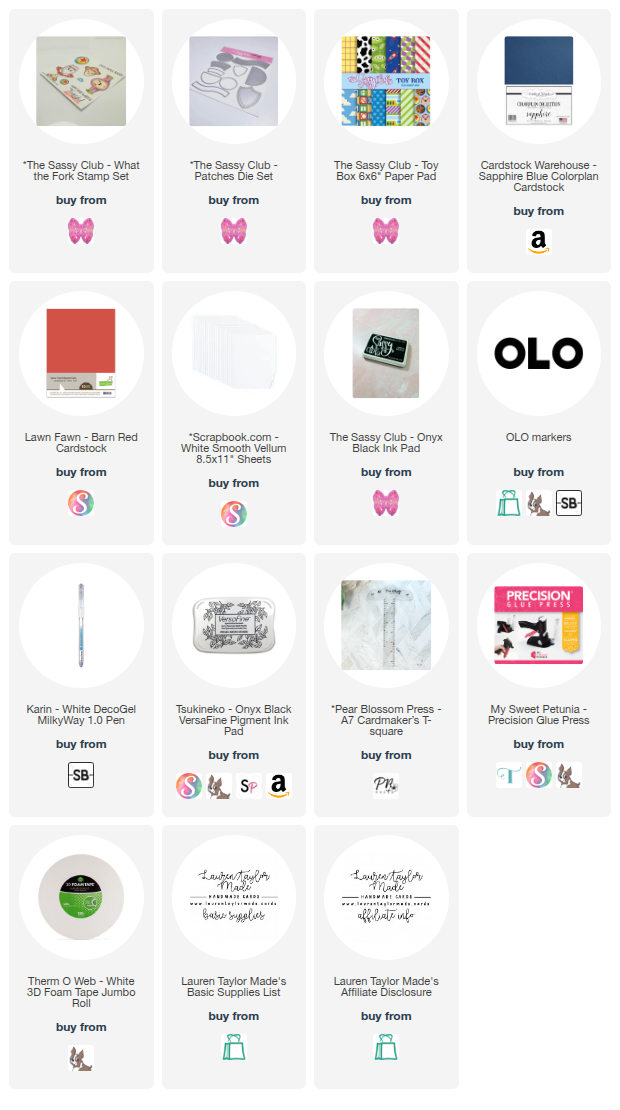
It’s the second of the month, which means it’s time for a brand-new SheetLoad of Cards! For the August 2025 sketch, I created a set of 8 cards featuring the What the Fork stamp set from The Sassy Club—perfect for Sassy Saturday! This month’s sketch is all about using 6x6 paper pads, so I mixed patterns from the Toy Box collection to create fun cowboy and star backgrounds. The new A7 Card Maker’s T-Square from Pear Blossom Press made it easy to line up my strips for a clean and even design.

To finish my cards, I colored the adorable spork character and his bouncy ball with OLO markers, added a stitched vellum and cardstock half-circle for the sentiment, and popped everything up with foam adhesive for extra dimension. Check out my video below to see my full process and hop along with the Creative Team playlist to see how everyone interpreted this month’s sketch!

VIDEO TUTORIAL


PIN THIS
SUPPLY LIST

Read More

Retro Digital Pet Easel Card with The Sassy Club

Sunday, July 20, 2025

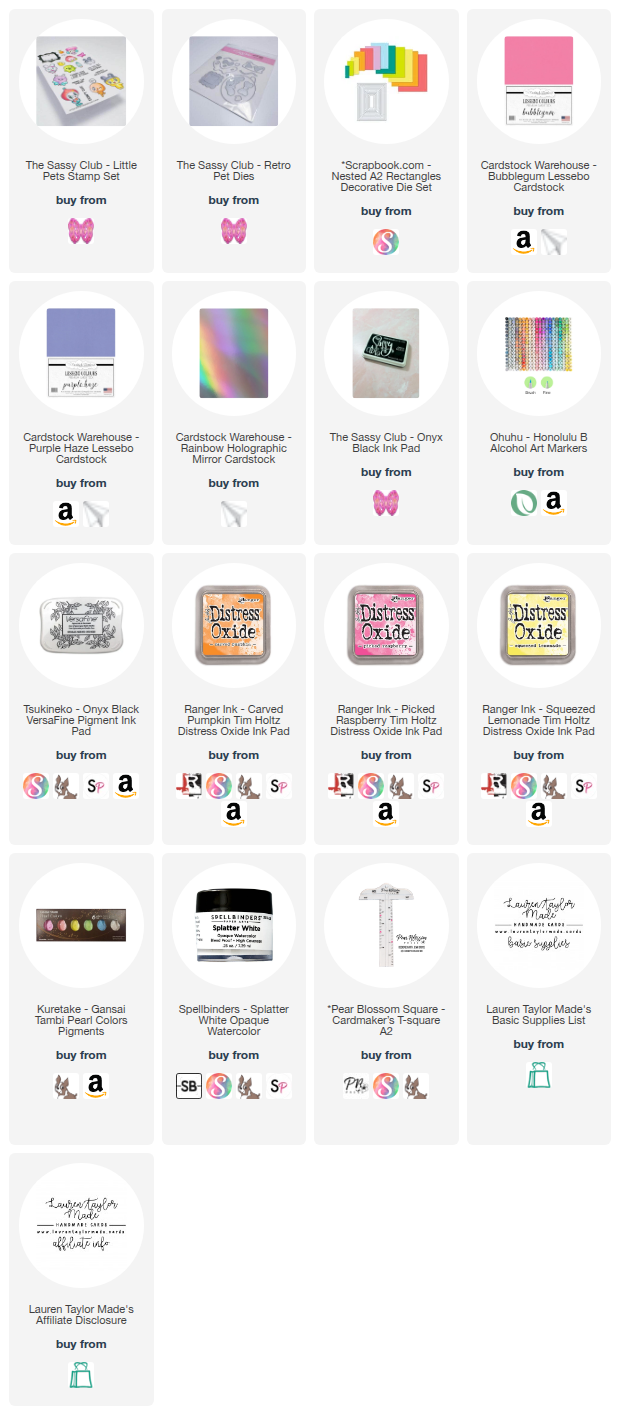
I’m so excited to be joining my talented crafty friends again as we create cards inspired by other creators in our community. This time, we’re drawing inspiration from the lovely Tracy of Not Afraid of Color. I was really struck by a dragonfly card of hers that had a gorgeous sunset color palette—vibrant pinks, oranges, yellows, and purples. I brought those dreamy colors into my ink-blended background using Distress Oxides, then added a holographic twist and lots of playful detail. Since it’s also Sassy Sunday and a belated Fandom Friday, I thought it was the perfect time to bring in The Sassy Club’s Little Pets stamps and Retro Pet die set—nostalgically inspired by the iconic virtual pocket pets from our childhoods.

I turned my digital pet into the centerpiece of a fun easel card with layered cardstock in bold purples and pinks, and a rainbow holographic chain for some extra flair. The sentiment “You’re not old, you are retro” fits the theme perfectly and makes this a super fun birthday card! I added two more little pets to the inside with foam tape so they hold the easel open. Check out the full tutorial in the video below to see how it all comes together and to hop along with the rest of our amazing collaboration group!

VIDEO TUTORIAL


PIN THIS
SUPPLY LIST

Read More

Way to Go Game Board Birthday Card with The Sassy Club

Saturday, July 12, 2025

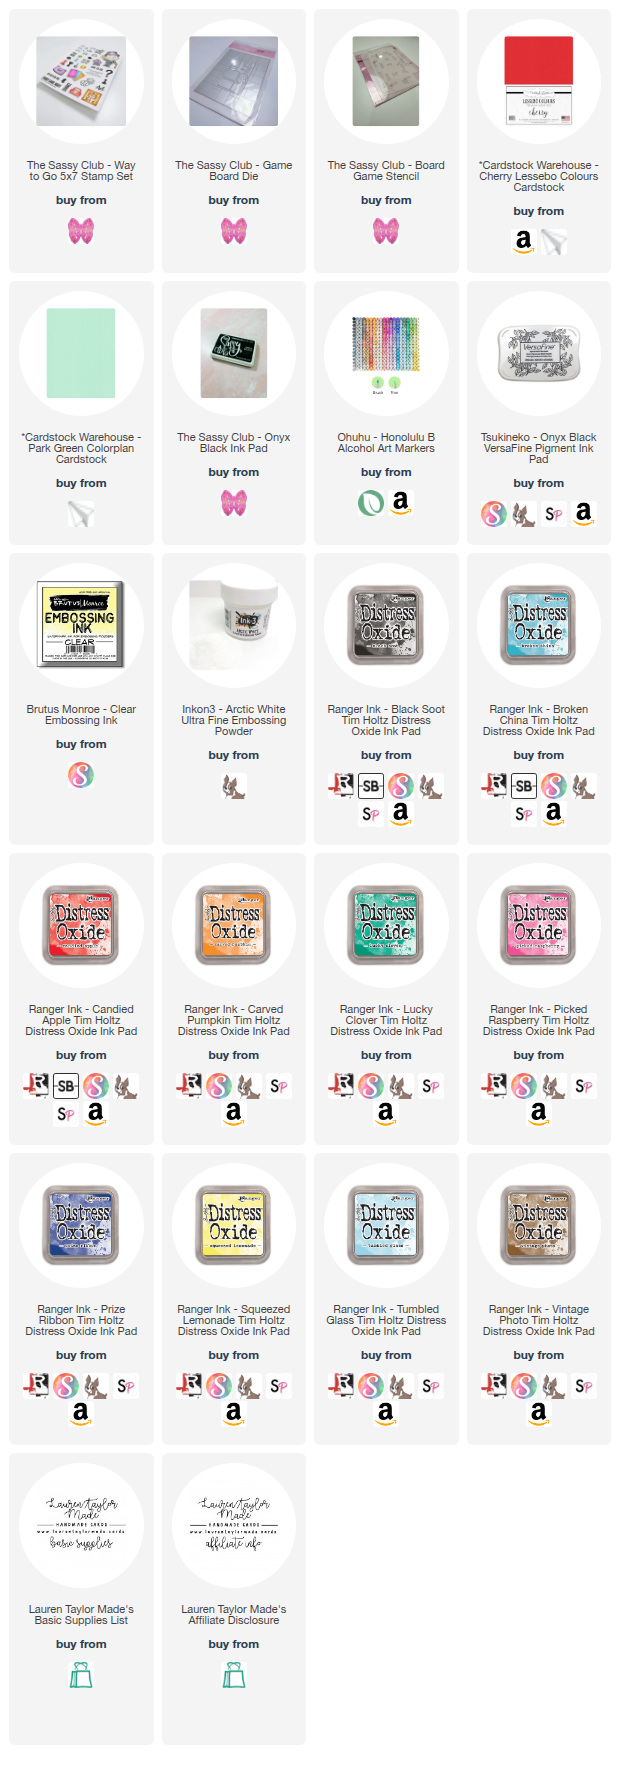
For this week’s Sassy Saturday, I created a playful birthday card inspired by the classic board game we all know and you either love or hate it! I started by die-cutting the Game Board from Park Green cardstock and used The Sassy Club’s Board Game Stencils to fill in all the colorful sections. I blended Distress Oxide Inks in shades of red, orange, yellow, green, blue, pink, and brown to bring the board to life. Once the board was complete, I adhered both die-cut pieces onto a 5x7 card base.

Next, I stamped and colored a variety of game-inspired images from The Sassy Club’s Way to Go stamp set using alcohol markers and my favorite Onyx Black ink. I cut out all the pieces and arranged them around the board to look like an active game in progress, including fun player tokens and house-shaped accents. For the title, I heat embossed the "Way to Go" sentiment in white on Cherry cardstock to mimic the classic bold logo style. I finished the card by popping up the main character and sentiment with foam adhesive and added a playful inside sentiment: “It’s your birthday collect $10 from every player”—a perfect sassy twist!

PIN THIS
SUPPLY LIST

Read More

Just Keep Swimming Watercolor Ocean Card with The Sassy Club

Friday, June 20, 2025

Hi, friends! It’s Lauren Taylor—welcome back to my craft room! I’m so excited to share a new card for Fandom Friday featuring The Sassy Club and inspired by one of my favorite animated ocean adventures. Even better, it’s also Oh So Inspired Collaboration Hop Day! This month, we’re drawing inspiration from Amalia of Cool Cakes and Crafts with Amalia, and I was especially drawn to a project of hers with a dreamy, watercolor-sprayed background and a clean focal layout. I thought it would be the perfect opportunity to combine her style with my love for all things fandom. You can catch the full assembly process in my video linked below—trust me, it's worth the watch!

For this card, I used Fish Wishes from The Sassy Club and started by stamping, coloring, and fussy-cutting my under-the-sea characters and some bubbles. My background came to life with a mix of powdered watercolors in blues and purples—splattered, sprayed, and smudged to recreate that dreamy, aquatic look. Once dry, I added a touch of Uncharted Mariner Distress Oxide to the edges for depth. Inspired by Amalia’s design, I layered it over glitter cardstock and rounded all the corners for a polished finish. My sea critters and bubbles follow a diagonal layout, and the sentiment “Just keep swimming” (wink wink) is stamped right on the background using pigment ink. I finished off the card with Frozen Flurry Pops of Color to give the bubbles shimmer and dimension—tapping them into perfect little domes.

VIDEO TUTORIAL


PIN THIS
SUPPLY LIST

Read More

Happy Summer Godparent Fandom Card with The Sassy Club

Saturday, May 24, 2025

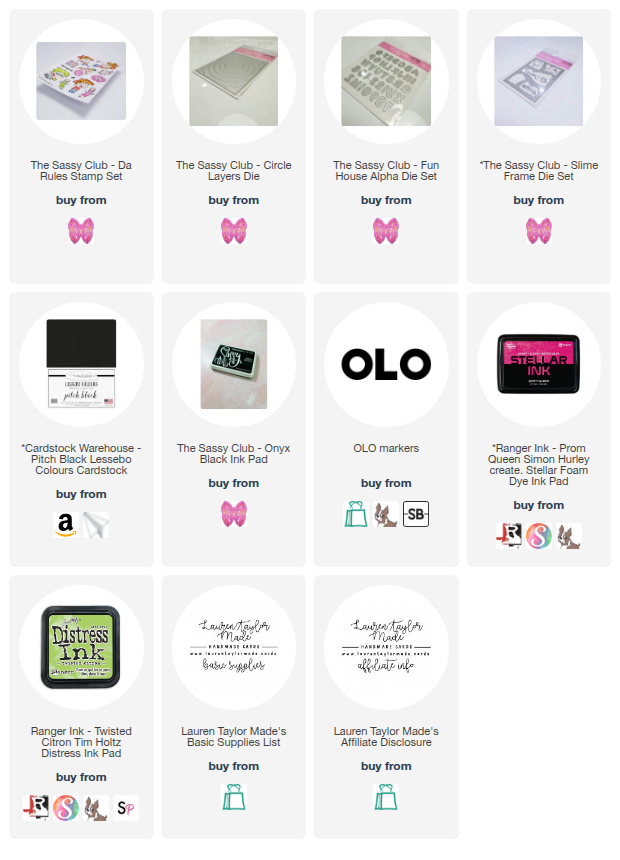
Hello, friends! Thanks for joining me in my craft room today. I'm so grateful to have you here for another mashup of Fandom Friday and Sassy Saturday! After two weeks of work travel, I'm thrilled to be back in my craft room, catching up on projects and sharing this super fun card with you. This week, I'm featuring The Sassy Club Da Rules stamp set, the Slime Frame die set, a Circle Layers die plate, and I even created my own sentiment with the Funhouse Alpha die set. I also dug out a very old and retired The Sassy Club star stencil for a fantastic background effect. If you don't have this exact stencil, don't worry! Any star stencil or a fun background pattern you have in your stash will work beautifully. Get ready for a dose of crafting inspiration because this card was also created for Craft Roulette Episode #268, with the parameters of a card for a student, modern colors, an element of clothing, and abstract blobs!

In today's video, I'll walk you through how I made this card, featuring a relaxing student and his two "fairy godparents" in fun pencil form. You'll see how I colored these delightful images, created a vibrant stenciled background using the pink and green inks, and assembled the die-cut circle layers to frame the scene. I'll also show you how I incorporated those essential "abstract blobs" and created a custom "Happy Summer" sentiment that really pops. While I faced a few funny mishaps along the way (jet lag is real, my friends!), I love how this card turned out, and I hope it inspires your own crafting adventures. So grab your supplies, settle in, and get ready to craft along with me! You won't want to miss the full process and all the tips and tricks in my latest YouTube video.

VIDEO TUTORIAL


PIN THIS
SUPPLY LIST

Read More

Defying Gravity Shaker Card with The Sassy Club

Saturday, May 10, 2025

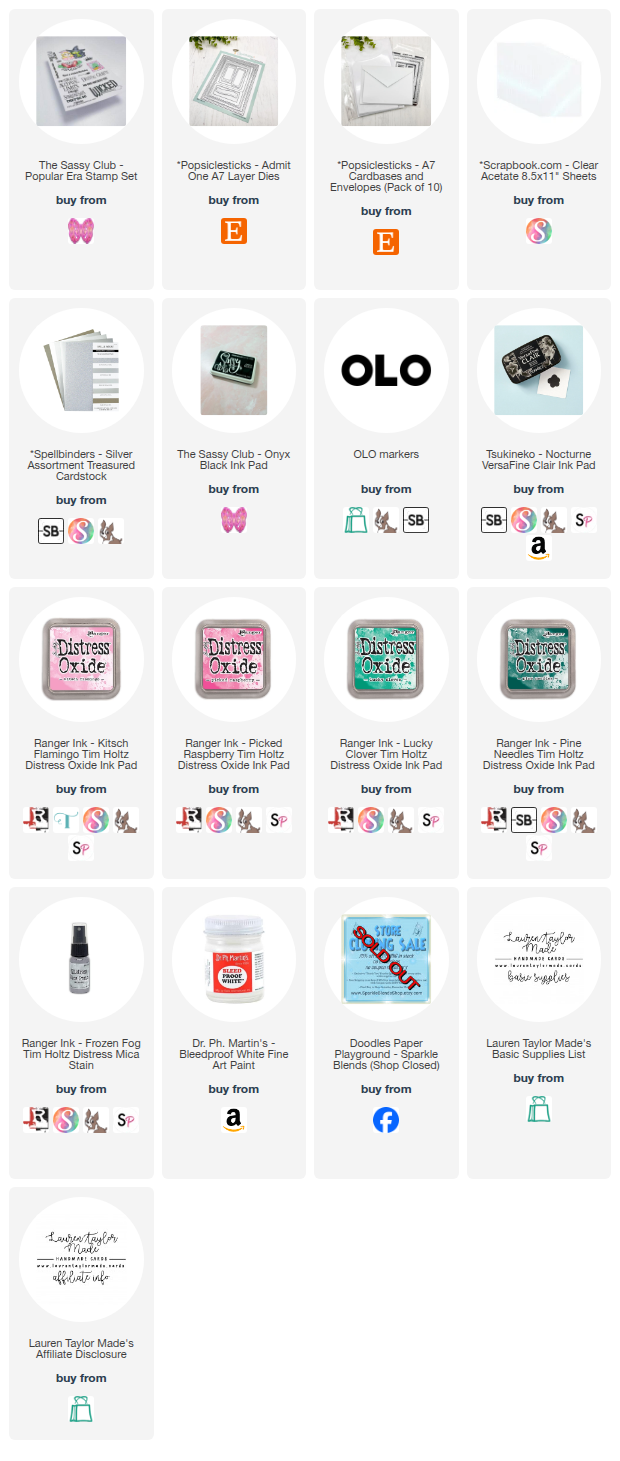
This week for Sassy Saturday, I've been channeling some seriously powerful vibes, inspired by a certain iconic story of two unlikely friends and their journey to discovering their true selves. Think bold colors, a touch of magic, and a whole lot of defying the ordinary! Today's card features the absolutely fabulous "Popular Era" stamp set from The Sassy Club – those images are just bursting with personality! To add some extra flair, I've paired them with some seriously versatile frame dies from Popsiclesticks, creating a dimensional masterpiece that's sure to wow. If you're ready to create a card that's a little bit wonderful and a whole lot sassy, then keep on reading!

Let's dive into the making! I started by creating a vibrant background on a 6x8 inch panel of smooth white mixed media cardstock. I blended a rainbow of Distress Oxide inks – Kitsch Flamingo, Picked Raspberry, Lucky Clover, and Pine Needles – creating a gorgeous, colorful base. For a touch of texture, I splattered the panel with water, followed by the shimmery Frozen Fog Distress Mica Stain, and finally some clean white fine art paint. While that dried, I stamped a character from The Sassy Club's "Popular Era" set with crisp black ink and brought them to life with my Olo markers before carefully fussy cutting them out. Once the background was dry, I die cut it using the largest die from my Popsiclesticks set. 

I then cut the next two smaller frame dies from dazzling silver glitter cardstock. For the sentiment, I die cut a ticket-shaped strip from white cardstock and stamped the empowering "Defying Gravity" sentiment using Versafine Clair Nocturne ink. I adhered the largest silver frame to my colorful background with foam adhesive for dimension. The next silver frame was backed with acetate and turned into a shaker filled with a dazzling mix of pink, green, silver, and black sequins from Doodle's Paper Playground. I placed the shaker in the center of the card and then arranged my colored image and sentiment onto the shaker windows. Trust me, the sparkle and dimension of this card are simply enchanting – go grab your Sassy Club goodies and those fabulous dies and get creating!

PIN THIS
SUPPLY LIST

Read More