So Thankful for YOU & a Giveaway of my Favorite Essentials from Scrapbook.com

Monday, October 31, 2022

Happy Halloween! (and Happy Birthday to my Aunt 'Chelle!)

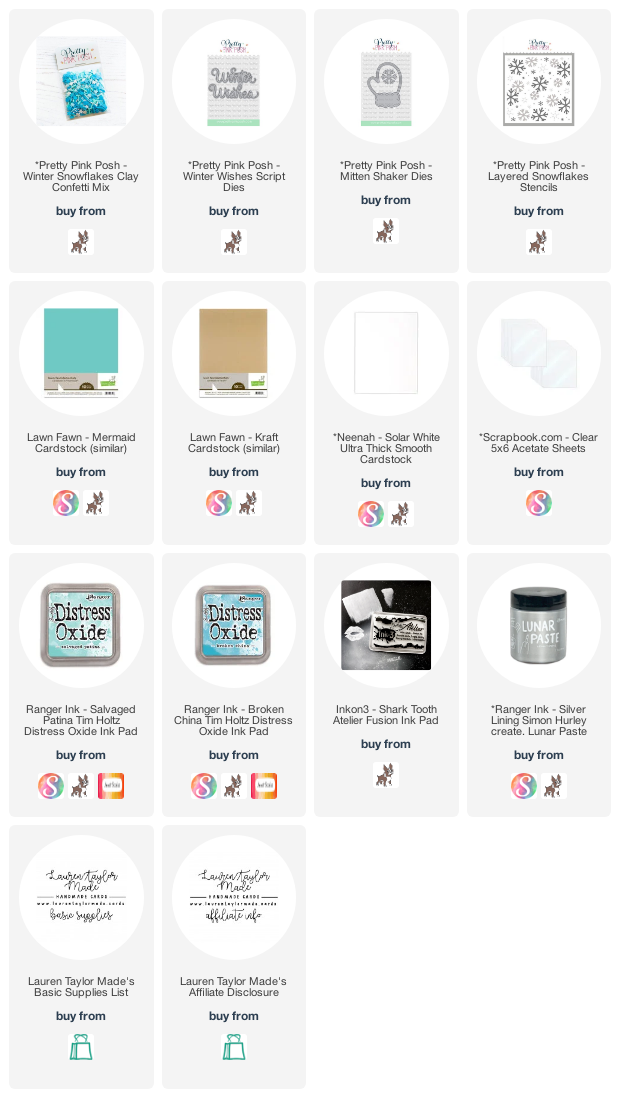
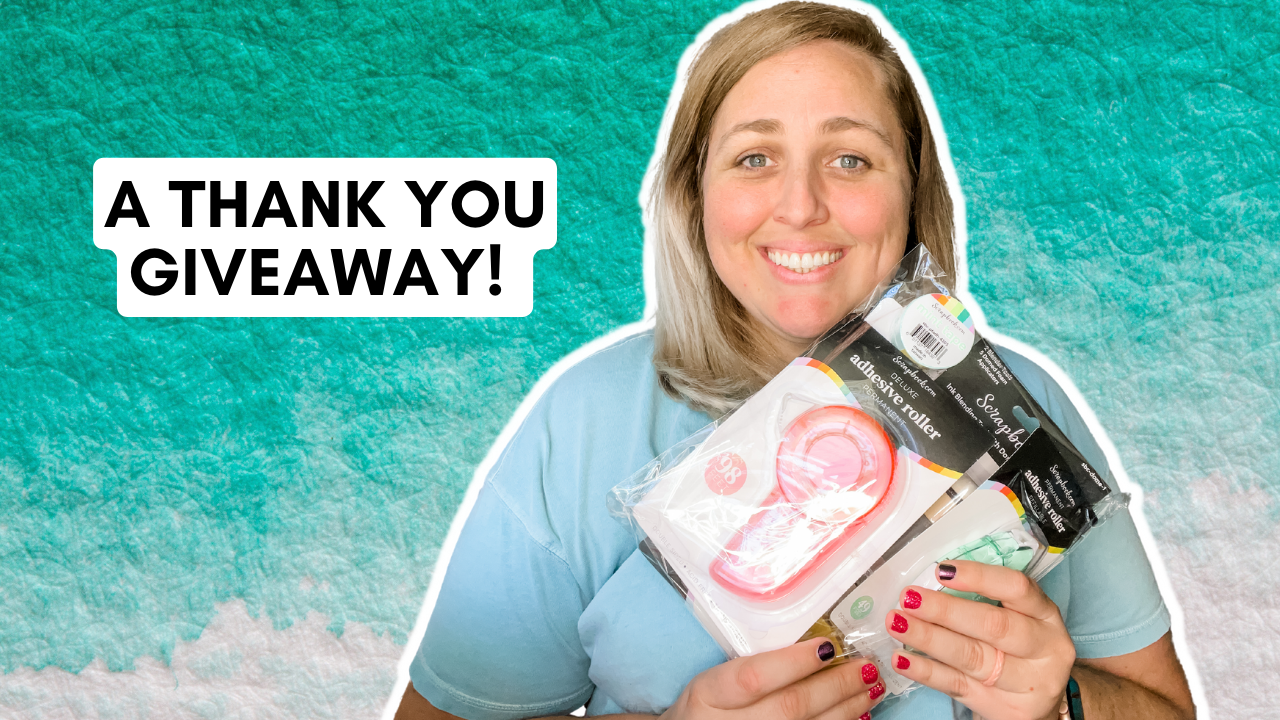
I am doing a giveaway over on my YouTube Channel and will be gifting some of my favorite essentials from Scrapbook.com as a thank you to those who take the time to watch my videos, like and comment. You just need to watch the video on YouTube and leave a comment with your country (giveaway is for the US only, but I will gift a certificate for those outside the country).

If the winner is a subscriber, I will also throw in some stamp sets that I have that are duplicates! If you don't win this giveaway, I will be doing another giveaway in my Facebook Group once we reach 100 members. So join the Make & Take Club Group to help the group get to 100 members for a chance to win there, too!

Thank you again to everyone who takes the time to watch, like and comment on my videos. A bigger thank you hug to those who also use my affiliate links - it means the world to me that you are so willing to support me and my channel.

Now click the video below to watch on YouTube and enter my giveaway! Winner will be announced on November 7th!

VIDEO GIVEAWAY


GIVEAWAY LIST

Read More

Christmas Magic Chipmunks with The Sassy Club

Sunday, October 30, 2022

I'm pretty proud of myself for getting my Craft Roulette project done on the weekend! The parameters required some stretchy pants thinking because the card had to include a "tic tac toe" which made me struggle a bit. So I went with a large square card (5.5x5.5") and die cut small rectangles to create the grid.

The colors this week were violet, red + 2 so I went with blue and green to create a fun winter card with Xmas Magic from The Sassy Club. I just love these two little chipmunks and knew it would be cute to include - especially since one of the scarves has fringe on the end and that was a parameter, too!

The final parameter was leaves and the same stamp set had solid holly berries and leaves so I stamped those out (which is why I needed green). The paper I used for the grid is also from The Sassy Club and went well with the colors I chose for coloring.

It's definitely a large card and will probably be more decoration than sending it in the mail as my daughter is big fan of these two chipmunks and will probably swipe it to put in her room. While this card is definitely something out of my comfort zone, I love how the colors came together and these cute little critters!

PIN THIS
SUPPLY LIST

Read More

Lumberjack Plaid - New Tim Holtz Distress Ink Color!

Saturday, October 29, 2022

EEK! It's a new Distress Ink color day from Tim Hotlz and Ranger Ink! Behold... Lumberjack Plaid! This new color is absolutely stunning and I'm so excited it's coming out right in time for the holidays because it really is an amazing Christmas red color. Thanks to Scrapbook.com, I was able to unbox the new color before it was announced and it has been SO HARD to keep it a secret!

In my video down below, I share my initial unboxing where I saw the color for the first time (I was overjoyed, hehe) as well as swatching out the new color along with some of the other Distress Ink colors in the red family. I also share some background inspiration with the new Distress Ink and Oxide Pads with some stencils exclusive to Scrapbook.com.

Finally, I made the card you can see above - I was really leaning into the Lumberjack Plaid color theme by creating a plaid background and making sure it was the star of the card. What do you think of the new color? What is your favorite Distress Ink medium that you'll be getting in this new color?

Get your color TODAY from Scrapbook.com here: SHOP TIM HOLTZ DISTRESS INK

VIDEO TUTORIAL


PIN THIS
SUPPLY LIST

Read More

Ego and Beauty Mini Slimline with The Sassy Club

Friday, October 28, 2022

I barely made the submission for Episode #135 for Craft Roulette this week! I knew I was going to post my project on Friday and I kept thinking in my head "Friday" and last night around 8:30pm it dawned on me that the deadline was Thursday night, 10:00pm... not Friday! So I had to think fast about what I wanted to do for my project.

Searching through my Sassy Club stamps, I found the set Ego and Beauty that had a book and knew I could make this set work with the parameters. The project was a mini slimline with colors of red, blue green + 1; had to include sheet(s) and two tones of the same color.

I colored my sweet Beauty and her book with alcohol markers and fussy cut them out. I bought a set of skin tone markers from Ohuhu and really loved having more colors to choose from! I cut down a piece of mix media cardstock and embossed the stained glass window with gold embossing powder (metallics and neutrals are always allowed in the colors). I used watercolors to color in my stained glass window and used red, blue green (stem) and two tones of blue.

Then I masked my stained glass window and brought in some Distress Oxide to match the look of my pages in the book I colored and stamped my sentiment from the set. I layered the background on some blue green patterned paper (also from Sassy Club) with foam adhesive and then used thin foam squares to pop up Beauty and her book.

How do you think my mini slimline card turned out? I accidentally got some ink where I didn't want it... 😒 but overall I really love the stained glass window. I definitely want to color it in again with more colors to match the movie inspiration.

PIN THIS
SUPPLY LIST

Read More

A Latte Joy Any Occasion Coffee Card with Pretty Pink Posh

Thursday, October 27, 2022

I finally made my version of Call Me Crafty Al's Sheetload of Cards this month with a batch of 12 birthday cards that really can be used for any occasion. I definitely changed a couple things up the card, but I really love my stenciled background and the Winter Mug die cut from Pretty Pink Posh is a perfect size for a card!

The patterned paper that inspired my color palette is an oldie from Stampin' Up! but the jewel tones on this card along with the espresso browns and golds from my Lunar Paste really make this a bold card. I'd love to know what you think about my take on the Show Us Your Sheetload sketch for this month. Did I change too much or does it still look like the card sketch?

Check out my video down below to see how I used the Layered Coffee Cups Stencils and DIY'ed my sentiment from new stamp sets all from Pretty Pink Posh.

VIDEO TUTORIAL


PIN THIS
SUPPLY LIST

Read More

Mix & Match Heffy Doodle Release Products - Hang in There Halloween Card

Wednesday, October 26, 2022

Are you overwhelmed with using new products from Heffy Doodle? I totally get it! I tend to collect stamp sets and end up using only new products with other new products from the same release. But Heffy Doodle products can easily be used with products from previous releases!

I used the Hang in There Jumbo Sentiment Dies and Stitched Hearts Background Die from previous releases with the new Let's Hang Out stamp set!

My video below shows how I created my ink smooshed and splatter filled background and how I assembled this card. I even left in my simple coloring for these fuzzy spiders! How do you remember to grab older products when you craft with new stamps? Let me know in the comments so I can be better about this, too.

VIDEO TUTORIAL


PIN THIS
SUPPLY LIST

Read More

Hi Fall Parade on the Scrapbook.com Gallery

Tuesday, October 25, 2022

Scrapbook.com is having a hashtag hop on the Gallery today using the Hi Fall Stamp Set today! To see all of the amazing inspiration using the stamp set, you can click on the "hifallparade" category for my card in the Gallery. It will show you projects created by other crafters using the set in so many different and creative ways!

To create my card, I started with the Harvest 6x8 Cardstock Paper Pad Bundle - it contains the smooth cardstock and the patterned paper. I picked different Distress Ink Pads that matched the colors of the striped paper and also grabbed some of the dark blue and light yellow cardstock pieces to create a layered look on the card and for my sentiment.

The striped pattern, blue and white cardstock pieces were die cut with the Nested A2 Rectangles. I was excited to pair the Hi Fall stamp set with the new Flower Fields stamp set. I just love the layered stamps and used the Distress Inks to do my stamping along with a dark brown ink to layer on the stems and leaves.

My "thankful for you" sentiment are from Hi Fall; I embossed "thankful" with gold embossing powder and popped up the "for you" with a foam adhesive strip. When assembling the card, I also popped up the the blue cardstock onto the stripped patterned paper.

Now head over to my Gallery, click on the "hifallparade" category and see all of the beautiful inspiration!

PIN THIS
SUPPLY LIST

Read More

Geometric Optical + Sealed Flowers from the Sealed By Collection from Spellbinders

Monday, October 24, 2022

My collection of stencils is certainly growing! I love stencils that line up with dies and stamps, but this is my first set of layering stencils that coordinate with a Glimmer Hot Foil Plate! I was gifted some new products from Spellbinder's Sealed By Collection - the Sealed Flowers Etched Dies, Layered Geometric Optical Stencils and Geometric Optical Background Glimmer Hot Foil Plate.

I started with A2 sized pieces of white and kraft cardstock and used the Geometric Optical Background Glimmer Hot Foil Plate to add silver to the white and gold to the kraft pieces of cardstock. There are four layered stencils in the Layered Geometric Optical set; I used cooler ink colors with the gold on white and warmer with the silver on kraft to create stunning backgrounds!

To create the florals, I used coordinating cardstock in my scrap bins, but Spellbinders has amazing colors in their Essentials Cardstock Collection. So if you're in need of colored cardstock, check out the colors they offer! The banner was created using more white cardstock and I used my heat foiling tools to add matching foil sentiments. The only dimension on this card is on the banner - the die cut pieces with the sentiments are popped up using thin foam squares.

I really love how these birthday cards turned out and this pattern can be used for any occasion or holiday for your card making! Check out all of the products from the Sealed By Collection on Spellbinders here!

PIN THIS
SUPPLY LIST

Read More

Shaker Sunday: Winter Wishes Snowflake Shaker Mitten with Pretty Pink Posh

Sunday, October 23, 2022

Okay, I know I literally shared a shaker mitten yesterday, but today is different! It's blue! 

You know I love a good shaker card, so I'll definitely be using the Mitten Shaker Dies from Pretty Pink Posh at least one more time during my Guest Designer term for this month and next. I went with the traditional red and green colors yesterday to match my Santa Claus, but my favorite color scheme for this time of year is definitely blue and silver.

What's better for that color scheme than snowflakes? I grabbed the new snowflake products and created a blue, white and silver background on kraft cardstock (which is apparently my new favorite thing to do) and used the new Confetti Clay Mix inside the mitten shaker. The Winter Wishes Script sentiment is also a new release product and goes so well with the snowflakes!

Check out my video below to see how I created the shaker mitten, snowflake background and added silver Lunar Paste to my die cut sentiment!

VIDEO TUTORIAL


PIN THIS
SUPPLY LIST

Read More

Santa's Mitten Shaker Card + Holiday Release Instagram Hop with Pretty Pink Posh

Saturday, October 22, 2022

I am so excited to be a guest designer for Pretty Pink Posh for October and November! I have been a fan of PPP from when Paulina started releasing sequins and I even have the first stamp set which was a collaboration with Simon Says Stamps. When Paulina asked if I would be a Guest, I was so flattered and so excited because I knew the Holiday Release was going to be magical!

I was so right! There are so many amazing new products that I tried to fit in a bunch onto one card, haha! I am using a new Layered Mittens Stencils with alternate red and green Distress Oxides which are layered with Glitter Glaze and Stencil Paste as well as Pops of Color to create the fuzzy mitten cuffs. The new Mitten Shaker die is so cute; I cut it from white glitter and red cardstocks, then filled it with the Holiday Cheer Clay Confetti. The sentiment is heat embossed inside the mitten and from the Happy Santa stamp set along with the adorably cheer Santa Claus.

What's even more exciting is that I am participating in the Instagram hop and my day to share is today! So click on the image above to head over to my Instagram for a chance to win a $30 gift certificate to the Pretty Pink Posh store. There are so many participants in the hop so lots and lots of inspiration for this new release. I am so excited to continue creating and share even more with you these next few weeks!

PIN THIS
SUPPLY LIST

Read More