Showing posts with label thank you. Show all posts

A One in a Melon Shaped Card with Trinity Stamps

Thursday, June 11, 2026

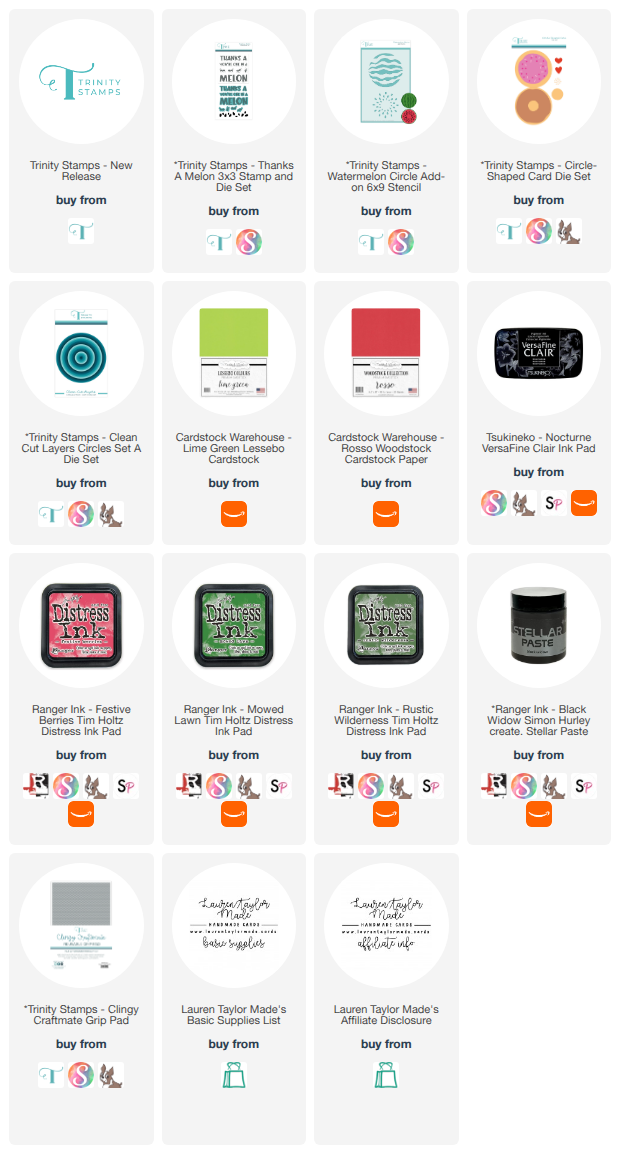
For today’s project, I am celebrating the new Trinity Stamps release with the sweetest watermelon shaped card! I combined the new Watermelon Add-On Stencil with the Thanks a Melon stamp and die set to create a fun dimensional design that looks like a watermelon from every angle. I started by die cutting several circles from the Clean Cut Layer Circle Set A and used Distress Inks in Mowed Lawn and Rustic Wilderness to stencil and blend the rind with soft shading around the edges. For the white rind layer, I lightly blended Mowed Lawn around the outside so it wasn’t a stark white, and then added a subtle darker edge to the red watermelon center using Festive Berries. To finish the fruit itself, I used the coordinating seed stencil with Black Widow Stellar Paste for shiny dimensional seeds that catch the light beautifully.

Once everything had dried, I stamped the sentiments from the Thanks a Melon stamp set in VersaFine Clair Nocturne and used the coordinating dies to cut them out. I assembled the card by layering all of the circles onto the Circle Shaped Card Die base, even decorating the back so the entire card looks like a complete watermelon when it’s closed. Inside, I arranged the sentiment to read “You’re One in a Melon,” and on the front I stacked three die cuts of the word “Thanks” to create a thicker chipboard style sentiment before gluing it over the watermelon. I intentionally positioned it to hide a tiny bit of stencil paste bleed, and you would never know it was there. One of my favorite little details is that the card stands up on its own and looks like half a watermelon sitting on the table. It is bright, cheerful, and such a fun way to celebrate this adorable new release!

VIDEO TUTORIAL


PIN THIS
SUPPLY LIST

Read More

Sweet Summer Mailbox Card with Scrapbook.com

Tuesday, May 26, 2026

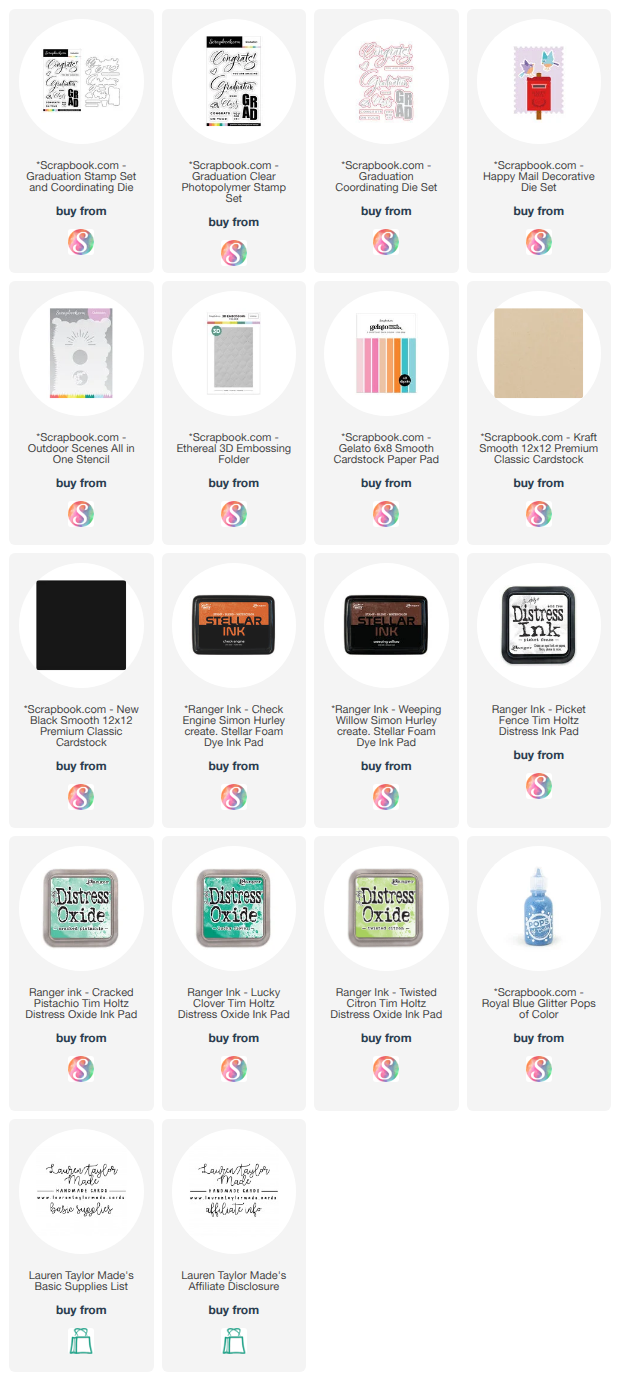
For today’s card, I created a bright and cheerful little mailbox scene using Scrapbook.com exclusives and lots of color from the Gelato cardstock paper pad. I started with an A2 white card base and trimmed another piece of white cardstock slightly smaller to layer on top. Before attaching it, I lightly misted the cardstock with water and embossed it using the Ethereal 3D embossing folder to create lots of soft texture in the background. For the focal scene, I die cut the large postage rectangle from the Happy Mail Decorative Die set using one of the light blue papers from the Gelato pad. I used the Outdoor Scenes stencil with Picket Fence Distress Ink to add clouds and blended Twisted Citron, Cracked Pistachio, and Lucky Clover Distress Oxides along the bottom for the grassy area. The clouds faded back a little after drying, but they still show up softly when the light hits the card just right, which I actually really love.

Next, I built the mailbox and birds using more cardstock from the Gelato paper pad. I die cut the mailbox from orange shades and blended the edges with Check Engine Stellar Ink for dimension, then layered the black mailbox opening behind it. For the mailbox post, I used kraft cardstock and darkened it with Weeping Willow Stellar Ink before trimming and extending the pole slightly taller than the original die allowed. I attached the mailbox to the center of the postage panel with foam adhesive for extra dimension. The birds were assembled from layered pink and peach cardstock pieces with tiny black eyes and little orange cheeks, feet, and beaks. I glued their feet directly onto the mailbox while popping up their bodies with foam adhesive so they looked more dimensional. To finish the card, I stamped the “You Are Amazing” sentiment from the Graduation stamp set using Weeping Willow Stellar Ink and added it underneath the mailbox scene with more foam adhesive. Finally, I scattered Royal Blue Glitter Pops of Color across the sky area for some sparkle and shine. I love how playful and happy this card feels with all the soft texture, layered die cuts, and bright summer colors!

PIN THIS
SUPPLY LIST

Read More

Rainbow Sparkle Fandom Cards with Kindred Stamps

Saturday, May 9, 2026

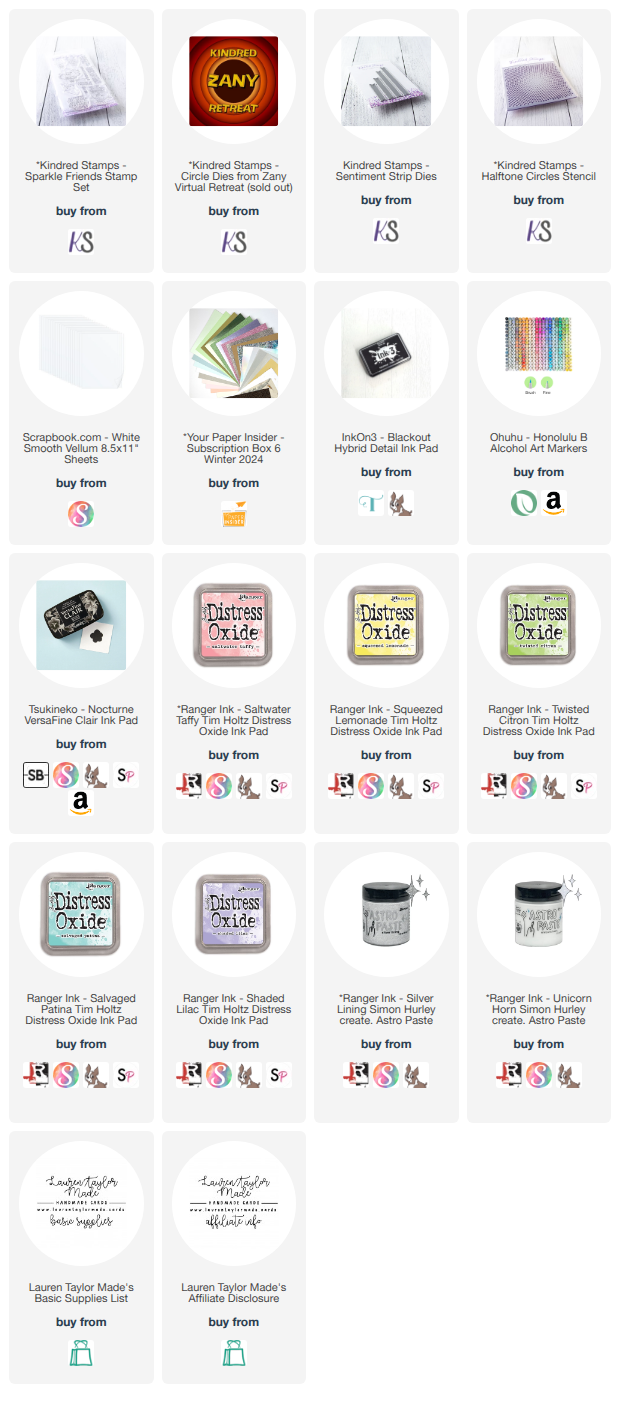
Hi friends, today I am finally sharing this colorful fandom-inspired card trio using the Sparkle Friends stamp set from Kindred Stamps. I started by ink blending two A2 panels with one of my favorite rainbow combinations of Distress Oxides using Saltwater Taffy, Squeezed Lemonade, Twisted Citron, Salvaged Patina, and Shaded Lilac. Once I was happy with the blends, I layered the Half Tone Circle stencil over each panel and spread different Astro Pastes through the stencil for lots of shimmer and texture. One background used a silver paste for a bold metallic look, while the other used a more translucent sparkle paste that allowed the rainbow underneath to really shine through. After everything dried, I trimmed the panels down slightly to leave a crisp white border around each finished card.

For the first card, I used the sparkly silver-haired character and layered him onto a vellum circle with a stamped sentiment banner. I hid the foam adhesive behind the character and banner so the vellum would stay clean and transparent against the glittery background. For the other two cards, I split the second rainbow panel in half and added holographic cardstock strips along the sides for extra shine. I stamped coordinating sentiments directly onto the card fronts and popped up the characters with thin foam adhesive so they stayed the stars of the design. I love how simple these cards ended up being while still feeling bright, happy, and full of personality. Sometimes rainbow ink blending and a little sparkle are all a card really needs.

VIDEO TUTORIAL


PIN THIS
SUPPLY LIST

Read More

Quilted Thank You Card with Scrapbook.com

Thursday, April 9, 2026

For today's card, I started by creating a textured background using the Background Builders 2 stamp set, alternating Pompous and Crown Me inks on white cardstock to get a weaved, patterned look. I trimmed the panel to 4 x 5.25" and ran it through the Quilted Stars 3D embossing folder for added dimension. To bring everything together, I used a blending brush with Pompous ink around the edges to create a soft purple vignette, then splattered leftover ink from my glassboard along with white Starry Colors pigment watercolor for a bit of shimmer. Once the panel was dry, I adhered it to a black A2 panel and then onto a top folding card base.

For the focal point, I die cut a stitched oval from white cardstock and created a layered butterfly using the Heirloom Butterflies die set. I cut the body from black cardstock, the largest wings from vellum, and the smaller wings from ink blended white cardstock using the same purple inks and splatter for consistency. I layered all the pieces together, then added a “thanks” sentiment from the Essential Sentiments die set, with the white letters adhered to a black shadow. I attached the butterfly above the sentiment using thin foam adhesive and popped the entire oval up onto the card front. To finish the design, I added black gloss and satin pearl pops of color around the oval for a polished and dimensional look.

PIN THIS
SUPPLY LIST

Read More

Layered Oak Lane Thank You Card with Scrapbook.com

Tuesday, December 9, 2025

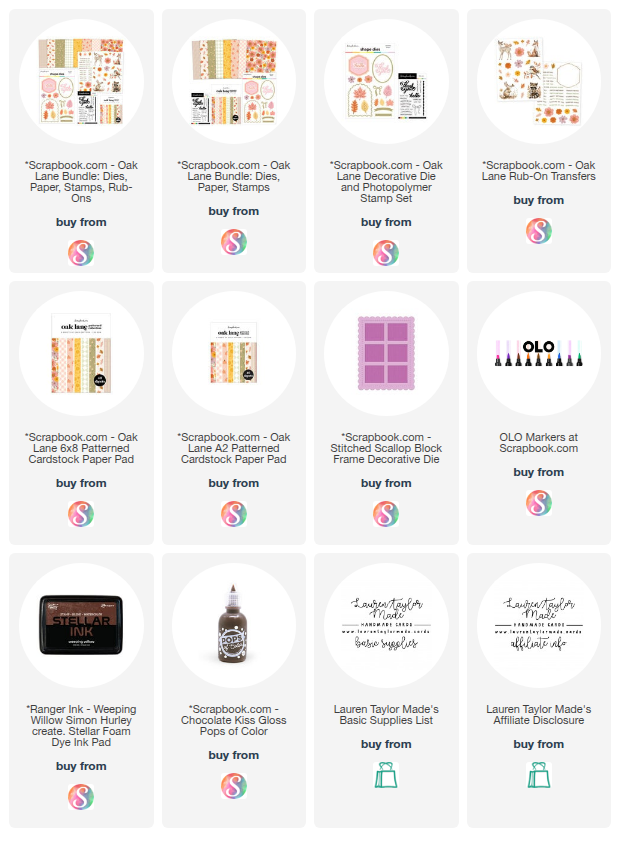
Today I am sharing a thank you card I created using exclusive products from Scrapbook.com. I started by die cutting a sheet of patterned paper from the Oak Lane 6x8 pad with the stitched scallop block frame die. I glued the frame and the six little blocks that were cut out of it to a top folding A2 card base. I trimmed a second patterned paper with small daisies to 3.5 x 4.75" inches and glued it to the center of the framed panel. Next, I die cut the three ornate decorative dies from the Oak Lane die set using three different patterned papers from the A2 Oak Lane paper pad. Before stacking them, I added a few rub on flowers from the Oak Lane transfer set to the smallest piece. I glued all three layers together to create one focal stack.

For the sentiment details, I die cut the curved banner twice, trimmed the folded sides off one of them, and added the rub on sentiment sending a hug to the trimmed banner. I layered the two pieces together with one millimeter foam adhesive and added a touch of pale yellow shading with an OLO marker. I glued the banner to the top of the stacked ornate die cuts. I then die cut the thank you sentiment twice from brown paper in the Oak Lane A2 pad, glued them together, and adhered it below the banner. For a final touch, I stamped the bow from the Oak Lane stamp set in Weeping Willow Stellar ink, added shading with OLO markers, and glued it to the bottom of the layered pieces. I attached the entire stacked element to the center of the card front and finished with a few Chocolate Kiss Pops of Color around the thank you sentiment.

PIN THIS
SUPPLY LIST

Read More

Autumn Thanks with Trinity Stamps

Sunday, November 16, 2025

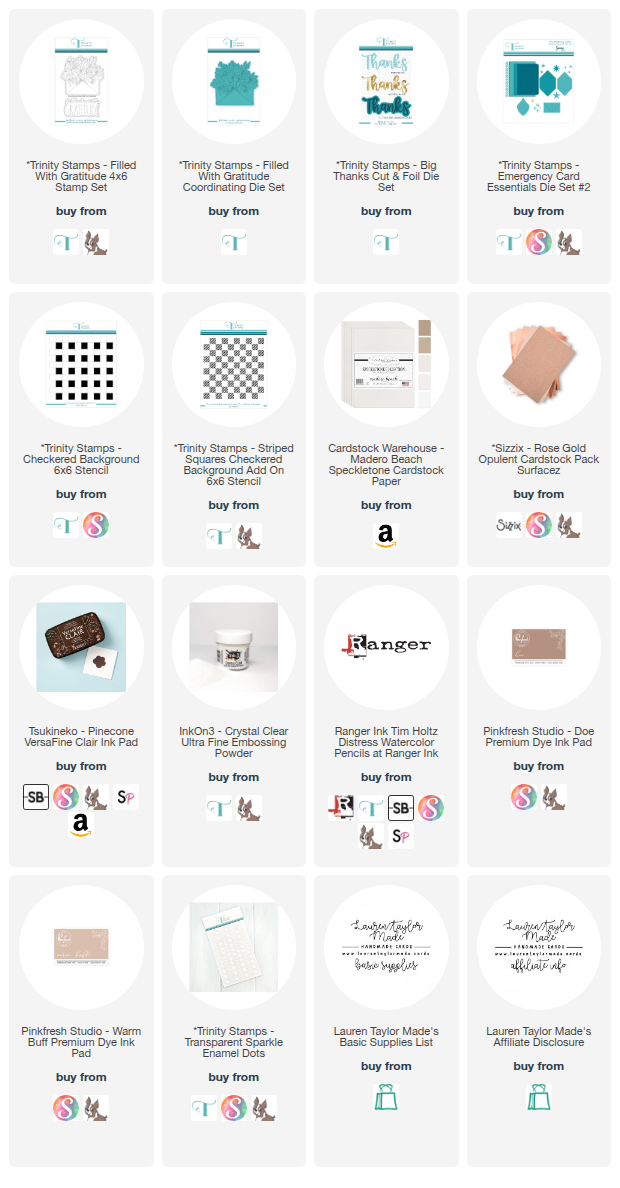
For today’s card I used Trinity Stamps products and created a soft, warm background with layered stenciling. I started with a piece of Madera Beach cardstock and cut it with the 4 by 5¼ rectangle die from the Trinity Stamps A2 Card Essentials Die Set 2. I stenciled the Checkered Background Stencil with Doe ink from Pinkfresh Studio, then added the Stripe Squares Checkered Background Add-On Stencil over the top with Warm Buff ink. For the sentiment, I die cut the word thanks from the Big Thanks Cut and Foil Die Set using rose gold cardstock. I cut the word a second time from Madera Beach scrap cardstock and glued the layers together for extra stability. I stamped the Filled With Gratitude envelope image onto Madera Beach cardstock with Pinecone VersaFine Clair ink and embossed it with clear powder.

I colored the image using my Ranger Tim Holtz Distress Watercolor Pencils and then die cut it with the coordinating die. I glued the checkered background onto a top folding A2 card base and popped up the colored envelope with 1mm foam tape. I added the stacked thanks sentiment under the envelope using liquid glue. To finish the card, I placed a few Transparent Sparkle Enamel Dots around the design for a little shine. I also added a short video below that walks through the process of watercoloring the image.

VIDEO TUTORIAL


PIN THIS
SUPPLY LIST

Read More

A Floral Thank You — November SheetLoad of Cards Hop

Sunday, November 2, 2025

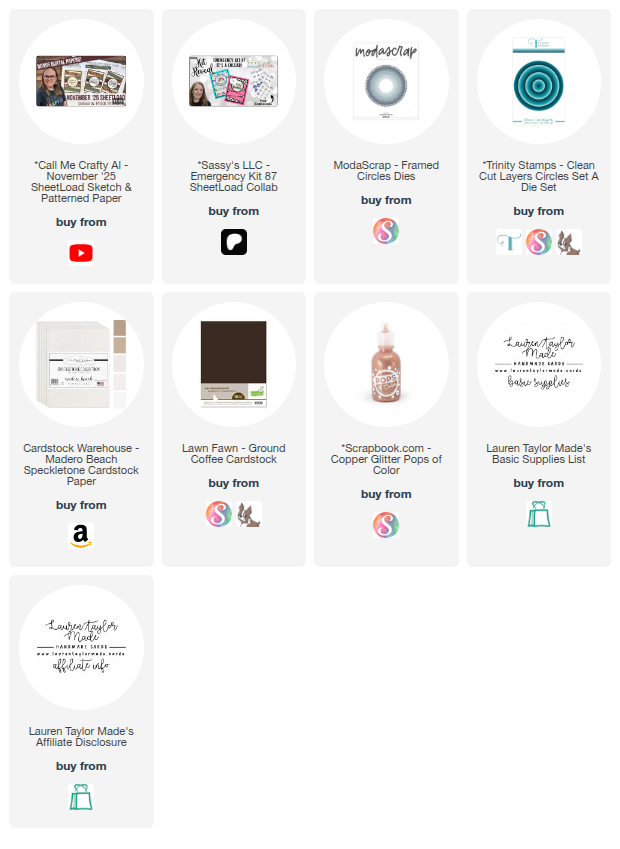
Hi friends, it’s the second of the month, which means it’s time for another SheetLoad of Cards Creative Team hop. This month’s sketch from Call Me Crafty Al is extra special because it’s a collaboration with Sassy’s LLC, and I couldn’t be more excited! I printed the beautiful thank you sentiments from the Emergency Card Kit onto Madero Beach cardstock, and paired them with a few of Crafty Al’s gorgeous printable pattern papers. Using the guide from this month’s SheetLoad, I followed the sketch to assemble my layered strip panels, adding my favorite floral prints to the top for a little extra spotlight. I love how easy this layout makes creating a whole set of coordinated cards — perfect for a quick batch of thank yous or even a small gift set.

Once my patterned panels were complete, I layered them onto Ground Coffee cardstock and added the sentiment with a framed circle die for that scalloped detail from the sketch. A touch of 1mm foam adhesive gave the sentiment some subtle dimension, and I finished the design with Copper Glitter Pops of Color for just a little sparkle and shine. I love how these turned out — classic, cozy, and full of gratitude. Be sure to check out my video below to see my process and hop along with the rest of the SheetLoad Creative Team to get inspired and see how everyone made this month’s sketch their own!

VIDEO TUTORIAL


PIN THIS
SUPPLY LIST

Read More

Autumn Stems Hugs Card with Cardstock Warehouse

Friday, August 8, 2025

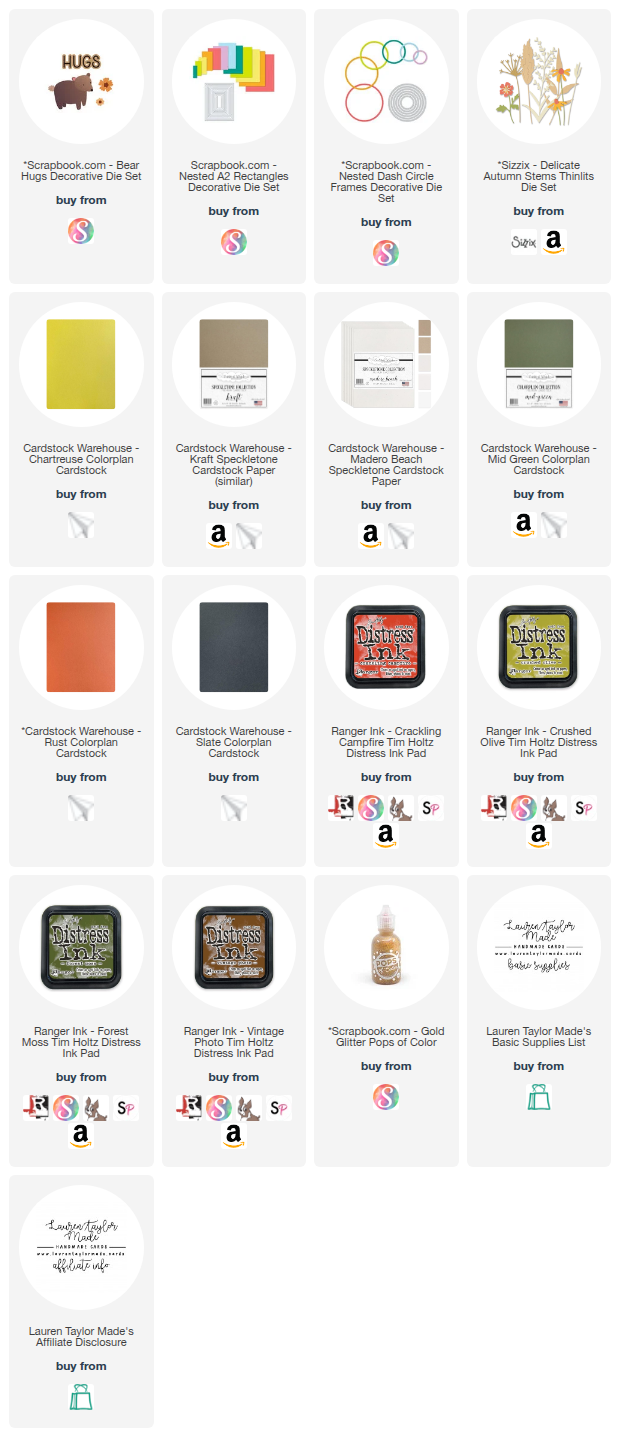
For today’s card, I was inspired by warm, earthy autumn tones and pulled together a mix of Cardstock Warehouse papers to create a layered botanical card. I used Madero Beach Speckletone, Kraft Speckletone, Mid Green Colorplan, Chartreuse Colorplan, Rust Colorplan, and Slate Colorplan cardstock to die cut floral and foliage pieces using the Sizzix Delicate Autumn Stems die set. To add extra detail and shading, I ink-blended Distress Inks onto the die cuts—pairing colors like Crackling Campfire with Rust and Forest Moss with Mid Green.

Once everything was inked and assembled, I moved on to building the base. I trimmed Slate Colorplan to A2 size and glued it onto a card base, then added a Madero Beach panel cut with a rectangle die. A circle frame die cut from Kraft Speckletone gave me an offset anchor to arrange my florals. I finished the card with a layered “hugs” sentiment cut from Slate and Kraft cardstock using the Bear Hugs die set. A few gold glitter Pops of Color were the final touch for a bit of shimmer!

PIN THIS
SUPPLY LIST

Read More

Trio of Hugs Cards with Waffle Flower Crafts

Tuesday, August 5, 2025

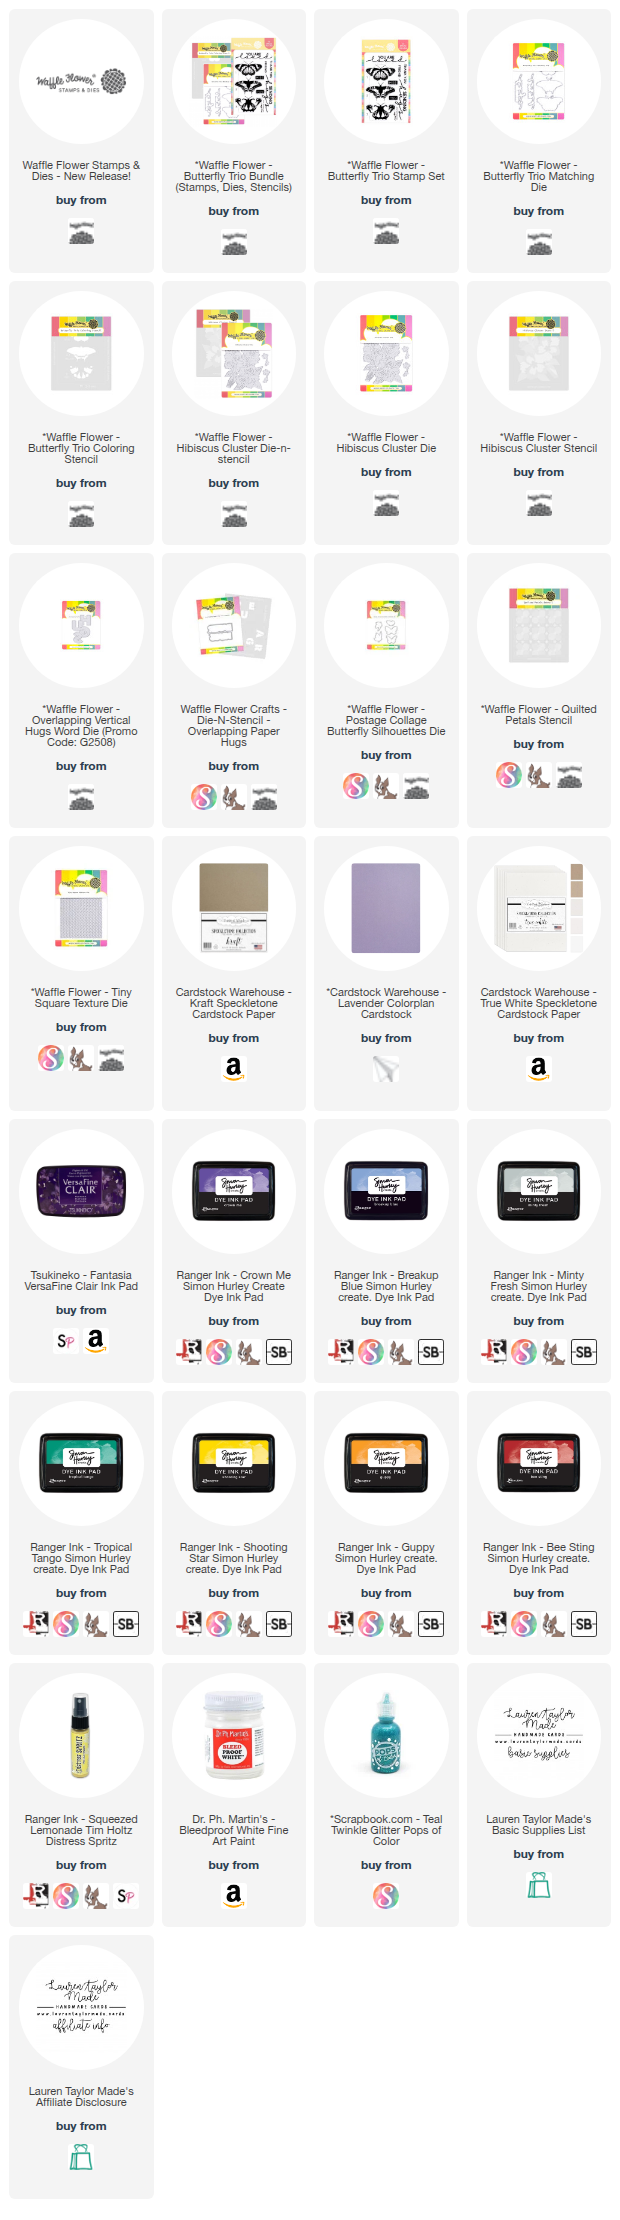
Today I’m sharing three “Hugs” cards using the brand-new Summer Afternoon Release from Waffle Flower Crafts! This collection is packed with beautiful layering stencils, detailed dies, and versatile sentiments perfect for mixing and matching. I focused on creating a cohesive set of cards with the same color palette—purples, teals, and a touch of sunny yellow—while highlighting different techniques on each design.

For my first card, I used the Butterfly Trio bundle to stamp, stencil, and die cut three colorful butterflies, pairing them with the “Sending Hugs” sentiment over a textured, splattered background. My second (and favorite!) card features the Hibiscus Cluster die and stencil, layered in the same dreamy hues and finished with a dimensional “Hugs” sentiment. And for my third card, I reached for some previously released favorites—the Quilted Petals Stencil and Overlapping Paper Hugs bundle—to create a colorful stenciled background with die-cut butterflies fluttering across the panel.

Each card has its own personality, but together they make such a fun trio of designs. Want to see exactly how they came together? Watch the process video below, where I share step-by-step details, tips for layering stencils, and how I add finishing touches like splatter, shadowing, and dimension. Don’t forget to check the description box for a special promotion on the new Overlapping Vertical Hugs die and to enter my Waffle Flower gift card giveaway on Instagram!

VIDEO TUTORIAL


PIN THIS
SUPPLY LIST

Read More

You're Scoops of Fun with Scrapbook.com

Thursday, July 17, 2025

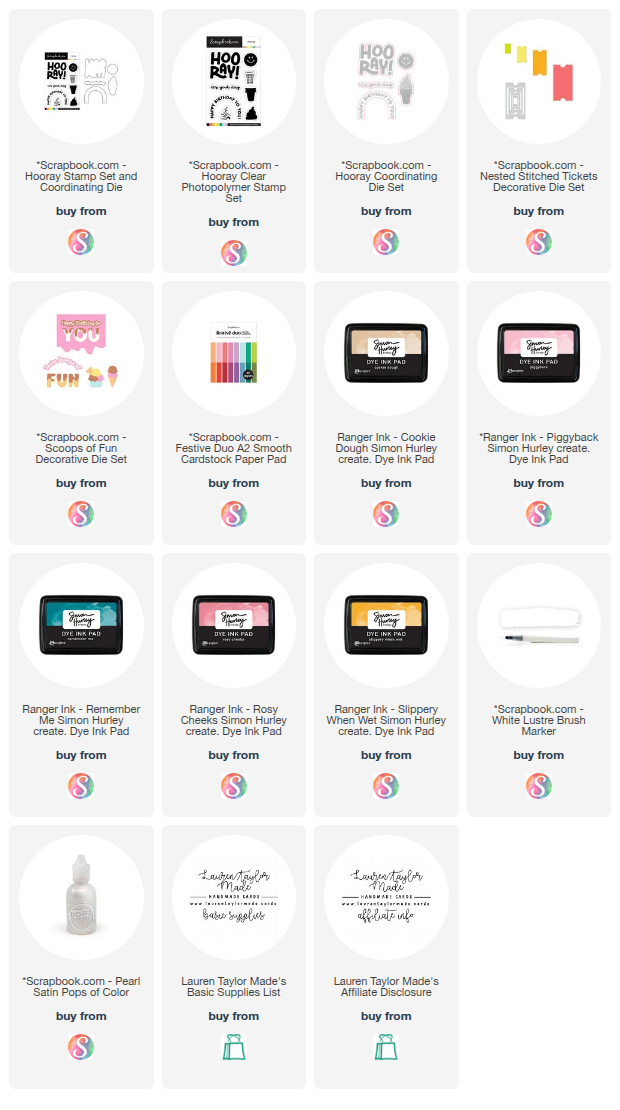
This playful card is bursting with sweet summertime vibes thanks to Scrapbook.com’s Exclusive Products. I started by die cutting the smallest ticket shape from pink and purple cardstock, then cut the largest ticket from teal and its border from dark blue—all from the same Festive Duo A2 paper pad. I arranged the small tickets along the edges of a light blue A2 card panel, alternating the colors for a fun border effect. The large teal ticket became the centerpiece, popped up with foam adhesive and finished with the top and bottom border edges for extra dimension.

For the sentiment, I used the Scoops of Fun Die Set—cutting "you're scoops of" from white cardstock with a pink shadow, and layering the word "fun" in purple with a melty pink top layer. I added splatters of white using the White Luster Brush Marker to tie everything together. Two ice cream cones from the Hooray Stamp Set (stamped in colorful inks and cut with the coordinating die) were layered in between the sentiments, and I finished the card with pearl satin Pops of Color for a soft touch. This one’s definitely a treat!

PIN THIS
SUPPLY LIST

Read More