Showing posts with label sizzix. Show all posts

Oh Happy Day Wildflower SheetLoad of Cards with Sizzix

Tuesday, August 4, 2026

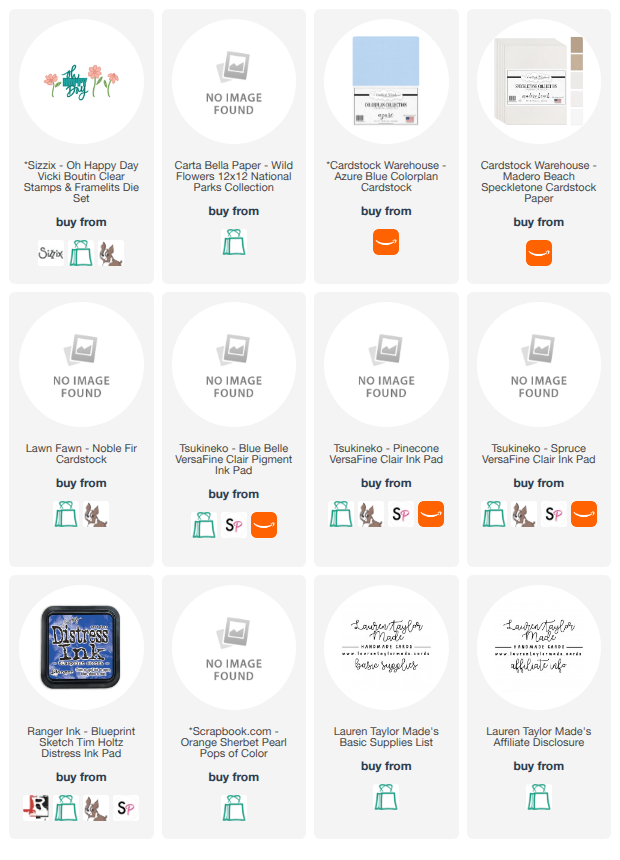
For August 2026's SheetLoad of Cards collaboration with Call Me Crafty Al's creative team, I was so excited to work with this month's very first square card edition inspired by Letty from Party Planner Papery! I used the Oh Happy Day clear stamp and die set from Sizzix and Vicky Boutin, stamping the large scripty sentiment onto Madero Beach Speckletone cardstock in Pinecone VersaFine Clair ink, two whimsical flowers onto Azure Blue cardstock in Blue Belle VersaFine Clair, and three leaves onto Noble Fir cardstock in Spruce VersaFine Clair before cutting everything out with the coordinating dies. I adapted the sketch using a 12 by 12 Wildflowers patterned paper trimmed down to work with the square card format, and added a touch of Blueprint Sketch Distress Ink to the centers of the flowers with a blending brush for a little extra depth and dimension before assembling everything.

To put the card together I followed Call Me Crafty Al's sketch for all the background cuts and card base dimensions, which you can find linked in the video, using the sentiment as the focal center of the square card instead of the circle from the original sketch and arranging the flowers and leaves around it. I layered two die cut versions of the sentiment together with liquid glue so it would feel sturdier and pop off the card more, then used my fingers to gently curve the flower petals and leaves so everything had a little natural dimension without needing any foam adhesive. I finished each card with a few Orange Sherbet Pearl Pops of Color from Scrapbook.com dotted into the flower centers, tapping the back so they would dome out flat, and used up my pattern paper scraps to decorate the insides of all eight cards so nothing went to waste!

VIDEO TUTORIAL


PIN THIS
SUPPLY LIST

Read More

Make a Wish Floral Birthday Card with Sizzix

Saturday, July 18, 2026

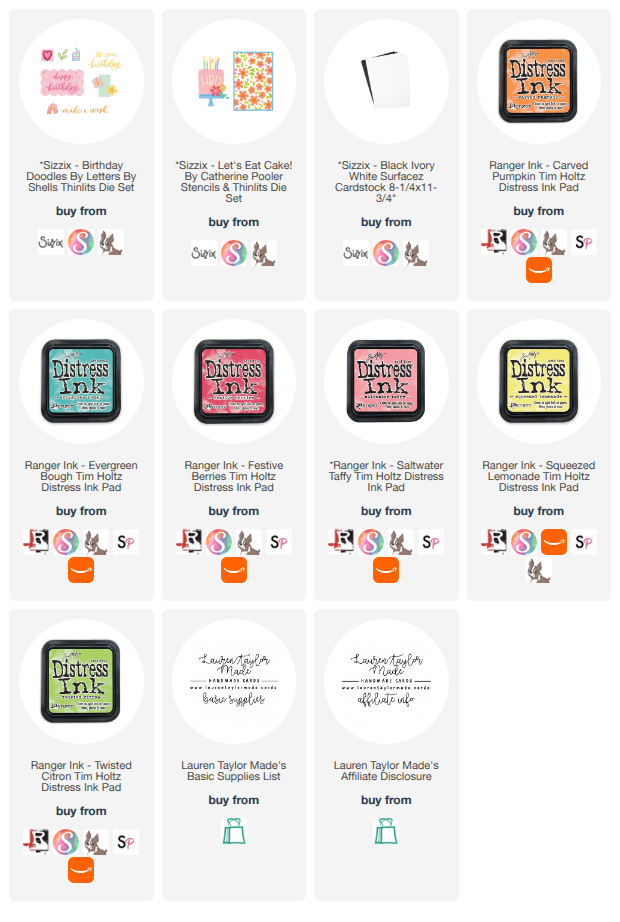
For this card I got to celebrate Sizzix's 25th birthday using some products they gifted me, and I am so excited because Sizzix is one of the first companies I ever created with! I started with the Let's Eat Cake stencil from the Sizzix and Catherine Pooler collaboration, placing my white Sizzix cardstock onto the Sizzix Stencil and Stamp Tool and using the notches to line everything up perfectly between layers.

For the first stencil layer I blended Saltwater Taffy and Squeezed Lemonade Distress Inks together with large brushes to create a soft peachy blend across all the flower shapes, then swapped to tiny Trinity Stamps blending brushes to add Twisted Citron and Evergreen Bough to the leaves, Carved Pumpkin to the flower centers, and Festive Berries to the tiny hearts scattered throughout the stencil, cleaning and repositioning the stencil between each color using those notches so everything lined up without any stress.

Once the stenciling was finished I trimmed the panel down to 4x5-1/4", saving the extra little sliver to glue onto the inside of the card later, then die cut a scallop rectangle from the center of the background using the Birthday Doodles Thinlits die set and cut the same shape again from black cardstock so just a peek of black would show around the edges once everything was layered together.

I used my A7 Card Maker T Square to center the stenciled background onto a top folding A2 card base, glued the black scallop die cut to the center, then built up my "Make a Wish" sentiment by die cutting it three times from black cardstock and layering all three together with liquid glue for a sturdy, dimensional result without having to fight with foam adhesive behind all those dainty cursive letters. I picked up the tip of using a silicone mat with liquid glue to help get adhesive onto really delicate die cuts from my friend Sara Lihz at Sassy's LLC, and it made the whole process so much easier!

I attached the layered sentiment panel to the front of the card with 1mm black foam adhesive from Scrapbook.com so that little peek of black cardstock could show through at the edges, then die cut three coordinating flowers from the Let's Eat Cake die set out of extra blended white cardstock, added black cardstock centers and leaves, auditioned my layout until I was happy, and glued everything down to finish off the card. I love how the soft peachy florals pair with those bold black accents and that scripty sentiment!

VIDEO TUTORIAL


PIN THIS
SUPPLY LIST

Read More

Birds & Blooms Sheet Load Rewind Cards with Sizzix & Catherine Pooler

Thursday, June 25, 2026

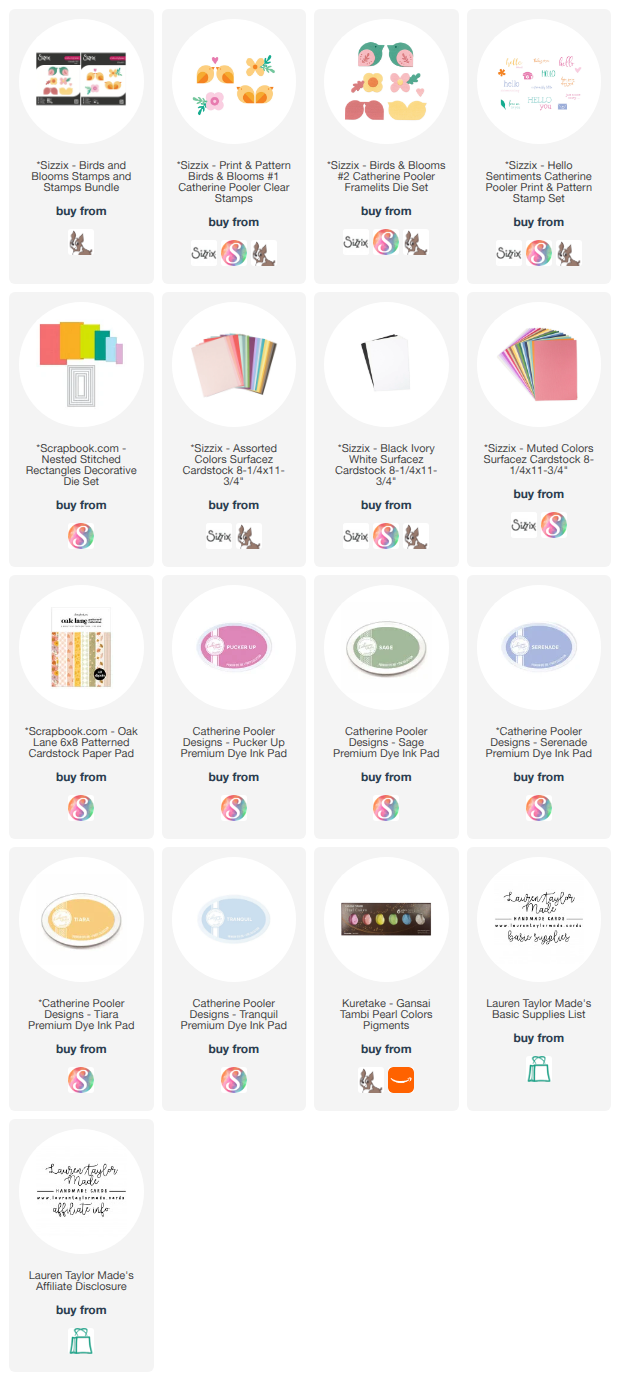
For this month's SheetLoad Rewind, we are rewinding back to the June 2025 sketch inspired by Bitty Penny, and I knew immediately I wanted to create my own custom patterned paper using the Birds & Blooms No. 1 stamp set from the Sizzix and Catherine Pooler collection. I built a repeating background by layering the full bird stamps in Tranquil ink, then added the wings in Serenade, the beaks and eyes in Tiara, and scattered little Pucker Up pink hearts in between for a fun pop of color. Once I had enough patterned paper for all four cards, I followed the sketch and used my Nested Stitched Rectangles from Scrapbook.com to die cut an open center panel so my pretty custom paper could really shine through rather than getting covered up by layers.

I ended up making three landscape cards following the sketch and one portrait orientation gate fold card, which I have to say is my favorite of the bunch! I die cut the adorable coordinating birds from the Birds & Blooms No. 2 die set, used the crinkle ink technique to add some Tranquil shading to the lighter blue birds, and layered them together with green solid wings and tiny yellow die cut eyes for so much dimension. I finished everything off with the "A Friendly Little Hello" sentiment from the Hello stamp set fussy cut in sage green ink, added a few coordinating die cuts, and tucked extra patterned paper strips and stamped birds inside the cards so nothing went to waste. Oh, and I will fully admit I accidentally started these cards using the rewind sketch instead of the June sketch, which means I made a happy little mistake that turned into a craft roulette card earlier this month, so be sure to check out the full collaboration playlist to see what everyone else created with the June 2025 sketch!

VIDEO TUTORIAL


PIN THIS
SUPPLY LIST

Read More

Custom/DIY Mod Floral Gift Bag with Sizzix & Catherine Pooler

Wednesday, May 27, 2026

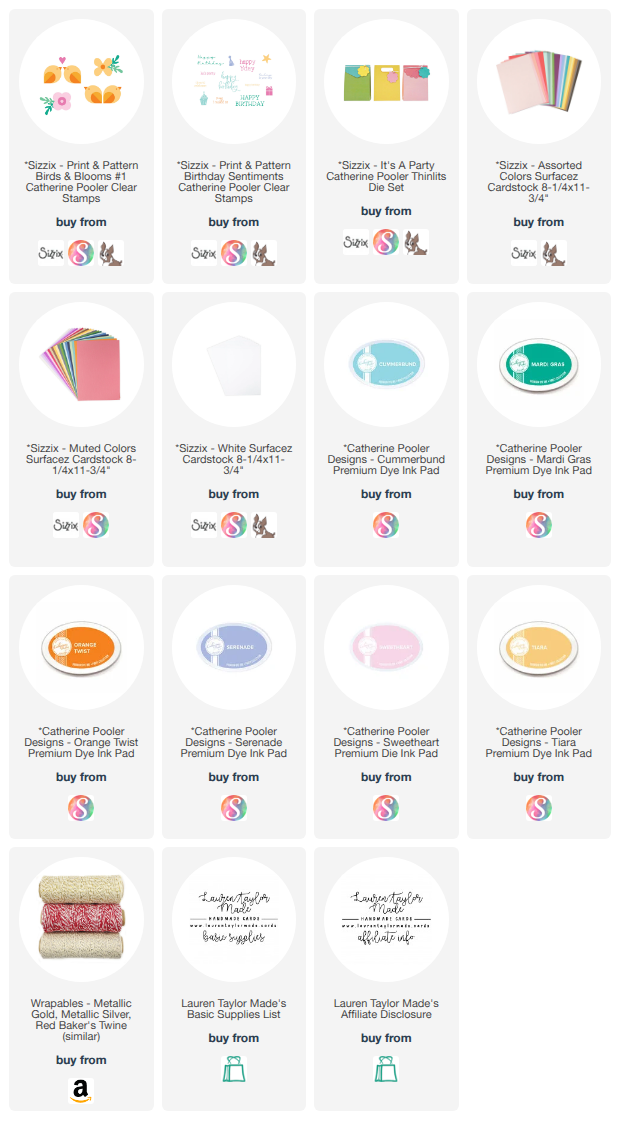
For today’s project, I created a reusable floral gift bag using the Sizzix and Catherine Pooler Print and Pattern collection, and I love how bright and cheerful it turned out! I started by creating my own custom patterned paper using the Print and Pattern Tool along with the Birds & Blooms #1 stamp set. I stamped a repeating design onto white cardstock using Catherine Pooler inks in Sweetheart and Serenade for one floral design, Tiara and Orange Twist for another flower, Mardi Gras for the leaves, and Cummerbund for tiny blue hearts scattered throughout the background. I have an Instagram carousel embedded below so you can see how I layered and repeated the stamped images to build the full pattern across the cardstock. Once my patterned paper was complete, I used the It’s a Party Thinlits die set to die cut the pieces for the gift bag and folded all of the score lines before assembling everything with a mix of double sided adhesive tape and liquid glue.

After the bag was assembled, I added some coordinating embellishments to finish it off. I die cut the scalloped flap closure from a dark teal cardstock and also die cut the small tag from the same die set using a light purple cardstock. I stamped a small star from the Print and Pattern Birthday Sentiment stamp set onto the tag using Sweetheart ink and attached the tiny reinforcement circle around the tag hole for extra detail. To make the bag reusable, I added a small velcro circle underneath the flap closure so the bag could easily open and close without damage. Finally, I tied the tag onto the flap using baker’s twine from my stash, wrapping it around the flap a few times before tying it into a bow. I love that this project turns handmade patterned paper into something functional and giftable while still feeling really polished and fun!

PHOTO CAROUSEL TUTORIAL


PIN THIS
SUPPLY LIST

Read More

Sunset Inspired Floral Birthday Card with Sizzix & Catherine Pooler Designs

Monday, May 25, 2026

Today I am rewinding back to the May 2023 SheetLoad of Cards sketch with the SheetLoad Rewind Creative Team and I had so much fun putting my own spin on this layout! I stayed pretty close to the original sketch while using products from Sizzix and Catherine Pooler Designs, especially the new Print and Pattern Toolkit. For my background, I created a repeating stenciled pattern using the Patchwork Tile stencil and several Distress Ink colors inspired by a sunset palette. I layered shaded lilac, seedless preserves, picked raspberry, saltwater taffy, carved pumpkin, and scattered straw to build up the colorful design, then added a little gold shine around the edges using Slippery When Wet Lunar Paste from Simon Hurley and Ranger Ink. I loved how the gold gave the busy background a soft glow without needing extra splatter or embellishing.

To build the rest of the card, I paired the stenciled background with embossed vellum and layered floral die cuts from the Friendly Florals Thinlits set. I embossed the vellum using the Scalloped Frame Florals embossing folder and added more Lunar Paste to highlight the raised details and edges. For the sentiment, I die cut “HBD” using the Folk Alphabet dies and added more gold shine so everything tied together. Once I had all my flowers, leaves, and layers assembled, I followed the sketch layout and popped up portions of the vellum panel with foam adhesive for dimension. I finished everything off with a few tiny gold gems because the card still needed just a little more sparkle. This card feels bright, layered, and full of happy sunset colors, and I love how it turned out as my take on the May 2023 SheetLoad sketch!

VIDEO TUTORIAL


NEW TOOL REVIEW


PIN THIS
SUPPLY LIST

Read More

Bold Florals and a Graphic Hello Card with Sizzix + Catherine Pooler

Thursday, May 14, 2026

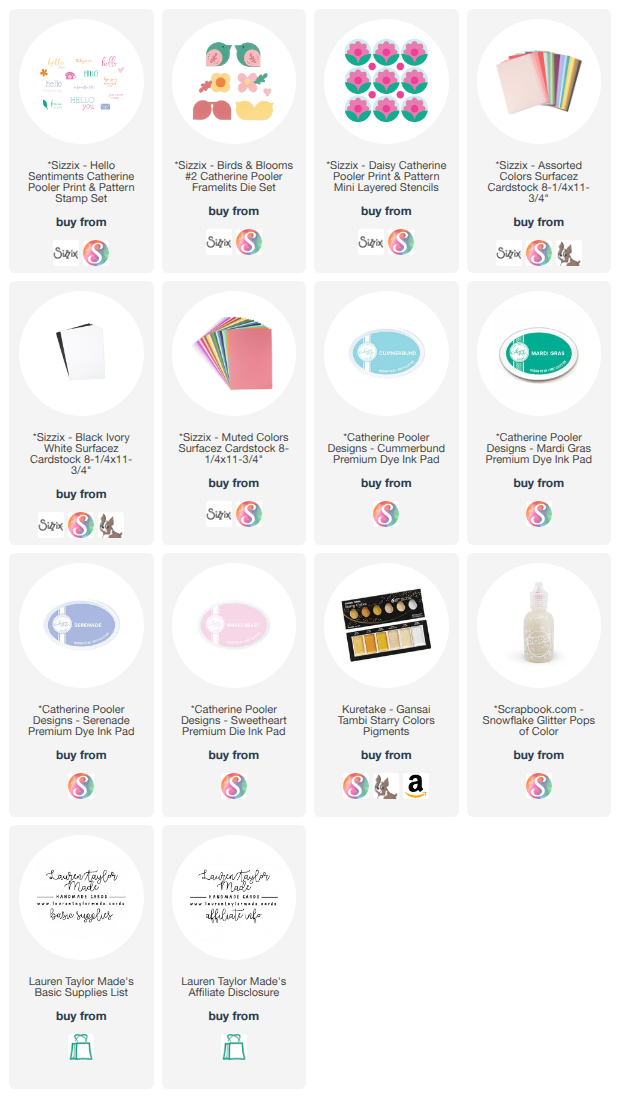
For today’s card, I wanted to combine soft florals with a bold graphic layout, and I absolutely love how this one turned out! I started by stenciling the Daisy mini layered stencils from Sizzix and Catherine Pooler onto white cardstock using Catherine Pooler inks in Cummerbund, Mardi Gras, Serenade, and Sweetheart. While stenciling, I intentionally left one row blank so I would have space to stamp my sentiment later. Once the florals were complete, I trimmed the panel down to 5x2-3/4" and stamped the “HELLO” sentiment from the Hello Sentiments set in Serenade ink right into the open space. To help the colors really stand out, I mounted the floral panel onto a piece of black cardstock trimmed to 5-1/4x3".

I created an A2 card base from white cardstock and adhered the layered panel so it lined up with the top, bottom, and left side of the card front, leaving a larger white gap along the right side. That open space became the perfect area for dimensional die cuts! I used the Birds & Blooms Thinlits die set from Sizzix and Catherine Pooler to cut flower petals from pale pink cardstock, flower centers from pale purple cardstock, and leaves from a dusty teal cardstock. Using blending brushes, I added extra depth with Mardi Gras, Serenade, and Sweetheart inks to the flower petals, centers, and leaves.

I attached four flowers vertically along the open edge of the card using thin foam adhesive for dimension, then tucked leaves into the arrangement. If any pieces extended off the edge of the card, I trimmed the excess and reused the scraps in other spots so nothing went to waste. To finish the card, I splattered gold watercolor across the entire design while avoiding the sentiment area, then added Scrapbook.com Snowflake Pops of Color to all of the purple flower centers for extra shine and texture. The finished card feels bright, modern, and packed with happy spring color!

PIN THIS
SUPPLY LIST

Read More

Love You Floral Card with Sizzix and Vicki Boutin

Tuesday, March 10, 2026

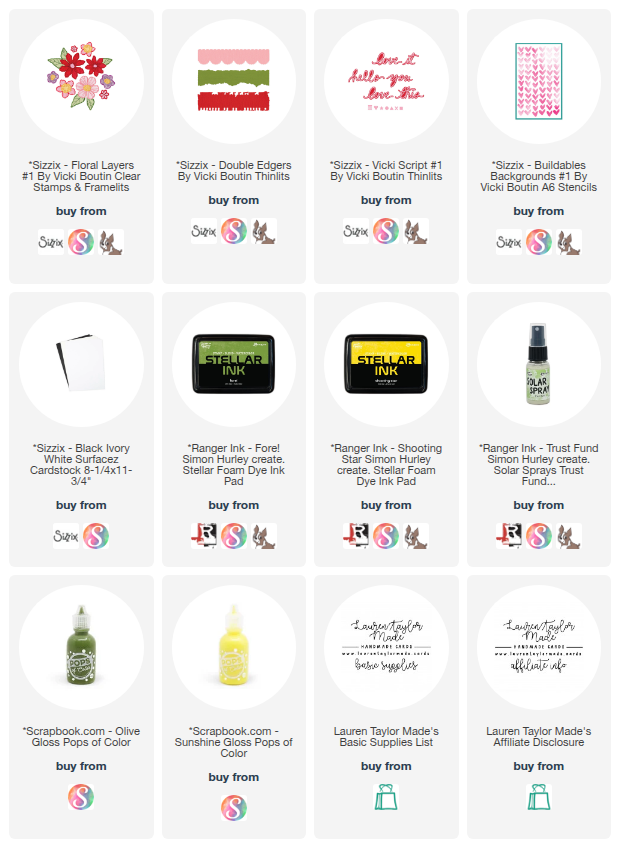
Hi friends, today I am sharing a bright floral card using Sizzix and Vicki Boutin products. I started by trimming a piece of white cardstock to 4 x 5-¼" and placed one of the Buildable Backgrounds #1 stencils over the panel. Using Simon Hurley create. Stellar Ink in Shooting Star and Fore!, I blended color through the stencil to create the base pattern. Once the stencil was removed, I sprayed the entire panel with Trust Fund Solar Spray to add a beautiful shimmer. I set the panel aside to dry completely, then came back with the leftover ink on my blending tool to lightly add more green and yellow tones into a couple corners to deepen the color.

Next I die cut several flowers from the Floral Layers #1 die set from white cardstock and assembled them with liquid glue. I also die cut a decorative border using one of the Double Edgers Thinlits dies and cut the sentiment “love you” from black cardstock using the Vicki Script #1 Thinlits. I adhered the flowers to the stenciled background and added the decorative border with foam adhesive on the center of the panel. I trimmed the excess border with scissors so it stayed flush with the background piece. Then I layered the panel onto a black cardstock mat trimmed to A2 size and glued the sentiment across the center, overlapping the border. Finally, I added Olive and Sunshine Gloss Pops of Color from Scrapbook.com to bring in more of the yellow and green tones.

VIDEO TUTORIAL


PIN THIS
SUPPLY LIST

Read More

Oh Happy Day Botanical Card with Vicki Boutin and Sizzix

Monday, February 9, 2026

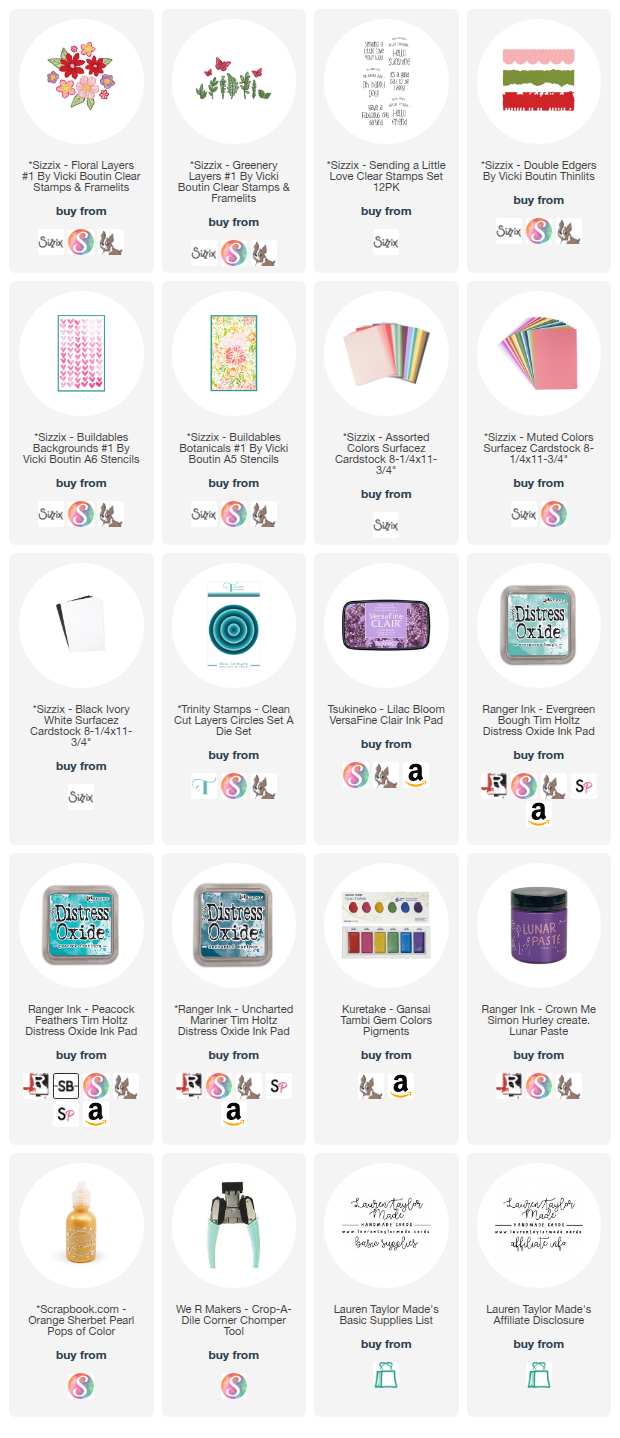
I started this card with a sheet of ivory cardstock and layered stenciling to build a rich, textured background. Using the Buildable Botanicals stencils, I ink blended Distress Oxides starting with Peacock Feathers at the top, blending into Evergreen Bough, and finishing with Uncharted Mariner toward the bottom. Once the stencil was removed, I splattered purple metallic watercolor from the Gem Colors set across the panel and set it aside to dry. After that, I layered in one of the Buildable Background stencils using Crown Me Simon Hurley Lunar Paste to create a soft starburst floral pattern. When everything was completely dry, I trimmed the panel to A2 size and rounded all four corners with a corner chomper. I repeated the same corner rounding on my A2 card base and adhered the finished background panel to the front.

For the focal element, I stamped the sentiment “oh happy day” from the Sending a Little Love stamp set in a circle using Lilac Bloom VersaFine Clair ink and a stamp and spin tool. I die cut the sentiment into a circle, then partially die cut it in half using the scalloped edge from the Double Edgers Thinlits set. I die cut layered flower pieces from the Floral Layers Number One die set and leaf clusters from the Greenery Layers dies using assorted and muted cardstock colors. The larger flower petals were cut from purple cardstock, while the smaller petal layer was enhanced with purple metallic watercolor for extra depth and shine. I layered the flower together, added the leaves behind it, and adhered the entire cluster to the scalloped sentiment piece. That focal cluster was popped up on the card with foam adhesive, and I finished the design by adding Orange Sherbet Pearl Pops of Color to the flower center. The mix of teal, purple, green, and warm yellow tones brings the whole card together in a bright and cheerful way.

PIN THIS
SUPPLY LIST

Read More

Layered Love With Sizzix and Vicki Boutin

Tuesday, January 27, 2026

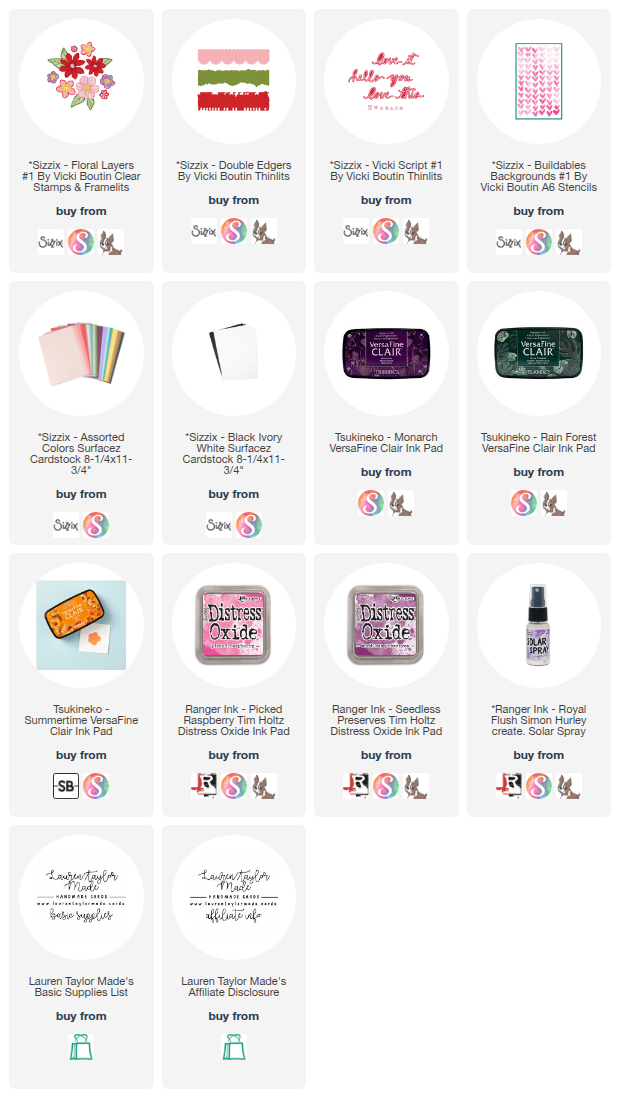
I started this card with a piece of lavender cardstock from the Assorted Colors Surfacez cardstock pack. I used two of the Double Edgers Thinlits to die cut both short ends (partial die cutting to just cut one edge), then trimmed the panel down to 4 x 5¼". For the background, I stenciled the hearts from the Buildables Backgrounds #1 stencil set using Picked Raspberry and Seedless Preserves Distress Oxides. After that first layer was complete, I shifted the stencil slightly and misted Royal Flush Solar Spray over the panel, then set it aside to dry completely so the layers could really shine.

Once the background was dry, I moved on to the focal elements. I stamped flowers and leaves from the Floral Layers #1 Stamp and Framelits set and die cut them using the coordinating dies, along with a few embossed die cut details from the same set. I die cut flower centers from yellow cardstock, leaves from green cardstock, and an additional floral detail from pink cardstock, all from the same cardstock pack. I die cut the word love and three hearts from black cardstock, then cut the shadow for love from white cardstock. The black hearts, the love sentiment, and the pink floral detail were also sprayed with Royal Flush Solar Spray for extra shimmer. I layered the flowers, leaves, and sentiment onto the stenciled panel and finished by adhering everything to an A2 card base.

CAROUSEL TUTORIAL


PIN THIS
SUPPLY LIST

Read More

Layered Botanicals With Sizzix and Vicki Boutin

Tuesday, January 20, 2026

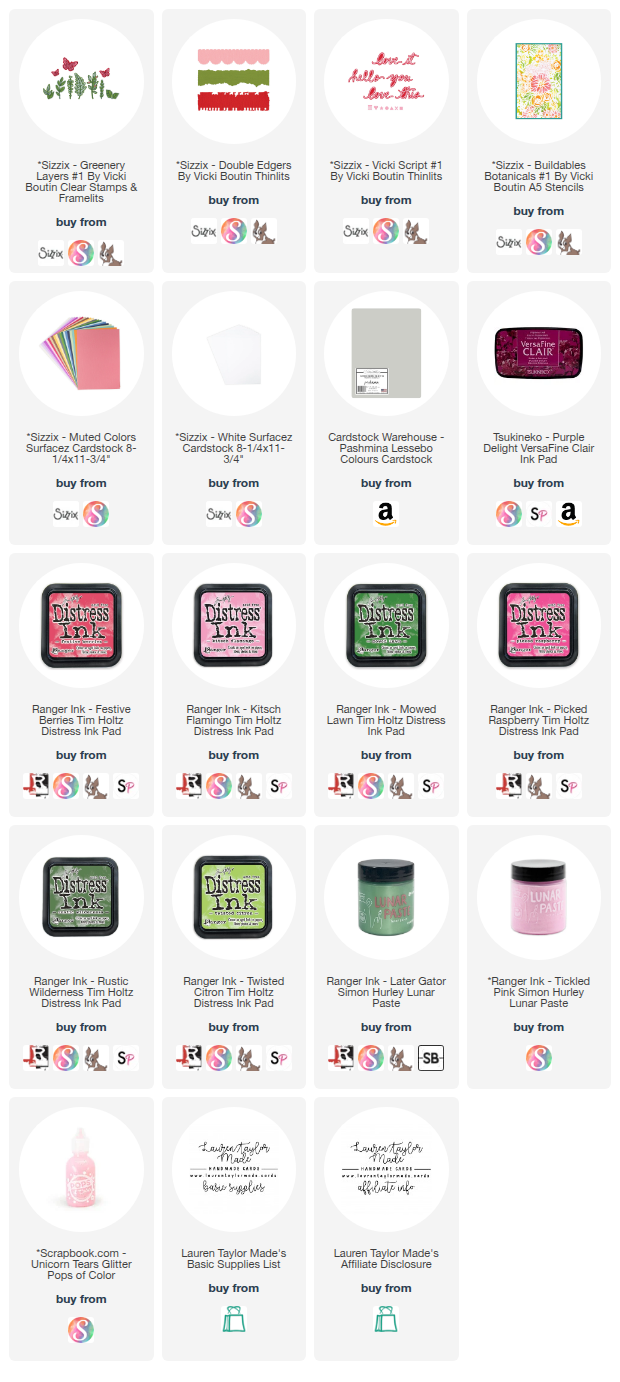
I am so excited for today's Oh So Inspired Collaboration hop and creating alongside so many talented makers. Our inspiration this month comes from a beautiful card by MarDi that features stenciled panels, leafy details, and a grounded sentiment, and I leaned into that layered botanical feel for my own design. For this card, I am using new Sizzix products created in collaboration with Vicki Boutin, including the Buildable Botanicals stencils, Greenery Layers stamps and dies, Double Edgers Thinlits, and the Vicki Script Thinlits. I started by stenciling two backgrounds on white cardstock, one with layered greens for a leafy pattern and one with pinks for a floral design, adding touches of Lunar Paste through the stencils for subtle shine and texture.

Once the stenciled panels were dry, I trimmed them into narrow rectangles to create a row of small panels across the card front. I added a torn edge detail using one of the Double Edgers dies with a light gray cardstock panel to give the design some separation from the white card base. I stamped and die cut leafy elements and a butterfly from the Greenery Layers set using muted cardstock colors, then arranged them across the panels with liquid adhesive and foam adhesive for dimension. To finish the card, I die cut the word hello from the Vicki Script Thinlits, layered it for thickness, and placed it so it overlapped both the panel and the card base. A few glitter Pops of Color added the final touch of shine, and the full process can be seen in the video below as part of the hop.

VIDEO TUTORIAL


PIN THIS
SUPPLY LIST

Read More