

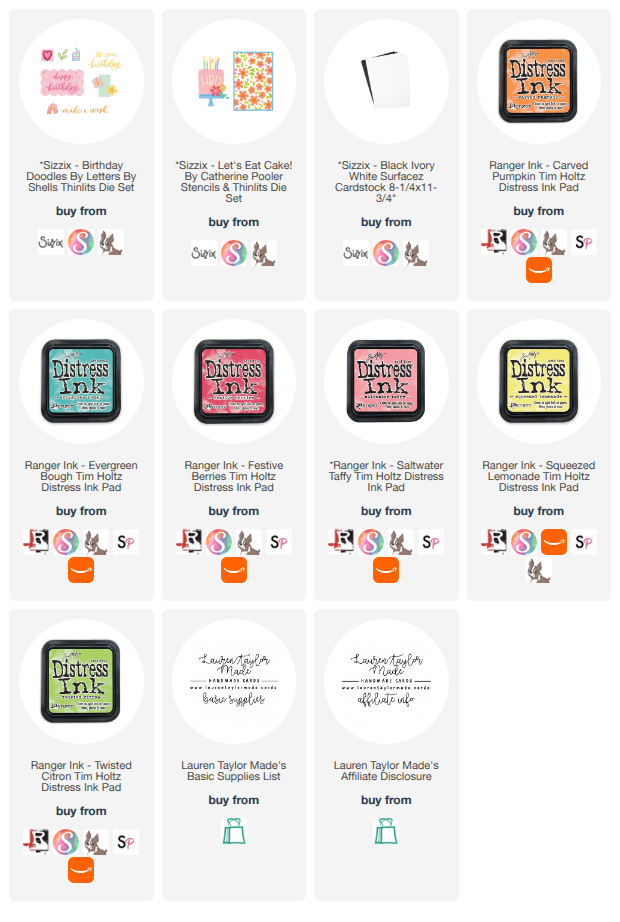
For this card I got to celebrate Sizzix's 25th birthday using some products they gifted me, and I am so excited because Sizzix is one of the first companies I ever created with! I started with the Let's Eat Cake stencil from the Sizzix and Catherine Pooler collaboration, placing my white Sizzix cardstock onto the Sizzix Stencil and Stamp Tool and using the notches to line everything up perfectly between layers.
For the first stencil layer I blended Saltwater Taffy and Squeezed Lemonade Distress Inks together with large brushes to create a soft peachy blend across all the flower shapes, then swapped to tiny Trinity Stamps blending brushes to add Twisted Citron and Evergreen Bough to the leaves, Carved Pumpkin to the flower centers, and Festive Berries to the tiny hearts scattered throughout the stencil, cleaning and repositioning the stencil between each color using those notches so everything lined up without any stress.
Once the stenciling was finished I trimmed the panel down to 4x5-1/4", saving the extra little sliver to glue onto the inside of the card later, then die cut a scallop rectangle from the center of the background using the Birthday Doodles Thinlits die set and cut the same shape again from black cardstock so just a peek of black would show around the edges once everything was layered together.
 |
 |
I used my A7 Card Maker T Square to center the stenciled background onto a top folding A2 card base, glued the black scallop die cut to the center, then built up my "Make a Wish" sentiment by die cutting it three times from black cardstock and layering all three together with liquid glue for a sturdy, dimensional result without having to fight with foam adhesive behind all those dainty cursive letters. I picked up the tip of using a silicone mat with liquid glue to help get adhesive onto really delicate die cuts from my friend Sara Lihz at Sassy's LLC, and it made the whole process so much easier!
I attached the layered sentiment panel to the front of the card with 1mm black foam adhesive from Scrapbook.com so that little peek of black cardstock could show through at the edges, then die cut three coordinating flowers from the Let's Eat Cake die set out of extra blended white cardstock, added black cardstock centers and leaves, auditioned my layout until I was happy, and glued everything down to finish off the card. I love how the soft peachy florals pair with those bold black accents and that scripty sentiment!

Post a Comment