Halloween Monsters with Pretty Pink Posh

Monday, September 30, 2024

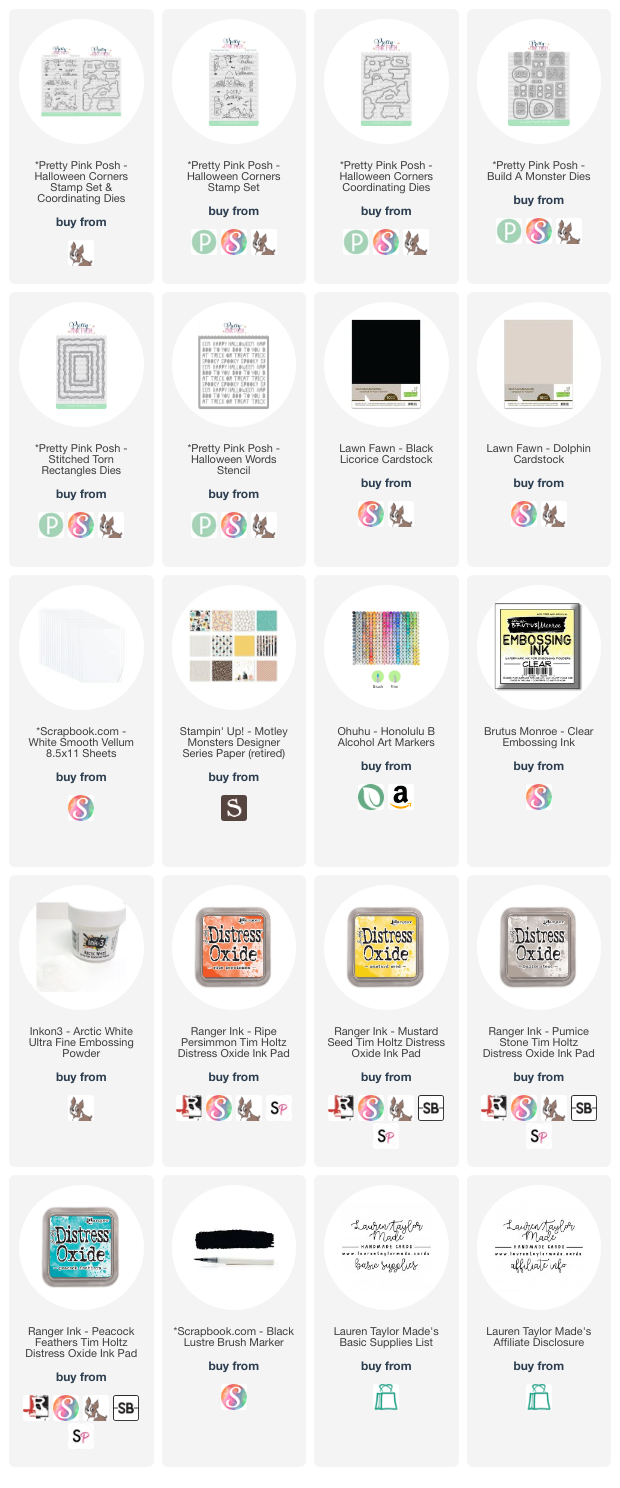
Hi, friends! I am back with a new video using Pretty Pink Posh to create a Halloween card I made inspired by some patterned paper that I have had sitting in my collection for too long! I started with making a custom background by stenciling the Halloween Words Stencil with Distress Oxides in Ripe Persimmon, Mustard Seed, Pumice Stone and Peacock Feathers on white cardstock. Using the largest die from the Stitched Torn Rectangles Dies, I cut it and splattered some black ink before setting it aside to dry.

Next I did a lot of die cutting from patterned paper using the Build A Monster Dies and assembled them all together. You can see the steps I did to build them by watching my video today! I also added some pink cheeks with a marker and some white highlights with a gel pen. My sentiment is embossed in white on black cardstock using “Happy Halloween” from the Halloween Corners Stamp Set and Coordinating Dies. I also cut the second largest die from the Stitched Torn Rectangles Dies out of vellum.

I layered the stenciled background onto a card base, then the vellum, followed by the monsters and sentiment with foam adhesive to give them some dimension on top of the Stitched Torn Rectangles. I love these unique colors for Halloween and that you can personalize the monsters in such a fun way with patterned paper! What color combination would you use with the Build A Monster Dies for Halloween?

VIDEO TUTORIAL


PIN THIS
SUPPLY LIST

Read More

A Big Card of Hello Animals with The Sassy Club

Sunday, September 29, 2024

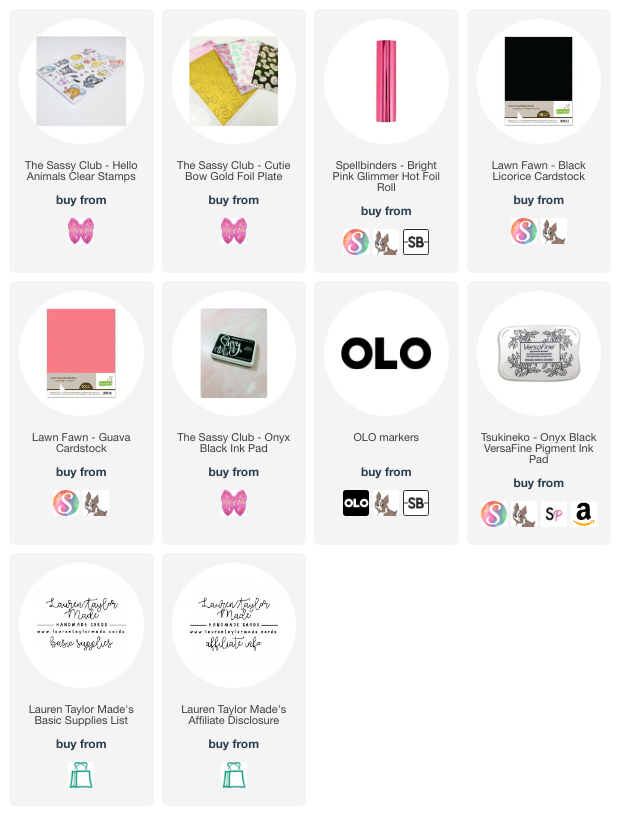
I have a simple card today, but mostly because I jam packed the front of this 6x6" card with lots and lots of cute, Japanese characters! I have a quick short down below to just show how I layered the critters on the card, but it's really a very basic card. It's also what I am submitting for Craft Roulette this week - which is why it's a 6x6" card that I normally do not tend to make. My card base is actually folded so it's 5" on the front of the card and 6" in the back since I didn't have a large enough piece of cardstock to make the base.

On the front of the card, I layered on pink cardstock, then black cardstock and finally a hot foiled pink bows on white cardstock. My images were stamped and colored with Olo Markers and I used my Scan N Cut to cut them out. I added foam adhesive to the back of the critters, then added them one by one! I know it's a busy card, but that's why I kept the background and card base so simple, so I could add all these adorable images that I had fun coloring!

VIDEO TUTORIAL


PIN THIS
SUPPLY LIST

Read More

Let's Celebrate with Scrapbook.com

Saturday, September 28, 2024

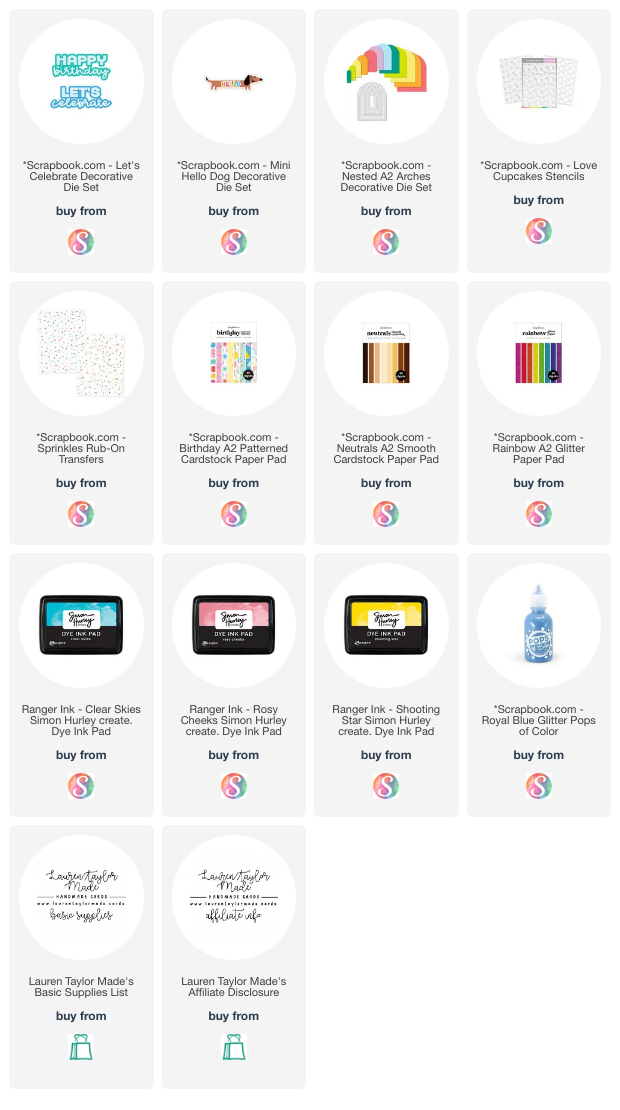
I have a very festive and wild card to share today! I couldn't stop adding fun color to this card... I just leaned into the crazy to make it the ultimate party card. I made it for an Instagram hop today celebrating a fellow crafter reaching 2000 followers on Instagram - you can check out the hop here and learn about the giveaway! To create this wild card, I started with die cutting my party dog and sentiment, then assembled them together. I then used my Nested A2 Arches to cut out glitter paper, patterned paper and white cardstock.

On the white cardstock, I stenciled on cupcakes with pink, yellow and blue inks to create a rainbow. I also added rub-on transfers onto my card base and started layering the arches onto the card base. I popped up my die cut dog and sentiment and added a few more sparkly touches with Glitter Pops of Color. While this card is definitely a party, I think it turned out cute and the little dog is adorable!

PIN THIS
SUPPLY LIST

Read More

Spellbinders September 2024 Club Cards

Friday, September 27, 2024

Two videos in one day?! And they're both over a half hour long?! Well, I've been sitting on this Spellbinders video for a bit because I made four cards and had over 3 hours of footage I needed to edit and put into a single video. I ended up making five cards with the Spellbinders Clubs and did a lot of mixing and matching with the different kits. You can see the stitching and stencil clubs in my post here from the YouTube Livestream earlier this month.

At the end of the Livestream, I started watercoloring the clear stamp - I embossed the images and used Distress Watercolor Pencils. In my video today, I finished the watercoloring and hot foiled the sentiment. I also used the embossing folder to give my background more interest. The next card I used the beautiful sunflower dies from the large die of the month and put them on a 3D embossed panel. I also heat embossed my stamped sentiment and added a wax seal.

Next I jumped into using the BetterPress plates and even foiled one of the BetterPress sentiments. I used the scarecrow from the small die of the month to create the cutest scarecrow you ever did see! For my last card, I used more of the small die of the month and brought in the caboodle die set and I seriously just love that frog. I added in a wax seal ghost and a fun die cut panel layout.

I know it's towards the end of the month - I really meant to get this video out much earlier than now, but even if you can't get the the club kits, some of them may go on sale soon or you can reference this video if you are already a club subscriber!

VIDEO TUTORIAL


PIN THIS
SUPPLY LIST

Read More

Murder Mystery with Kindred Stamps - Fandom Friday!

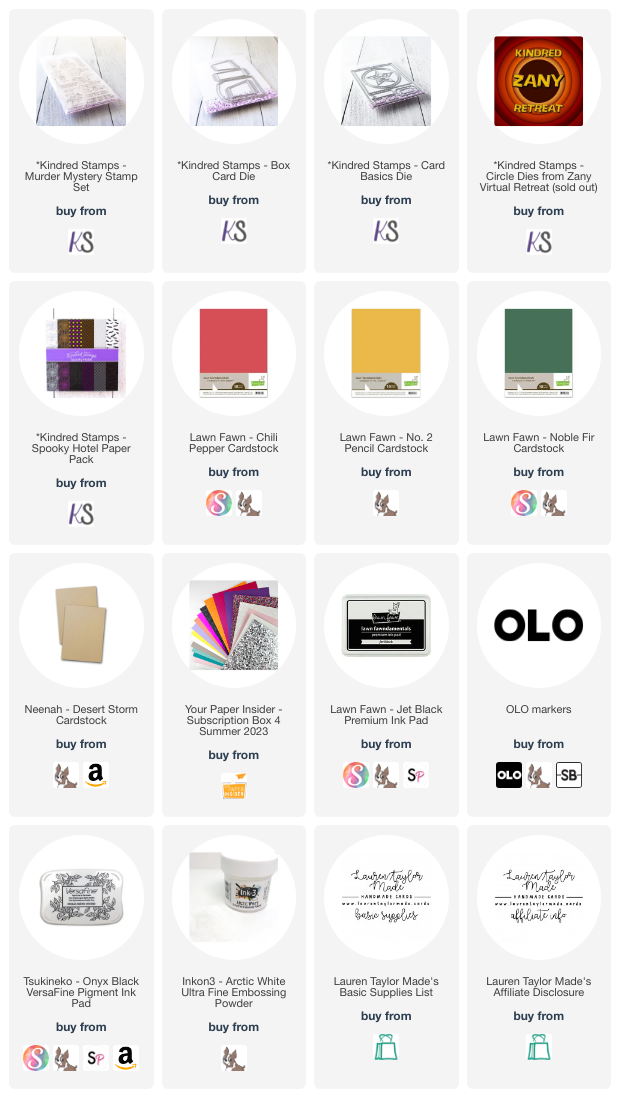
There is a fabulous new release from Kindred Stamps out today! I was so excited to use the Murder Mystery stamp set as this is not only a favorite movie, but I love the musical and it's all based on my favorite board game! My cards are relatively simple as I spent a lot of time making sure my characters were colored in like the movie and I really just wanted them to shine and be the focus of my projects.

My first card is a box card and I used the board game (well one of the many) in my game closet to inspire the paper I used for the box card. I went with a wooden box with green labels - so kraft and green cardstock to be the colors of the base. I added white to the back of the box card with my stamped sentiments and the butler. On the front, the sentiment is embossed in white and I layered the characters like one of the iconic ad pictures of the movie.

The two cards I have above are simple layouts as I spent so much time coloring, I really wanted them to be the focus of the cards. The card on the left is a 5x7 card so I could fit all of them onto one card and the card on the right is inspired by the butler's pinstripe pants and the grand mansion all of the characters meet in the movie. You can watch my latest Fandom Friday video below to see my coloring and process of assembling all of the cards.

Let me know what new products you snag from the September 2024 release from Kindred Stamps!

VIDEO TUTORIAL


PIN THIS
SUPPLY LIST

Read More

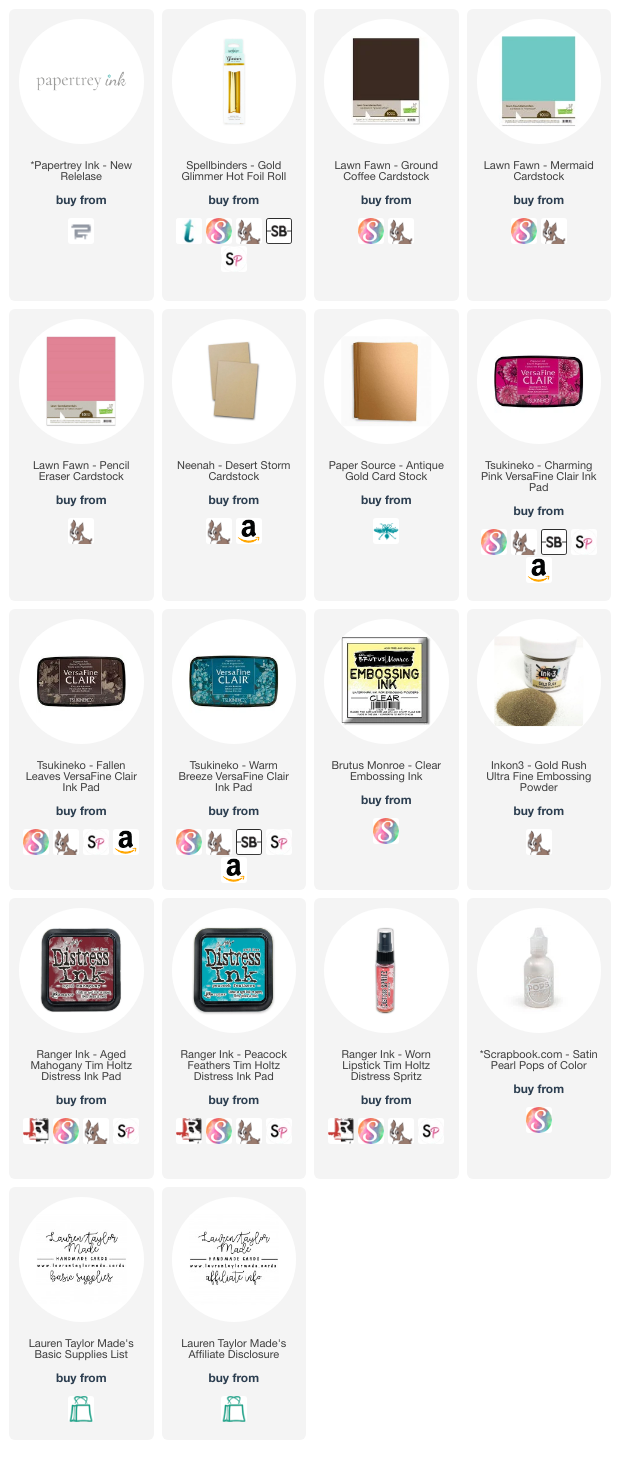
Christmas Wreath Card - New Release from Papertrey Ink

Thursday, September 26, 2024

A couple months ago, Papertrey Ink reached out and asked if I would like t one a guest designer for an upcoming release and I felt so honored! I received some of their September release filled with Christmas and holiday goodies, including some really great nested dies. I used a few of the new products to create a Christmas wreath card using non-traditional colors to share in celebration of the new release. I'm also hopping along with the design team over on Instagram, so make sure you check that out, too!

I started with creating my wreath by stamping the different branches and flower buds from All Around Christmas using my Sizzix Stamp and Spin and different colored inks. Next I hot foiled the Christmas Laurel Hot Foil Plate in the center with gold foil and die cut it with the largest of the North Pole Mail: Postage Stamp Frame Post Card Dies. My sentiment is also from All Around Christmas Stamps which I embossed in gold on brown cardstock and used the coordinating die to cut it out.

Next I die a lot of die cutting using the Into the Blooms: Swag Dies - pink pine leaves, teal leaves and a bronze gold bow. I added some Distress Ink to the leaves and layered them onto the wreath. When my card was assembled, I added a few Pops of Color just to add in a little more interest to the card. I'm so excited to create a few more projects with this new release over the next month and I hope you are too!

PIN THIS
SUPPLY LIST

Read More

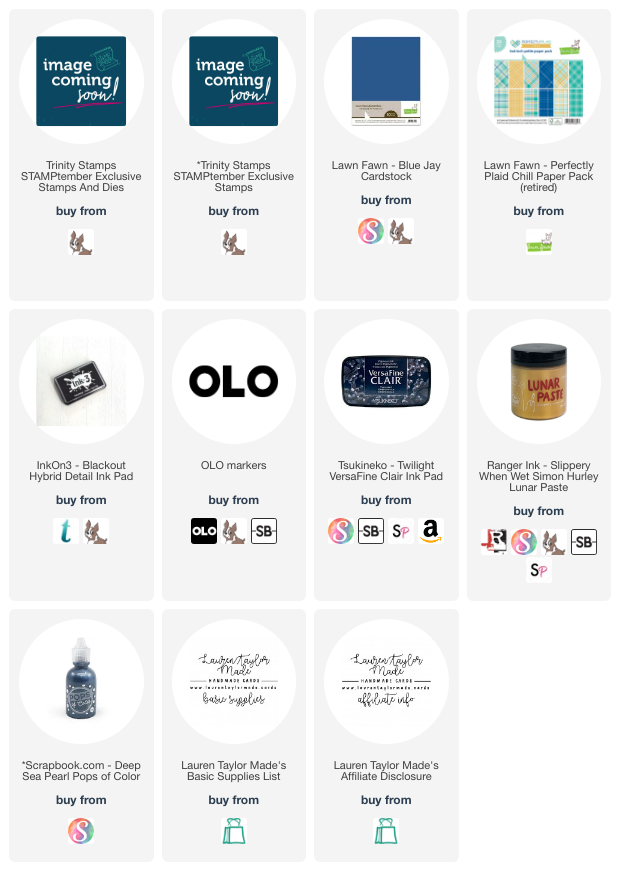
For You Christmas Card with Trinity Stamps for STAMPtember

Tuesday, September 24, 2024

I'm a day early, but I really wanted to use the Trinity Stamps STAMPtember for my Christmas video this month! I just love how cute this Christmas tree is and that I could add a cute little angel on top. I did not receive the dies with the stamp set, so I went with masking to put my angel on the tree. I used a piece of patterned paper from my stash to inspire my color choices when making the card.

You can follow along in my process in my video down below where I go through the coloring, adding the glow and assembling the card. It's a simple card, but I think it's just so cute and perfect for the holiday season. Let me know if you grab this collaboration stamp! I'll definitely be using it for more Christmas cards. 

VIDEO TUTORIAL


PIN THIS
SUPPLY LIST

Read More

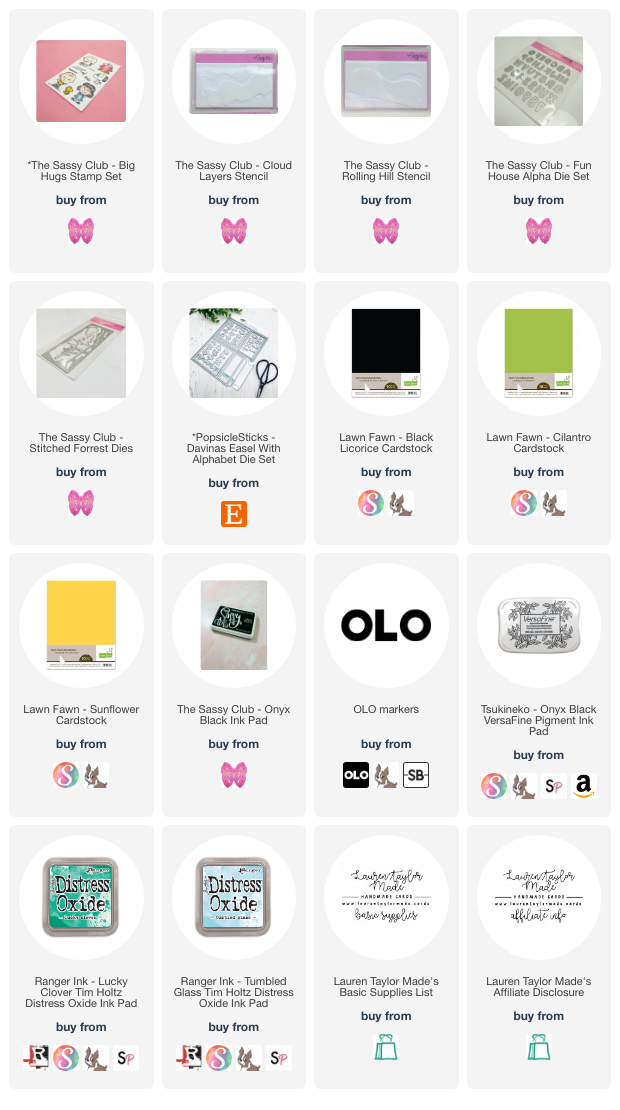
Congrats! Sending a Hug Easel Card with the Sassy Club

Sunday, September 22, 2024

Happy Sassy Sunday! I'm here with a multi-scene card using stamps, stencils and scene dies from The Sassy Club. The card base is from PopsicleSticks and is a wonderful easel card die set! I started with stamping my images and colored them in with alcohol markers. After my highlighting dried, I fussy cut out the images. 

Next I did all my die cutting - I made my card base out of yellow cardstock, white cardstock for stenciling backgrounds, kraft cardstock for sentiments, black letters and trees from green and kraft cardstock. I assembled the base together and my "congrats" sentiment. I stamped the first part of the sentiment and chevron pattern on the other piece of kraft cardstock.

My panels in white cardstock were stenciled with Sassy Club stencils and Distress Oxides to create different scenes on the different panels. I adhered all of the panels onto the card base and popped up the congrats sentiment with 1mm foam adhesive. I added the images on the inside with liquid adhesive and then put my trees together.

The trees have a little bit of shading to give them some dimension and cut off the trunks to add the kraft tree from behind so it gives a brown trunk look. I added the trees to the front of the card with 1mm foam adhesive and then my cute fandom characters with 2mm foam. I just love how my card came together and it meets the requirements for Craft Roulette!

PIN THIS
SUPPLY LIST

Read More

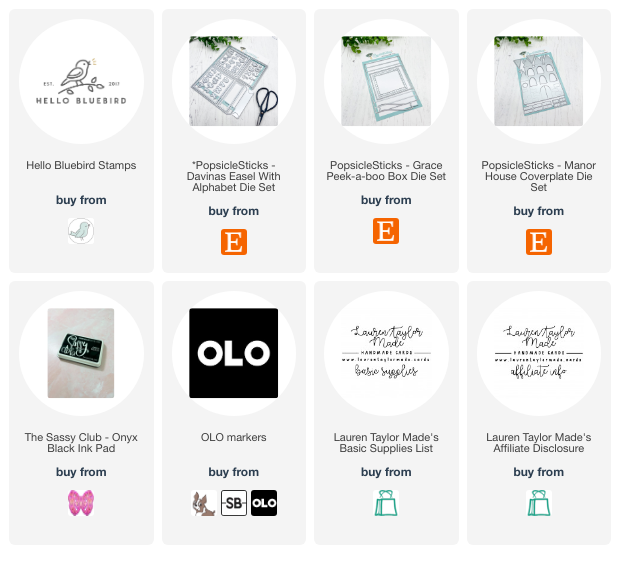
Summer Vibes Cards with PopsicleSticks Card Building Dies

Saturday, September 21, 2024

Hi, friends! This post is not going to be very informative... Just wanted to share some photos with you and promote my crafty friend's amazing die sets. I bought the first Hello Bluebird kit(s) and decided to do a ton of stamping one night followed by even more coloring. I love Hello Bluebird images and something about the surfing critters just drew me in and I needed them! 

After I finished all of the die cutting, I thought it would be fun to partner these adorable images with some of my card building die sets from PopsicleSticks! I linked her dies from her Etsy shop down below. I used lot of scraps - most of my cardstock is from Lawn Fawn - as well as some desert storm cardstock. But, I really didn't write anything down or take note of what I used. I just made these cards for fun and to experiment with the die sets.

So, not really much to blog about, but I hope my projects bring you a smile and direct you on over to the Etsy shop where you can get these fantastic card building dies for yourself! I'm IN LOVE with how my easel card turned out - let me know what you think and which card is your favorite from the bunch. I can't wait to create more - I'll be making a video with more of her dies soon!

PIN THIS
SUPPLY LIST

Read More