Showing posts with label popsiclesticks. Show all posts

That's a Rock Fact Fall Shaker Card with Popsiclesticks

Friday, September 18, 2026

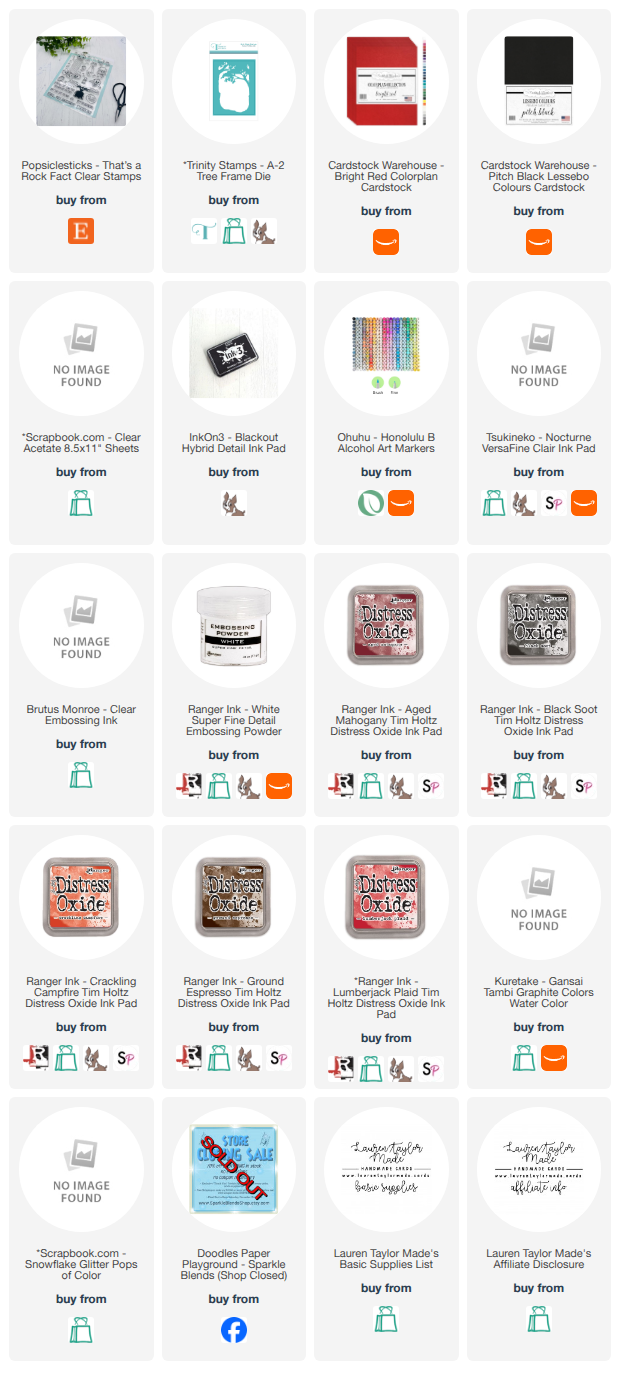
For this week's Fandom Friday I am celebrating fall with the That's a Rock Fact stamp set from Popsiclesticks, paired with the A2 Tree Frame die from Trinity Stamps to create a full A2 shaker card! I started with an ink blended background going from Crackling Campfire at the top down through Lumberjack Plaid, Aged Mahogany, Ground Espresso, and Black Soot at the bottom, then added brown graphite watercolor splatter for extra texture before die cutting the tree frame out of both black and red cardstock. I layered the red frame behind the black one after blending Aged Mahogany and Crackling Campfire onto the red layer to deepen the color, assembled the shaker using 1/4" double sided tape and acetate trimmed slightly smaller than A2, and filled it with fall sparkle blend sequins plus some deeper red and black sequins to keep things moody and spooky before sealing it to the ink blended background with 3mm foam adhesive strips.

For the focal images I stamped the lantern in alcohol marker friendly ink first and colored it red using two shades of Ohuhu Honolulu markers with a soft gray for the light inside the globe, then restamped both the lantern and the beast character together in Nocturne VersaFine Clair ink using my MISTI so the outlines would stay perfectly crisp and clean. I white heat embossed the sentiment "If Dreams Can't Come True Then Why Not Pretend?" from the stamp set onto black cardstock, fussy cut the beast, lantern, and sentiment out, then arranged everything on the card with the beast going down first, the sentiment layering in front of him, and the lantern tucked into the bottom left corner. I finished by adding Snowflake Glitter Pops of Color to the eyes of the beast and the center of the lantern for the most perfect glowing detail, and I love how this shaker turned out for a fall and Halloween card all in one!

VIDEO TUTORIAL


PIN THIS
SUPPLY LIST

Read More

Nightmare Monsters Easel Shaker Card with Popsiclesticks

Friday, July 10, 2026

For this week’s Fandom Friday I got to play with some products from Popsiclesticks, and I am such a fan of everything Divina creates! I started by die cutting the easel base from Divina’s Easel die set out of Pitch Black cardstock from Cardstock Warehouse and using the Pumpkin Town 6x6” paper pad from The Sassy Club for all of the patterned paper panels. The easel folds on one mountain fold at the top and two valley folds at the bottom, gluing together with a tab to create the standing easel shape, and it also folds flat into a square that fits right into an A2 envelope which I love for mailing. For the shaker panel on the top of the card, I die cut a scallop frame and used the inside square as a guide to cut my acetate just slightly smaller than 3.5 inches, then attached the acetate to the back of the frame with one eighth inch double sided adhesive before adding 3mm foam adhesive strips around the edges to give the sequins and clay bits enough room to actually move around inside.

For the shaker filling I used Glitter Lamb’s Gambling Boogeyman Halloween Clay Mix along with turquoise sequins, tiny goldenrod confetti, and black, purple and pink sequins from This Calls for Confetti’s Haunted mix, choosing colors that coordinated with the patterned paper before sealing the shaker closed. I layered all of the stitched panels onto the black card base using a combination of double sided adhesive and liquid glue for a sturdy hold, and added the bottom rectangle panel with 1mm foam adhesive so there would be a small lip for the easel to stand up against. I stamped all of my images from the Nightmare Monsters stamp set from Popsiclesticks in Blackout ink from InkOn3 and colored them in with my Ohuhu Honolulu alcohol art markers before fussy cutting everything out, then decorated the shaker frame with two cute little nightmare monsters, a couple of hearts, and a bat using liquid glue.

To finish the card I popped up the ghost dog, bat, and single heart onto the center panel with 1mm foam adhesive, leaving the needle and thread image flat since it was far too dainty to add foam behind, and stamped “Were Simply Meant to Be” at the top of the bottom panel using my MISTI. I die cut a banner from the Popsiclesticks Mini Slimline Stitch Layer die set and did my best to curve the “Love You to Death” sentiment to fit inside it before attaching that to the center panel with foam adhesive as well. The more you fold and bend the score lines on the easel, the more pliable it becomes and the better it stands up, so I really pressed into those folds with my Trinity ergonomic scoring tool before calling it done. This card would be perfect for Valentine’s Day, Halloween, or an anniversary and I just love any excuse to play with monster stamps!

VIDEO TUTORIAL


PIN THIS
SUPPLY LIST

Read More

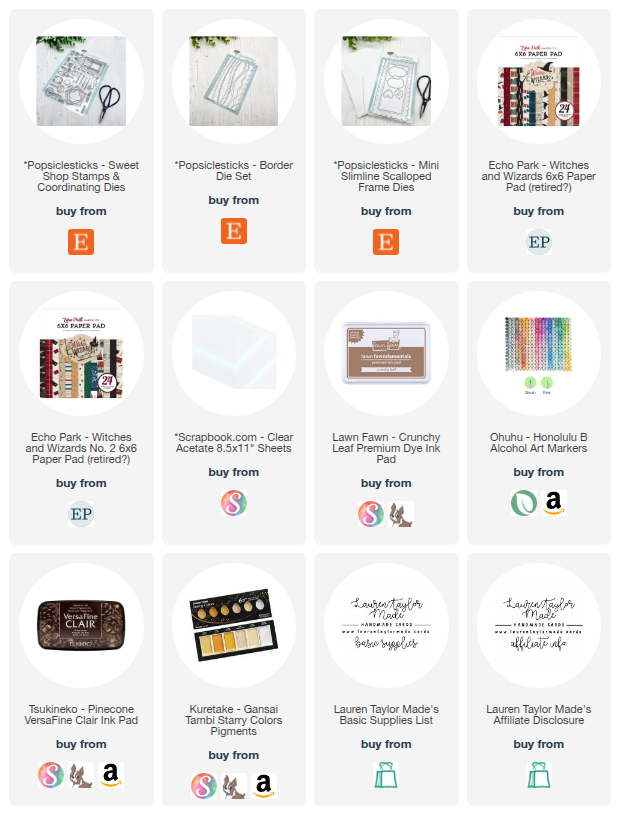
Sweet Shop Inspired Clear Front Card

Friday, March 20, 2026

Today I am joining the Oh So Inspired Collaboration hop hosted by Call Me Crafty Al. Each month we all start with the same inspiration piece and create our own take on it. This month we were inspired by a beautiful rainbow card by Martin Mayhem, and I loved the idea of a clear card front with decorative elements layered along the bottom. I decided to recreate that idea with my own twist by making a partial clear card and adding a little fandom fun for Fandom Friday using the Sweet Shop stamps and coordinating dies from Popsiclesticks.

To create the card base, I cut a piece of acetate to 4.25 x 6" and scored it at 0.5" along the long side. That small flap attaches to the back of an A2 white cardstock panel to create the clear front of the card. Along the bottom of the acetate I layered three patterned papers using the wavy border die from the Popsiclesticks Border Dies. I used dark blue, newspaper print, and a gold patterned paper and trimmed them so each layer steps upward slightly. Because the front is clear, I die cut another patterned paper layer with the same wavy border and adhered it to the inside so the layers match and hide the adhesive.

I stamped and colored images from the Sweet Shop stamp set and die cut them with the coordinating dies. I added gold splatter to the patterned background, glued the chocolate frog box to the card front, and popped up the frog and “you’re sweet” sentiment with thin foam adhesive. On the inside I stamped the sentiment “Oh fudge! sorry I frog-got your birthday” with Pinecone Versafine Clair ink and added a small speech bubble that says “nom nom” to the front. The clear front and layered borders make the card feel playful and dimensional!

VIDEO TUTORIAL


PIN THIS
SUPPLY LIST

Read More

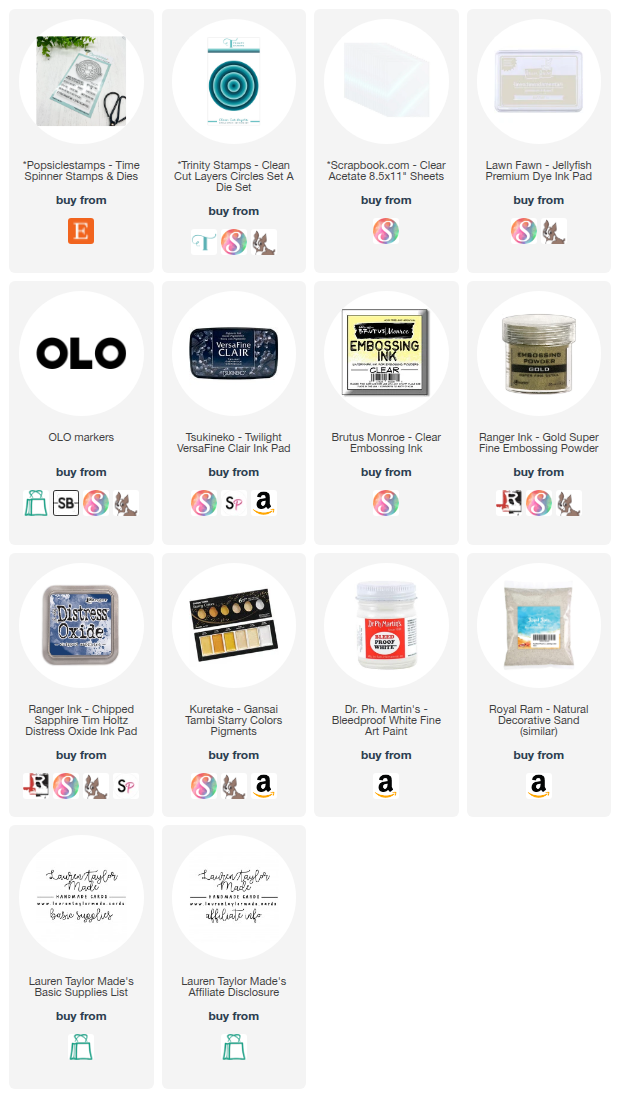
A Time Spinner Shaker with Popsiclesticks

Friday, February 13, 2026

I had so much fun creating this interactive card for my Fandom Friday series using the Time Spinner stamp and die set from Popsiclesticks. I started by stamping the image in a very pale gray ink so I could color without harsh lines, then used warm yellow orange alcohol markers to give the spinner that golden glow. After coloring, I stamped the image again with clear embossing ink and heat embossed it in gold to add shine and definition. I die cut the spinner and created a shaker well by stacking multiple die cut layers together, adding acetate behind the opening, and filling one section with fine sand for a fun interactive element.

For the background, I kept things simple so the spinner could really shine. I ink blended a deep blue circle onto white cardstock and splattered it with metallic watercolor and white paint to create a starry effect. I turned the card base into a shaped circle card and layered the blue background and spinner on top. Inside the card, I stamped a few of the sentiments from the set to finish it off. This card was such a joy to build and I love how the sand shaker adds movement and texture to the design.

VIDEO TUTORIAL


PIN THIS
SUPPLY LIST

Read More

A Fandom Friday Bu-Day Card with Popsiclesticks

Friday, January 23, 2026

For today’s Fandom Friday card, I had so much fun making my Labubu using dies from Popsiclesticks. I started by assembling my little Build a Bu character, die cutting most of the pieces from black textured cardstock and using a soft peach tone for the face, hands, and feet. I added rosy cheeks with alcohol markers, layered everything together, and finished her off with white gel pen highlights to give her that extra cute, cartoony look. To personalize the character, I created and printed a custom jersey, then fussy cut it so it fit perfectly onto the body before finishing the assembly.

Once my character was complete, I moved on to the oversized ticket shaped shaker card. I used Popsiclesticks A7 ticket dies to build the base and windows, layering patterned paper, glitter cardstock, and acetate to create two shaker compartments. I filled them with a mix of gold, black, white, and orange sequins for lots of sparkle, then added a bold die cut sentiment across the top and bottom. I popped my character up with foam adhesive so she really stands out and finished the card by attaching it to a trimmed card base to fit the unique size. This card is big, bright, interactive, and packed with fandom fun, making it perfect for a special birthday.

VIDEO TUTORIAL


PIN THIS
SUPPLY LIST

Read More

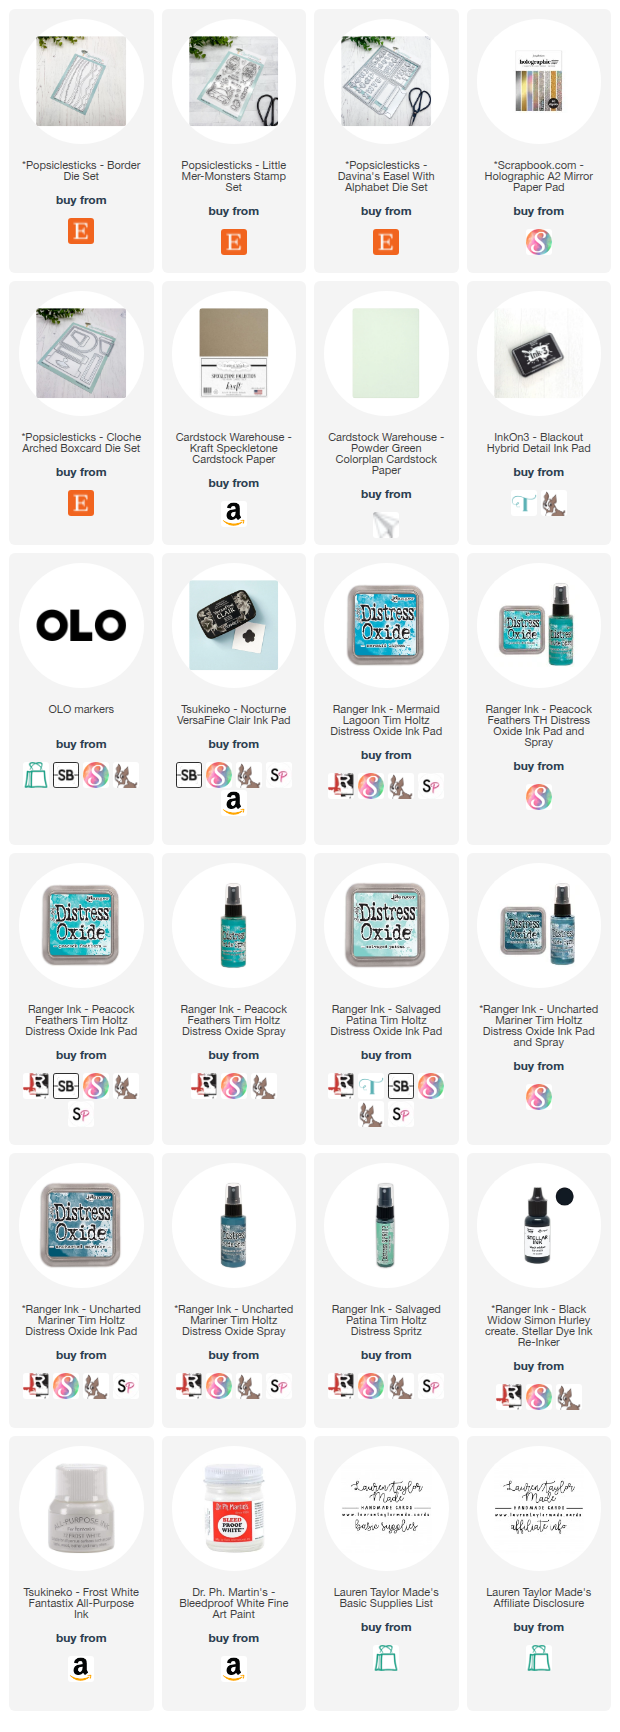
Under the Glass Dome with a Cute Sea Creature using Popsiclesticks

Friday, December 26, 2025

For this card, I created an interactive arched box card using products from Popsiclesticks and built a full underwater scene inside a glass dome style structure. I started by stamping and coloring my cute sea creature images with alcohol markers, then restamped them with a clear dark ink to sharpen the outlines before cutting them out. For the background, I ink blended multiple blue and teal Distress Oxide colors onto white cardstock to create an ocean look, adding water splatter, shimmer spritz, dark ink splatter, and white paint for texture. Once everything was fully dry, I die cut the background to fit the arched box card pieces.

Next, I assembled the box card using cardstock die cuts for the base, sides, and inner steps, trimming and layering details so the dome base wrapped fully around the card. I used a wave border die on the inner steps to give movement to the water and layered the background inside the card before closing it up. I added rocks, bubbles, shells, and my sea creature images with liquid adhesive, placing them throughout the scene for depth. To finish the card, I added a custom die cut sentiment to the front, stamped a coordinating sentiment on the back, and added small white highlights to the character for extra charm. The result is a dimensional ocean scene that feels playful, detailed, and perfect for a fandom inspired card.

VIDEO TUTORIAL


PIN THIS
SUPPLY LIST

Read More

A Ghostly Sassy Sunday Box Card for Halloween

Sunday, November 30, 2025

For this Sassy Sunday and the last day of the month, I wanted to create something fun and sorta spooky using stamps from The Sassy Club. This project is inspired by a certain iconic ghost-hunting crew, but I kept everything in the playful Sassy Club world by using the Ghost Hunter and Stay Puffed inspired stamp sets. I stamped all my characters in Onyx Black Ink, colored them with my OLO markers, and cut them out using my Scan N Cut. To build the interactive scene, I combined the Mini Slimline Box Card Die Set and the Pull Tab Slider Die Set from Popsiclesticks. My box card base pieces were die cut from kraft speckletone cardstock, clover green, narwhal gray, and a grassy panel made with one of their border dies. 

From there, I assembled the slider mechanism on the back panel, added ink blending for extra dimension, and prepped the pieces for the full scene. With the interactive element working smoothly, I started building the box card. I added a stitched teal sky panel inside, then placed the darker back insert to hold the firehouse-style building and the giant marshmallow figure peeking out from the side. The grassy insert holds all four ghost hunters, and I used low tack tape to keep them aligned while I glued them in place. On the front of the box, I added a stitched sentiment strip and a tiny trap image, and on the back I added the last sentiment and more images while leaving room for the slider to move freely. 

After decorating the sides with patterned paper panels, I checked the slider one more time to make sure the slimy green ghost popped up cleanly with the “you’ve been booed” sentiment. This whole card came together with so much personality and a fun nod to classic paranormal comedy. The interactive slider makes the little green ghost jump out, the box stands beautifully on its own, and the layered scene feels full of energy. If you want to see how the slider mechanism works, the video below walks through the process. I hope this inspires you to try your own spooky interactive box cards.

VIDEO TUTORIAL


PIN THIS
SUPPLY LIST

Read More

Spooky Slimline Stamps for Fandom Friday with Popsiclesticks

Friday, October 10, 2025

Hi friends, welcome back to another Fandom Friday! This week I’m sharing a slimline-style card I made using the cutest Halloween stamps and dies from Popsiclesticks. I started by creating a mini slimline card base and layering it with black glitter cardstock for extra sparkle. For the focal panel, I used the Mini Slimline Postage Kit die set to cut out a black postage frame, then filled in the rectangles and square with patterned paper from the Ghostly paper pad from Scrapbook.com. I splattered the whole piece with white paint for a splatter and glued it down to the center of my card base.

To bring in the fun, I stamped and colored images from Spooky Day and Spooky Snacks with my OLO markers and used the coordinating dies to cut them out. I popped them up across the card, added a pair of patterned banners in the top corner, and finished with Trinity Stamps white flat confetti for a little extra bling. My favorite detail is the clear shimmer I brushed over the word “Spooky” on the sentiment—it’s subtle, but it catches the light perfectly! You can watch the full process and see this card come together in today’s video below.

VIDEO TUTORIAL


PIN THIS
SUPPLY LIST

Read More

Yer a Wizard! Magical Creatures Easel Card with Popsiclesticks

Friday, September 5, 2025

It’s time for another Fandom Friday, and this week I’m sharing a magical easel fun fold card I created with products from Popsiclesticks! I used the Davina’s Easel and Alphabet die set as the base, which let me build multiple little scenes all on one card. I brought in images from Forest Friends along with sentiments and details from a few other Popsiclesticks sets to tie everything together. My process video below walks you through each step, but I loved how this die set made it easy to build layers of interactive storytelling.

For the scenes, I mixed patterned paper, stenciled backgrounds, and lots of OLO marker coloring to bring the characters and critters to life. From a mossy little hut, to a spooky spider-filled moment, to a dragon hatching in the night sky, this card has so many fun surprises. I even tucked in a spot to hold a gift card, along with extra sentiments to make it ready for gifting. You can see all the coloring tips, assembly details, and final touches in the full video tutorial below—I can’t wait for you to check it out!

VIDEO TUTORIAL


PIN THIS
SUPPLY LIST

Read More

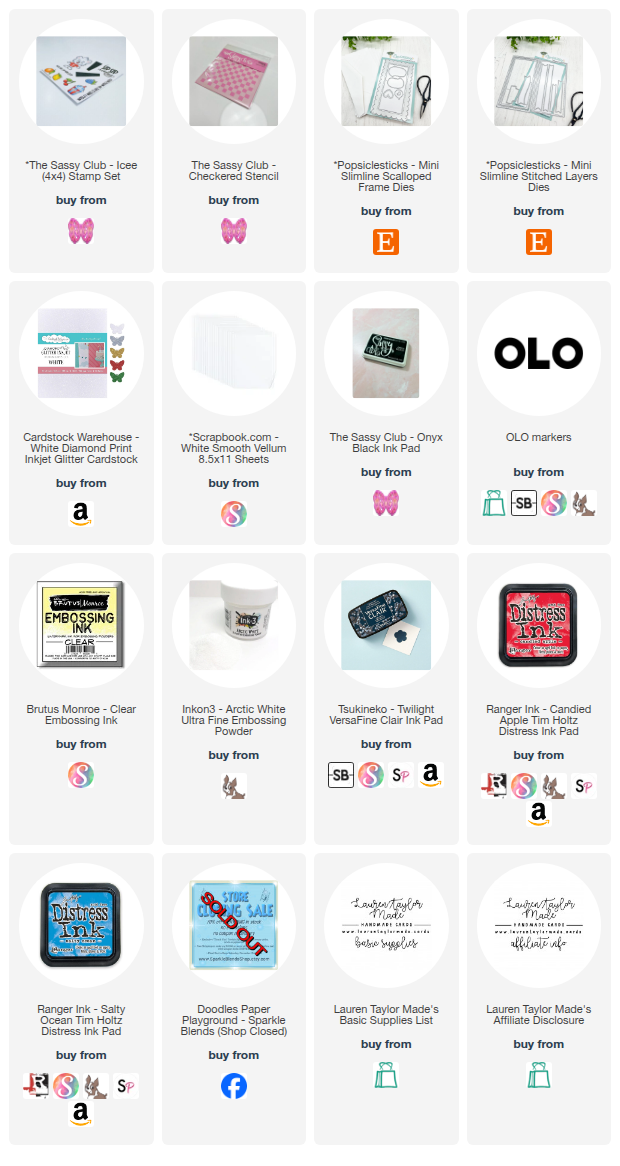
Sip Sip Hooray Mini Slimline Card with The Sassy Club

Saturday, August 16, 2025

For today’s Sassy Saturday card, I had a blast playing with The Sassy Club’s ICEE stamp set and their checkered stencil. I began by stenciling the checkered pattern on white cardstock using Candied Apple and Salty Ocean Distress Inks. Since the stencil is smaller than a mini slimline card, I had to stencil twice to cover my panel. Once finished, I die cut the panel with the largest mini slimline stitched layer die from Popsiclesticks and adhered it to my 3 ½" x 6 ½" card base. For my shaker element, I cut the mini slimline scalloped frame from white glitter cardstock and layered vellum behind it before turning it into a shaker filled with red, white, blue, and iridescent sequins from my stash. The vellum softens the sequins beautifully, giving them a frosted effect.

Next, I stamped the block stamps with Candied Apple and Salty Ocean inks again, masking to layer them together. Then I tried to make a fun drop-shadow effect using Twilight VersaFine Clair ink and heating embossing the sentiment again but in white embossing powder, then fussy cut it out. For my images, I stamped the Sassy Club ICEE bear mascot, his drink, two raspberries, and two cherries in alcohol-marker friendly black ink and colored them in with markers before fussy cutting. I arranged all of the stamped images and sentiment across the shaker panel, popping some up with foam tape for dimension. To finish, I added a few extra sequins on the card front for sparkle. This colorful shaker makes such a fun summer card and was the perfect project for Sassy Saturday!

PIN THIS
SUPPLY LIST

Read More