Showing posts with label love. Show all posts

Autumn Stems Hugs Card with Cardstock Warehouse

Friday, August 8, 2025

For today’s card, I was inspired by warm, earthy autumn tones and pulled together a mix of Cardstock Warehouse papers to create a layered botanical card. I used Madero Beach Speckletone, Kraft Speckletone, Mid Green Colorplan, Chartreuse Colorplan, Rust Colorplan, and Slate Colorplan cardstock to die cut floral and foliage pieces using the Sizzix Delicate Autumn Stems die set. To add extra detail and shading, I ink-blended Distress Inks onto the die cuts—pairing colors like Crackling Campfire with Rust and Forest Moss with Mid Green.

Once everything was inked and assembled, I moved on to building the base. I trimmed Slate Colorplan to A2 size and glued it onto a card base, then added a Madero Beach panel cut with a rectangle die. A circle frame die cut from Kraft Speckletone gave me an offset anchor to arrange my florals. I finished the card with a layered “hugs” sentiment cut from Slate and Kraft cardstock using the Bear Hugs die set. A few gold glitter Pops of Color were the final touch for a bit of shimmer!

PIN THIS
SUPPLY LIST

Read More

Limited Edition Cards with Kindred Stamps

Friday, July 25, 2025

Hi friends! I’m featuring two playful cards using the new Limited Edition stamp set from the latest Kindred Stamps release. This set is full of quirky charm and expressive little characters perfect for fun, heartfelt cards. One of these cards is featured in this week’s Fandom Friday YouTube video (embedded below!), while the second one is a bonus project using the other two images from the set.

For the video card, I created a shaker centerpiece! I started by stamping and coloring one of the characters with Ohuhu alcohol markers after using InkOn3 Blackout Ink for crisp lines. I die cut a piece of patterned paper from the Emotional paper pack using the stitched rectangle from the Card Basics die set. I added a strip of layered patterned paper from the Showtime and Emotional paper packs, then created a shaker element using two acetate circles and circle dies from the Card Basics set. I filled the shaker with Kindred sequins from my stash and adhered it to the center of the card. I added my colorful little friend to the center of the shaker and finished the card with a sentiment strip that says “you’re my la-boo-boo,” stamped in Very Peri ink. A few enamel dots and an inside sentiment—“Limited Edition Besties”—complete the card!

For the second card, I used the remaining two seated characters. I die cut some landscape-style patterned paper from the Around the World paper pack and adhered it to an A2 card base. Then I trimmed white cardstock with a nested A2 rectangle die and stamped the sentiment “you’re limited edition” in the center. I popped this panel up with foam adhesive and added the two adorable seated characters on either side of the sentiment. A few pink enamel dots add a soft touch, and I finished the card inside with the sentiment “you’re the rarest pull of all”—perfect for a friend who’s one of a kind!

VIDEO TUTORIAL


PIN THIS
SUPPLY LIST

Read More

You're Smokin' Burger Shaped Card with Trinity Stamps

Sunday, July 20, 2025

If you’re craving a creative cardmaking project, this one’s extra juicy! For today’s card, I’m sharing a super fun shaped design using the new Buildable Burger Die Set with the Circle Card Add-On from Trinity Stamps. I cut all the burger layers from various shades of Cardstock Warehouse papers and added extra dimension by ink-blending the edges with Distress Inks. From the rich red “tomato” in Candied Apple to the crisp lettuce and pickles in Rustic Wilderness, each layer comes to life with texture and depth. Even the bun got some love with Vintage Photo for toasty edges and adorable little sesame seed die cuts for a realistic finish.

I assembled the burger onto a circle-shaped card base die-cut from speckled cardstock, giving it that perfect “fast food wrapper” look. To finish the card, I stamped the sentiment “You’re Smokin’” from the Grill Deal stamp set in Pinecone VersaFine Clair and popped it right onto the bun. On the inside, a cheeky “Bar-B-Cute” finishes off the card with a smile. This card is perfect for summer birthdays, BBQ invites, or just for fun—and you can watch the entire process in my YouTube Short embedded below!

VIDEO TUTORIAL


PIN THIS
SUPPLY LIST

Read More

Shine Bright Space Themed Cards with Scrapbook.com

Thursday, July 3, 2025

Hi friends! I’m so excited to share two handmade cards featuring the exclusive Cosmic Collection from Scrapbook.com. The colors and patterns in this collection are absolutely out of this world—perfect for adding a celestial vibe to your card projects. My first card is a sweet “Love You to the Moon” design, where I layered two cosmic patterned papers to build the background, adding interest by flipping a paper strip to reveal its reverse side. I created a focal point using nested circle frames from pink patterned papers and arranged them to give some fun layered dimension. I stamped and die cut the moon, planets, and stars in coordinating colors, then adhered them across the card to create a playful, starry scene. A couple of North Star die cuts and Pops of Color were the perfect finishing touches to make this card shine!

For my second card, I wanted to make a Father’s Day design with a cool cosmic twist. I started by cutting a Nested Stitched Flat Oval from shiny holographic paper and used the leftover piece to add an extra metallic layer to my card base. I layered cosmic cloud-patterned paper on top and added a smaller oval from a complementary pattern, popped up for dimension. I used smaller ovals to create a layered sentiment focal point, stamping the greeting on white cardstock and die cutting a bold “Dad” with a shadow layer to really make it stand out. I stamped and fussy cut the moon and a couple of planets, then clustered them around the sentiment for a galaxy-inspired look. Silver Pops of Color added just the right amount of sparkle to finish it off.

Both cards came together beautifully using the Cosmic Collection, and I love how versatile these products are for any occasion! I hope these projects inspire you to try some cosmic creations of your own—thanks so much for stopping by!

PIN THIS
SUPPLY LIST

Read More

Heart Cherries Shaker Card with Scrapbook.com

Saturday, June 14, 2025

Today's card was inspired by the Show Us Your SheetLoad sketch from May 2025, created by Call Me {Crafty} Al. I followed the layout (with my own adjustments) and had so much fun putting a sweet and fruity twist on it using all Scrapbook.com Exclusive products! With a little shimmer, a lot of hearts, and some adorable cherry accents, this card turned into a total treat.

To start, I grabbed papers from the Berry Sweet 6x8 Paper Pad and used the Heart Cherries Stencil on black polka dot cardstock. The first stencil layer was inked with Later Gator Simon Hurley ink, then I layered the cherries using Tickled Pink Lunar Paste for a dimensional pop. I followed the sketch layout to add pink gingham and green strips from the same paper pad across the background. For the focal point, I made a heart shaker using the Heart Doilies Decorative Dies, filled with a sparkly mix of Unicorn, Pot of Gold, and Confetti.

I die cut a large cherry with the Cherries Decorative Die, blending Later Gator on the stem and leaves and adding more Tickled Pink Lunar Paste on the cherries themselves. After stamping and fussy-cutting a sentiment from the My Funny Valentine stamp set, I finished the card with Cherry Pie Pearl Pops of Color to tie in more red. This card is a cherry-filled celebration of color, shine, and Scrapbook.com exclusives!

PIN THIS
SUPPLY LIST

Read More

Silly Geese Cards with Kindred Stamps - New Release!

Friday, March 28, 2025

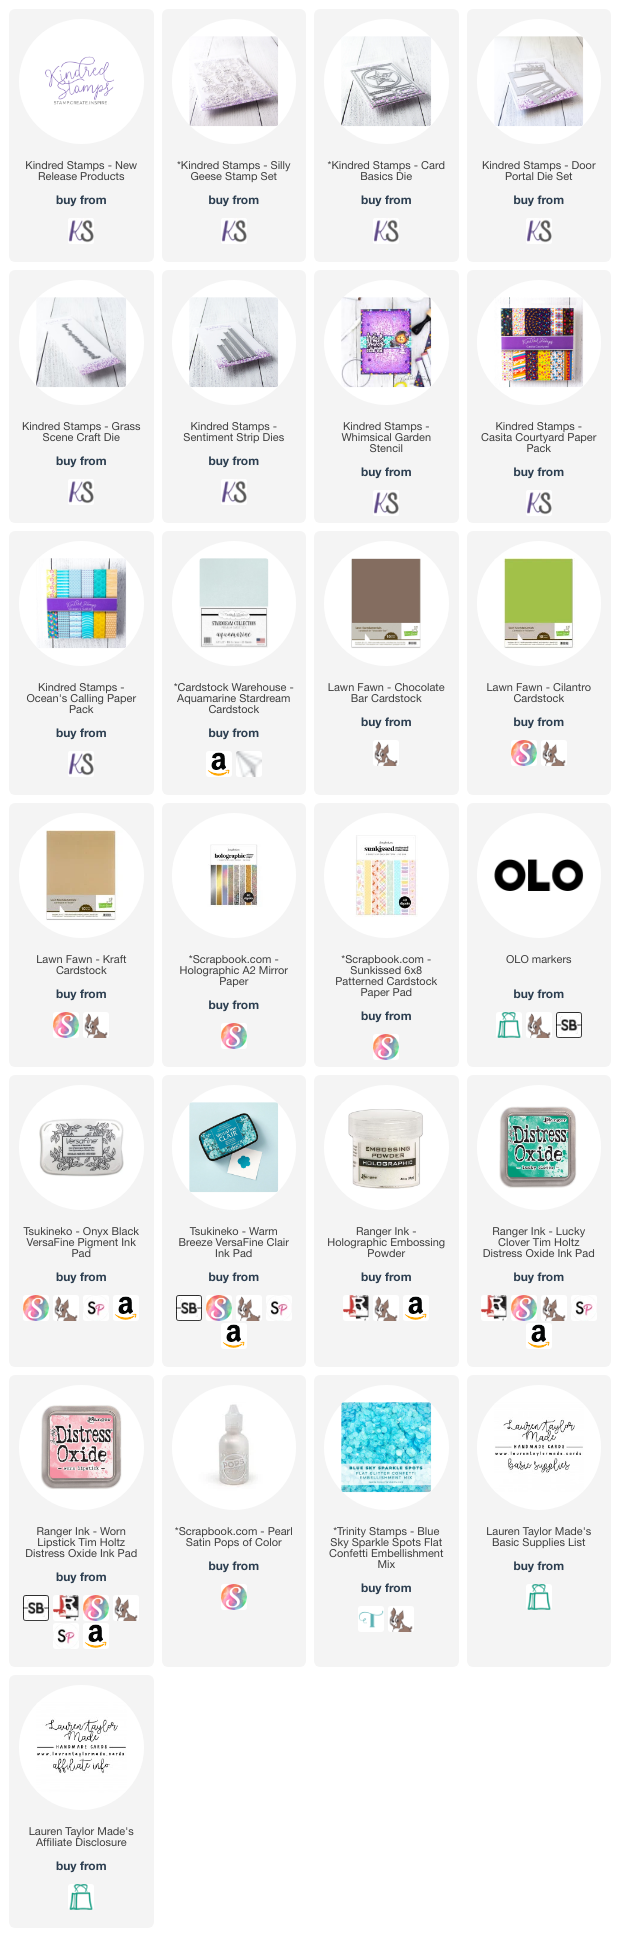
Welcome back to my crafty corner, friends! Today, I'm absolutely thrilled to share my latest creations featuring the utterly adorable "Silly Geese" stamp set from Kindred Stamps! Get ready for some serious giggles and heartwarming greetings, because these geese are about to waddle their way into your card-making heart. I couldn’t wait to get my hands on this set, and I’ve been having a blast bringing these goofy geese to life. I started by stamping all of the goose images with alcohol marker friendly black ink onto alcohol marker friendly white cardstock. Then, I dove into coloring them with my OLO markers, adding vibrant hues to their silly costumes. Finally, I meticulously fussy cut each image, preparing them to take center stage on my cards.

For my first card, I crafted an A7-inch masterpiece, showcasing seven of the "Silly Geese" dressed in festive holiday attire. I opted for a soft pastel blue background with white polka dot paper, creating a gentle backdrop that allowed the geese to truly pop. Each goose was elevated with foam adhesive, adding dimension and playful charm. I then stamped the sentiment "celebrating you all year long" onto a sentiment strip die cut from white card stock, and placed it between two rows of geese, three on top and four on the bottom.

For my second card, I used the rectangle die from the Card Basics die set to cut Kraft cardstock and adhered it to an A2 card base. I cut the door from the Door Portal die set from brown cardstock, adding a gold metallic paper door handle. To create a lawn scene, I used the grass line craft die from green card stock and added flowers from the Door Portal die set in yellow and light purple card stock. The goose without a costume was placed in front of the door, resembling a charming lawn ornament. The sentiment "waddle you know, you're amazing" completed this silly card.

On my third card, I cut light blue card stock to 3-3/4 x 5" and attached it to an A2 card base. I stamped "honk" and "you silly goose" in blue ink and holographic embossing powder, and then used a square die from the Card Basics die set with a blue wavy paper from the Ocean's Calling paper pack. The goose with a raincoat and umbrella was popped up, and I added sequins to mimic raindrops.

For my final card, I used a floral background from the Casita Courtyard paper pack, cut with the rectangle die from the Card Basics die set. I cut a circle with stitch details from white cardstock and used the Whimsical Garden stencil with Distress Oxides in Lucky Clover and Worn Lipstick for a floral center. The two geese dressed for a wedding were popped up, and the sentiment "you give me goosebumps" was added on a sentiment strip. I finished with pearl satin pops of color for a touch of shine. These "Silly Geese" cards are sure to bring smiles and laughter to anyone who receives them!

PIN THIS
SUPPLY LIST

Read More

Not So Average Bear Fandom Box Card with The Sassy Club

Saturday, February 15, 2025

Creating interactive cards is one of my favorite ways to add a little extra charm to my projects, and today I’m excited to share a fun box card featuring The Sassy Club’s "Bear with Me" stamp set! To start, I stamped the four adorable fandom characters in Onyx Black ink and colored them with my OLO markers. After fussy cutting the images, I moved on to constructing the card base. Using the Sassy Box Card Die Set, I cut the base from Lawn Fawn's Noble Fir cardstock, then layered on woodgrain-patterned paper from the Enchanted paper pad for the front and sides. For the back panel, I used Speckled Eggshell cardstock to create a neutral backdrop, perfect for stamping some fun sign images using Simon Hurley’s Over The Moon, Overzealous, and Cookie Dough dye inks.

To build depth and dimension, I die-cut grassy borders from the Noble Fir cardstock and adhered them to the inner layers of the box card. The sentiment, “I can’t bear to be without you,” was stamped in Pinecone VersaFine Clair ink on an extra backing panel and masked off with a post-it note while I stamped additional signs to create a cohesive background. For the finishing touches, I stamped “You’re not average” on Speckled Eggshell cardstock, fussy cut it, and adhered it to the front for a bold statement. Finally, I carefully glued my fandom characters onto the grassy sections, making sure they stood upright to complete the little woodland scene. I love how this interactive box card turned out—it’s the perfect mix of rustic charm and heartfelt sentiment!

PIN THIS
SUPPLY LIST

Read More

Love You Berry Much Shaker Card with Pretty Pink Posh

Monday, February 3, 2025

Hi, friends! I’m so excited to share a step-by-step guide to creating a sweet Valentine’s Day shaker card. For this project, I’ve combined the adorable Fresh Berries Stamp Set and Coordinating Dies with the newly released Valentine-themed products, including the Valentine Greetings Stamp Set, Coordinating Dies, Double Heart Shaker Dies, and the XOXO Pierced Plate Die. The centerpiece is a double heart shaker element, filled with the lovely Love Shaker Beads and Strawberry Valentine Mix. These vibrant accents inspired me to bring back the strawberries from the Fresh Berries Stamp Set—don’t they pair perfectly?

I began by stamping the images from the Fresh Berries Stamp Set in alcohol marker-friendly black ink on white cardstock. Using my OLO markers, I carefully colored the strawberries with three shades of red for dimension and shine. I added brown tones to the seeds and green tones to the leaves, finishing with subtle highlights using a white gel pen. The flowers were kept white with pale yellow centers for a delicate touch. For the berry basket, I stamped it on kraft cardstock and shaded it with Vintage Photo Distress Ink to create a textured, dimensional look. Once everything was colored, I used the Fresh Berries Coordinating Dies to cut out all the pieces.

Next came the heart-shaped shaker frame, created using the Double Heart Shaker Dies. For the window, I used acetate, hand-trimming it to fit the heart frame. After adhering the acetate with liquid glue, I added foam adhesive strips to the back to build the shaker compartment. Filling it with the Love Shaker Beads and Strawberry Valentine Mix was so fun! The mix of strawberries and clay hearts added just the right festive flair. After securing the shaker to my card base, I assembled the berry basket with its charming strawberries and flowers, layering them with foam adhesive for added dimension.

To finish, I added the sentiment "XOXO" from the Valentine Greetings Stamp Set, embossed in white for a crisp, elegant look, and cut it out with the Valentine Greetings Coordinating Dies. I adhered it to the heart shakers to tie everything together. This card was a labor of love, but seeing it come together made every step worthwhile. I hope you enjoyed crafting with me and feel inspired to pair Pretty Pink Posh's new Valentine products with older favorites for your projects. Thanks for joining me, and stay tuned for more creative inspiration. Happy crafting!

VIDEO TUTORIAL


PIN THIS
SUPPLY LIST

Read More

Big Pug Hugs with Simon Hurley create.

Friday, January 31, 2025

I had so much fun creating this adorable balloon-filled card featuring the cutest little pug from the Simon Hurley Big Hugs collection! To start, I embossed a piece of Stark White Cardstock with the Party Balloons 3D Embossing Folder, adding so much fun texture. Using the Layered Party Balloons Stencils, I blended Piggyback ink onto the heart balloons and Prom Queen ink onto the circle ones. To make the balloons shine, I added details with Rosy Cheeks and Prom Queen Lunar Paste, giving them a gorgeous shimmer. Next, I die-cut the Mylar Balloons and colored them with Rosy Cheeks Lunar Paste and Piggyback ink using a Mini Ink Blending Tool. For the strings, I simply cut them from grey cardstock and layered them together once they were dry.

The little pug stamp stole my heart! I stamped him with Weeping Willow ink on brown cardstock and used the coordinating die to cut him out. To make him extra sweet, I added a little pink to his tongue with a pink marker. For the sentiment, I stamped “sending big pug hugs” on a strip of Stark White Cardstock using Prom Queen ink, then placed everything onto a card base. As a finishing touch, I stamped “I love you” inside the card in Prom Queen ink—because who wouldn’t love to receive a hug from this adorable pup? This card was such a joy to make, and I hope it inspires you to create something fun and heartfelt, too!

VIDEO TUTORIAL


PIN THIS
SUPPLY LIST

Read More