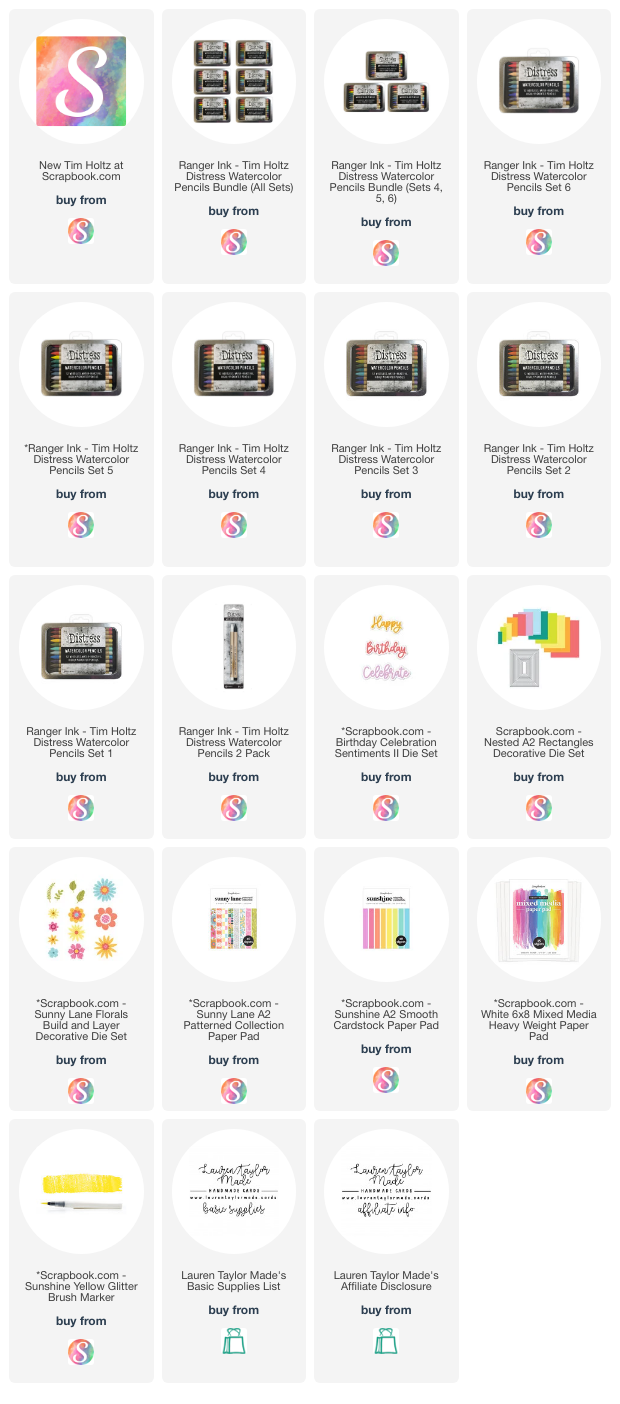
I'm so excited to share with you new Distress Watercolor Pencils from Tim Holtz and Ranger Ink! Thank you to Scrapbook.com for sending me Set 5 (I'll be rushing over to buy the rest when they go live) to color with and create a project to share the release. I just knew I wanted to color flowers with these new colors and I thought the Celebrate sentiment was just perfect for the occasion!
My video down below shares the new colors and how I used most of them (the brighter colors) to color in a few of the flowers and leaves. I did color more of the flowers with existing colors mixed in with the new, but you'll see the coloring of the new colors in my video. Since I used Sunny Lane Florals dies, I tied in the paper pads from the collection and added a festive sentiment.
I'm so excited to have the rest of the Distress colors to watercolor with! Are you a fan of the Distress Watercolor Pencils? Let me know in the comments!
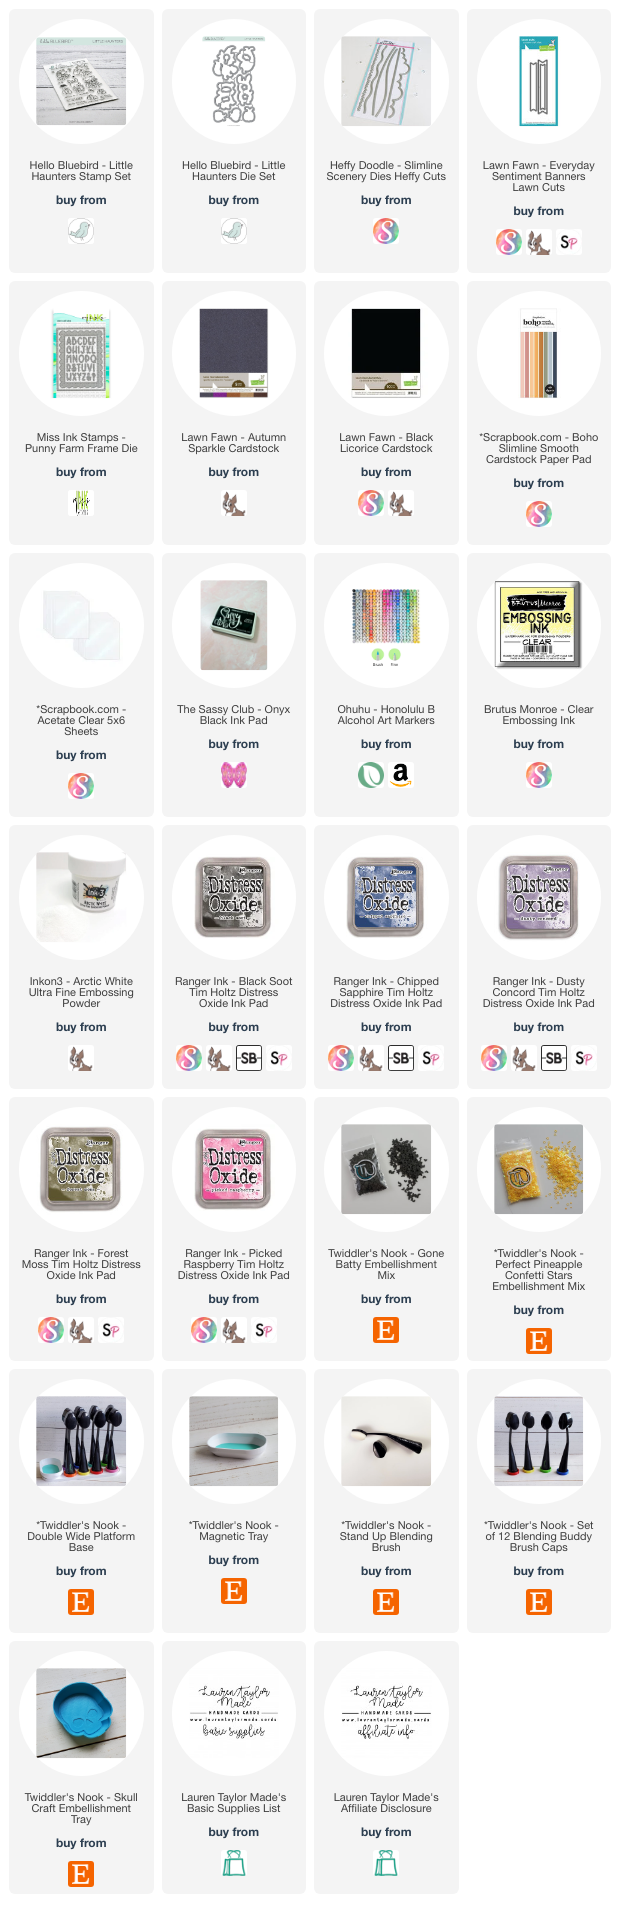
It's the last day of the month and it's time for Halloween inspiration! This month has a 31st and I'm excited to share my first project as a part of the Twiddler's Nook Spooktacular hops! I'm using two different embellishments from Twiddler's Nook - Gone Batty and Perfect Pineapple Confetti Stars. But in my video you can also see how I'm using some of the amazing tools you can find in her shop!
My video shows how I made my ink blended background, shaker panel frame, shaker panel assembly, coloring my cute critters, my sentiment and overall card assembly. I just love these cute trick-or-treaters and the sunset with my own mix of the two embellishments. Which critter is your favorite? I think mine is the hedgehog mummy!
Be sure to click the photo below to head over to Instagram to hop along with all of the creators sharing Halloween inspiration today! There are so many talented creators and I cannot wait to see what they have made.
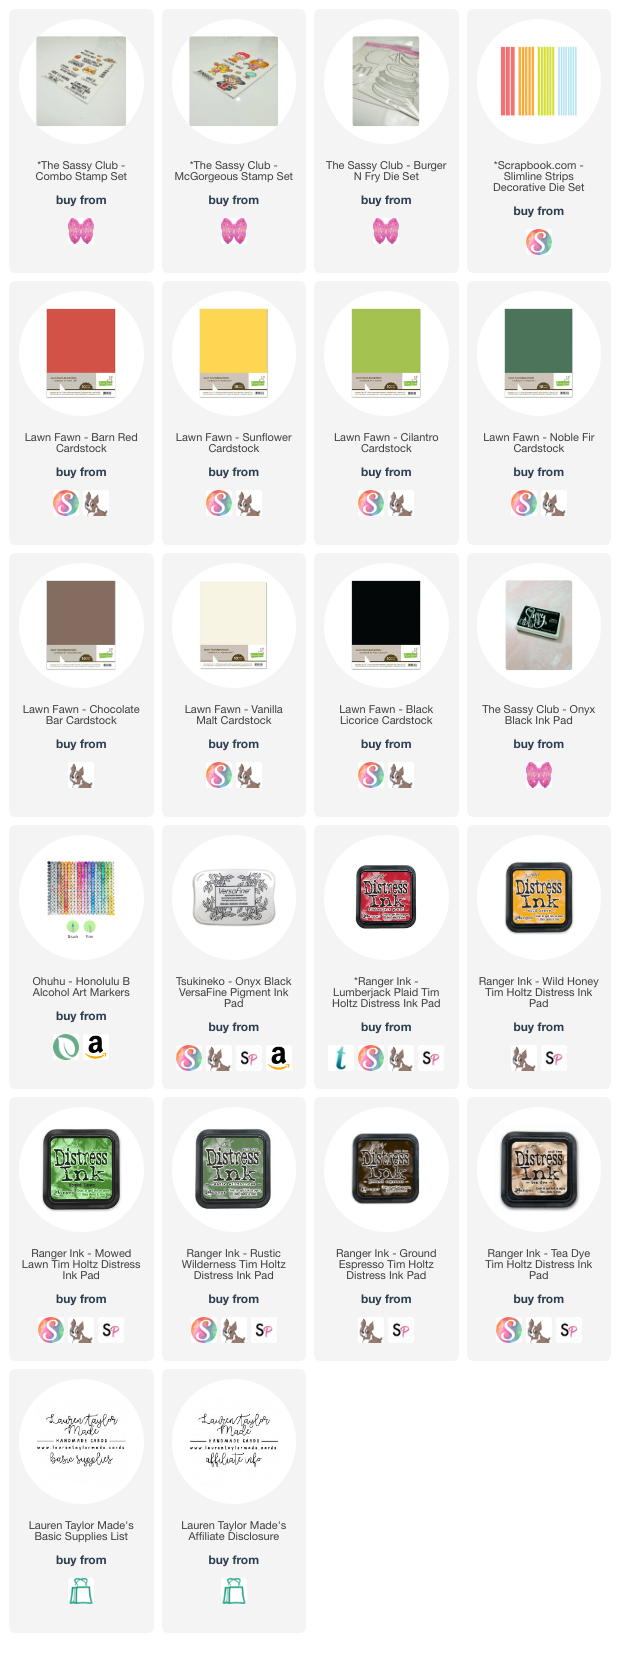
I have a video today featuring an iconic duo... a burger and fries! I have been lovin' The Sassy Club's recent food fandom releases and seeing this die set from this month's release just made jump for joy. I can create my own burger and fries?! YES! In today's video, I walk through how I added ink to step up my die cuts just a bit and assemble them together.
My video also shows my marker colors for my cute fandom food clown and I also talk about how my video meet's this past Friday's episode of Craft Roulette. I have a card with a fry bookmark, bakery colors (yummy and toasty), horizontal stripes and... a large animal. I'll let you watch my video to figure out how I met that parameter if you cannot guess it on your own.
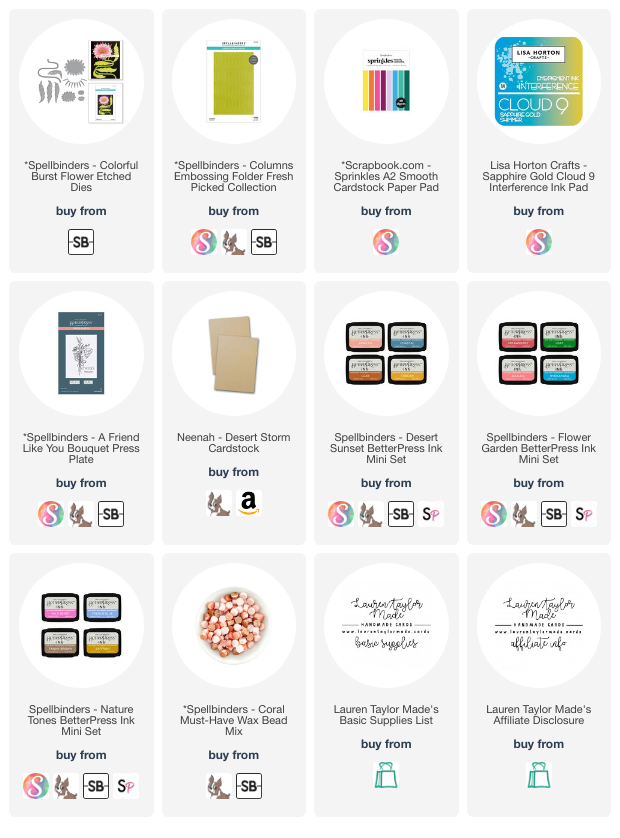
I'm still loving and playing with the latest release from Spellbinders! The floral products have me wishing for Spring - give me all the flowers! Well, at least on cards because pollen makes my allergies go crazy. I was gifted a lot of what I used on today's cards, so let's go through them individually as while they're both floral, they're so different!
I kept things simple for my BetterPress card! I used the new A Friend Like You Bouquet Press Plate at an angle to get as much of the image to fit on an A2 cotton card panel. I used three different colors to try and give the flowers dimension and add interest to the card - Tawny Owl, Apricot and Strawberry. My sentiment is Tawny Owl only.
The panel was then trimmed down to 4x5-1/4" and added to a Kraft cardstock base. I put some of the Coral Mix into my wax spoon to melt down and I made small little embellishments when the wax melted. I added one of the twine impression on the card to make it look like a mini wax seal holding them together! I love the coral colors and think this card turned out really pretty.
For my second card, I let the dies do all the talking! I started with taking a sheet of each color from the Scrapbook.com Sprinkles paper pad and embossed the Columns Embossing Folder in blue. I die cut all of the die set pieces from the rest of the colors - I love using coordinating paper pads for die sets like these as I know they'll coordinate well together! I adhered my embossed background to my white card base after trimming it down to 4-5-1/4".
My flower images were popped up with foam adhesive to my card base. This die set fits together like a puzzle and I think looks so pretty! Which card is your favorite from the two? Let me know in the comments!
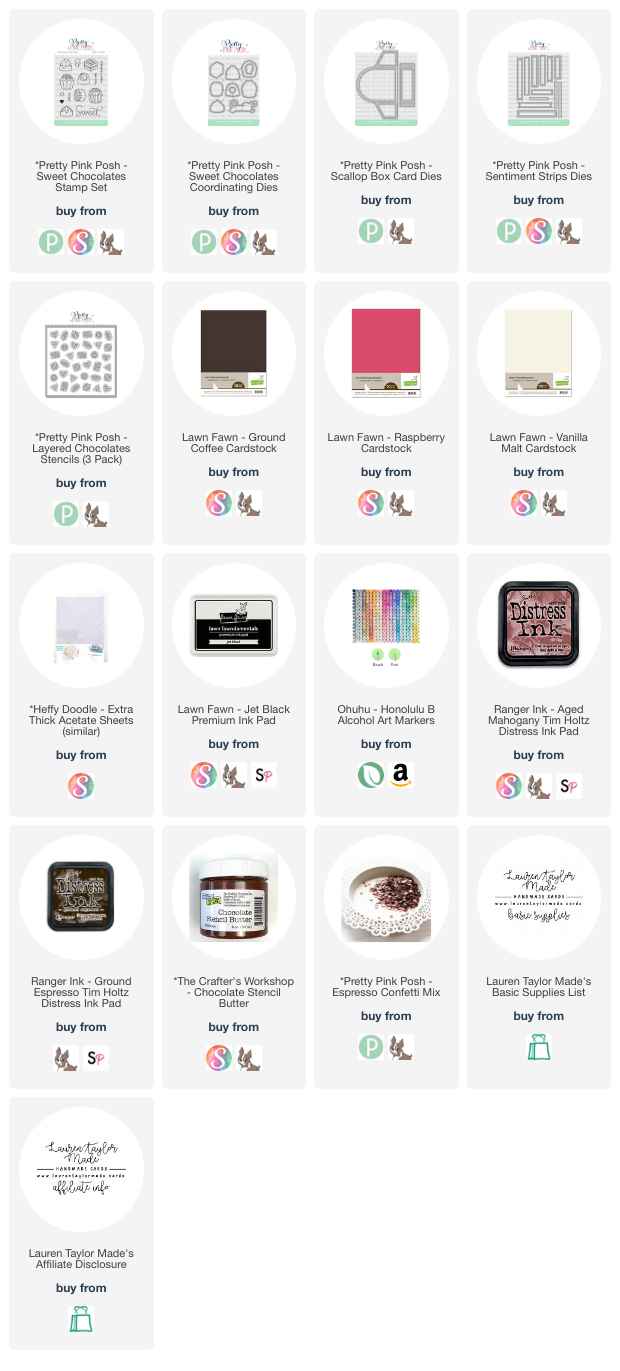
I love a good box of chocolates, but a boxcard of chocolates is just too cute! My project today is using products from Pretty Pink Posh's latest release and I just love the Sweet Chocolates. They also match perfectly with the Layered Chocolates Stencil from last year's release! I started with die cutting all of the scallop dies from the Scallop Box Card Dies from a vanilla cream cardstock. Using the Layered Chocolates Stencils, I started with the (A) stencil with Ground Espresso Distress Ink, then the (B) stencil with Aged Mahogany Distress Ink, and finally the (C) stencil with Chocolate Stencil Butter.
While the stencil paste was drying, I stamped the candy images from the Sweet Chocolates Stamp Set with an alcohol marker friendly black ink and cut them out with the Sweet Chocolates Coordinating Dies. Using Ohuhu Art Honolulu Alcohol Markers, I colored my images in and you can see the colors in today’s video!
Next I cut the remaining dies from the Scallop Box Card Dies out of a raspberry pink cardstock and assembled the box card together. I added a couple of the chocolates with acetate to give them a floating look on the box card!
My sentiment is stamped from the Sweet Chocolates Stamp Set and die cut with the Sweet Chocolates Coordinating Dies and Sentiment Strips Dies.
I attached the sentiment banner to the front of the box card and added a few Espresso Confettis around the box card for some shiny, final touches. I hope you enjoyed this card and make sure to leave a comment on the video of which chocolate is your favorite on the card!
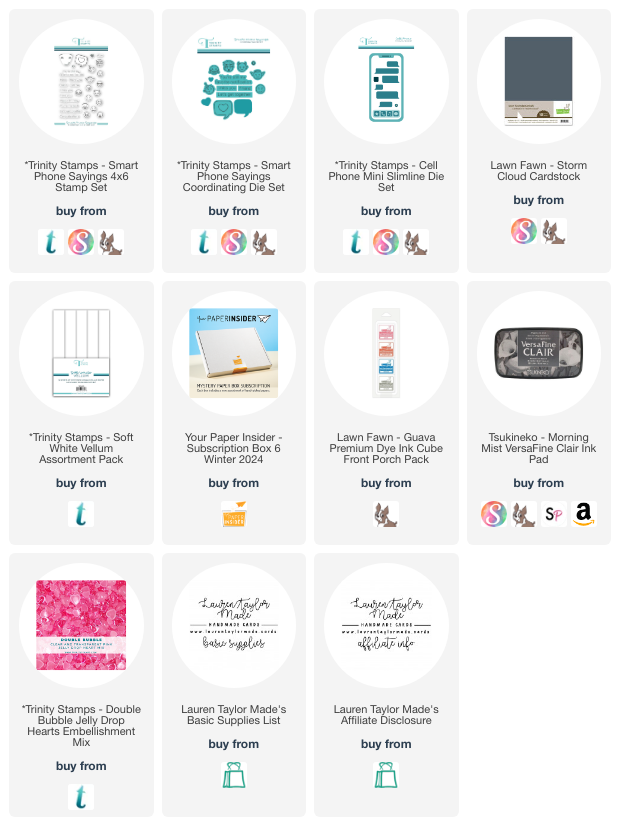
I am loving these new colored cardstocks from my latest Your Paper Insider! It just made making my card for the Trinity Stamps + Cards by Kendra sketch so pastel and beautiful. I'm using the KCC13 Sketch 10 which is also an old Show Us Your SheetLoad sketch! I adapted to my own by using the sketch as a starting point with tweaks to make it my own and use my Trinity Stamps supplies to replace some parts of the sketch.
Check out my video down below to learn how I assembled my card (and how I did not like my original card idea so I made it again). Make sure to watch the video on YouTube so you can get all the details on today's hop and how to enter the giveaway! Also, I made this card earlier in the week and used it for last week's episode of Craft Roulette! You can get my details over their site for how I used my stretchy pants to use the parameters within my card.
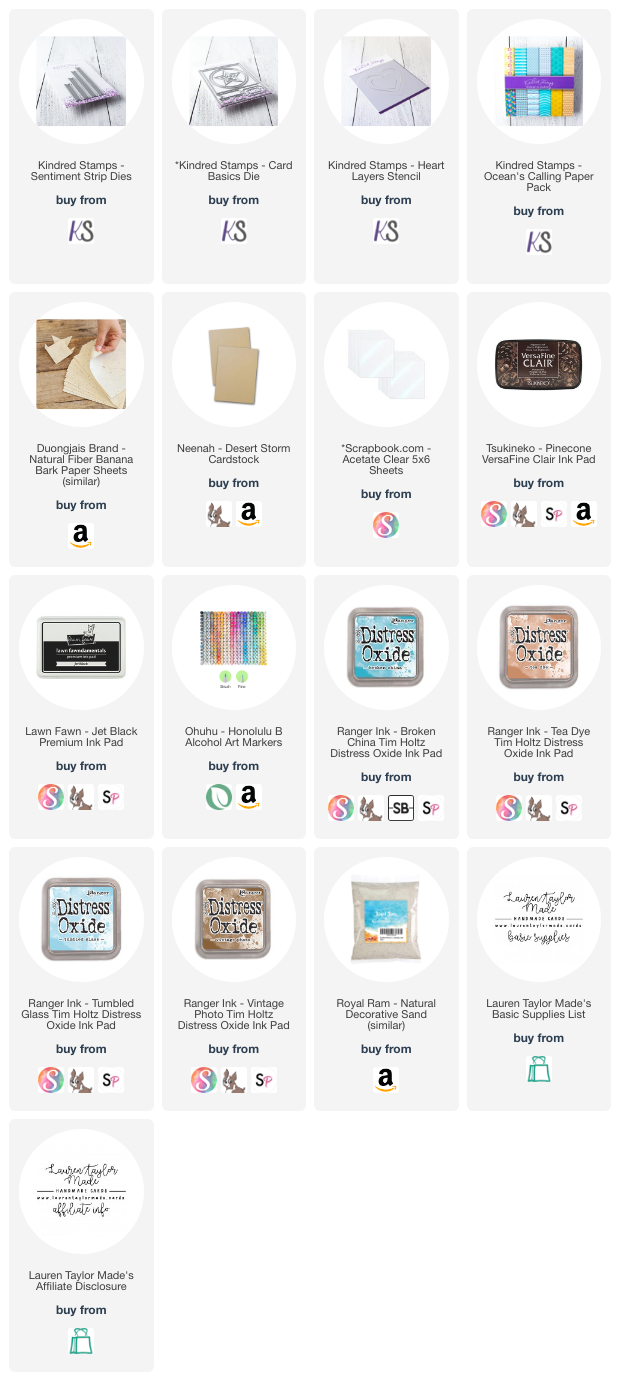
It's one of the best days of the month! It's new release day from Kindred Stamps and I'm so excited to be sharing the new Tomb Raider stamp set. It makes my 90's kid heart so happy to color and share these fandom images! I started with stamping and coloring my images since I was so excited about this set. I fussy cut all of the images out leaving a minimal white border.
For my first card, I wanted to make an image with this iconic couple! I loved the river sentiment so I cut down a sheet of water patterned paper to an A2 size. I die cut a piece of white cardstock with the rectangle Card Basics die and used a heart stencil so add my background scene with brown and blue Distress Oxides. I added the background to my patterned paper and popped up my images with foam squares. My sentiment is on a banner with brown ink and adhered with foam adhesive, too.
My second card is interactive! I have decorative sand and I knew I wanted to use it for a shaker card. I started with a piece of kraft cardstock and used masking tape to create a pyramid with brown Distress Oxides. I assembled my shaker with acetate, foam strips and my background. I then worked my cover paper which is a thin, fibrous paper that I thought would look kind of like papyrus! I added my sentiment and assembled the card together. To cover some of the foam adhesive, I added a kraft strip of cardstock and added my character with liquid adhesive.
I hope you have fun shopping today! Make sure to check out the full release on Kindred Stamps here!
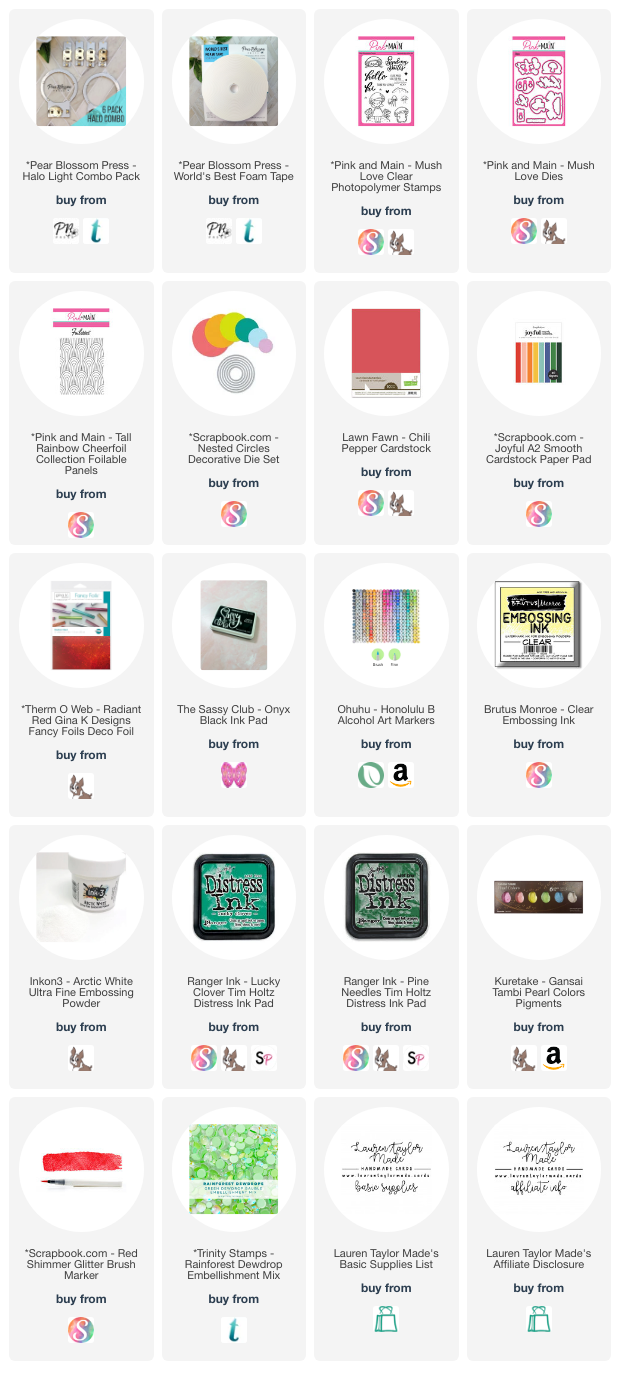
When I saw this adorable girl when shopping Pink & Main, I just had to get her! I thought she was just so cute and I love the sentiments in the set. Especially with their coordinating dies! You know how I just love when stamp sets have dies for their sentiments. I started stamping and coloring all of my images in with Ohuhu Art Markers, then used their coordinating dies to cut them out.
My background is a Foilables and I used a pretty, shimmery red foil and my laminator to add the shine to the foil panel. I die cut a circle out of the background so that I could use a Halo Light to make my card interactive. I adhered the Halo Light to red cardstock measuring A2 in size, then popped up the foiled panel with World's Best Foam Tape. My sentiment is embossed in white and I adhered everything to the panel! I even added a red die cut to indicate where my card receiver should push to activate the Halo Light!
This project is for today's Collaboration Insta-Hop with Pear Blossom Press and Pink & Main! Come hop along with us on Instagram and see some awesome light-up cards! Plus, each company will be giving away $25 PRIZES!
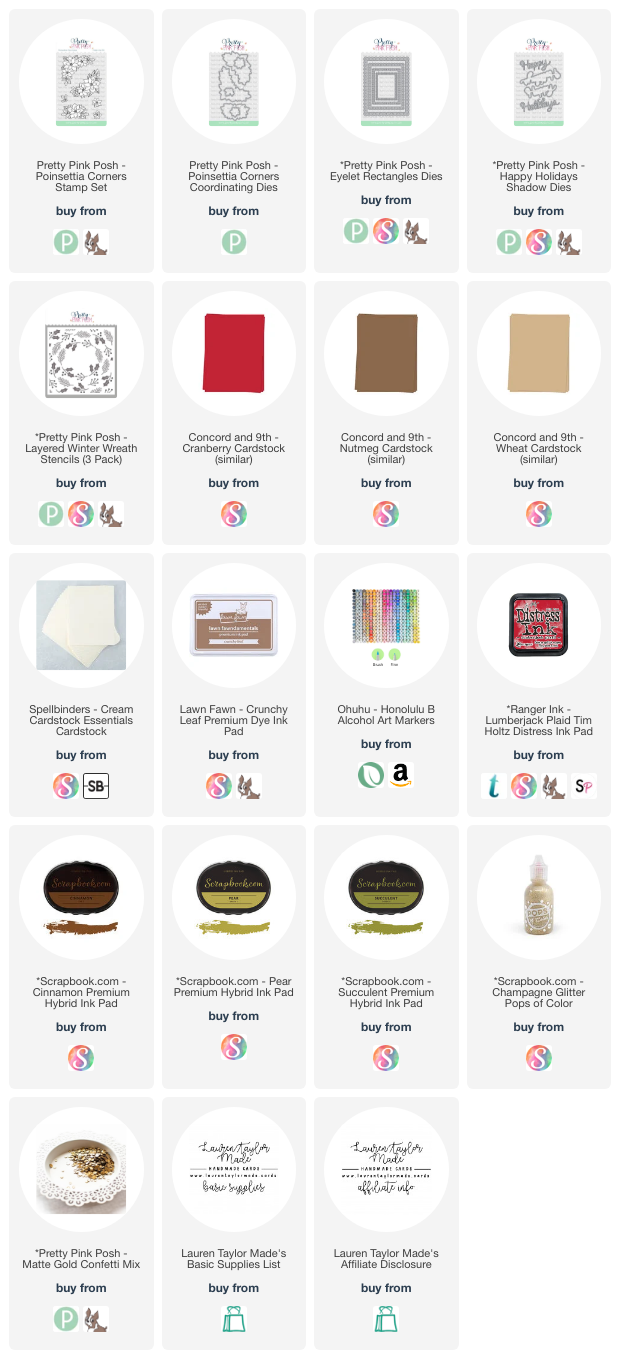
Hi, friends! I am back with a new video with Pretty Pink Posh for a Christmas card on the 25th mixing new and previously released products. I just love that I can mix and match from different releases to make a card! I started with using the Layered Winter Wreath Stencils to add brown to the twig details of the A stencil, red to the berries of the B stencil and two green inks for the leaf and pine needles of the C stencil.
When the stenciling was done, I used the largest Eyelet Rectangle Die to cut out the wreath so that it looked centered in the middle of the rectangle. Next I stamped my images from the Poinsettia Corners Stamp Set on some cream colored cardstock and colored them in with Ohuhu Art Markers, then used the Poinsettia Corners Coordinating Dies to cut them out. I stamped them in a brown ink to match the colors and have a softer look to the poinsettias - I love the off-white poinsettia look of the colors!
For my sentiment, I’m using a cranberry red colored cardstock to cut two layers of the Happy Holidays Shadow Dies - just the words for this card. I used an adhesive sheet when die cutting so that I could easily adhere the two layers of the words together for extra stability when I’m ready to glue the sentiment to the card.
To assemble the card, I adhered the Eyelet Rectangle and Winter Wreath panel to an A2 size of brown cardstock which was then adhered to an A2 card base. I popped up the two Poinsettia Corners clusters with foam adhesive and then my liquid adhesive to adhere the sentiment to the center of the card. For final touches, I used the Matte Gold Confetti Mix to add some shine around the card and some gold glitter embellishment to the center of the Poinsettia Corners images.
I just love how rich this card looks and makes a beautiful holiday card. I hope this brought you some inspiration today and while I know it's January, hope it inspires your holiday crafting any time of the year!