Showing posts with label interactive card. Show all posts

That's a Rock Fact Fall Shaker Card with Popsiclesticks

Friday, September 18, 2026

For this week's Fandom Friday I am celebrating fall with the That's a Rock Fact stamp set from Popsiclesticks, paired with the A2 Tree Frame die from Trinity Stamps to create a full A2 shaker card! I started with an ink blended background going from Crackling Campfire at the top down through Lumberjack Plaid, Aged Mahogany, Ground Espresso, and Black Soot at the bottom, then added brown graphite watercolor splatter for extra texture before die cutting the tree frame out of both black and red cardstock. I layered the red frame behind the black one after blending Aged Mahogany and Crackling Campfire onto the red layer to deepen the color, assembled the shaker using 1/4" double sided tape and acetate trimmed slightly smaller than A2, and filled it with fall sparkle blend sequins plus some deeper red and black sequins to keep things moody and spooky before sealing it to the ink blended background with 3mm foam adhesive strips.

For the focal images I stamped the lantern in alcohol marker friendly ink first and colored it red using two shades of Ohuhu Honolulu markers with a soft gray for the light inside the globe, then restamped both the lantern and the beast character together in Nocturne VersaFine Clair ink using my MISTI so the outlines would stay perfectly crisp and clean. I white heat embossed the sentiment "If Dreams Can't Come True Then Why Not Pretend?" from the stamp set onto black cardstock, fussy cut the beast, lantern, and sentiment out, then arranged everything on the card with the beast going down first, the sentiment layering in front of him, and the lantern tucked into the bottom left corner. I finished by adding Snowflake Glitter Pops of Color to the eyes of the beast and the center of the lantern for the most perfect glowing detail, and I love how this shaker turned out for a fall and Halloween card all in one!

VIDEO TUTORIAL


PIN THIS
SUPPLY LIST

Read More

Nightmare Monsters Easel Shaker Card with Popsiclesticks

Friday, July 10, 2026

For this week’s Fandom Friday I got to play with some products from Popsiclesticks, and I am such a fan of everything Divina creates! I started by die cutting the easel base from Divina’s Easel die set out of Pitch Black cardstock from Cardstock Warehouse and using the Pumpkin Town 6x6” paper pad from The Sassy Club for all of the patterned paper panels. The easel folds on one mountain fold at the top and two valley folds at the bottom, gluing together with a tab to create the standing easel shape, and it also folds flat into a square that fits right into an A2 envelope which I love for mailing. For the shaker panel on the top of the card, I die cut a scallop frame and used the inside square as a guide to cut my acetate just slightly smaller than 3.5 inches, then attached the acetate to the back of the frame with one eighth inch double sided adhesive before adding 3mm foam adhesive strips around the edges to give the sequins and clay bits enough room to actually move around inside.

For the shaker filling I used Glitter Lamb’s Gambling Boogeyman Halloween Clay Mix along with turquoise sequins, tiny goldenrod confetti, and black, purple and pink sequins from This Calls for Confetti’s Haunted mix, choosing colors that coordinated with the patterned paper before sealing the shaker closed. I layered all of the stitched panels onto the black card base using a combination of double sided adhesive and liquid glue for a sturdy hold, and added the bottom rectangle panel with 1mm foam adhesive so there would be a small lip for the easel to stand up against. I stamped all of my images from the Nightmare Monsters stamp set from Popsiclesticks in Blackout ink from InkOn3 and colored them in with my Ohuhu Honolulu alcohol art markers before fussy cutting everything out, then decorated the shaker frame with two cute little nightmare monsters, a couple of hearts, and a bat using liquid glue.

To finish the card I popped up the ghost dog, bat, and single heart onto the center panel with 1mm foam adhesive, leaving the needle and thread image flat since it was far too dainty to add foam behind, and stamped “Were Simply Meant to Be” at the top of the bottom panel using my MISTI. I die cut a banner from the Popsiclesticks Mini Slimline Stitch Layer die set and did my best to curve the “Love You to Death” sentiment to fit inside it before attaching that to the center panel with foam adhesive as well. The more you fold and bend the score lines on the easel, the more pliable it becomes and the better it stands up, so I really pressed into those folds with my Trinity ergonomic scoring tool before calling it done. This card would be perfect for Valentine’s Day, Halloween, or an anniversary and I just love any excuse to play with monster stamps!

VIDEO TUTORIAL


PIN THIS
SUPPLY LIST

Read More

Capybara Beach Shaker Card with Sassy's LLC Printables

Thursday, June 18, 2026

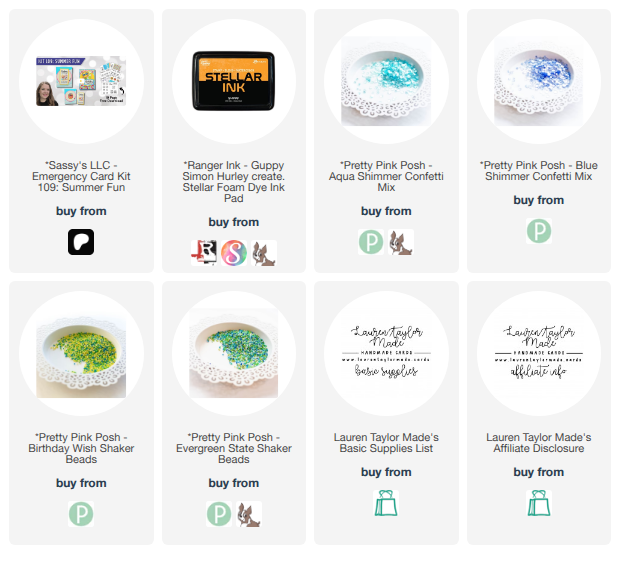
This card came together during my Crafty Besties podcast livestream, and since I do not really walk through every detail on the recording, I wanted to break down exactly how I made it here on the blog! I started by printing out a few of the papers from the Sassy's LLC Emergency Card Kit 109 Summer Fun collection, trimming the yellow scallop design to fit an A2 card base, then cutting a 2-1/4 x 4-1/4" rectangle out of the center of that panel so I would not waste any of my pretty printed paper on a piece that was just going to get covered anyway.

I used Guppy Stellar Ink to darken the edges of both of those scallop panels, then printed and trimmed one of the beach scene panels down to 4 x 5-1/4" and a separate panel down to 2 x 4" featuring the cutest little capybara floating along in a flamingo floaty with the sentiment "Thanks for keeping me afloat." I glued the sentiment panel onto the smaller scallop panel, then attached the larger scallop panel onto a top folding A2 card base to start building everything together.

For the fun part, I took the beach scene panel I had printed and cut and turned it into a full panel shaker using clear plastic, filling it with a mix of sequins and shaker beads from Pretty Pink Posh, including Aqua Shimmer Confetti Mix, Blue Shimmer Confetti Mix, Birthday Wish Shaker Beads, and Evergreen Shaker Beads, then sealed the shaker closed.

I added 1mm foam adhesive to the back of the shaker panel and added it to the center of the card front. I then adhhered the smaller scallop and sentiment panel with double sided adhesive and attached it right to the center of the shaker. This card looks so simple at first glance, but the printed paper is gorgeous on its own, and adding that shaker element gives it so much movement and the best little rattling sound when you shake it!

VIDEO TUTORIAL


PIN THIS
SUPPLY LIST

Read More

CLAWsome Shaker Window Card with Trinity Stamps

Sunday, April 12, 2026

Hi friends, I am so excited to share this interactive shaker card using the latest Trinity Stamps release. I started by die cutting all of my pieces for the claw machine using the A2 Window Box Card die set and the Gashapon Machine dies. I cut everything from white cardstock along with a mix of shimmery and metallic papers to give the machine that fun arcade feel. I also used one of the large square dies to cut a window directly into my card base so the claw machine could act as a see through shaker feature. Before assembling, I built up the structure of the machine and added acetate behind the window openings so I could turn it into a shaker panel.

Next, I stamped and colored a few of the stuffies using alcohol marker friendly ink and colored them with OLO markers before die cutting them out with the coordinating dies. I carefully adhered the stuffies inside the shaker area, making sure to layer them in a way that hid the backs of the die cuts from both the front and inside of the card. Once everything was in place, I added my shaker mix with confetti and shaker beads, then sealed up the panel. On the inside, I added one more little bunny so it looks like he is peeking into the machine, and stamped the sentiment to finish it off. This card is such a fun mix of dimension and movement and makes the perfect playful birthday design.

VIDEO TUTORIAL


PIN THIS
SUPPLY LIST

Read More

Magical Book Box Card with a Floating Scene - The Sassy Club

Sunday, March 29, 2026

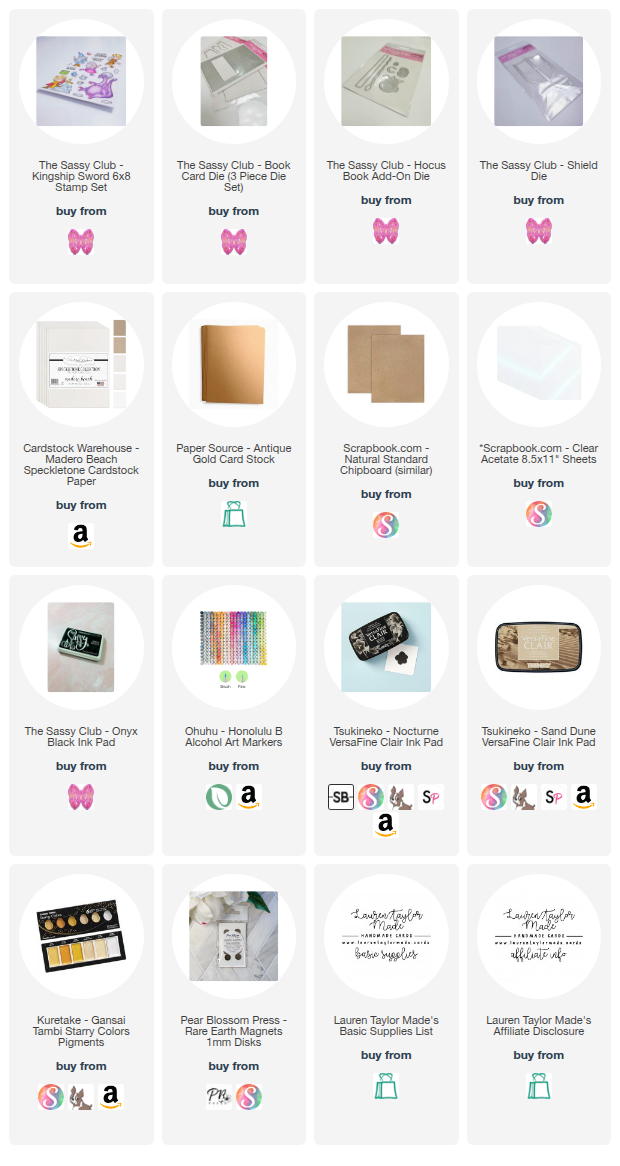
Today’s card is a fun dimensional project using The Sassy Club and a magical book inspired design. I started by stamping the images from the Kingship Sword stamp set using Onyx Black ink, then colored them with Ohuhu Honolulu B alcohol markers. Once everything was colored, I placed the panel back into my MISTI and restamped the images with Nocturne Versafine Clair ink to get a crisp, bold outline. I used my Scan N Cut to cut out all of the images so they were ready to build my scene.

Next I created the base of the card using thin chipboard and die cut the book box card shape. I assembled the box and added an inside panel using Madero Beach cardstock to mimic the look of book pages. On that panel, I stamped the sentiments “slay on your birthday” and “tis the day of thy birth” using Sand Dune Versafine Clair ink, stamping multiple times with my MISTI to deepen the color. I added splatter using Starry Colors pigment watercolor to give it a magical feel. I also added a piece of acetate to the inside opening so I could attach some of the images and create a floating effect across the scene.

To finish the card, I decorated the outside of the book by die cutting a shield from antique gold cardstock and trimming it down to just the outline before adhering it to the front. I added extra details from the same die and used the Hocus Book add on die set to create a gold spine. I also created a latch detail on the front that hides a magnet, with a second magnet placed inside the book so it stays closed. Inside the card, I arranged the characters and elements so it looks like items are floating into a magical bag, using the acetate to support them. The finished card feels like a tiny storybook scene with movement, dimension, and a bit of magic.

VIDEO TUTORIAL


PIN THIS
SUPPLY LIST

Read More

Kiss Your Brain Shaker Card with Trinity Stamps

Sunday, March 22, 2026

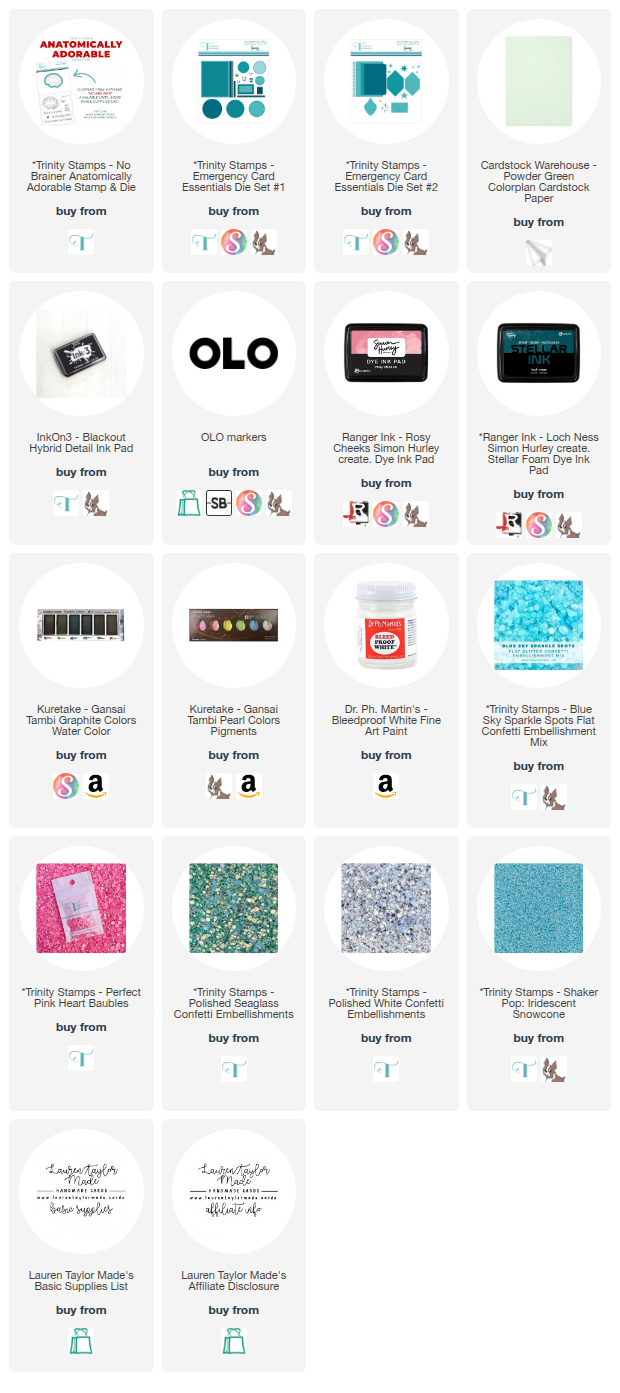
Today’s card is a fun shaker design using Trinity Stamps and a playful take on this week’s Craft Roulette parameters. I started by die cutting a white cardstock panel using the largest rectangle from Emergency Card Essentials Die Set #2. I created my background by stamping the No Brainer stamp set repeatedly with Rosy Cheeks ink from Simon Hurley, then softly blended over the panel with a blending buddy to give it a light pink wash. To add texture and interest, I splattered the panel with leftover ink, graphite watercolor, pink pearl watercolor, and bleedproof white paint, then set it aside to dry completely. Once dry, I turned it into a shaker panel by adding acetate and adhesive, then filled it with a mix of Trinity embellishments including Blue Sky Sparkle Spots, Polished Sea Glass Confetti, Polished White Confetti, and Iridescent Snow Cone Pop Beads before sealing it closed and adhering it to an A2 card base.

Next I built the focal point by die cutting a small trapezoid from powder green cardstock using Emergency Card Essentials Die Set #1 and adhering it toward the top of the shaker panel. I stamped the brain image from the No-Brainer set with InkOn3 Blackout Ink, added the kissy face detail, colored it with OLO markers, and die cut it with the coordinating die. I also die cut a small white circle and stamped the sentiment “kiss your brain” using Loch Ness Stellar Ink. I adhered the brain to the circle, then popped the entire piece up with thin foam adhesive for dimension. To finish the card, I added a few Perfect Pink Heart Bubbles around the focal point for extra shine. This card checks all the boxes for Craft Roulette with a funn tagline, aquarium inspired colors, a March connection, and a twisty brain element.

VIDEO TUTORIAL


PIN THIS
SUPPLY LIST

Read More

Plants Before People Fun Fold Card

Wednesday, March 18, 2026

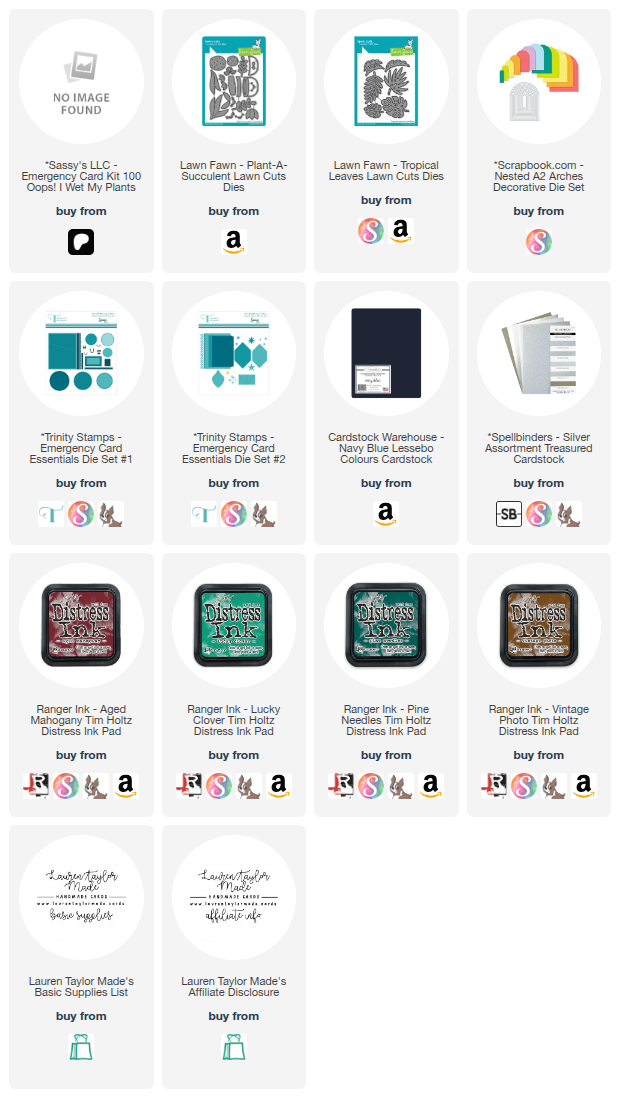
Hi friends, today I am sharing a fun fold card made while celebrating Craft Roulette’s 6th birthday and the release of Emergency Card Kit 100 from Sassy’s LLC. I started by creating a Z-fold card base using dark navy cardstock trimmed to 5.5 by 7.25". I scored the cardstock at 3" and 6", then folded it into a Z shape so the finished card folds down to an A2 size. For the front panels, I printed a few of my favorite papers from Emergency Card Kit 100 and trimmed them to create the layered panels across the front. I added a peachy pink watercolor pattern as the main layer and trimmed a leafy patterned panel slightly smaller so it created a nice border. Since I accidentally cut the smaller side panel a little short, I used a scalloped die from Emergency Card Essentials #1 to cut a decorative strip from patterned paper and glued it over the gap to bring in more color and detail.

Next I created the focal point using Lawn Fawn dies and more patterned papers from the kit. I die cut tropical leaves and a small plant pot, then ink blended the pieces with Distress Inks in Lucky Clover and Pine Needles for the leaves, Vintage Photo for the soil, and Aged Mahogany to shade the pot. I assembled the leaves and pot into one layered plant and adhered it to a nested arch die cut that I layered with navy cardstock to help it stand out. I printed and fussy cut the “plants before people” sentiment from the kit and attached it to the plant with thin foam adhesive before adhering the whole piece to the arch. I added the arch to the right front flap so it keeps the card closed. On the inside panel I added a white rectangle for writing and layered another printed sentiment using a scalloped die from Emergency Card Essentials #1. Finally I die cut small silver stars from Emergency Card Essentials #2 and scattered them around the card for a subtle starry detail before finishing the card on the Z-fold base.

VIDEO TUTORIAL


PIN THIS
SUPPLY LIST

Read More

Floral Gift Card Pocket with Emily Moore Designs

Thursday, March 12, 2026

Today I am sharing a fun card that doubles as a gift card holder using products from Emily Moore Designs. I started with papers from the Joyful 6x8 patterned cardstock paper pad from Scrapbook.com and chose a leafy design for the background. Using the large rectangle from the Card Sentiment dies, I die cut the leafy panel. I also die cut the vertical pocket die from a coordinating floral pattern paper and adhered that pocket to the bottom of the leafy panel. Next I die cut the long strip from the same Card Sentiment die set out of a solid yellow cardstock from the paper pad and glued it just above the pocket. On that strip I stamped the sentiment “so proud of you” from the All the Happy Things stamp set using Spruce Versafine Clair ink. Once the stamping was complete, I adhered the finished panel to a top folding A2 card base.

To create the gift card holder, I die cut the gift card holder die from a solid orange cardstock from the same paper pad and slid it into the pocket. For the main sentiment, I die cut the word “hey” from dark green cardstock using the Hey Hi Hello Big and Bold word dies and cut the shadow layer from the same yellow paper used earlier. I glued the word onto the shadow and popped it up on the pocket using 2mm foam adhesive. Using leftover floral paper, I fussy cut several flowers and adhered them with thin foam adhesive to fill in the front of the card and tuck them around the sentiment for a layered look. Finally, I die cut the Twyla Make a Moth die set using patterned papers from the same pad, assembled the moth, and attached it above the sentiment. I added white gel pen highlights to the letters and moth for a little extra detail, which finished the card.

PIN THIS
SUPPLY LIST

Read More

Rainbow Egg Shaker Mini Slimline Card

Sunday, March 8, 2026

Today I am sharing a bright and cheerful Easter shaker card using Trinity Stamps. I started with a 3 by 6 inch piece of white cardstock and blended a soft rainbow using Distress Oxides in Saltwater Taffy, Squeezed Lemonade, Cracked Pistachio, Salvaged Patina, and Shaded Lilac with my Trinity Stamps Blending Buddies. Once the colors were blended, I spritzed the panel with water and Hero Arts White Iridescent Shimmer Mist to add texture and sparkle. I gently dabbed up the excess moisture with a towel and set the panel aside to dry completely.

Next, I created the shaker panel. I cut a 2 by 6 inch strip of white cardstock and used the egg die from the Easter Basket Add On die set from Trinity Stamps to cut three egg windows. I adhered a piece of acetate to the back of that panel to create the shaker front. Using 3mm foam adhesive strips, I built the shaker well and filled it with Aurora and Green Gleam chunky shreds flat confetti and a few star confetti pieces for extra sparkle. I sealed the shaker and adhered the panel slightly off center onto the rainbow background so more of the color could peek through on one side. For the sentiment, I stamped “Have an egg-cellent Easter” from the Egg-ceptional Sentiments stamp set using Nocturne Versafine Clair ink and cut them out with their coordinating dies. I adhered the sentiment to the shaker panel and then attached the entire piece to a mini slimline card base measuring 3 by 6 inches.

VIDEO TUTORIAL


PIN THIS
SUPPLY LIST

Read More

Lucky Shamrock Shaker Card with Pretty Pink Posh

Monday, February 23, 2026

Today's throwback card from my time with Pretty Pink Posh is for St. Patrick's Day! I used the Layered Shamrock Stencils on light grey cardstock and started with the (A) stencil and Lucky Clover Distress Oxide. Then I inked the (B) stencil with Ripe Mango Cloud 9 Interference Ink. I added a little bit of gold watercolor splatter to really make the background shine.

When it was dry, I used the largest Wonky Stitched Rectangle Die to cut it out and layered it onto a green cardstock with foam adhesive that was adhered to an A2 card base. I made a shaker with the new Shamrock Shaker Dies, St. Patrick’s Day Mix, and Lucky Day Shaker Beads. After assembling the shaker onto the card, I also added a Hot Foil - Lucky sentiment with gold foil onto yellow cardstock and cut it with the Lucky Shadow Dies.

PIN THIS
SUPPLY LIST

Read More