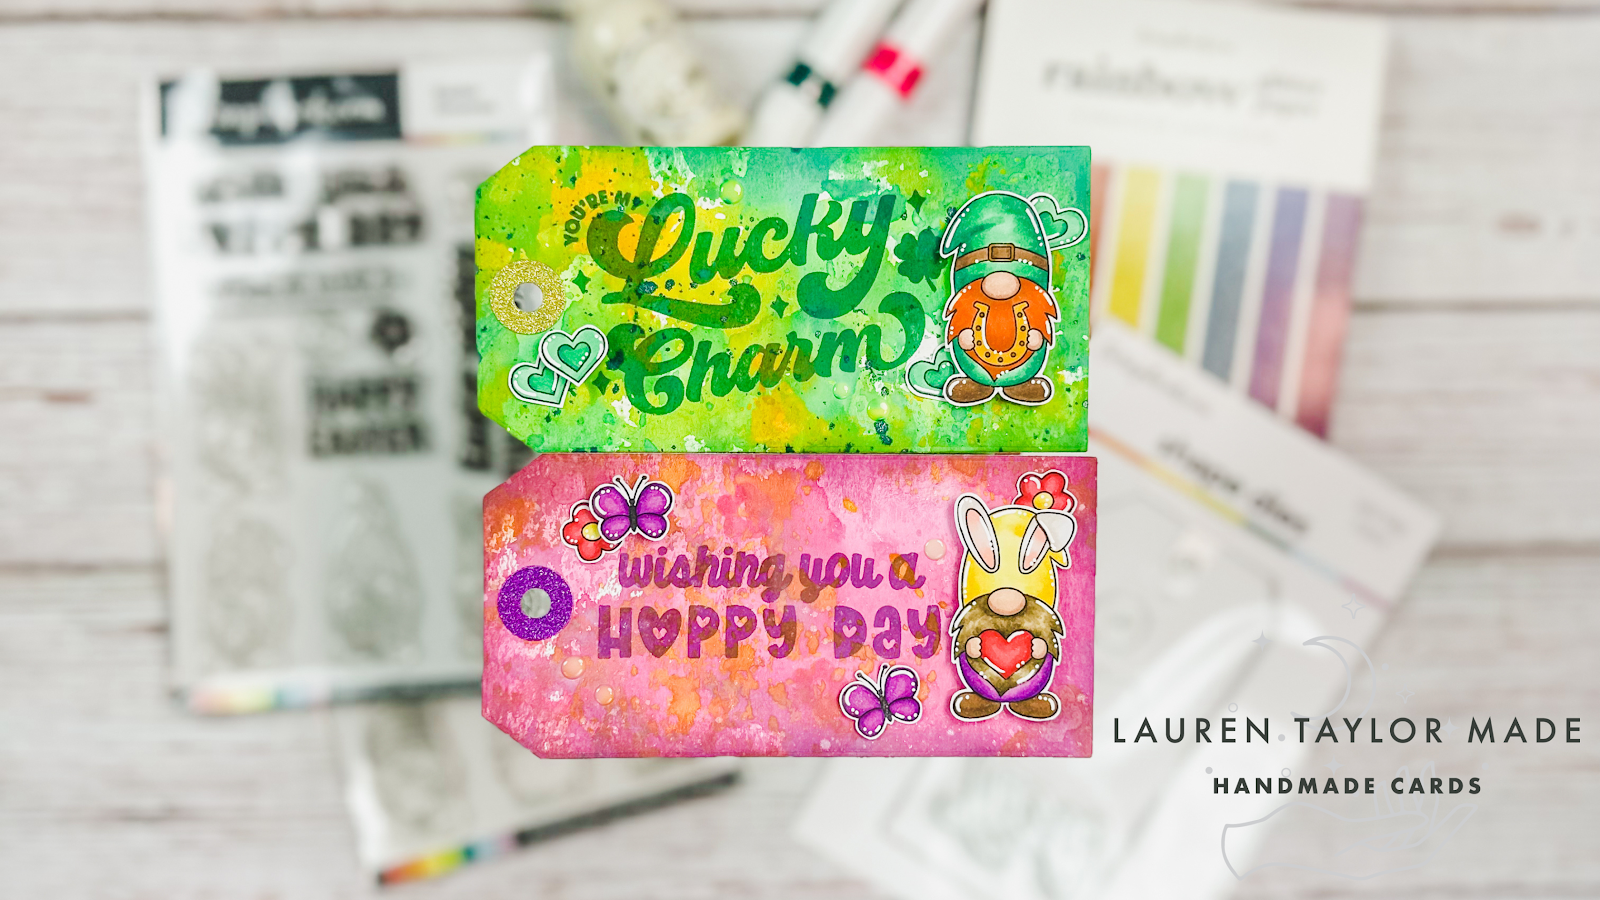
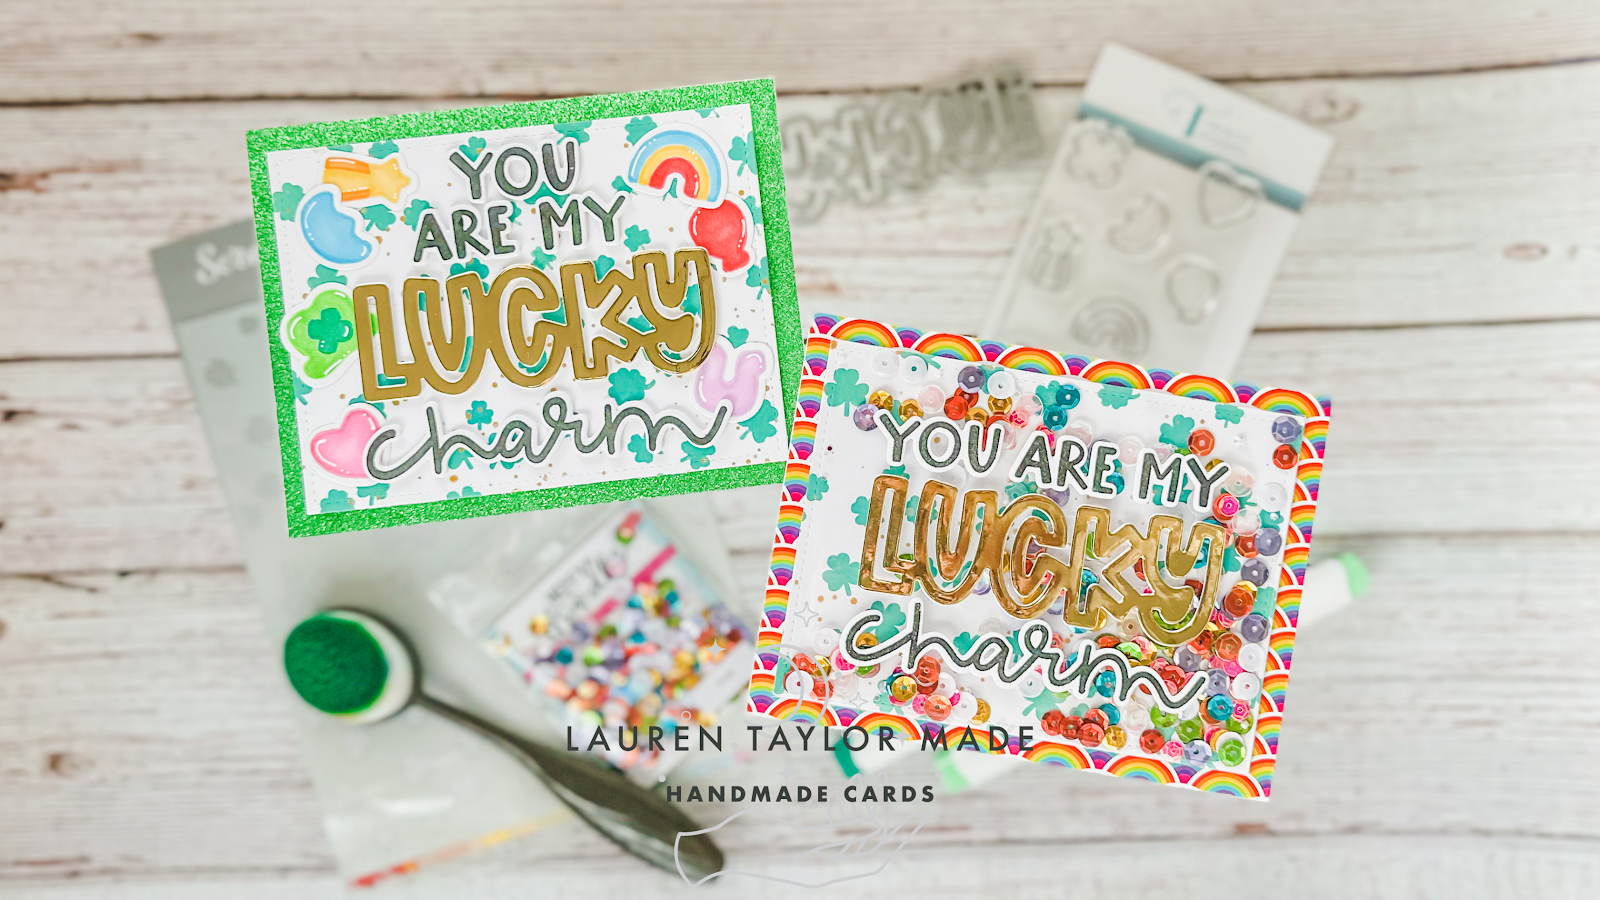
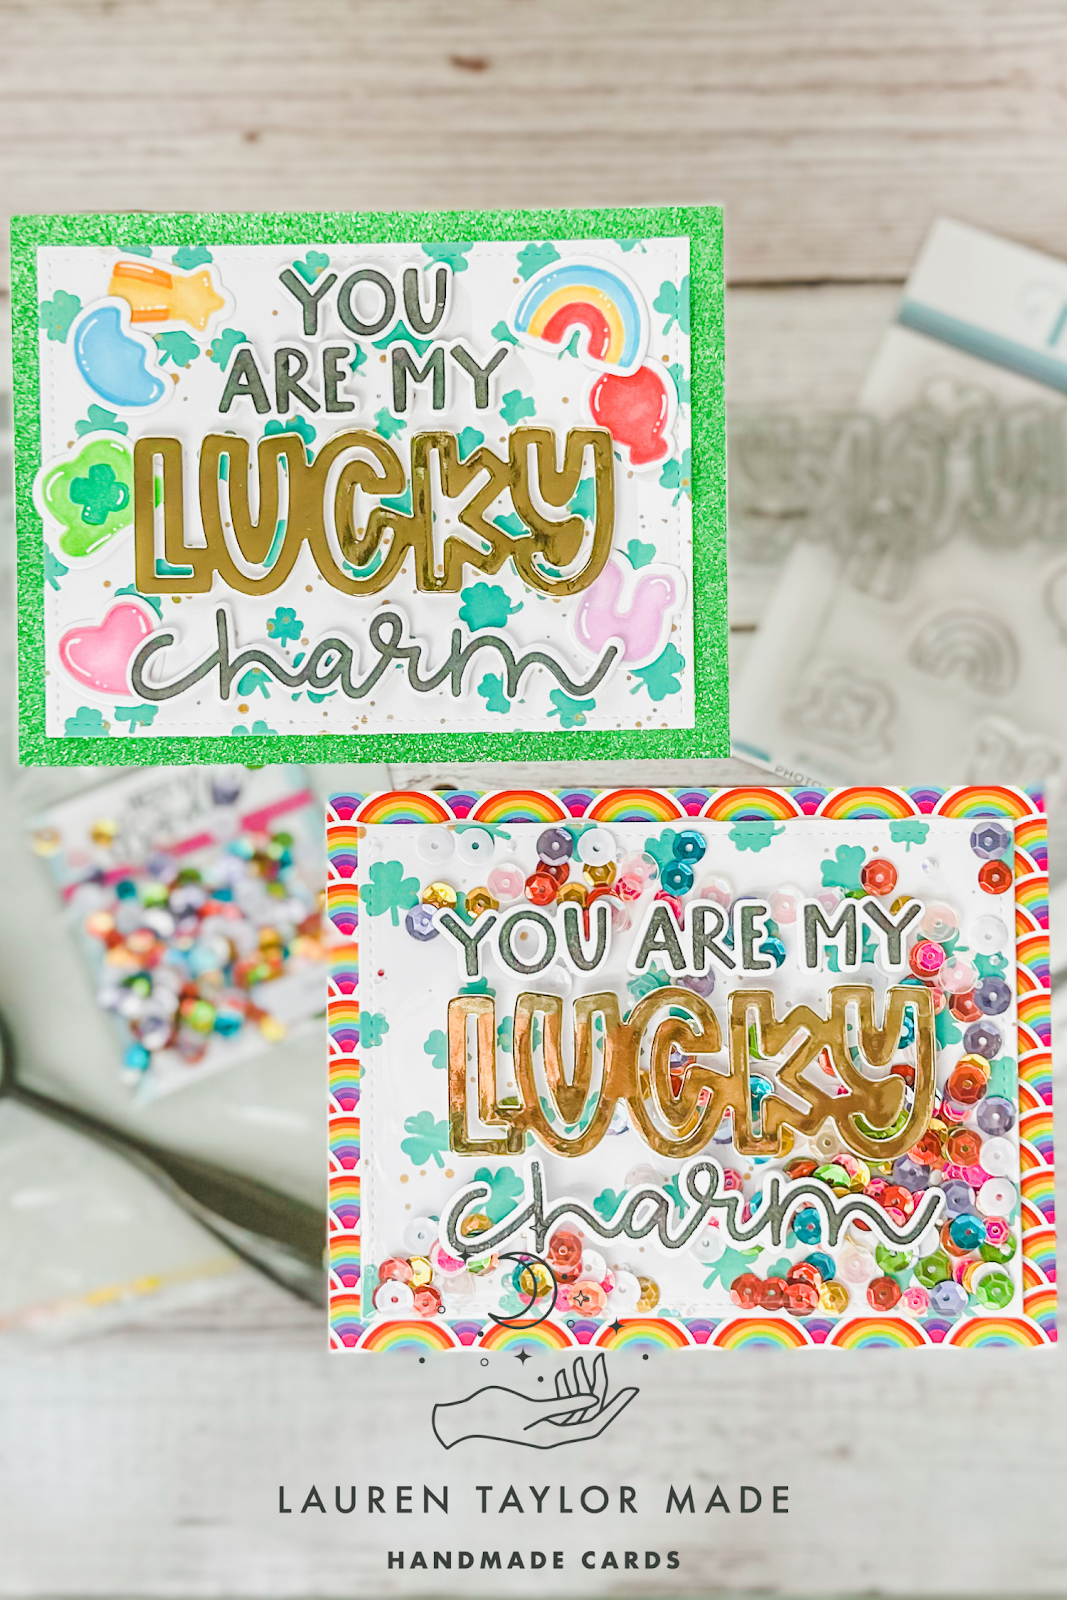
This card is literally a smorgasbord of supplies! I dug through my stash of products and used up some items that have just been sitting there waiting to be used. St. Patrick's Day is not a normal holiday that I make cards for, but since I made my Lucky Charms cards, I wanted to make a few more because it was just so fun to play with rainbows!
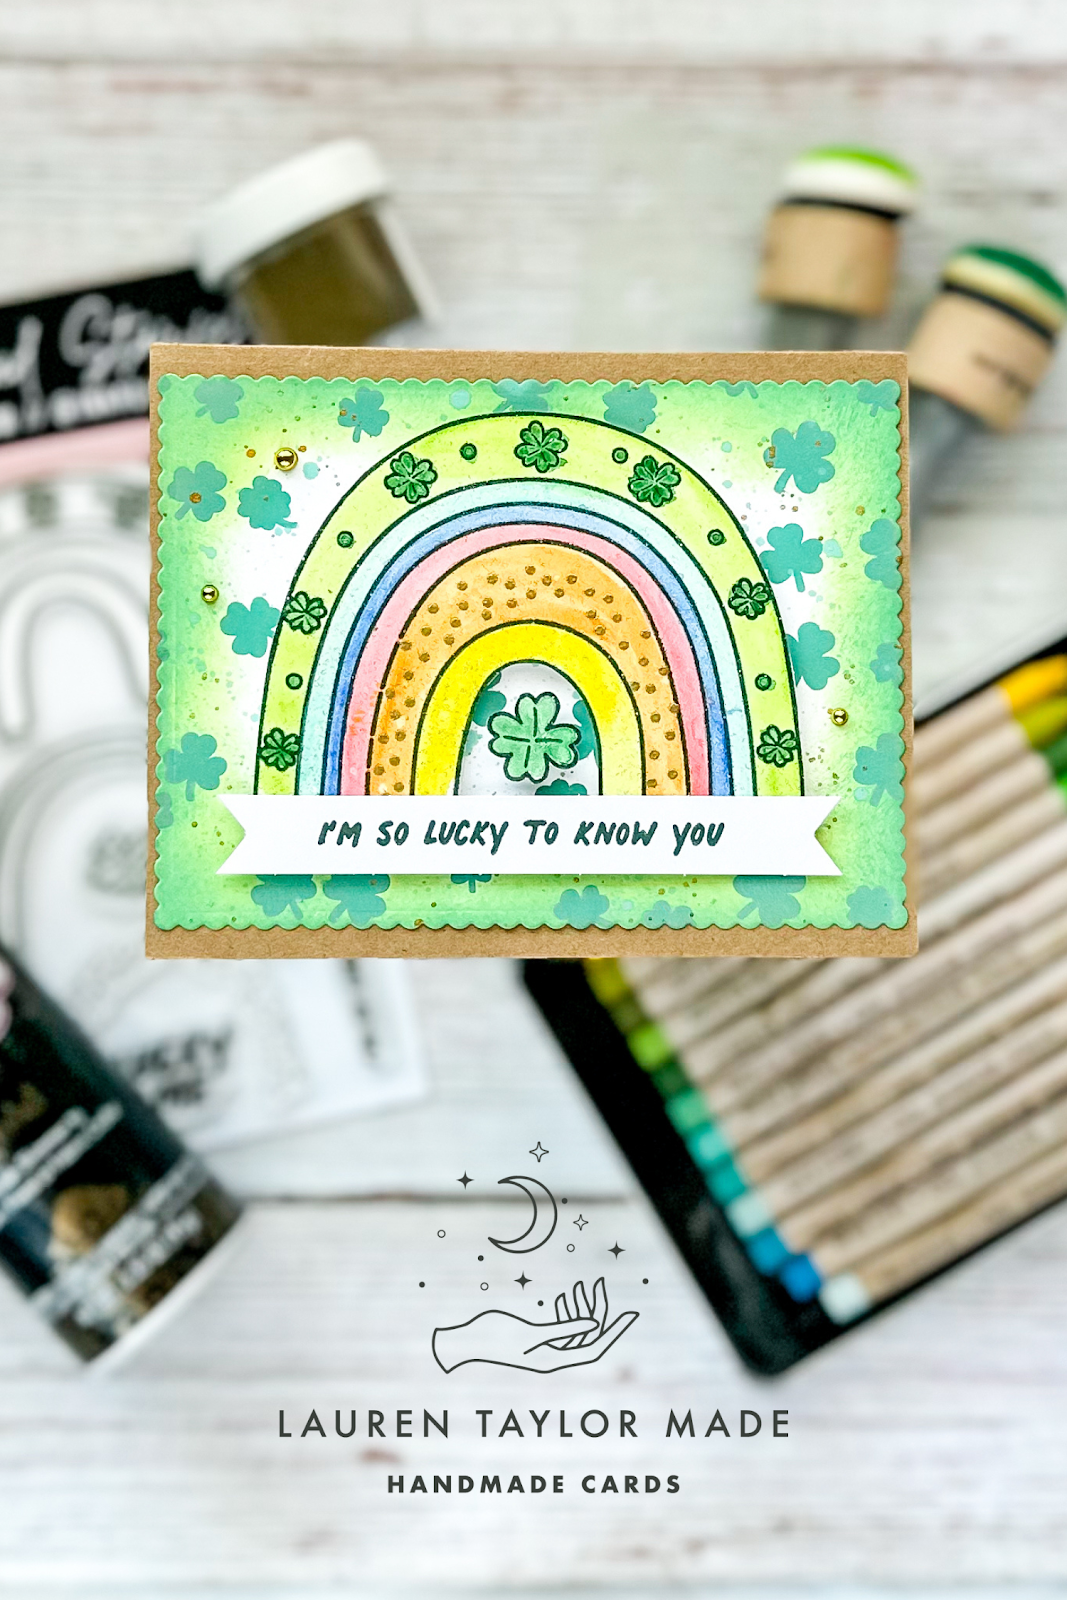
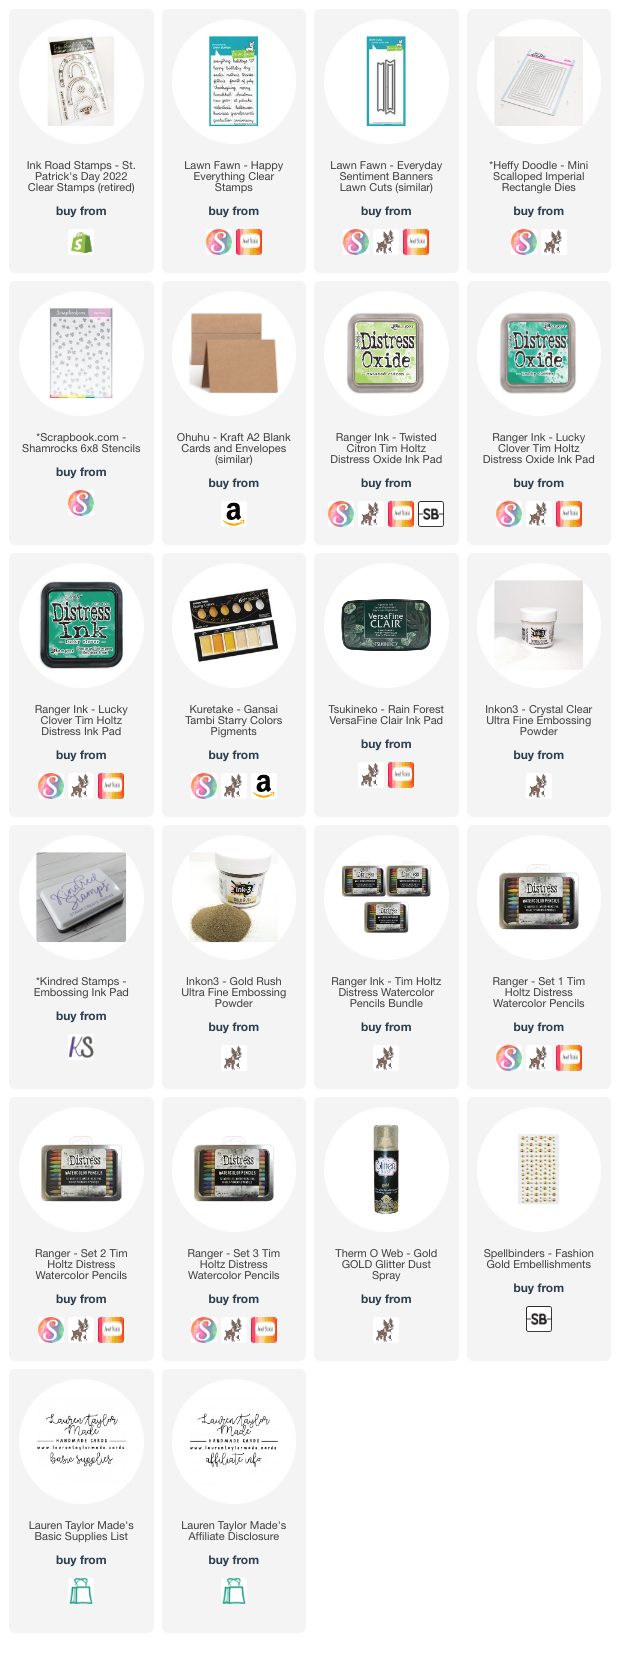
My kraft notecards are 4x5" and from Target probably years ago... They come with envelopes and they ended up being pretty cute as the card bases for these cards. Next I stenciled shamrocks with Lucky Clover Distress Oxide and die cut out some scalloped rectangles. Next I added some Twisted Citron as well as more Lucky Clover to the edges of the panel and then splattered on gold watercolor as well as Lucky Clover Distress Ink with water.
Once this panel was dry, I attached it to the card base. I had some leftover shamrock pieces from die cutting my rectangles, so I added some small strips to the inside of the cards. Next I stamped my rainbow and sentiments with Rain Forest VersaFine Clair ink. The white banners are leftovers from a kit that has been in my scraps box also forever, so I used those to stamp the sentiment on the front of my card. The rainbow and shamrock were stamped on mixed media paper so I could do some watercoloring.
I embossed the rainbow with clear embossing powder since VersaFine is an excellent ink for embossing. Then I embossed the polka dots with clear embossing ink and gold embossing powder. I love the layered gold dots with the green! Using colors from all three sets of Distress Watercolor Pencils, I colored in my beautiful rainbow, starting with green since those little four leaf clovers looked so cute with dark green on light green.
Finally, I popped up my rainbow with craft foam and glued my banner to cover the bottom of the rainbow. I added a few gold embellishments (also from a box of unused embellishments) around the rainbow just for some extra shine! I ended up making five of these little notecards and sent them out to some crafty friends who would appreciate some colorful kindness in their mailboxes!
PIN THIS
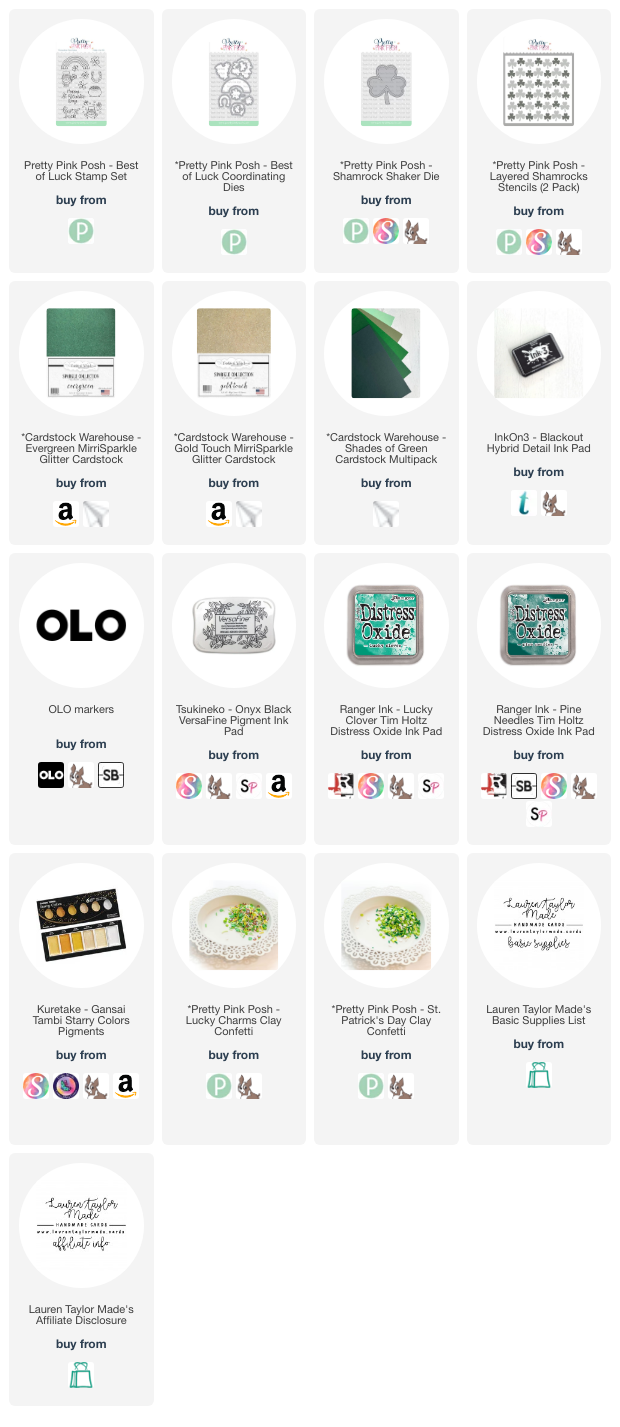
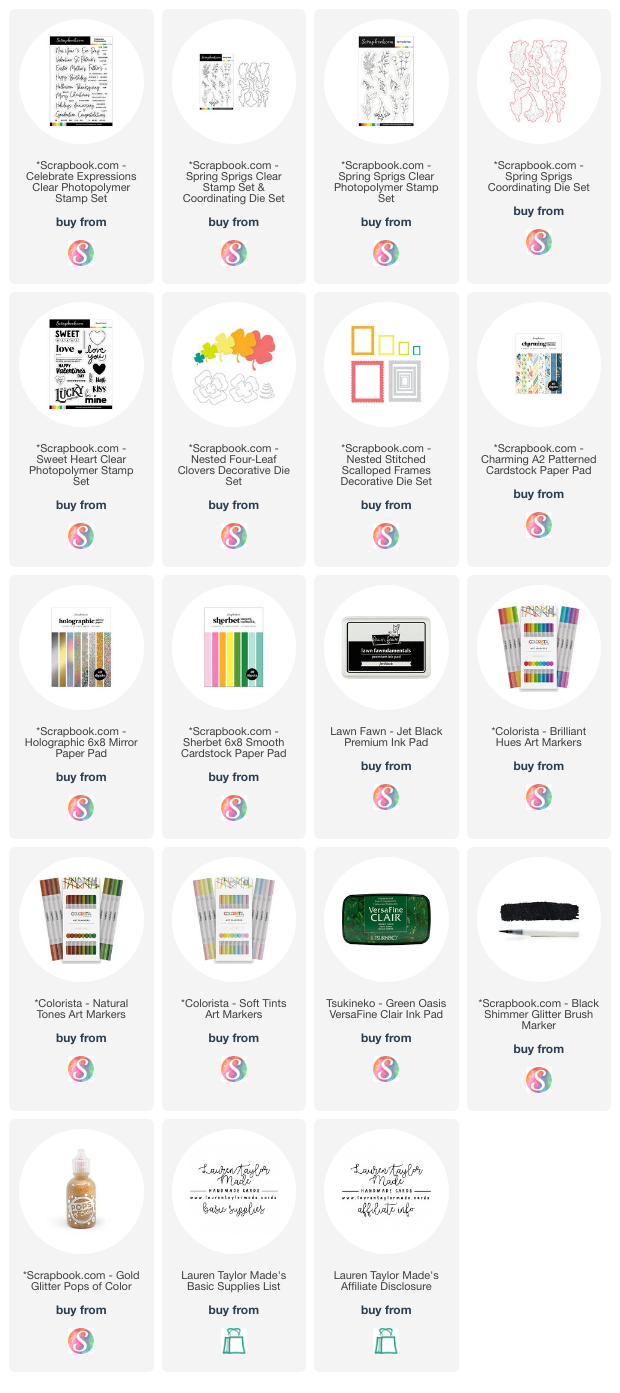
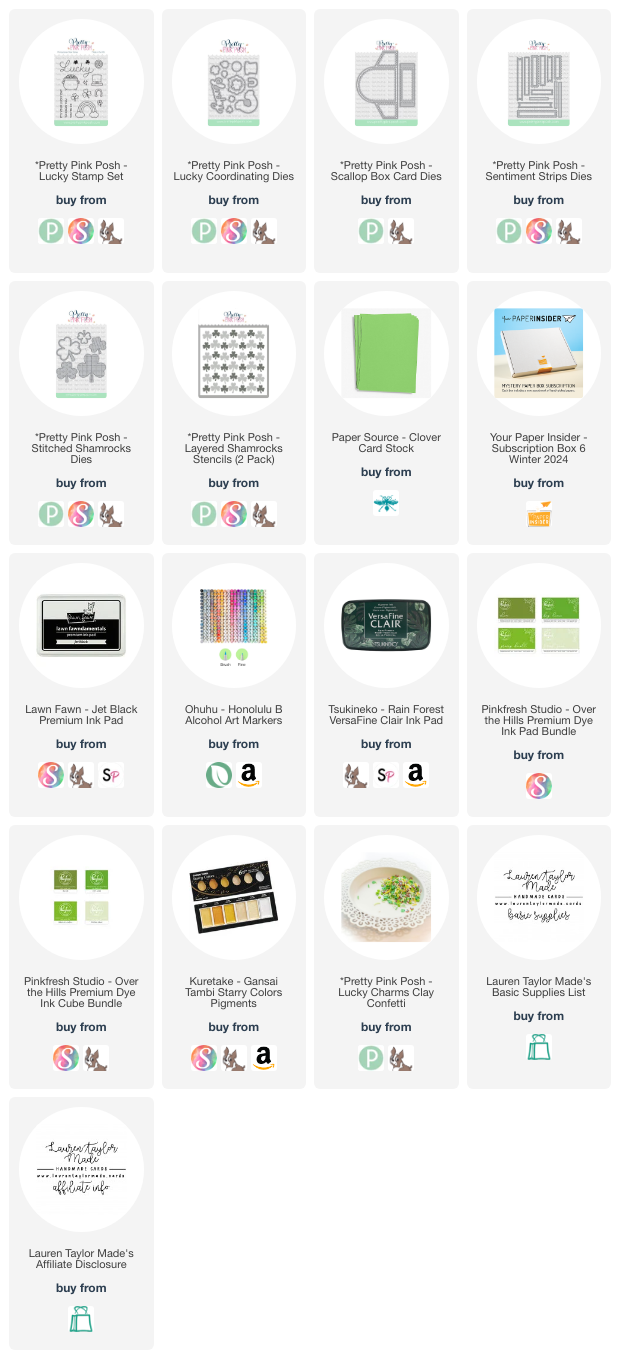
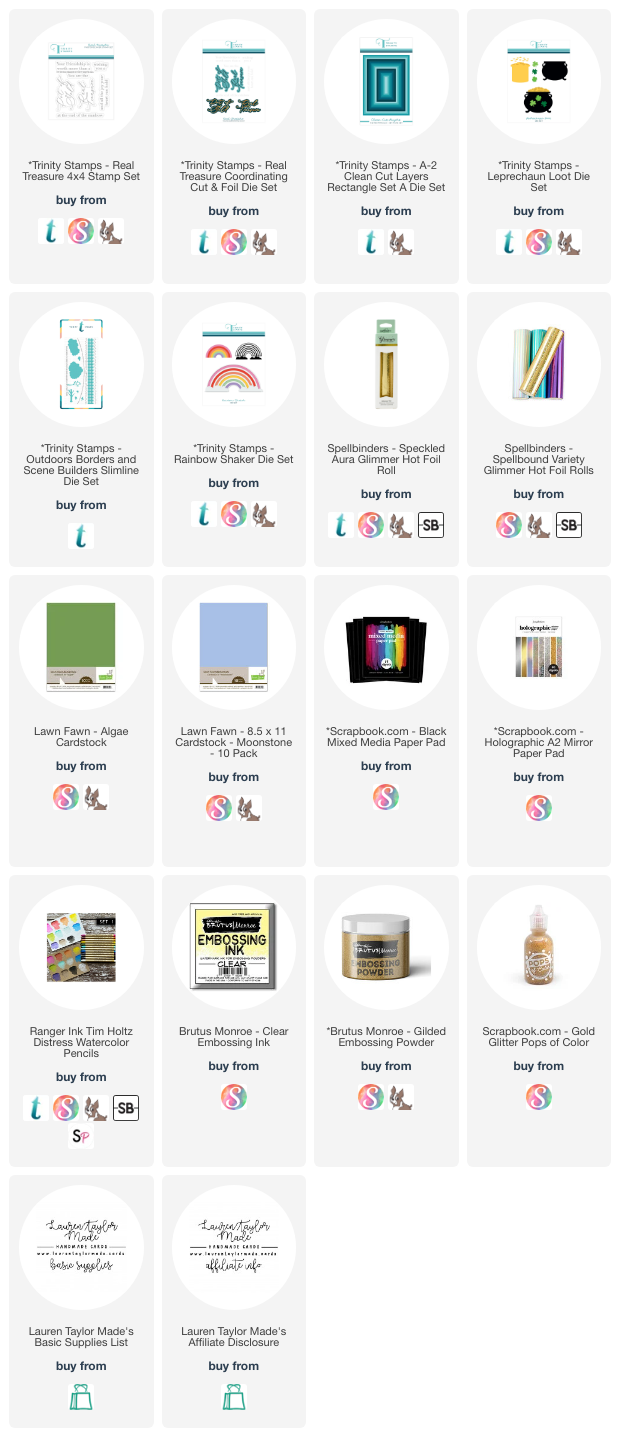
SUPPLY LIST
Read More