Showing posts with label sparkle blends. Show all posts

Spreading Christmas Cheer Shaker Card with Kindred Stamps

Saturday, December 9, 2023

The best way to spread Christmas cheer... is a shaker card! I combined a few different companies on today's card, but the main images and sentiment are from Kindred Stamps. I started with stamping and coloring my images - my narwhal and big elf are from Kindred Stamps and the ice is from Lawn Fawn. I used my Ohuhu Art Markers to color them in and then fussy cut all of the images.

Next I die cut all of my rectangle pieces from my PopsicleSticks die sets. The largest rectangle is out a white and red striped patterned paper and the smallest rectangle out of white cardstock I like to use for ink blending. I also used the scallop die out of sparkly white glitter paper. I trimmed down some acetate to 3x6" so it was ready for making my shaker window.

After die cutting, I stamped my sentiment on the white cardstock and embossed it in gold. Next I added Distress Oxides to my background to create an ocean and sky; of course I added some watercolor splatter and adhered this panel to the stripped background and onto my card base that measures 3.5x6.5" when folded. I sprinkled in my Sparkle Blends (still trying to make my way through them) and closed up my shaker panel with the acetate and scalloped window.

Finally, I adhered my characters to the front of the card as well as a few of the extra snowflake confetti pieces that did not make it inside the shaker from my Sparkle Blends. I think this turned out pretty darn cute and it is my favorite holiday movie! I'll be displaying this on my mantle before deciding if I want to mail it out, hehe. If you'd like to see a quick video of how this card came together, you can check it out below!

VIDEO TUTORIAL


PIN THIS
SUPPLY LIST

Read More

I'm Too Much! Fandom Shaker Card with The Sassy Club

Monday, December 4, 2023

Getting into the holiday fandom spirit today with my mini slimline shaker card today! I'm using a new stamp set and stencil from The Sassy Club and mini slimline dies from PopsicleSticks. I started with stamping and coloring my two characters from the Hot N Cold set with my Ohuhu Art Makers and I fussy cut them out. I ended up stamping the flames and snowballs later on, but I'm glad I added them as I think it added more and balanced out the card.

Next I started working on my background! I die cut the largest mini slimline die out of mix media paper and used the Fire and Ice Stencil to create a warmer scene with flames on the left (I masked the sides I didn't want to get color on) and icy snow on the right. I used Distress Oxides so the colors would sit on top of each other a little nicer than with dye inks.

To create my shaker frame, I die cut the smallest mini slimline die out of white glitter cardstock and then trimmed out the center leaving a 1/4" border. I added acetate to the back of the frame and then using the background as a guide, I adhered another piece of 1/4" sparkle cardstock to the center divider for my shaker windows. I added foam adhesive to the back of the shaker panel and got it ready to adhere to the stenciled background.

I added some retired Sparkle Blends to each of the areas on the backgrounds to match the theme and then added the shaker panel to close up the shaker mixes. I added this whole card panel to my 3.5x6.5" card base and then stamped my sentiment on a banner die cut (also from Popsicle.Sticks) I added my sentiment, characters and little extras to the card and I just love how it turned out! I hope you like it, too.

PIN THIS
SUPPLY LIST

Read More

Charming Duo Shaker Card with Stamp Anniething

Thursday, November 9, 2023

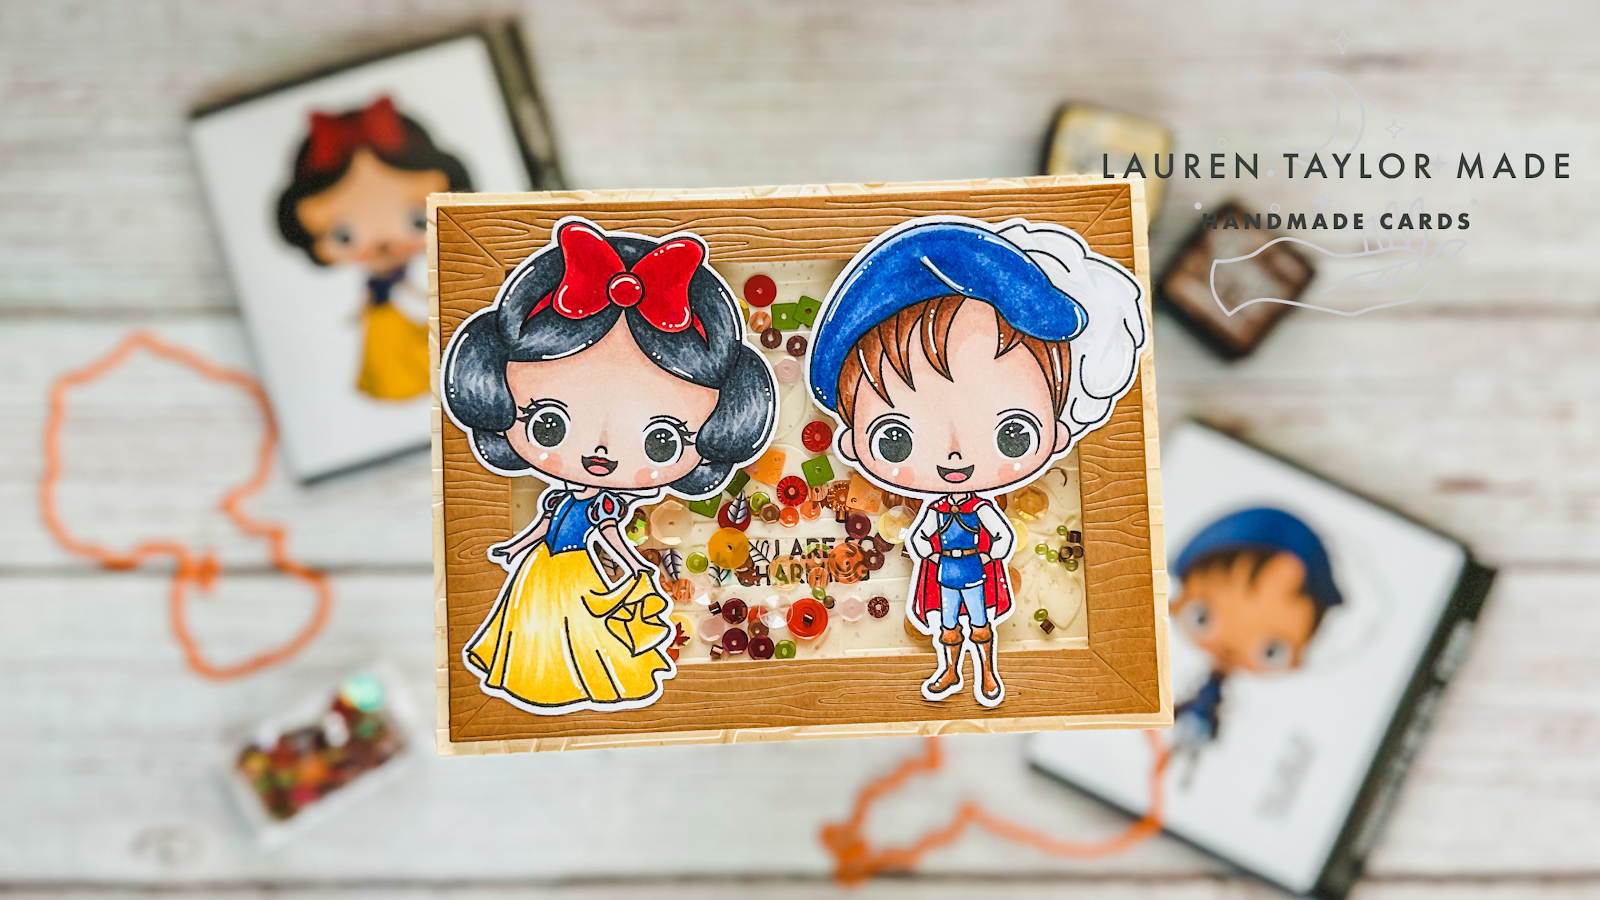
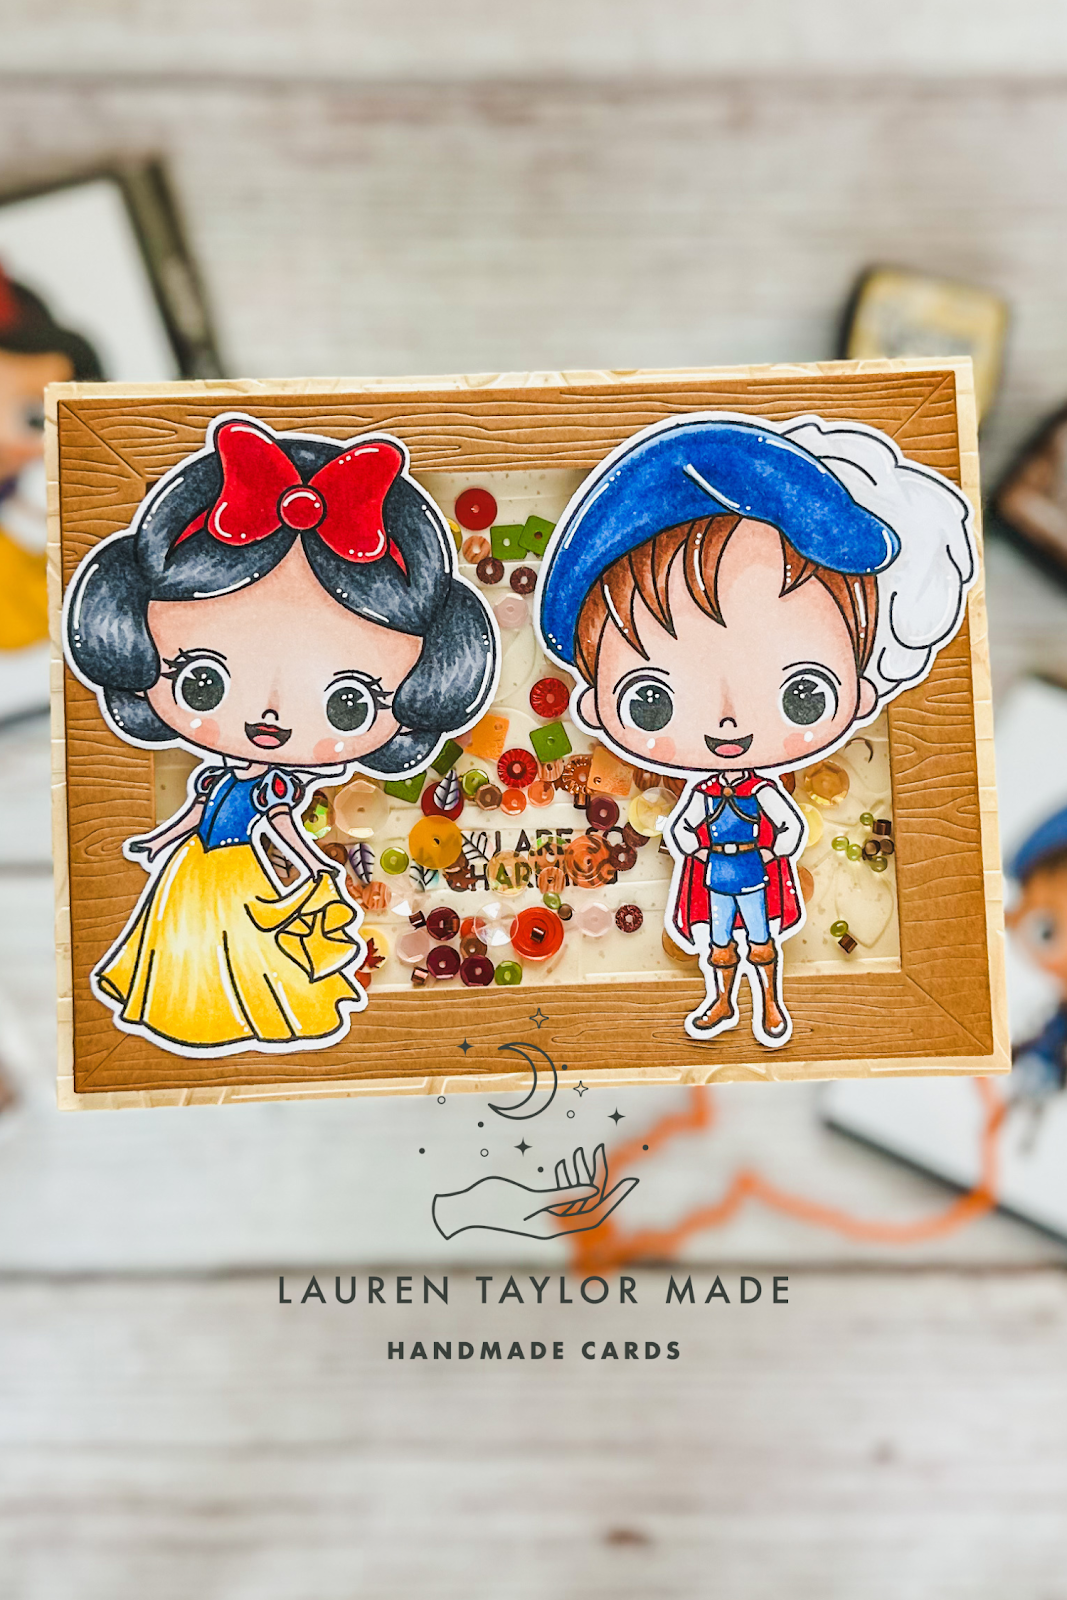
I am back totday with my second project as a guest designer for Stamp Anniething! Today they released the adorable Charming stamp - now I have the most charming duo for projects. I stamped and colored my characters with Ohuhu Art Markers and used their coordinating die to cut them out. I wanted to put them on a shaker card, so I have different supplies to make this card interactive.

The background is cream cardstock and I embossed it with a woodland themed embossing folder. I used some Distress Ink to splatter onto the background, but I love the subtle leaf details in the background. The frame for the shaker is cut from kraft cardstock and has woodgrain details in the die. I assembled my shaker with foam adhesive, acetate and a retired sequin mix to give it more of that woodland feel!

Before I closed up my shaker, I stamped my sentiment to the background and once it was added to my card base, I adhered my charming duo to the front of the card. I just how cute they look together! Let me know what you think of this new release and what other fandom favorites you like from Stamp Anniething.

PIN THIS
SUPPLY LIST

Read More

Spellbinding Family - New Release from Kindred Stamps!

Friday, August 25, 2023

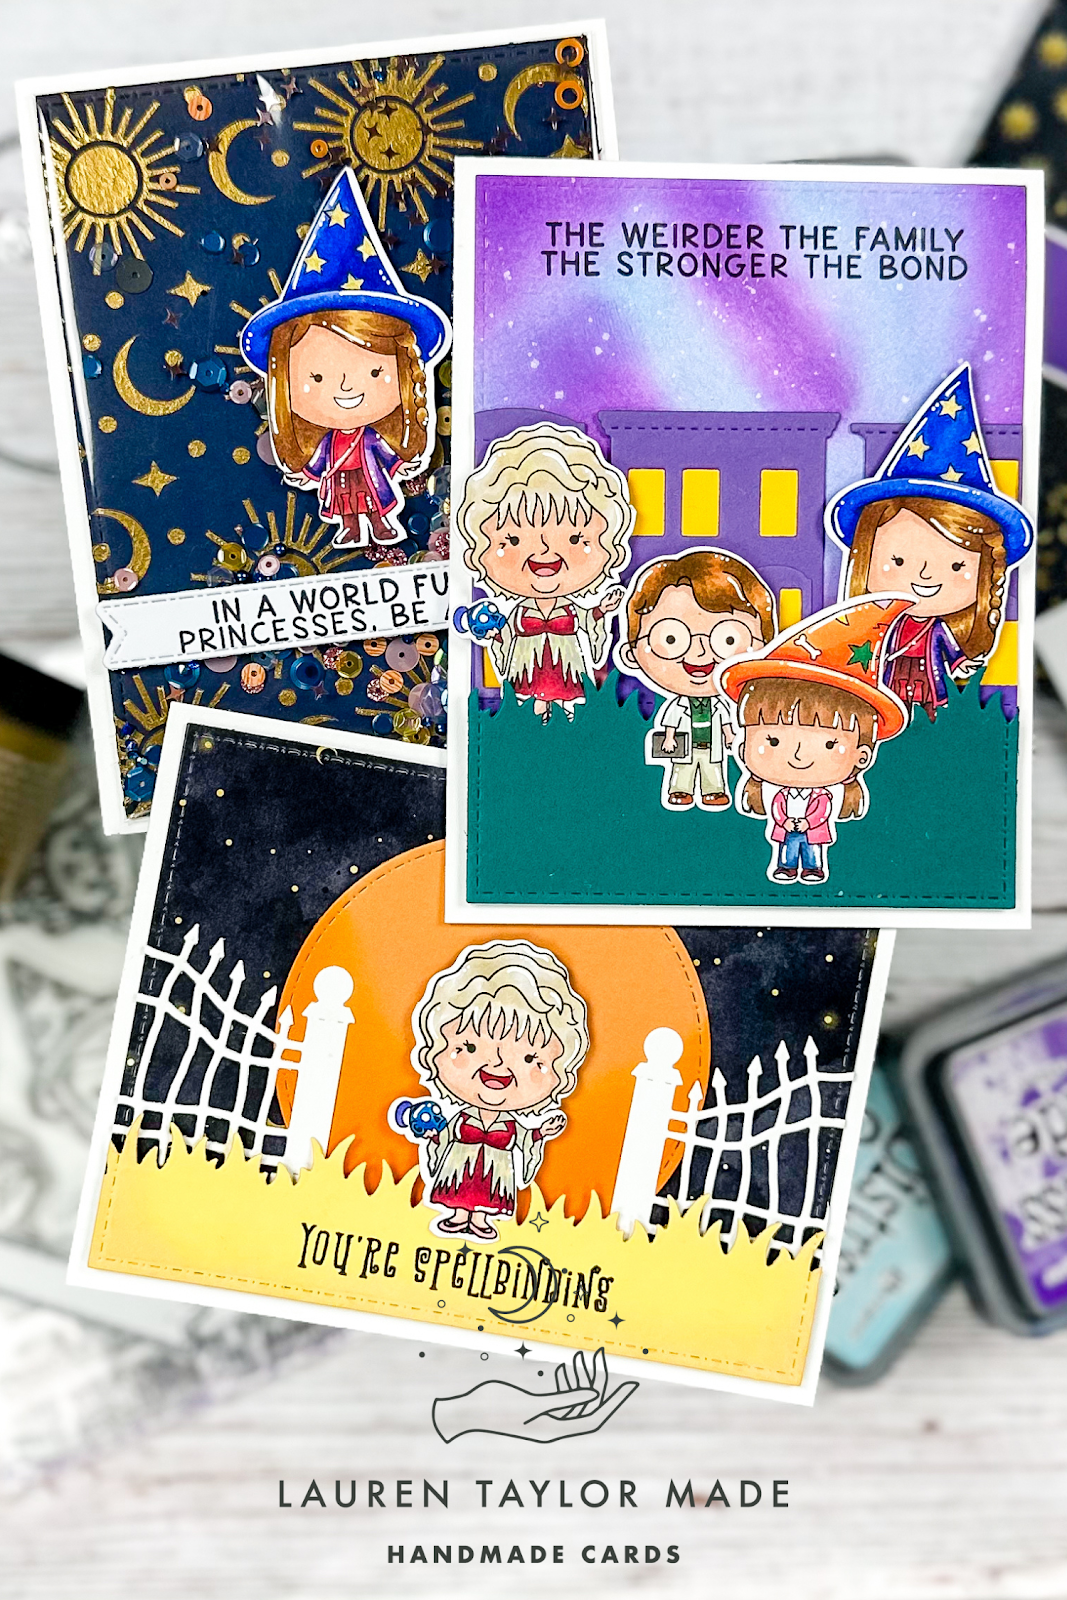
It's a new release day for Kindred Stamps and there are some great new products for the upcoming Halloween holiday! Head over to shop the new release here. I have the new Spellbinding Family stamp set and if you're a child of the 90s, you probably watched this made for tv movies. I wanted to try and embrace as much as I could from the movie series, so I wanted to create a feel of some of the iconic images.

My first card has all four character images from the stamp set and I tried to model the look of the movie poster! There was a pink an purple sky with blue magic swirls, so those are the colors I used to make my distressed background. I splattered on some white metallic watercolor to give it more magic. I die cut my neighborhood building in purple and added yellow behind the windows. I layered some green grass in front of the buildings and added in my characters as well as adding my sentiment to the top in black ink.

My second card has this iconic grandma and I tired to create what could look like the giant pumpkin in this magical town. I have a piece of Celestial patterned paper as my night sky, then the orange circle (again, trying to give a vibe of a pumpkin) with a white fence. I popped up some yellow grass to look more like hay with my sentiment. I added some ink on my orange and yellow cardstock to give it a little dimension. My grandmother is popped up with foam adhesive so she's on the same perspective level as the hay.

My final card is a shaker card! My background is made with the Celestial Stencil and some gold Lunar Paste. I thought this design looked like my witch's hat and knew I had to pair these two together. While my background dried, I stamped and die cut my sentiment with a strip. I made the background as a panel shaker and used some pretty sequins from a retired Sparkle Blends mix. My image and sentiment were glued directly to the acetate of my shaker panel.

I hope these cards give you inspiration of this new set and that you have a lot of fun shopping!

PIN THIS
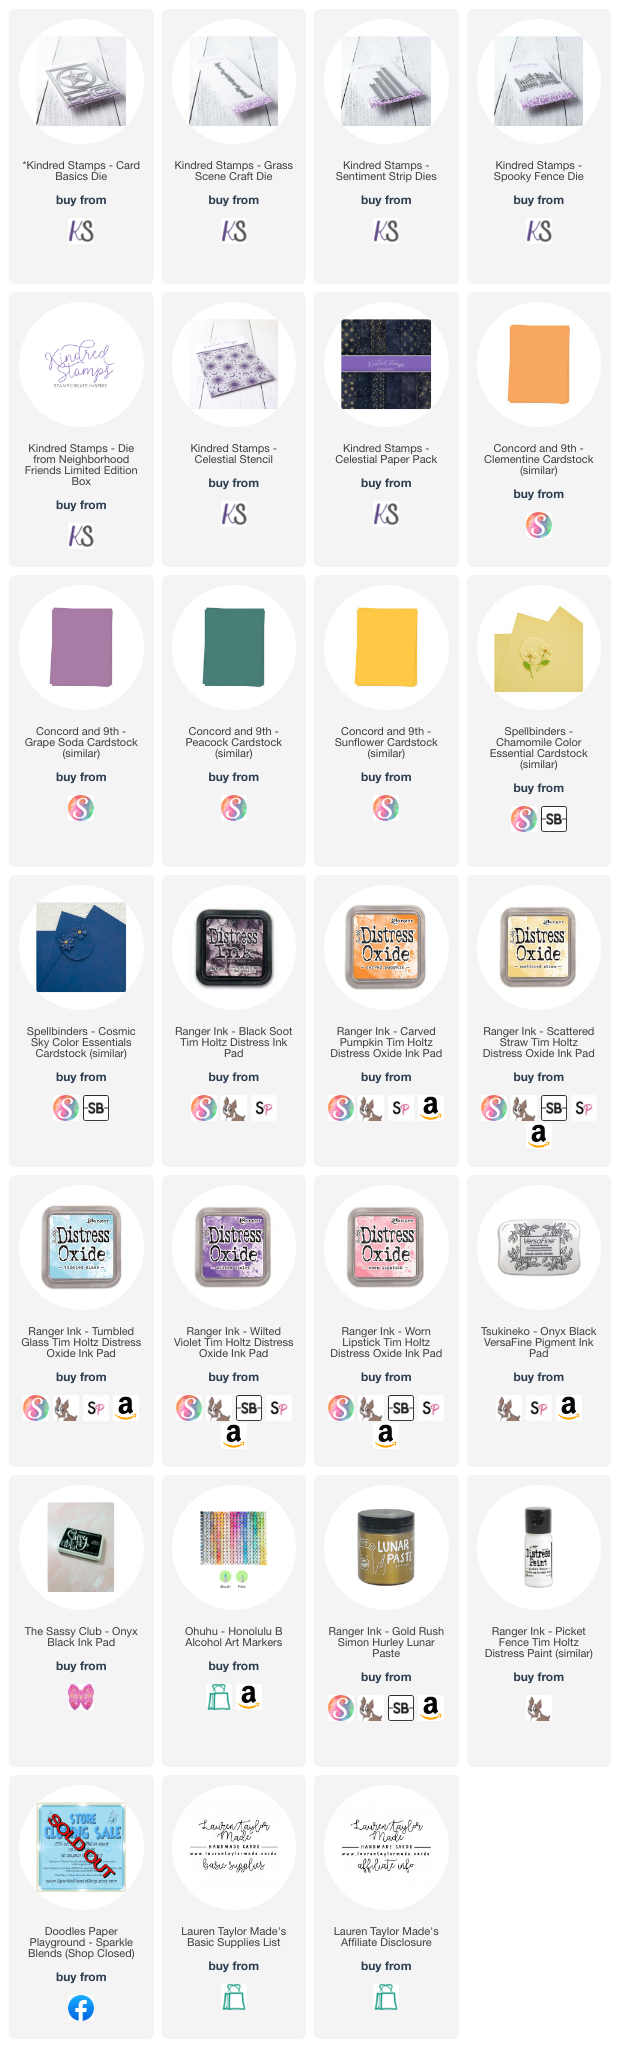
SUPPLY LIST

Read More

New Kindred Stamps Release: Kindred Town Fast Food Stamp Set and Paper Pad

Tuesday, July 25, 2023

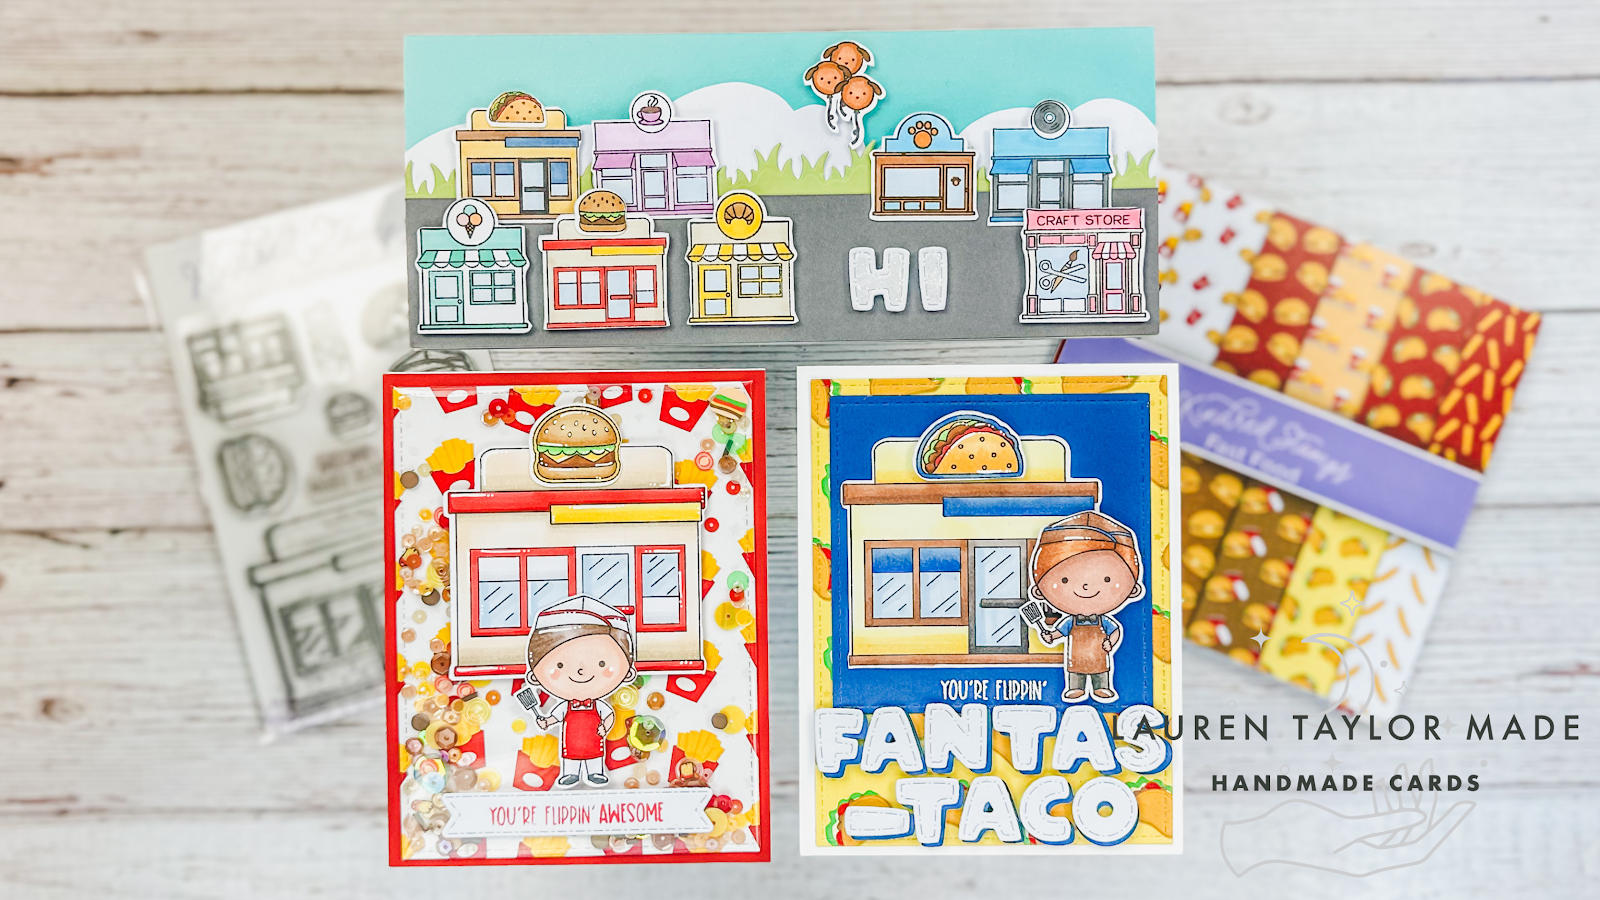
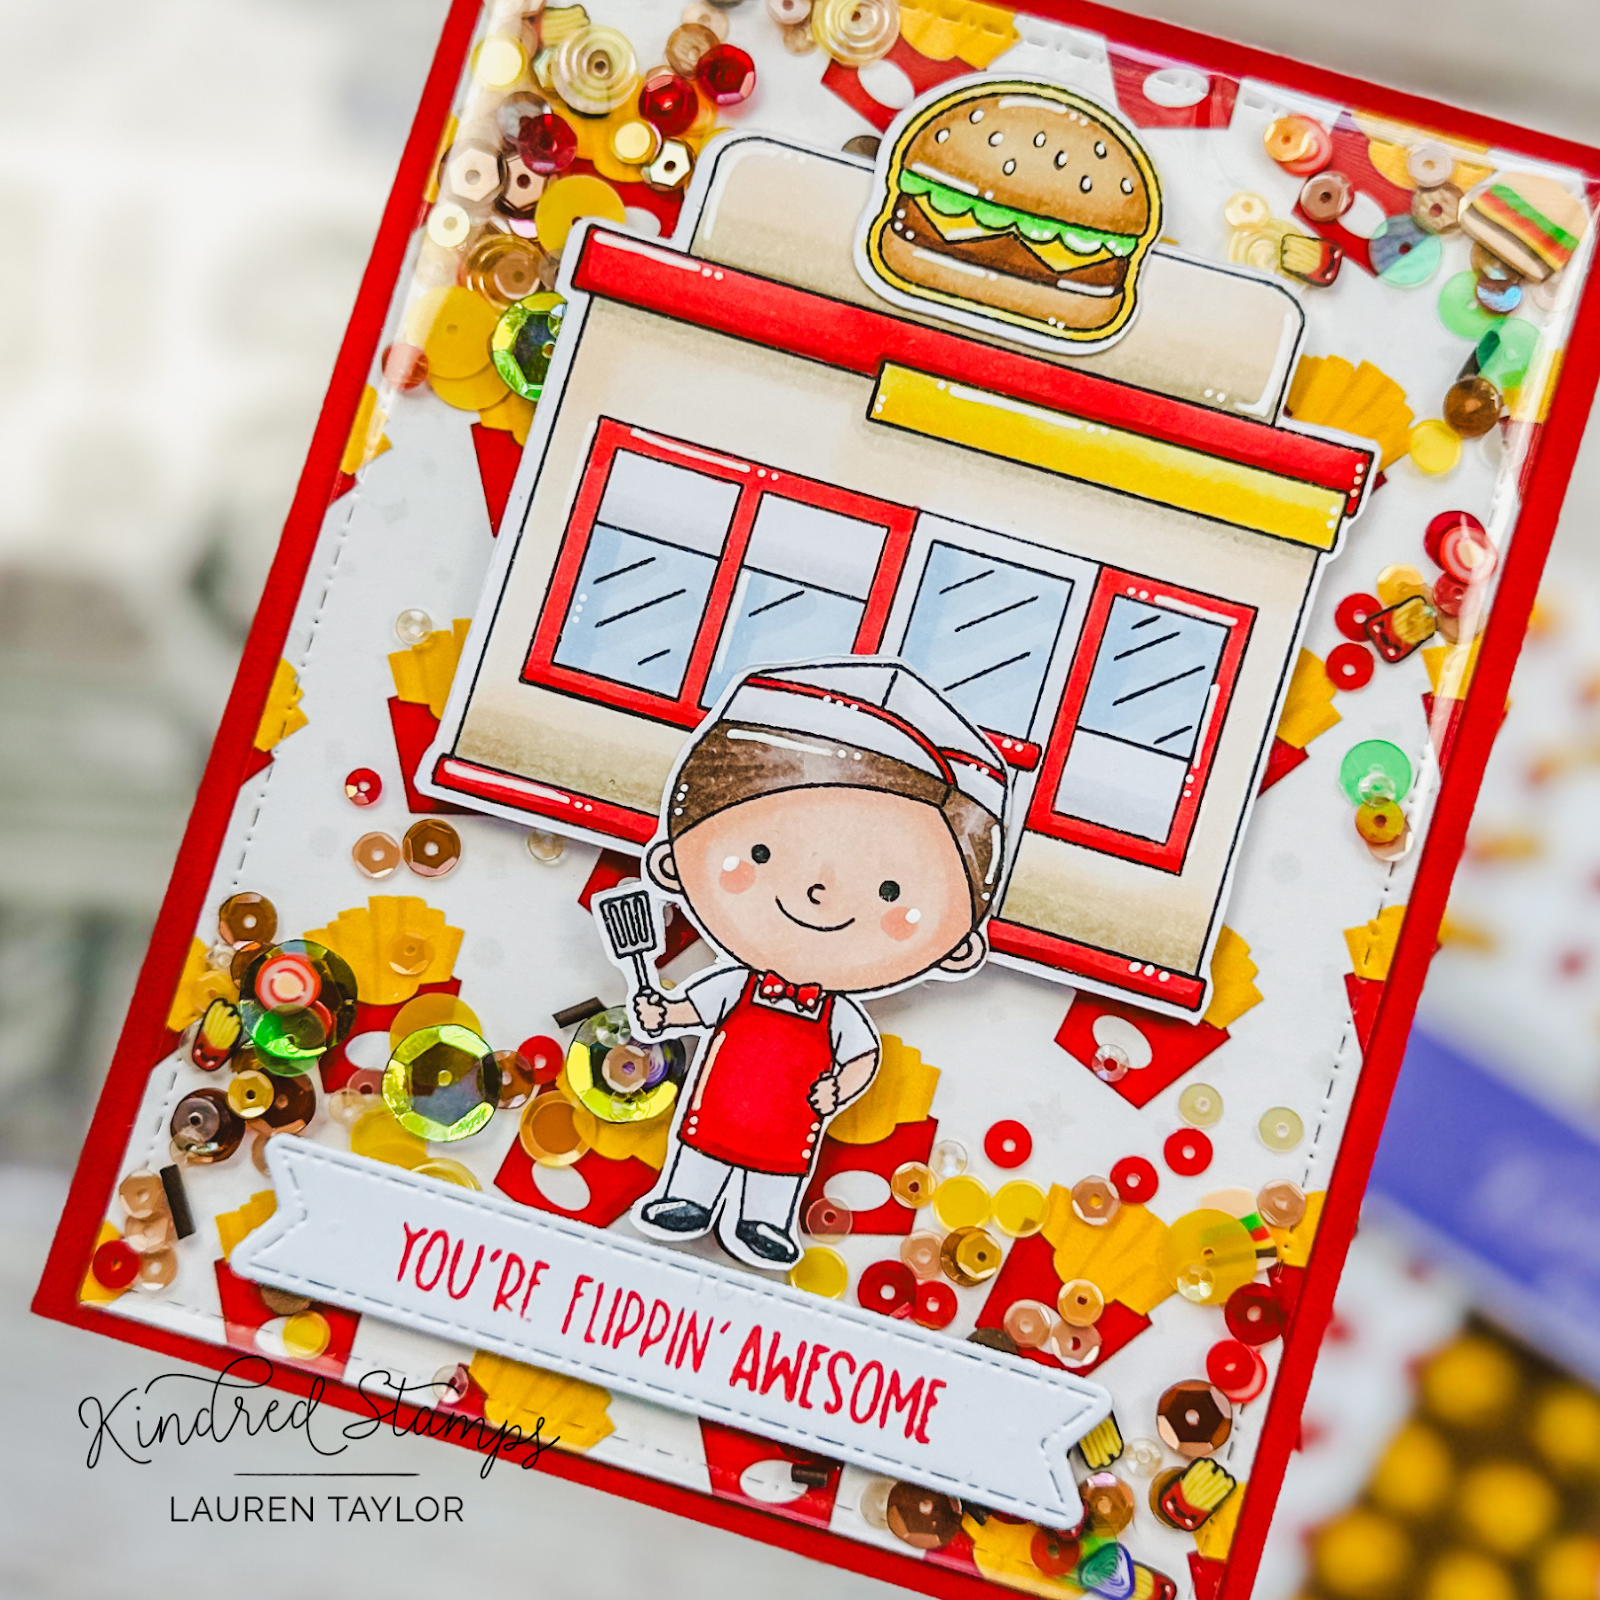
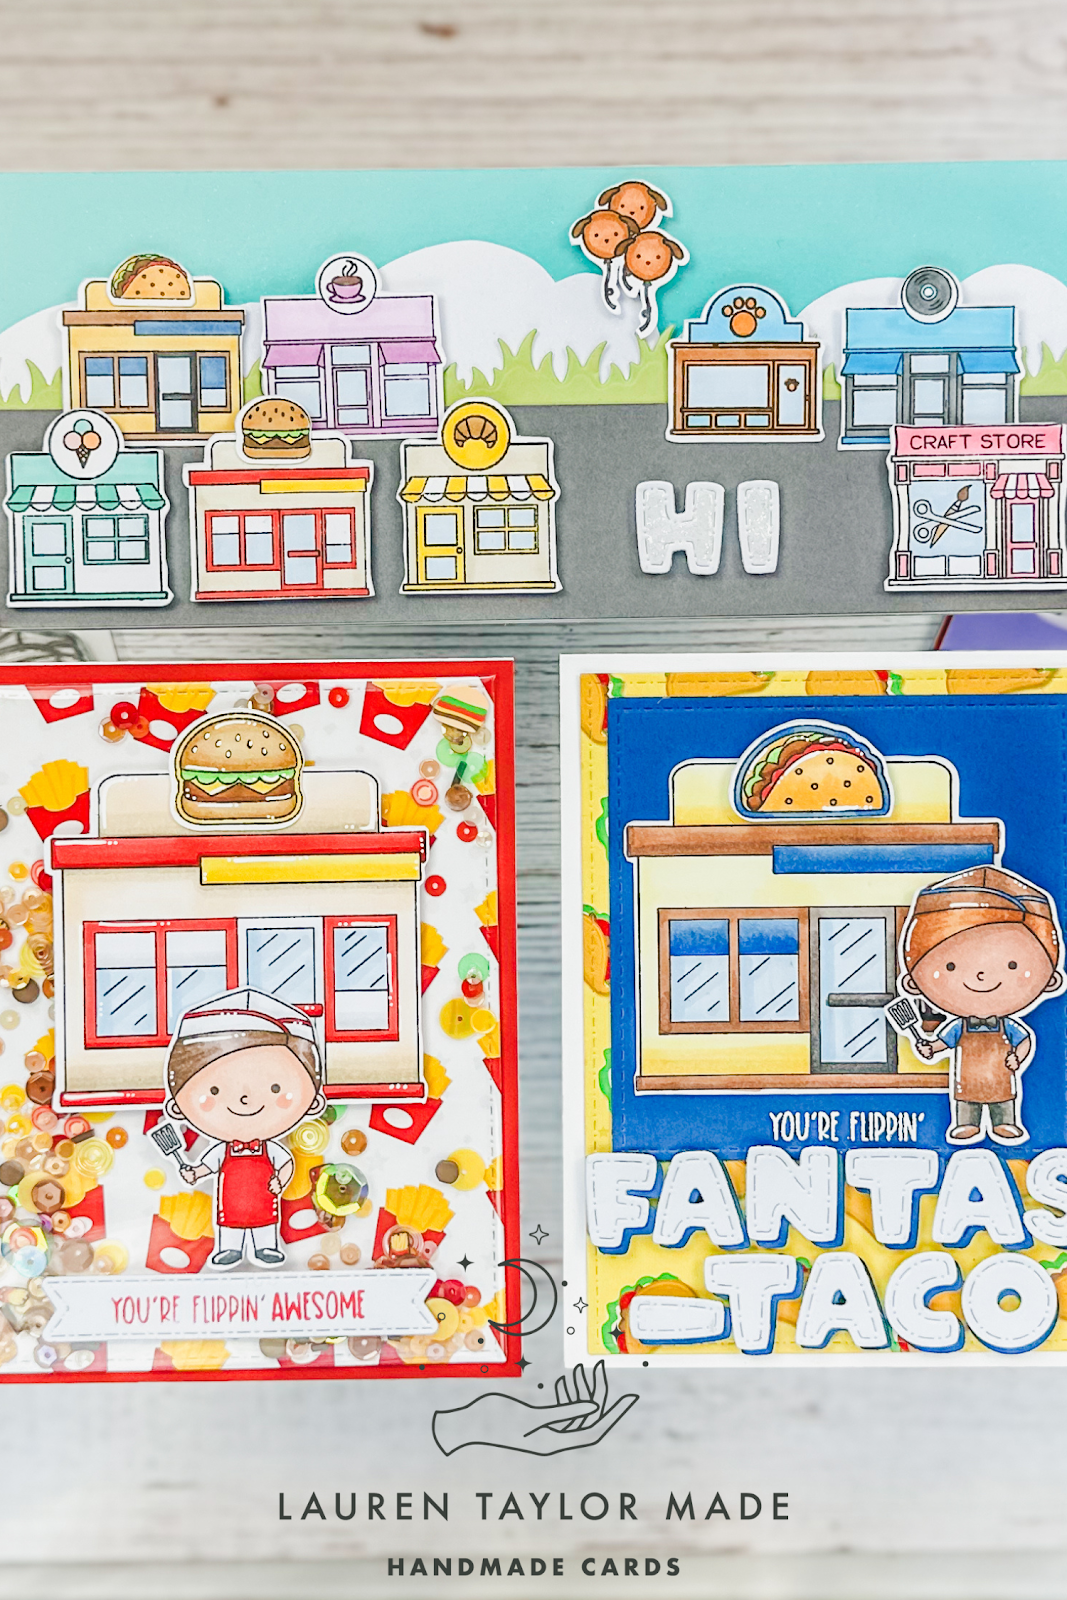
I am so excited for the new Kindred Stamps release! I have been collecting the different Kindred Town stamp sets so I can make my own little town, and I have a street of buildings ready for this release. I also used the new Kindred Town: Fast Food stamp set and Fast Food paper pad for two cards to feature what you can make with these new products.

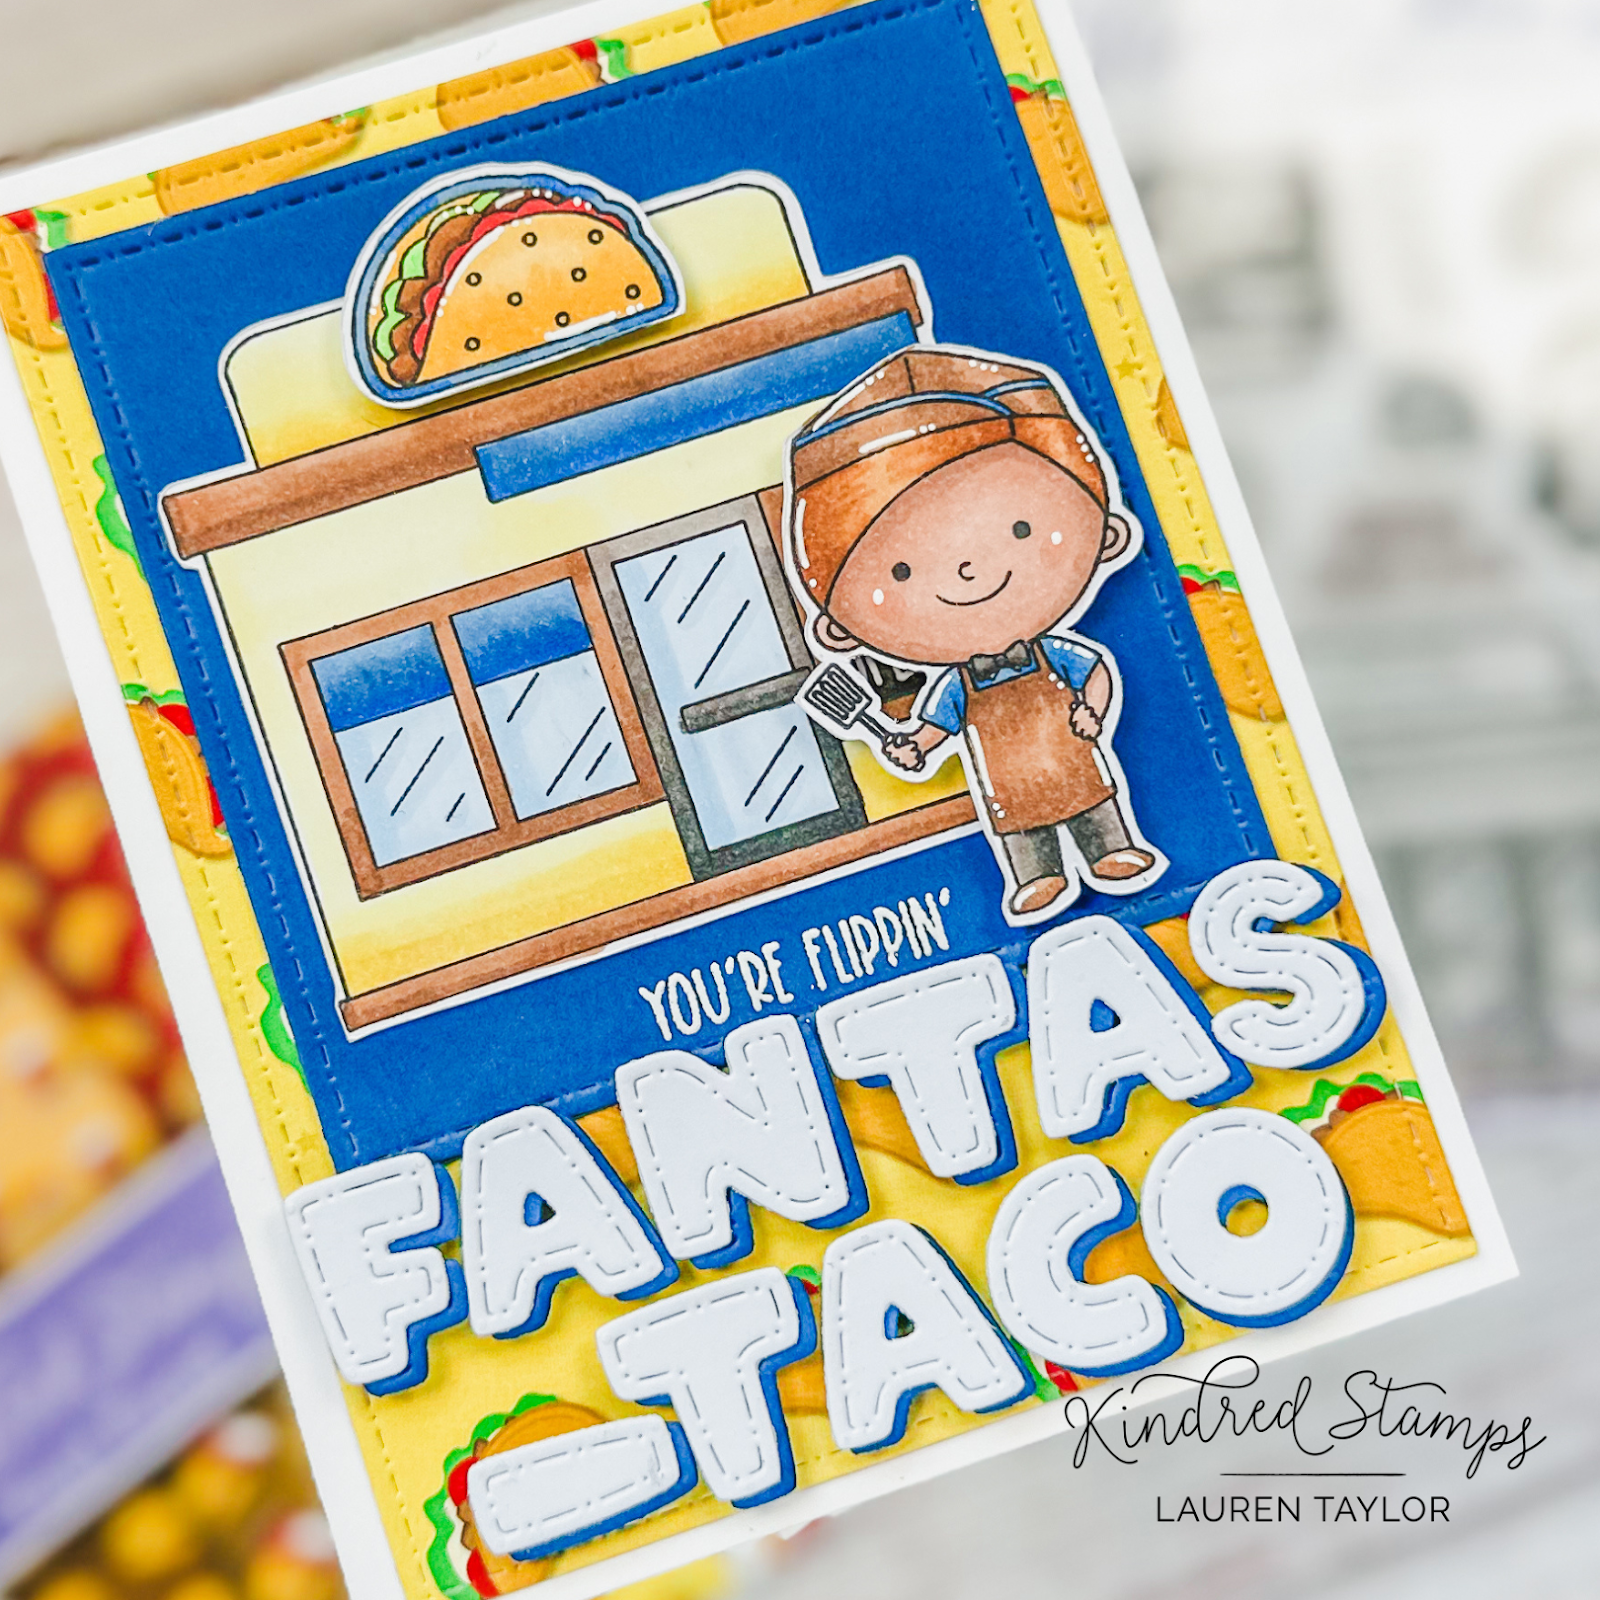
Using my stitched dies from Kindred Stamps, I made a taco background for the card and added a piece of blue cardstock that was cut with the dies, too. My sentiment is embossed in white and also die cut from blue and white cardstock to make a taco pun. I stamped and colored my images in with alcohol markers and used my Scan N Cut to cut my images. My background, blue cardstock and fast food building are glued to my card base, then popped up my taco, worker and die cut sentiment with foam adhesive.

I stamped the building and worker again, but this time with a hamburger. After coloring my images and cutting them out with my Scan N Cut, I die cut another background with my stitched dies and created a shaker panel with a retired fast food sparkle blends mix. I glued my panel down to my card base, then the shaker panel and all of my images. My sentiment was die cut from a sentiment strip and I stamped my sentiment in red ink to match the theme of my card.

My final card is a slimline so I could fit in lots of mini buildings from my Kindred Town sets! I cut my own clouds out of white cardstock and glued it to a blue panel that will fit a slimline card base. Before gluing it to my base, I added some Glitter Dust for some subtle shine to the background. Using green cardstock, I die cut a grassy background, but I'm going to pretend it's a forest or tall grass for behind my buildings. The final layer is the grey cardstock to create a street for my buildings. I stamped my images from different Kindred Town sets, colored them in with alcohol markers and cut them out with my Scan N Cut. 

The buildings in the back are glued down to the card base and the buildings in the front are popped up with foam adhesive. I also popped up a "HI" sentiment as I think the would be a cute welcome to the neighborhood card! I hope you like my inspiration with this new set and the release will be this Friday. I'll make sure you update my Supply List below once the links are live!

PIN THIS
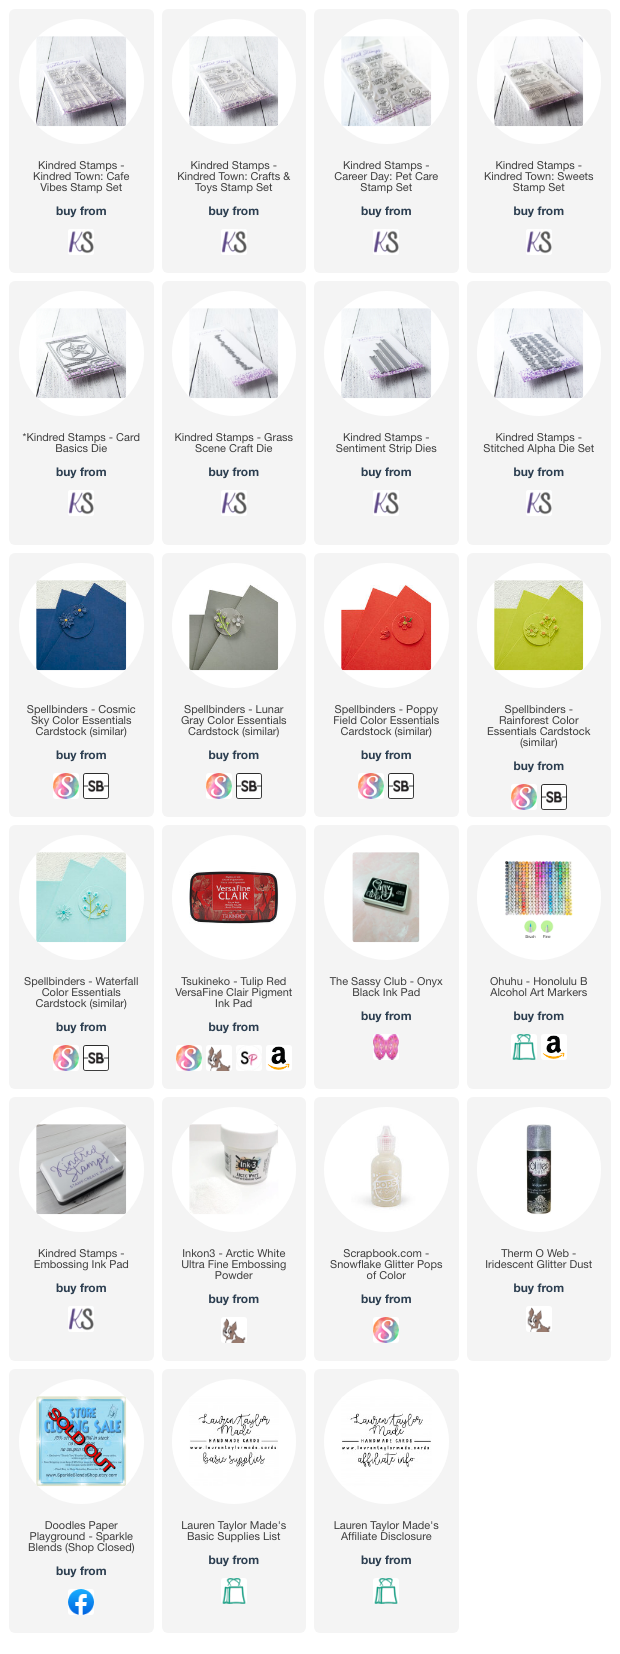
SUPPLY LIST

Read More

Christmas Release from Simon Hurley with Ranger Ink and Spellbinders!

Friday, July 21, 2023

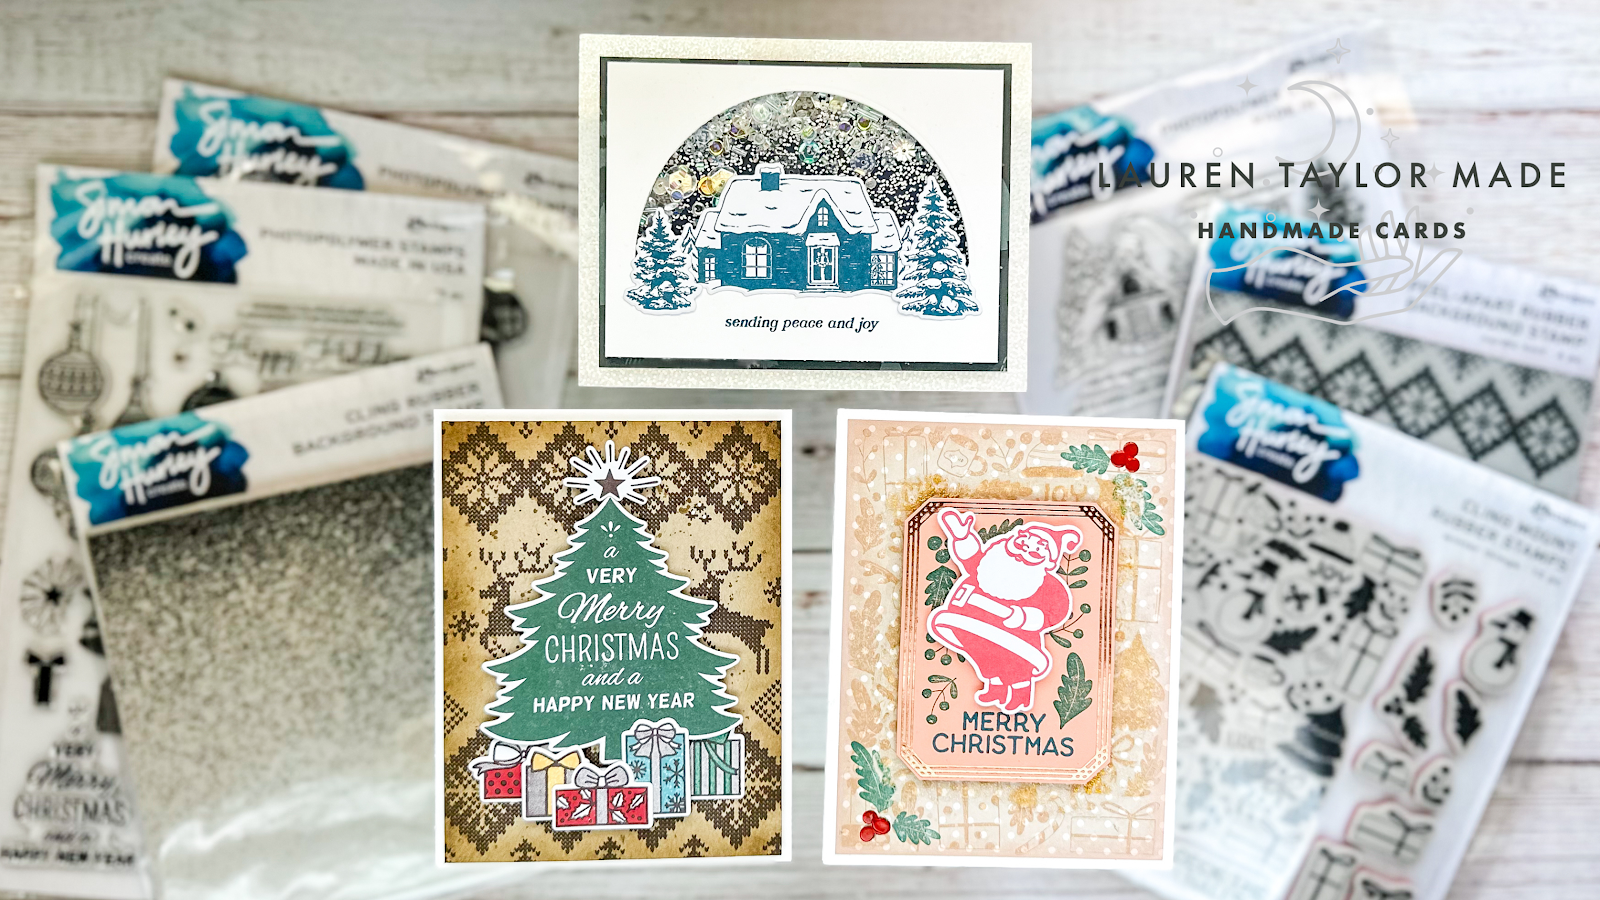
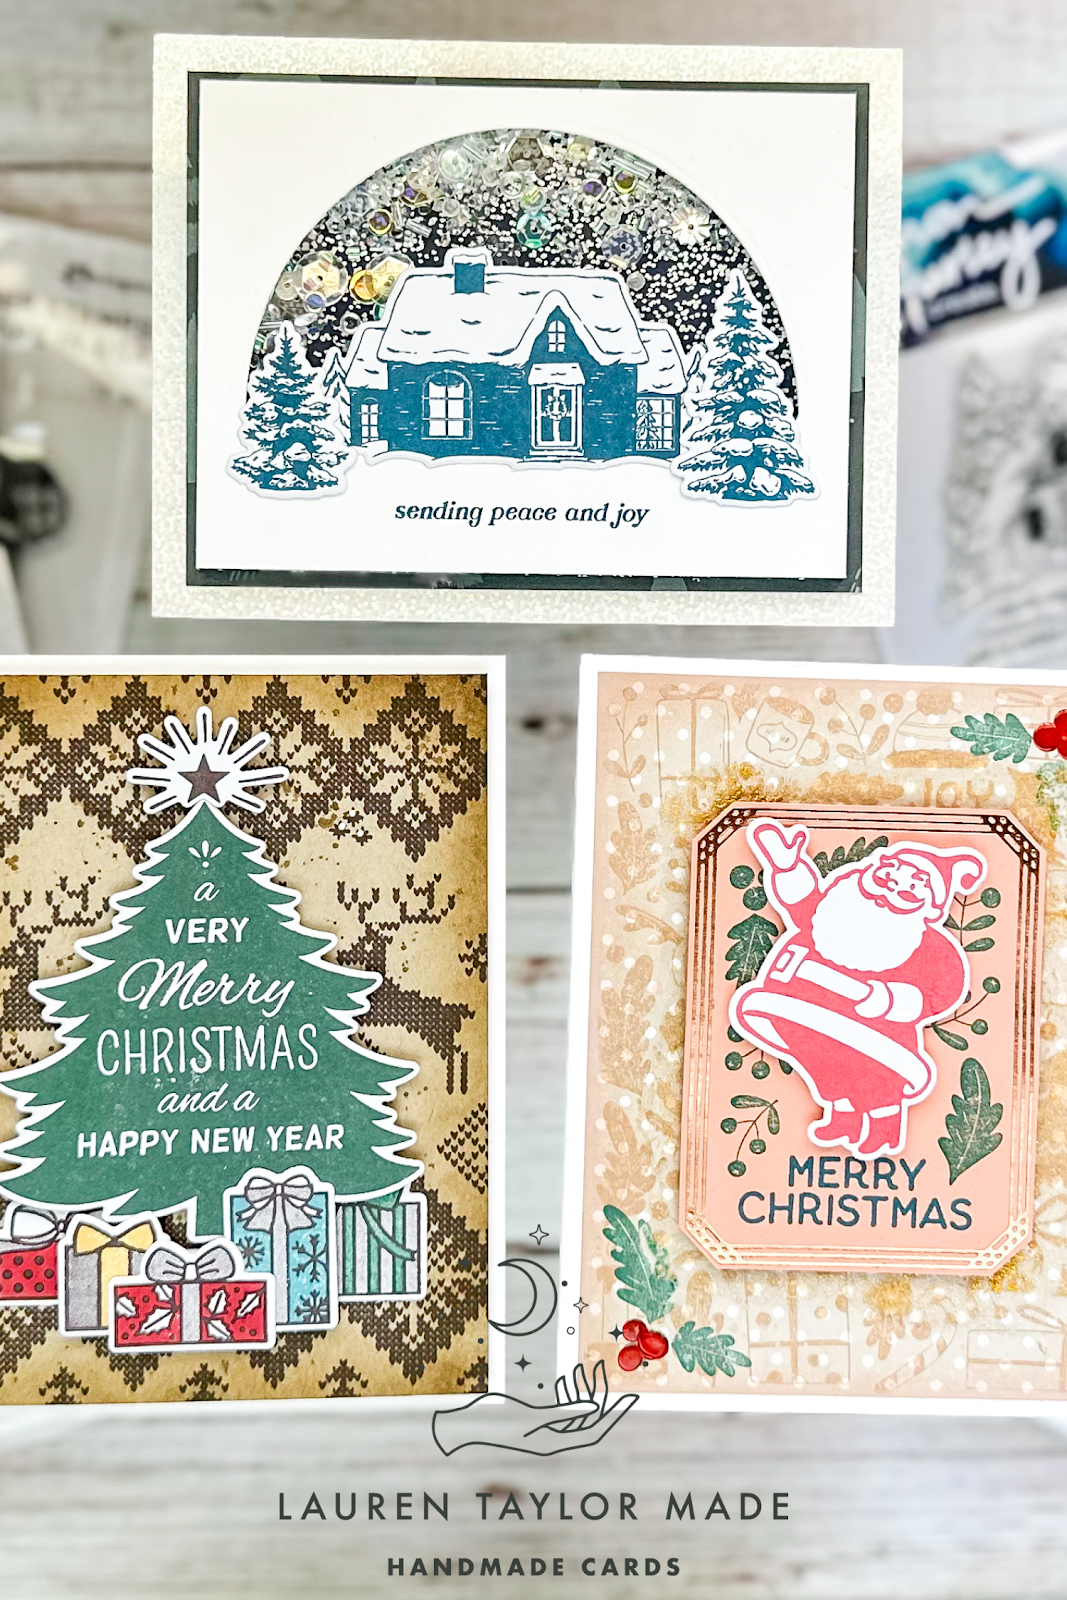
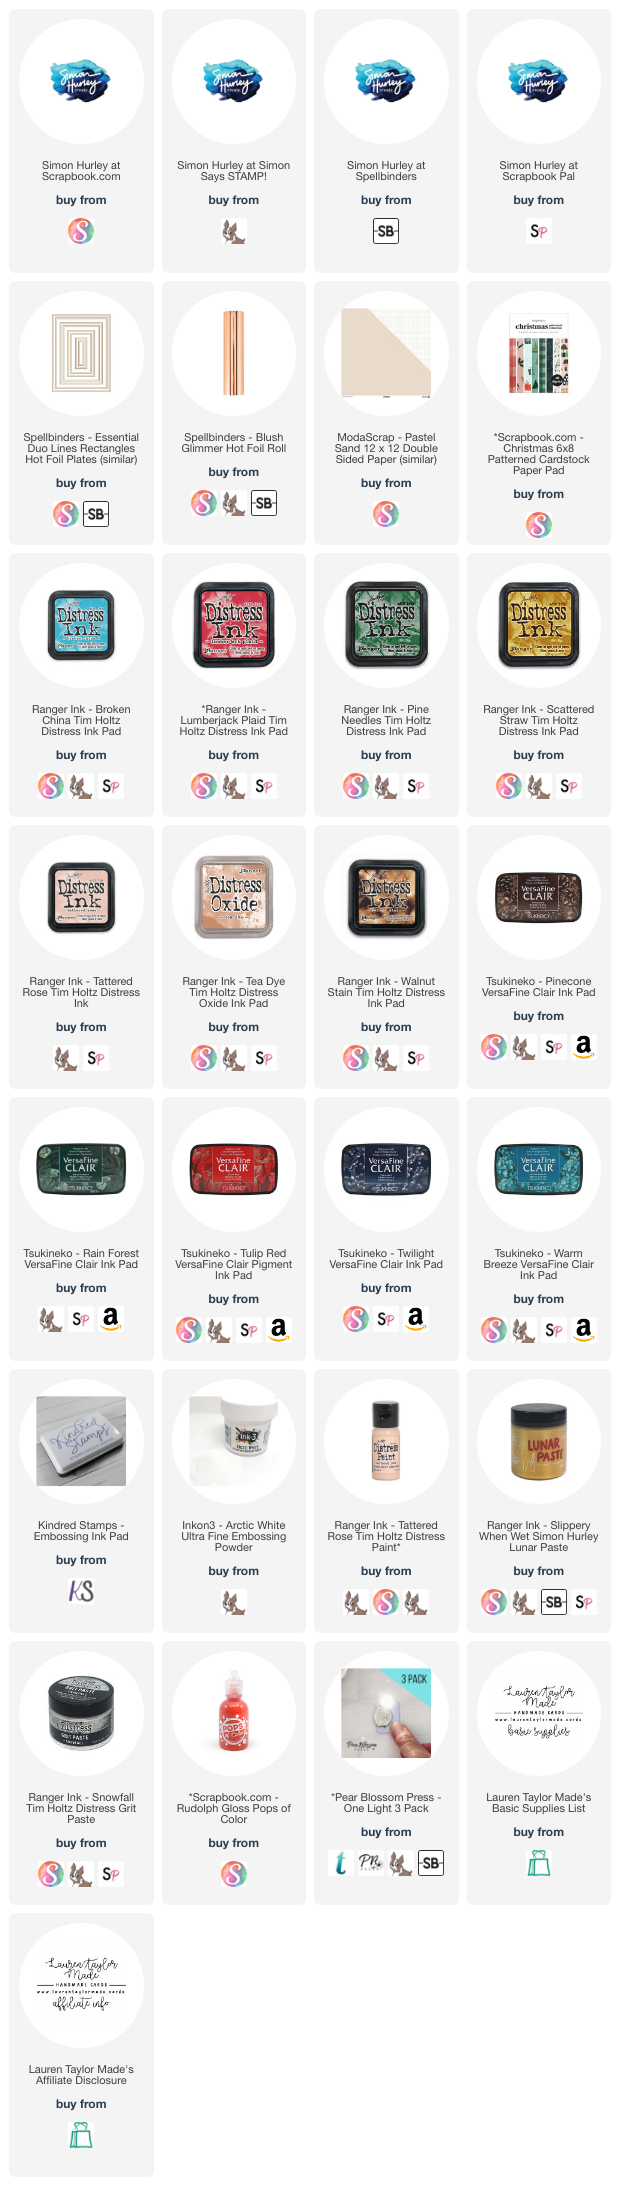
I am happy to share some Christmas cards from today's release from Simon Hurley and Ranger Ink with dies from Spellbinders! I was gifted three photopolymer stamp sets and three background rubber stamps to create with and I love the vintage feel of some of the new sets. For my first card, I tried hard to lean into the vintage Christmas feel as the Silly Santas set have wonderful vintage Santa images. I stamped one of the Santa in red and use the coordinating die to cut it out.

The next layer is some pink cardstock with a foiled frame and stamped a sentiment and smaller images in teal and green inks from the Winter Things. The background is a piece of patterned polka dot paper with the largest Winter Things stamp with a soft brown ink and I distressed the edges and splattered it before adding some Snowfall Grit Paste with some Lunar Paste. I layered the cards with foam adhesive and glued this to an A2 card. I wanted to add a little more, so I stamped holly in the corners and used some red Pops of Color for the berries.

My second card is a light up card! I used a Pear Blossom Press One Light for my star on the tree to light up. I hid this mechanism behind the background stamped with Nordic Knit and I distressed the edges and splattered for more interest. I stamped all of my images and used the coordinating dies to cut them out from the Retro Holiday set. I love that the gifts are two stamps - one that stamps the outline and shaded areas and the second can be used to add color.

The final card is a shaker card using the new Winter Wonderland stamp set that I stamped with blue ink as well as the sentiment on white cardstock. I used the half circle die to create my window opening and layered acetate behind the window. The background of the shaker is the Stippled stamp that was embossed with white embossing powder on dark blue cardstock. These were layered together with foam adhesive and used a retired Sparkle Blends to be my shaker bits! 

Finally, my shaker panel was attached to some Christmas patterned paper, then on some sparkly cardstock and onto a card base. I hope these cards bring you some fun inspiration using the new products and you have fun shopping!

PIN THIS
SUPPLY LIST

Read More

Unusual Ones - New Release from Kindred Stamps!

Friday, June 30, 2023

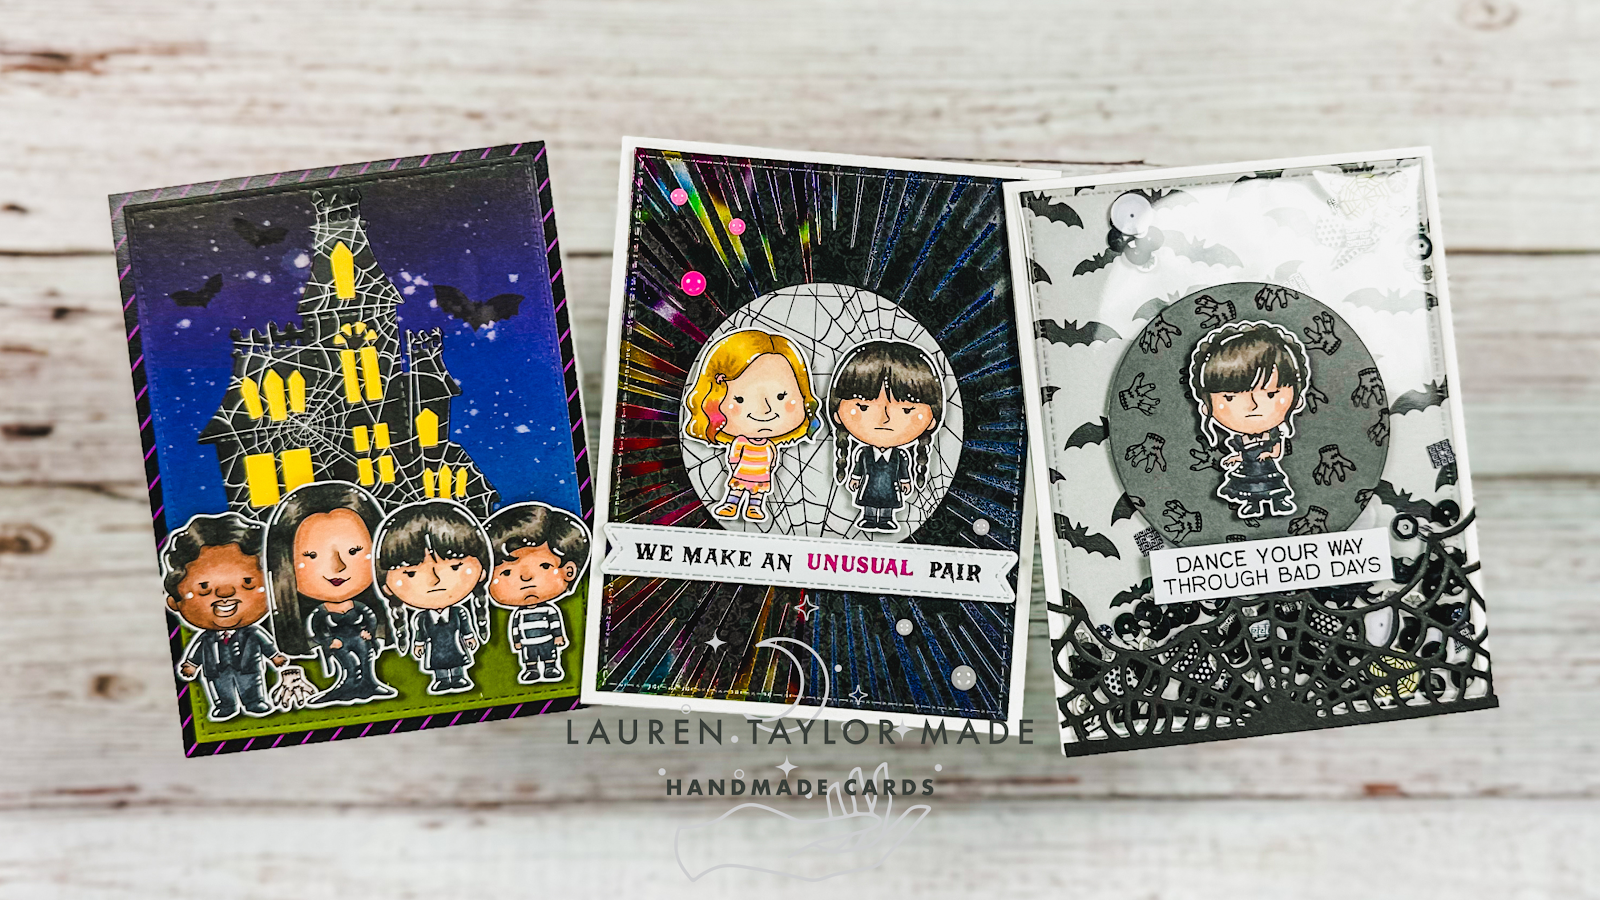
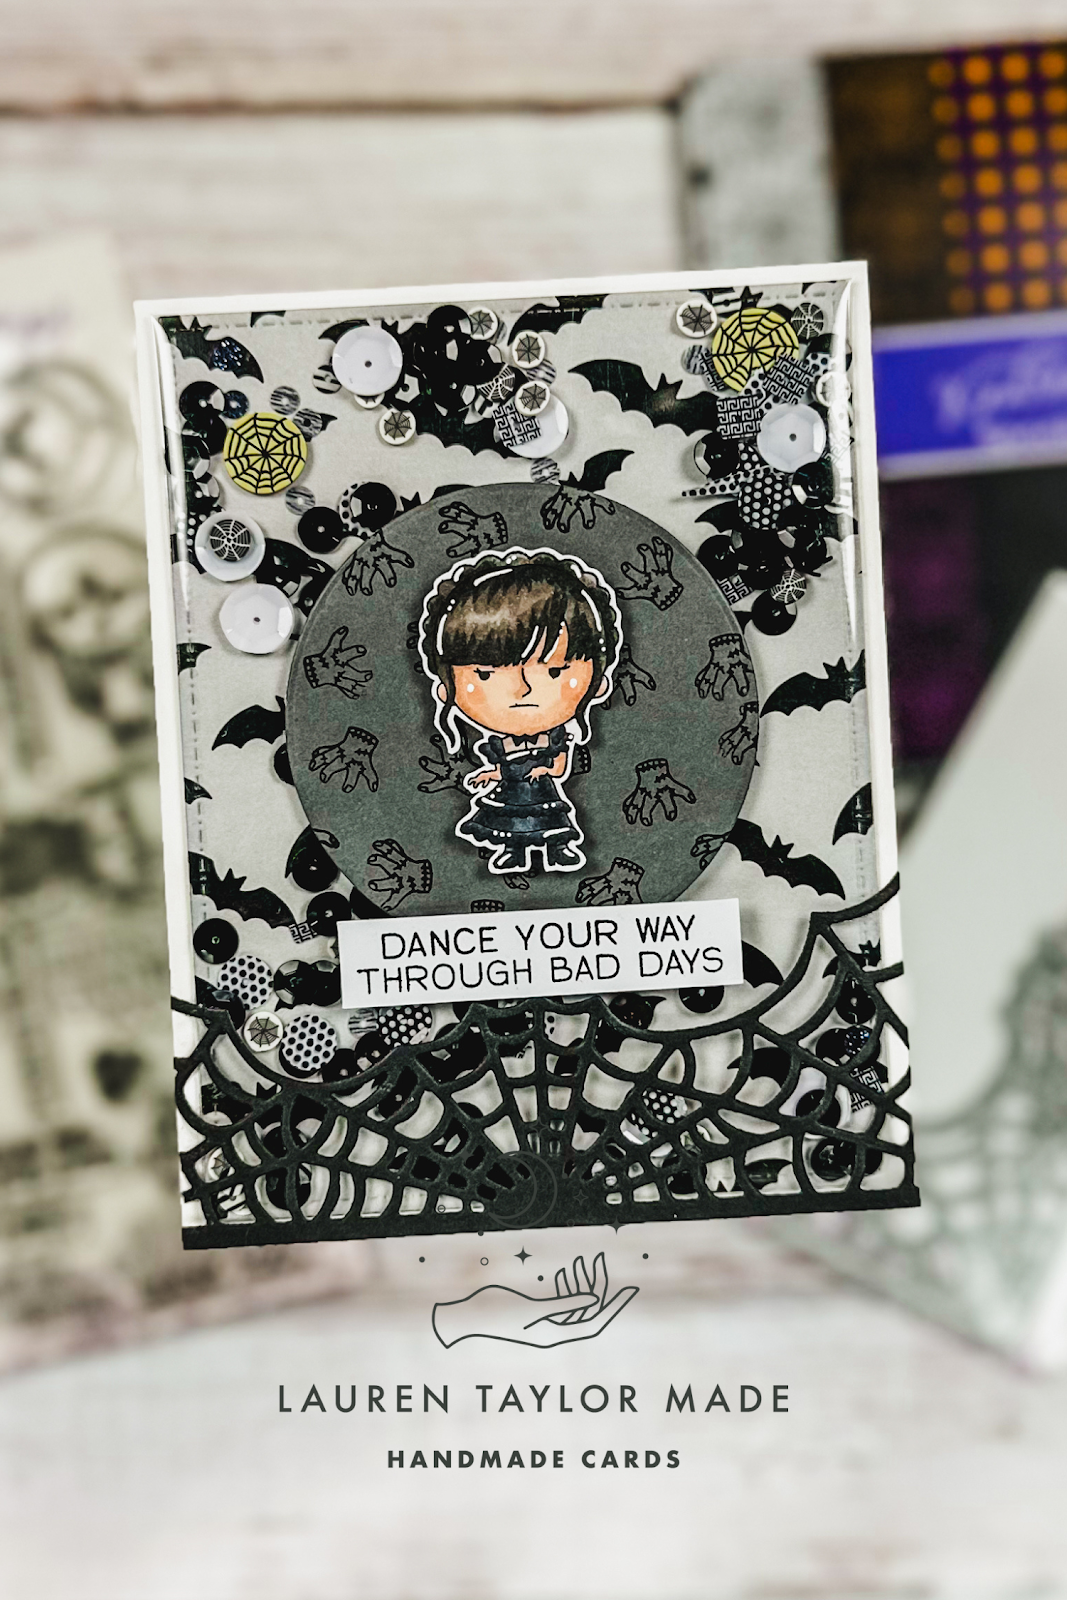
It's new release day from Kindred Stamps! The Unusual Ones stamp set I am excited to share works perfectly for it being the last day of the month for some Halloween inspiration, too. I have three cards to share with you and a video to go along with my shake card featuring my dancing main character. Let's start with that card since I have a video! I created an infinity shaker panel with my dancing main character. She's perfect as a shaker card!

My second card is a scene with the whole unusual family! I used Distress Oxide inks to create my own background and splattered on some white ink. I added a grass hill, tucked in my haunted house and stamped a few bats in black. I layered the scene onto a patterned paper background and added all of my fandom characters on with foam adhesive.

The final card is inspired by the two personalities of these school roommates! I hot foiled a background with one half in a midnight black foil and the other half with a rainbow confetti design. I added a circle in the middle of the foiled design so my two girls would pop off the card. I actually did use foam adhesive to literally pop them up as well as my sentiment strip. For final touches, I added some enamel dots again that match the different personalities.

I hope you are loving this new release from Kindred Stamps - let me know what your favorite product is from the new release in the comments. I already know what I need to order for myself!

VIDEO TUTORIAL


PIN THIS
SUPPLY LIST

Read More

Hello Floral Shaker Card with Pinkfresh Studio Joyful Peonies

Friday, May 26, 2023

We're having some fun with crafty friends today! It's time for our next Card Hoppin' theme and YouTube hop. This month we're creating shaker cards with either vellum or tulle along with flowers. I decided to make my shaker card with vellum and created soft florals with some new products for me from Pinkfresh Studio. Before I started filming, I hot foiled my flowers onto white cardstock with Silver Glimmer Hot Foil. I thought the silver foil with the soft colors would be so pretty together and it really turned out so beautiful!

In my video today, you'll see how I used the coordinating stencils of the Pinkfresh Studio Joyful Peonies to color in my florals and I die cut the florals out with the coordinating die. I used soft colored cardstocks and vellum from my Your Paper Insider boxes that I thought completed the colors really well. The sequins are a retired Sparkle Blends mix and I love the subtle color that peeks through the vellum. I hope you'll join me over on YouTube and hop along to see this month's inspiration! 

VIDEO TUTORIAL


PIN THIS
SUPPLY LIST

Read More