Showing posts with label sympathy. Show all posts

Trio of Hugs Cards with Waffle Flower Crafts

Tuesday, August 5, 2025

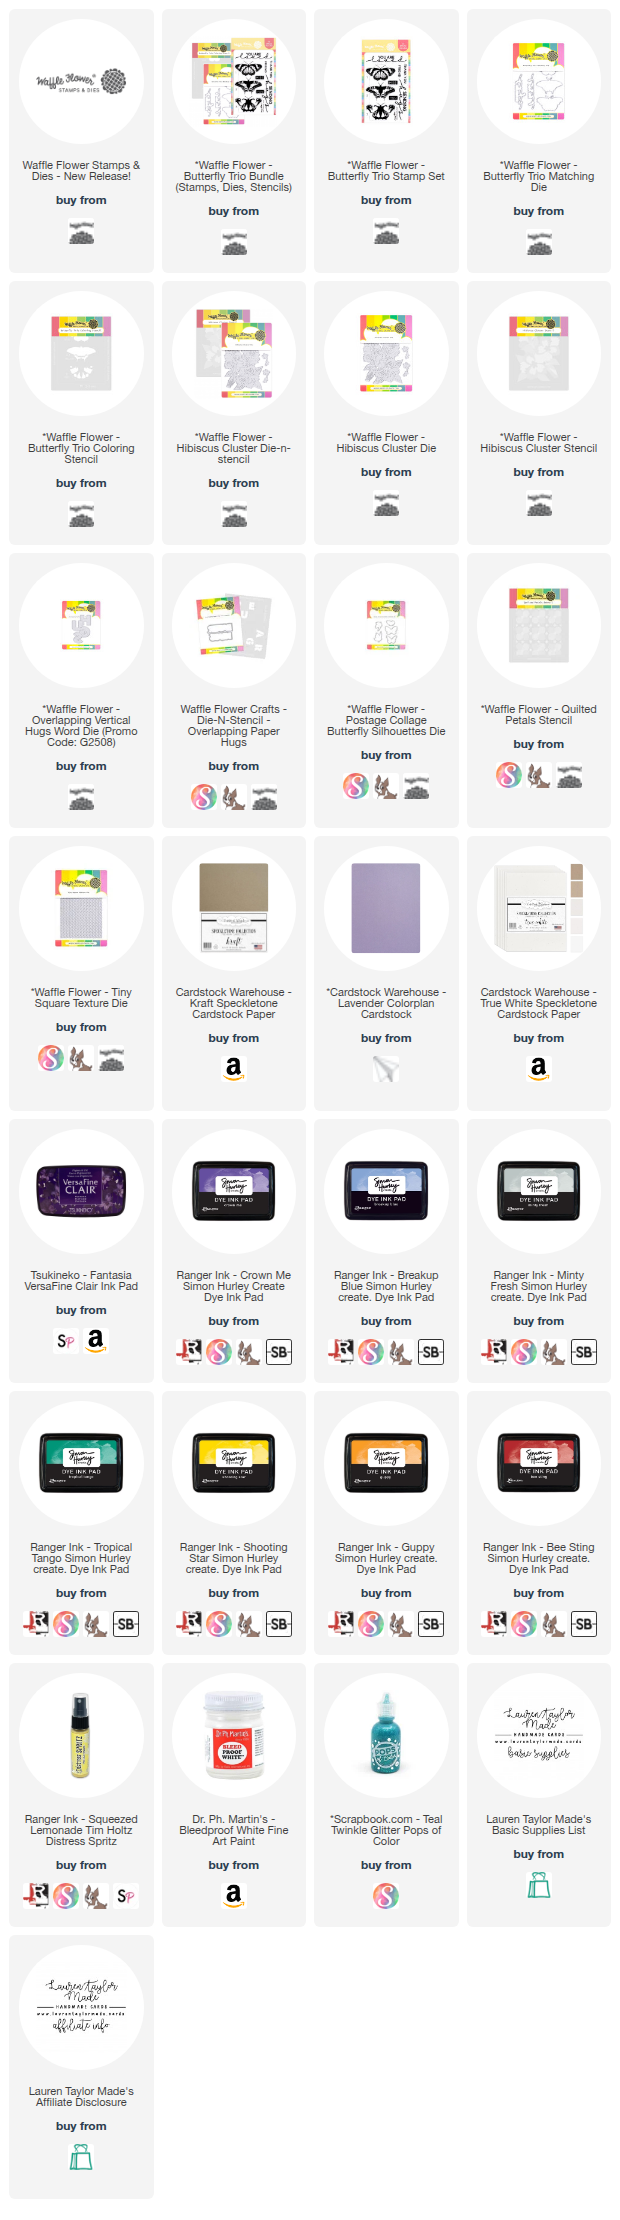
Today I’m sharing three “Hugs” cards using the brand-new Summer Afternoon Release from Waffle Flower Crafts! This collection is packed with beautiful layering stencils, detailed dies, and versatile sentiments perfect for mixing and matching. I focused on creating a cohesive set of cards with the same color palette—purples, teals, and a touch of sunny yellow—while highlighting different techniques on each design.

For my first card, I used the Butterfly Trio bundle to stamp, stencil, and die cut three colorful butterflies, pairing them with the “Sending Hugs” sentiment over a textured, splattered background. My second (and favorite!) card features the Hibiscus Cluster die and stencil, layered in the same dreamy hues and finished with a dimensional “Hugs” sentiment. And for my third card, I reached for some previously released favorites—the Quilted Petals Stencil and Overlapping Paper Hugs bundle—to create a colorful stenciled background with die-cut butterflies fluttering across the panel.

Each card has its own personality, but together they make such a fun trio of designs. Want to see exactly how they came together? Watch the process video below, where I share step-by-step details, tips for layering stencils, and how I add finishing touches like splatter, shadowing, and dimension. Don’t forget to check the description box for a special promotion on the new Overlapping Vertical Hugs die and to enter my Waffle Flower gift card giveaway on Instagram!

VIDEO TUTORIAL


PIN THIS
SUPPLY LIST

Read More

Sending You Sunshine - Cards for Kindness with Scrapbook.com

Thursday, August 15, 2024

It is Cards for Kindness week at Scrapbook.com and they're celebrating with a FREE Livestream Deal today! You can get the Cards for Kindness Sunshine stamp set today - for FREE! I used it along with some other Scrapbook.com Exclusive products to create a blue and yellow, sunshine-y card that I think would bring a smile to anyone's face.

I started with die cutting A2 nested rectangles out of Charming Patterned Paper. I also die cut vellum and a piece of White Mixed Media Paper. Using the Large Checkered Stencil, I added blue and yellow ink as well as some Spring Flowers Rub-Ons in silver along the sides.

After stamping my images, I used the coordinating dies to cut them out and layered my card together. I used 1mm foam adhesive between the stenciled background and vellum, as well as to attach my stamped images. To add in some more silver, I used Pops of Color in Silver Glitter on the blue patterned paper. I think the small smile on the sun is my favorite part of the card!

Let me know if you snag this deal today - I mean, how can you not when it's FREE!

PIN THIS
SUPPLY LIST

Read More

Scorched Timber! New Distress Color from Tim Holtz & Ranger Ink

Saturday, January 13, 2024

It's new Distress Color day! I'm loving the brand new Scorched Timber (it's very nature-y - you'll get it when you watch my new video today) and I'm grateful to Scrapbook.com for sending me a box full of goodies including all the different mediums of this new Distress Color! I have swatched all the different mediums out and you can see them in the picture below, but make sure to watch my video below to see the unboxing and swatching process.

After swatching, I used different mediums of Scorched Timber on a spring inspired card! I was gifted Tim Holtz + Sizzix Thinlits from Scrapbook.com as well so we're going to use a few of them with the new Distress Color to make a card. I used Distress Ink to distress the edges of the patterned background as well as all of my die cuts. The Distress Spray Satin added splatter to my background and my little bunny was colored with the Distress Watercolor Pencil and Distress Crayon. There's a little of the Saltwater Taffy Distress Crayon to add some pink.

Let me know which medium is your favorite in Scorched Timber in the comments! I love the Distress Ink, Distress Watercolor Pencil and I'm now obsessed with the Distress Crayons... Need to get more in my stash! Another HUGE thank you to Scrapbook.com for this amazing package and you can shop the new Distress Color products at Scrapbook.com here!

VIDEO TUTORIAL


PIN THIS
SUPPLY LIST

Read More

Rainy Day Hugs Shaker Card with Pretty Pink Posh

Tuesday, December 26, 2023

As I write this blog post, it's raining outside and it's so fitting to share this card with the Spring products released earlier this year from Pretty Pink Posh! The Umbrella Shaker Dies and Layered Umbrellas Stencils are just so perfect together and I love that the window die for the Umbrella is separate so you can easily make a shaker, but also have an umbrella die for other types of projects. I like to start with stenciling to ensure my background has plenty of time to dry while I’m creating the rest of the card.

Using Layered Umbrellas, I stenciled the solid umbrella layer with Shaded Lilac Distress Oxide, the polka dot and stripe details with Saltwater Taffy Distress Oxide, the shaft and top with Lost Shadow Distress Oxides and finally the raindrops with Clear Skies Lunar Paste. While the Lunar Paste was drying, I stamped flowers and butterflies from the Love Stamp Set and Mom Stamp Set in a light grey, alcohol marker friendly ink. I used my Ohuhu Art Markers for a no-line coloring look. I die cut them all out using the Love and Mom Coordinating Die Sets.

The sentiment was hot foiled with the Hot Foil Large Hugs and silver foil onto some light purple cardstock. I used the Large Hugs Shadow Die to cut my sentiment. I also did my die cutting from the Umbrella Shaker Dies: the umbrella out of the same light purple cardstock as well as acetate, the umbrella with windows out of purple cardstock, the shaft of the umbrella out of grey cardstock and the handle out of kraft cardstock. I assembled the shaker with all of the Umbrella Shaker die cut pieces and filled it with the new Flower Garden Mix.

The stenciled background is trimmed down to 4x5-¼” and layered onto an A2 piece of purple cardstock attached to a card base. After I laid out my card with the shaker, sentiment and stamped images how I think it would look best, I adhered everything down with wet glue with a few of the flowers popped up with foam adhesive. I hope you enjoyed this shaker and it gives you some inspiration for a rainy day kind of card!

PIN THIS
SUPPLY LIST

Read More

Joyful Floral Hello Card with Scrapbook.com

Sunday, December 3, 2023

I love this card! My new favorite collection is the Joyful products from Scrapbook.com. There is a stamp set, coordinating die, lots of other word and floral die sets, patterned paper and solid color paper pads. I used almost all of the different products on this one card because I just wanted to use them all! The images and paper remind me so much of stationary I used to collect back in the early 2000s.

My gingham background is A2 in size and adhered to my card base. I trimmed my floral patterned paper to 4x5.5" and adhered it to the center. I then did lots of die cutting - the circle and floral parts from the Joyful die set and the hello sentiment from the Hello Hi Friend die set. I used white cardstock and the Joyful Smooth Cardstock Pad. 

I also stamped some of the images from the Joyful Wishes stamp set and used the coordinating dies to cut them out. I also stamped my second part of my sentiment and trimmed it with my paper trimmer. I used Glimmer Brushes to add lots of sparkle to my card. I splattered on Coral on my background, Sunshine Yellow the circle die cut and Tan on the lighter pink colored floral die cuts.

Using liquid adhesive and foam strips, I added my circle to the card base and tucked my flowers and leaves to create a wreath look on the card. I also popped up the sentiments and added a few Pops of Color around the wreath as well. I just love how this card turned out - especially with the subtle shine of the Glitter Brush Makers.

PIN THIS
SUPPLY LIST

Read More

More Floral Cards with Spellbinders Glimmer and BetterPress Kits for August 2023

Saturday, August 12, 2023

As you know, I am on the influencer team for Spellbinders Clear Stamp & Die of the Month Club and I'm now on the BetterPress Plate of the Month Club! Now, I usually get the stamps and dies a few at a time but with the recent release of the BetterPress System, I received my plate a little later than I needed in order to combine the Clear Stamp and BetterPress together. But that's okay, because this month I've combined the BetterPress Plate with the Embossing Folder of the Month! I really liked the arch look of the design, so I splurged on getting the embossing folder this month.

I started these cards with embossing the design on yellow cardstock - I cut one panel down to 4-1/8 x 5-3/8" and added Dried Marigold to the edges as well as some gold splatter. The other I trimmed down with my Tonic Deckle trimmer to 4 x 5-1/4" but left it soft by not adding any ink. Next I worked on my BetterPress Plate and used my system with Strawberry, Apricot and Leaf inks to make my impression. I die cut out the design with an arch and the next largest out of kraft cardstock. 

For the sentiment, I decided to try and use the sentiment plate with my Glimmer Hot Foil System with a gold foil and it turned out okay... I think I need to adjust the shims in order to get a better impression. I glued my arches together and layered it onto the embossed background with foam adhesive. I glued this directly to my card base. I also popped up the sentiment and added a few Pops of Color for some shine and to bring in more yellow.

The second card is definitely my favorite of the two, but I think it's because I had the coordinating stencil for this month's Glimmer Plate. I like when coloring is easy! I used different Distress Inks to color with the stencil set after hot foiling the floral design on white cardstock with the kit's Rose Gold Foil. I also foiled the sentiment from the kit onto the same yellow cardstock and just like the other card's sentiment, I fussy cut it out.

I used a large arch to cut out my floral image as the arches again remind me of the embossing folder so I thought it would coordinate well with the design. I glued some purple cardstock to the card base, then the embossed and deckle trimmed yellow cardstock. The arch die cut is popped up as well as the sentiment and I added some Pops of Color in Rose Gold to bring more of that pink shine onto the card. I hope you like these cards and it gives you some inspiration today with the kits!

If you still want to get your hands on these kits (including the Clear Stamp and Die of the Month), head here to get all the information on the Spellbinders Kits!

PIN THIS
SUPPLY LIST

Read More

Sunset Shaped Card with Simon Hurley + Ranger Ink

Wednesday, July 12, 2023

Okay, so the pictures of my watercoloring are not great... I swear my painting looks a little better in person, but I willingly admit I am not great at watercoloring. I did my best to create a sunset background with metallic watercolors on an arch shaped piece of watercolor cardstock and while it's not the best, I do like how my card turned out. When my watercolor was dry, I stamped my beach scene and sun in VersaFine ink and embossed the images with clear embossing powder.

Using one of the Sunrays stencils, I stenciled on some Overheated Solar Paste to give even more shine to the card. While it was drying, I stamped and embossed my sentiment from the Smooth Sailing stamp set also from Simon Hurley + Ranger Ink and used the coordinating die set from Spellbinders to cut it out. Now that my background was dry, I adhered it to an A2 arch die cut from black cardstock which was attached to a shaped card base. I popped up my sentiment and added some Glitter Pops of Color to my sun so it really shines!

I hope you are all having a wonderful weekend and remember to keep shopping for Amazon Prime as well as the Scrapbook.com free shipping! Such great deals you just don't want to miss!

PIN THIS
SUPPLY LIST

Read More

Bring It In! Using the New Waffle Flower Grip Mat

Thursday, July 6, 2023

Hi, friends! I was gifted some products from Waffle Flower Crafts and I'm so excited to share how handy the new Grip Mat was while creating this Retro Hugs card in my video today. It's a sticky mat, but not so sticky that you can stencil some thinner cardstock and I was able to peel it off without any issues. I also used it for keeping my shadow die cut in place to assembly my "hugs" sentiment as well as keeping my paper in place so I can layer my card together.

This is my first time using Waffle Flower Craft Tools, but I will definitely be getting some other products in the future as I just loved this Grip Mat. It's thinner than a Gelli Plate and Waffle Flower has some great guides to help with placement and stamping. You'll see it again in future videos for sure! Let me know if you think this is a tool that would be helpful to you in your craft room.

VIDEO TUTORIAL


PIN THIS
SUPPLY LIST

Read More

Unusual Ones - New Release from Kindred Stamps!

Friday, June 30, 2023

It's new release day from Kindred Stamps! The Unusual Ones stamp set I am excited to share works perfectly for it being the last day of the month for some Halloween inspiration, too. I have three cards to share with you and a video to go along with my shake card featuring my dancing main character. Let's start with that card since I have a video! I created an infinity shaker panel with my dancing main character. She's perfect as a shaker card!

My second card is a scene with the whole unusual family! I used Distress Oxide inks to create my own background and splattered on some white ink. I added a grass hill, tucked in my haunted house and stamped a few bats in black. I layered the scene onto a patterned paper background and added all of my fandom characters on with foam adhesive.

The final card is inspired by the two personalities of these school roommates! I hot foiled a background with one half in a midnight black foil and the other half with a rainbow confetti design. I added a circle in the middle of the foiled design so my two girls would pop off the card. I actually did use foam adhesive to literally pop them up as well as my sentiment strip. For final touches, I added some enamel dots again that match the different personalities.

I hope you are loving this new release from Kindred Stamps - let me know what your favorite product is from the new release in the comments. I already know what I need to order for myself!

VIDEO TUTORIAL


PIN THIS
SUPPLY LIST

Read More