Think Pink Flamingo Shaker Card with Heffy Doodle

Tuesday, February 28, 2023

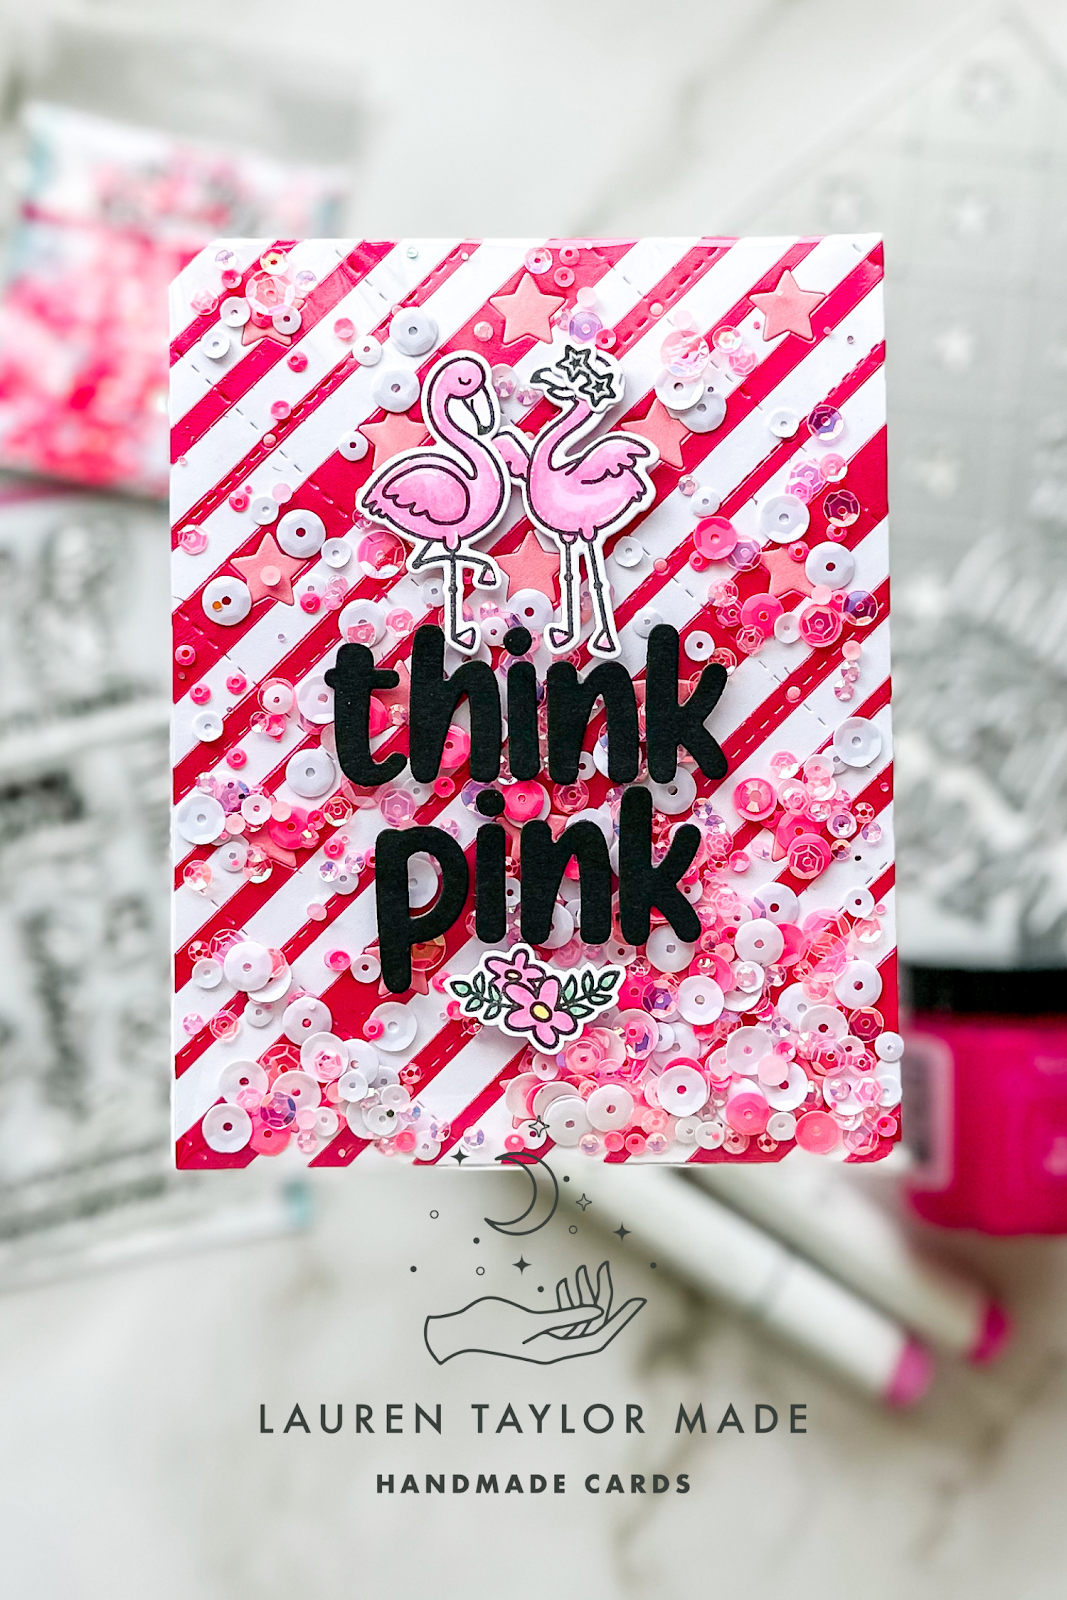
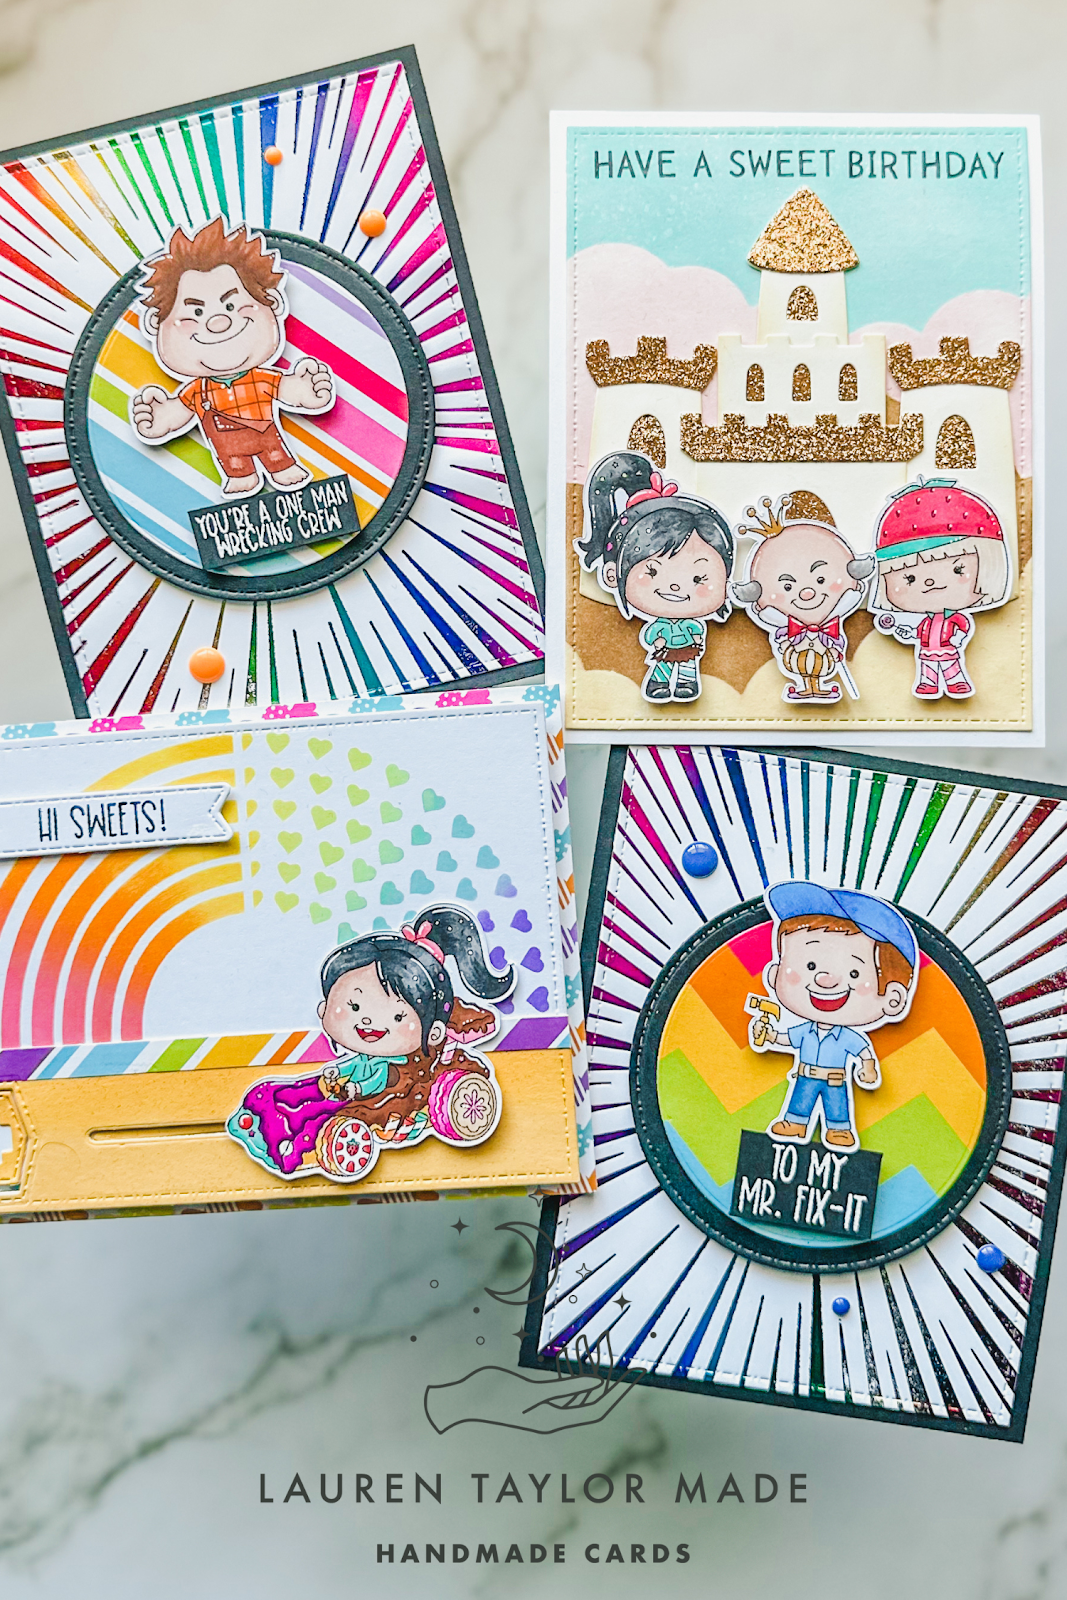
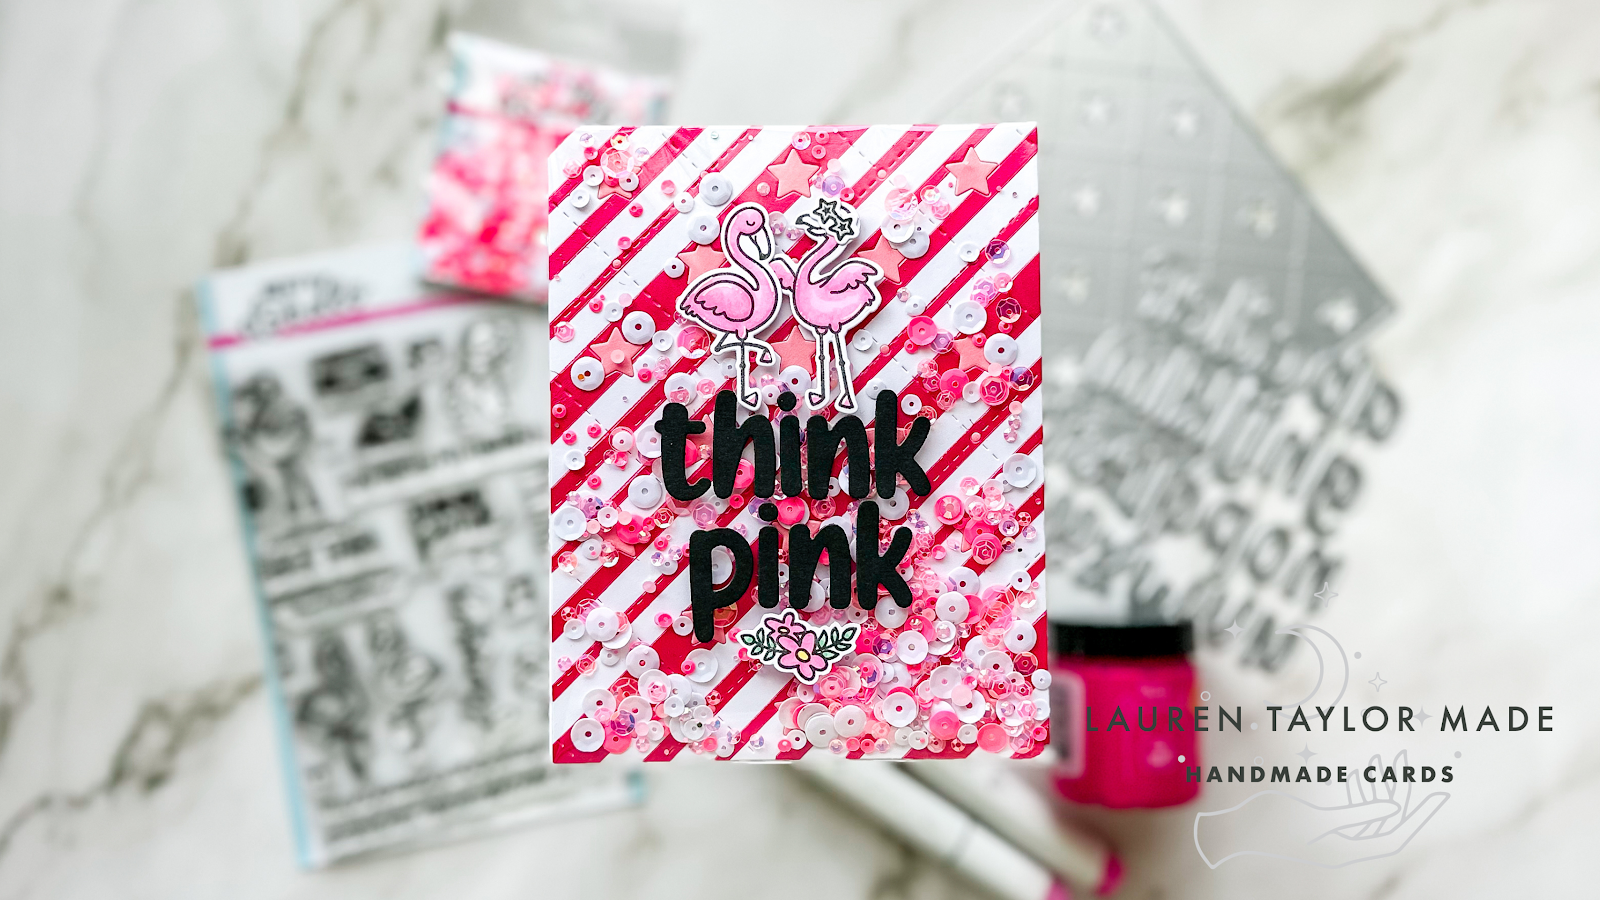
We're going PINK for this card featuring new Heffy Doodle products! I made a hot pink shaker card with the new Tickled Pink Sparkle Mix and these cute flamingos from the Flock Star Stamp Set and Coordinating Dies. While there is a "think pink" sentiment in the stamp set, I wanted to go bold to really pop off the busy background so I die cut the sentiment using the new Moxie Alphabet Dies.

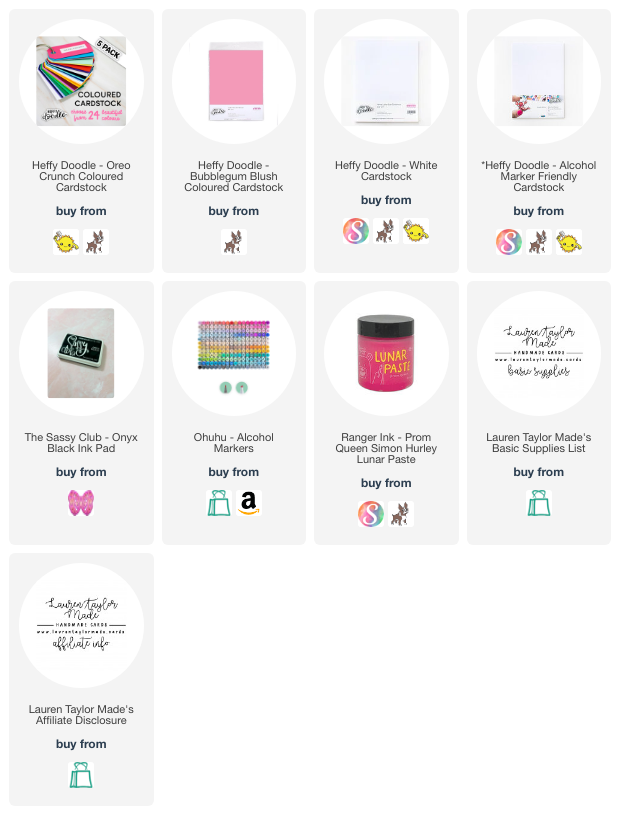
I started this card by making my background because it was going to need some time to dry. I stenciled some hot pink stripes with the new Funhouse Diagonal Stripes Stencil and Prom Queen Lunar Paste. While it was drying, I stamped my images and colored them in with my Ohuhu Art Markers, then used coordinating dies to cut them out. I also die cut my sentiment out of Oreo Crunch cardstock.

After my background was dry, I die cut it with the new Carnival Star Backdrop Die as well as with Bubblegum Blush cardstock. I glued my stenciled panel to a piece of cardstock in the same A2 size and then glued in the Bubblegum Blush stars that were die cut from the sentiment. This panel was then the back of my infinity shaker and added in a bunch of the bright Tickled Pink Sparkle Mix! I adhered this to my card base.

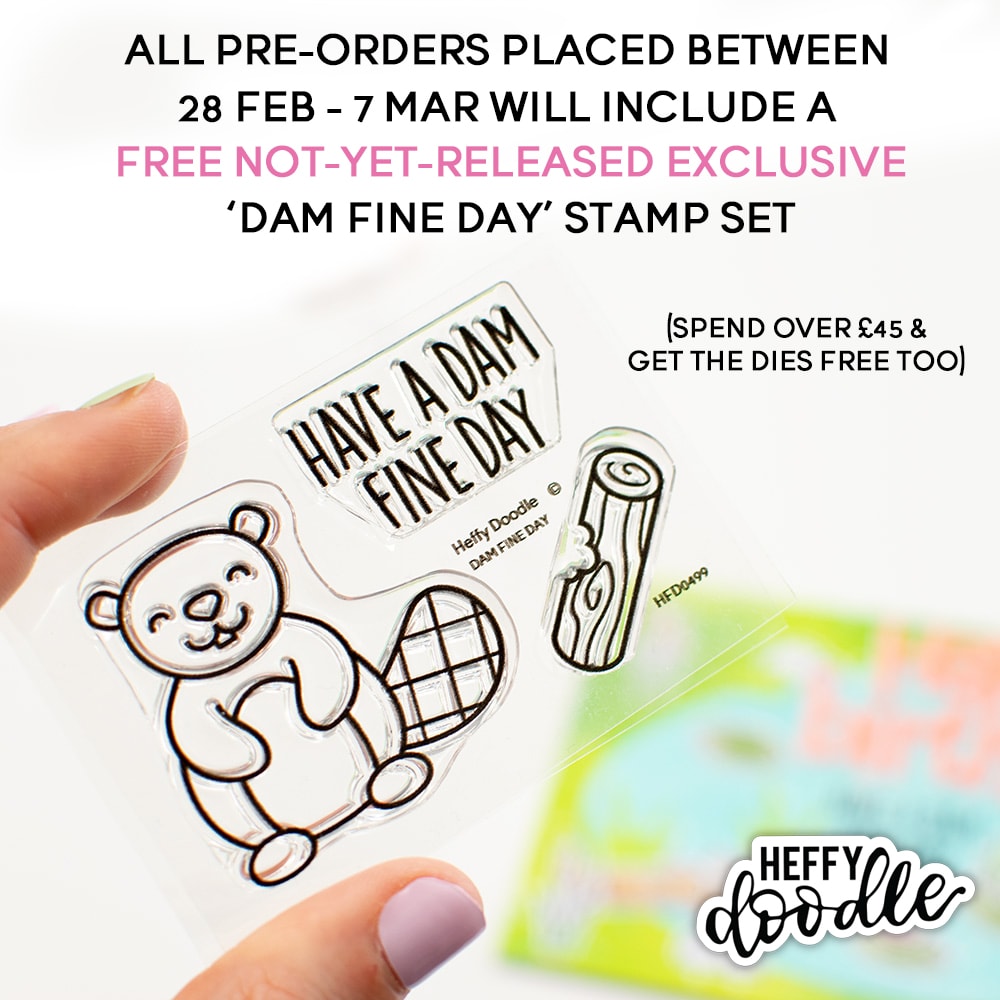
Finally, I glued my images and sentiment to the clear packaging that I used to make my infinity shaker with some wet glue adhesive. Once it was all dry, I shook my shaker like crazy because it's just so fun! I hope this card inspires you and that you're pre-ordering some goodies today. You can get a free stamp set with your purchase today so get shopping!

PIN THIS
SUPPLY LIST

Read More

Celebrate Birthday Mug Cake with Pretty Pink Posh

Monday, February 27, 2023

Have you ever made a “mug cake” before? I thought it would be fun to make a shaker birthday mug cake and use all of the Pretty Pink Posh mug dies! I started with die cutting all of the pieces I needed from the different die sets in colored cardstock. I will add in some color to each of the images using Distress Oxide ink or my alcohol markers so there is some dimension to the pieces. Starting with colored cardstock and adding in ink is one of my favorite ways to have color without having to completely color a piece of white cardstock in ink.

To make the card extra festive, I used the Streamers Stencil to create a background. The “A” stencil was colored using Distress Oxides in Picked Raspberry, Carved Pumpkin, Squeezed Lemonade and Cracked Pistachio. The “B” stencil was colored using Platinum Stencil Butter - I love the mix of bright colors and silver together!

While the background was drying, I started assembling the shaker birthday mug cake together. The shaker bits are the adorable sprinkles from the Birthday Cake Clay Confetti. I also made my sentiment in silver foil with Hot Foil Large Celebrate and Large Celebrate Shadow Die. Once my background was dry, I assembled the card together and added a sparkly frame die cut using the A2 frame from Fancy Cake Dies. I hope you enjoy today’s video and that it brings you inspiration for using your Mug Dies all together - especially to create a fun shaker!

VIDEO TUTORIAL


PIN THIS
SUPPLY LIST

Read More

Special Delivery & a Dreamy Sky with Heffy Doodle

Sunday, February 26, 2023

I am so excited to start showing you some of my cards using the new Heffy Doodle release! This is my favorite card I made so I'm going to just start off my projects with a bang. I absolutely love the new Sky High Cloud Backdrop Die and thought it would be perfect with the Special Delivery Stamp Set and Coordinating Dies.

First I started with inking my background with Distress Oxides, blending with Spun Sugar, Milled Lavender and Shaded Lilac, creating a dreamy sky. Then I splattered on some water and sparkly liquid to get some texture in the ink. I die cut the panel with the Sky High Cloud Backdrop Die and saved all my cloud die cut pieces. I cut a panel of pearlescent vellum and adhered it to my card base with a sheet of adhesive so you cannot tell where the glue is (since it's completely covering the back). I then glued my die cut panel to the base.

I stamped my stork and little bundle with black alcohol marker ink onto the Heffy Doodle Alcohol Marker Friendly Paper and colored them in with my Ohuhu and Copic markers. My sentiment is stamped with VersaFine and I used some holographic embossing powder so it has some subtle shine like my background. I used the coordinating dies to cut out my images and sentiment - love that I can die cut my sentiment!

Along with the die cut clouds, I arranged my images and clouds how I like them round the card and adhered them to the card using foam adhesive. I think this card is just so dreamy and I want to make this sky in a bunch of different color combinations! I hope it inspires you and don't forget that pre-orders open on Tuesday, February 28th and the full release on Tuesday, March 7th.

PIN THIS
SUPPLY LIST

Read More

Tri-Fold Build and Layer Santa Christmas Card with Scrapbook.com

Saturday, February 25, 2023

It's the 25th of the month and it's time for some Christmas inspiration! I'm using Scrapbook.com Exclusives for today's card and it was inspired by the recent episode of Craft Roulette. This week's parameters were to have a hinged project, a kraft background, faux leather and outside the window. You can check out my video down below to see how this card came together as well as the details of how I added ink to my die cut Santa and how I assembled him together!

I made a tri-fold or tri-panel card so I could have a "hinged" panel on the inside of my card. My background is made from die cut snowflakes from kraft paper and they are glued to kraft paper as well to create an embossed look. Santa is wearing a faux leather belt (he doesn't support wearing animals) and finally I have Santa outside of my window die cut on the front panel of my card!

Do you think I did well with the parameters? Check out my video down below for all the details!

VIDEO TUTORIAL


PIN THIS
SUPPLY LIST

Read More

Sweet Game - New Release from Kindred Stamps!

Friday, February 24, 2023

I am so excited to share the new Sweet Game Stamp Set from Kindred Stamps! I have always wanted to be back on the Kindred Stamps Design Team and when the opportunity arrived, I jumped at the chance! So my first set back on the team is this fandom set called Sweet Game. For some inspiration of this set, I created four cards (three different ideas) with a range from simple to interactive.

My first two cards were a simple layout but it's really stepped up because I used the Warp Speed Hot Foil Plate with rainbow foil that I thought matched the new Sweets Paper Pack. I added circles of paper and popped up a couple of the characters from the stamp set to the center along with the embossed sentiment. I added some interest with some enamel dots that matched the images around the card background.

My third card was a lot of fun to make. I used a cloud stencil to help create my candy scene by ink blending Salvaged Patina, Spun Sugar, Vintage Photo and Antique Linen Distress Oxides. I glued on my Kindred Castle that I cut from cream and glittery cardstock to the background, leaving room to see my birthday sentiment. I added the three characters to the botom of the card in front of the castle. I love using the Castle Die for all different themes!

My last card is definitely my favorite card! When I saw this candy princess in her candy car, I knew I wanted to make a pull-tab slider card. I used the Sweets Paper Pack as my background and the candy cane looking border as the side of the race track. I stenciled on a rainbow with colors also inpsired by the paper pack - Picked Raspberry, Carved Pumpkin, Mustard Seed, Twisted Citron, Tumbled Glass, and Wilted Violet Distress Oxides. The track was colored with Wild Honey and I sprayed some Gold Glitter Dust Spray to give it a subtle shine. This is also where I added the Pull and Slide Die mechanism.

I hope you are inspired by my cards and it gives you some ideas of how you can use the new Sweet Game Stamp Set and Sweets Paper Pack! 

PIN THIS
SUPPLY LIST

Read More

Stamping with Bleach for a Home Town Inspired Card with Lawn Fawn

Have you ever stamped with bleach before? This was my first time and I will say, I think I'm too much of a Nervous Nelly to be stamping with bleach in my carpeted craft room. I was able to get some results, but I definitely could have stepped it up. But, I tried a new to me technique and it turned out not too bad!

I am hopping along with some fellow crafters today and we're either stamping with water or bleach for the technique and our theme is "Inspired By..." I picked bleach because a lot of other crafters were doing water and I thought I'd step a little bit outside of my comfort zone. This project is also inspired by my home town and I used Lawn Fawn products to be able to submit for the latest Lawnfawnatics Challenge!

In my video below, you will see how I stamped my water and sky with bleach, assembly of my card and my overall comments on how I feel about stamping with bleach. It's safe to say I probably won't do it again, but I definitely feel more confident in it. Maybe I'll attempt it again the future!

Make sure to watch the video on YouTube, then click on the hashtag #cardhoppinfeb2023 to see all of the crafter who are participating in today's hop! I'm excited to see the other daring crafters who used bleach and get some tips and tricks to maybe do it with more pizzaz next time.

VIDEO TUTORIAL


PIN THIS
SUPPLY LIST

Read More

To a Real Friend with The Sassy Club

Wednesday, February 22, 2023

I love this classic cartoon movie - one of my favorite fairies is from this movie and I am crossing all the fingers that Sandra comes out with a companion set with her in it, too. I really wanted to just color these characters in and so I created a simple card with panels so I could let them be the stars of the card. I used the new Postage Stamp Dies and Stencil for my panels and since my fairy is not in this set, I used a bright blue for the panels that reminded me of her.

You can see in my quick video below how I stenciled my postage panels and assembled my card. It's easy to replicate and I hope you check out all of The Sassy Club's latest release because all the sets are just so cute! I will definitely be making another card with the fox character and now I need to go re-watch the movie...

VIDEO TUTORIAL


PIN THIS
SUPPLY LIST

Read More

Rainy Day Ducks Shadow Box Card with Heffy Doodle

Tuesday, February 21, 2023

I am wishing for Spring with my latest Heffy Doodle project! I created an interactive, pop up card with the Big Shadow Box Dies and adorable images from the Quack Me Up stamp set. I used Heffy Doodle colored cardstock to cut out all of the parts of the Shadow Box in my video today, you can see all the details of how I assembled it together.

I added in some shine by stenciling raindrops to my background with Stencil Butter and I just love the finishing touches of enamel dots in the corners of the frame. Making this shadow box has really inspired me to use it more! I just love how you can create little scents with a lot of dimension, but without any foam adhesive.

Check out my video down below and make sure to let me know what kind of scenes you have made with a shadow box card so I can try it out for myself!

VIDEO TUTORIAL


PIN THIS
SUPPLY LIST

Read More

Sunny Lane from Scrapbook.com

Monday, February 20, 2023

I am loving the new Sunny Lane products from Scrapbook.com! It's so fun to have coordinating stamps, dies and paper so you can make colorful cards. I have two cards today featuring the Sunny Lane Stamps, Sunny Lane Homes 1 and 2 Dies, Sunny Lane Florals and even the Thank You Sentiments 3 where the shadow dies cut around a couple of the sentiments from the stamp set.

Check out my video down below to see how I assembled the four different homes (or store fronts) from the Sunny Lane Homes 1 and 2 Dies as I walk through each house and show how I add ink to them and glue them together. For my "Thanks a Million" card, I created an outdoor sene with solid cardstock, cloud dies from Haunted House and the cobblestone patterned paper. I popped up my buildings as well as my embossed and die cut "Thanks" sentiment. I added a few flowers to bring in more of the yellow and orange.

The second card idea I felt would be so cute for a friend who is moving or bought a home, or maybe for a new neighbor to welcome them to the area. I layered two different patterned papers together and added the homes to the center of the starburst. I tucked in flowers and leaves from the Sunny Lane Florals Die Set and my sentiment is also from the Sunny Lane Stamps with a little bit of white gel pen for highlights.

Let me know if you also love this new line and which house was your favorite from the set of four. How would you use these adorable new products?

VIDEO TUTORIAL


PIN THIS
SUPPLY LIST

Read More