Showing posts with label pop up card. Show all posts

Winter Penguin Box Card with Pretty Pink Posh

Tuesday, December 5, 2023

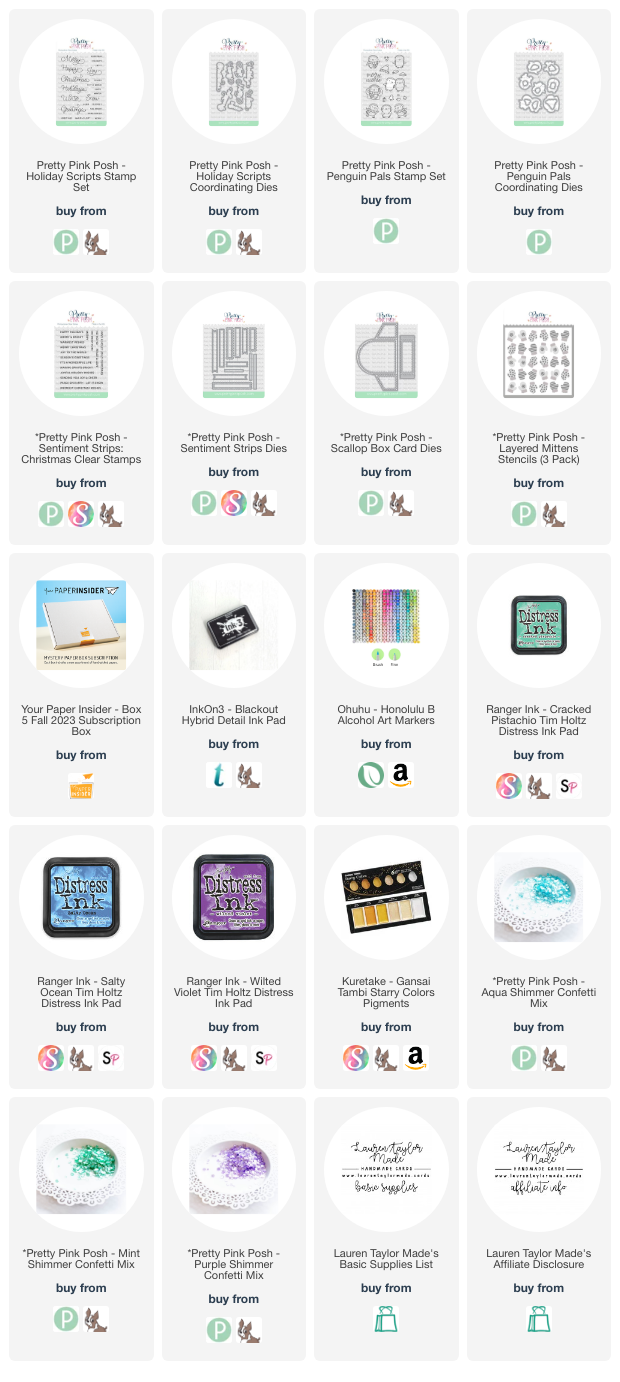
I am back with a new video using Pretty Pink Posh products today using one of my favorite PPP sets - Penguin Pals Stamp Set. I am coloring them with fun colors and putting them onto a box card! I started with using the Layered Mittens Stencils to add green, blue and purple inks to a light blue piece of cardstock.

After the splatter of metallic watercolor ink dried, I cut the scallop dies from the stenciled set and the box card dies out of a dark blue with the Scallop Box Card Dies. I assembled the box together using my adhesive runner. Next I stamped my images from the Penguin Pals Stamp Set and colored them in with Ohuhu Art Markers, then used the Penguin Pals Coordinating Dies to cut them out.

I added the penguins to my assembled box card and then moved onto the sentiment. I decided to use “Winter” from the Holiday Scripts Stamp Set and used the Coordinating Die to cut it out. I also stamped “Season’s Greetings” from the Sentiment Strips: Christmas Stap Set. I cut the secondary sentiment with the Sentiment Strips Die Set as well as vellum and the dark blue cardstock. The sentiments were layered together and popped up to the front of the box card.

For final touches, I used the Aqua Shimmer Confetti, Mint Shimmer Confetti, and Purple Shimmer Confetti Mixes to add some shine around the box card. I hope this fun colored box card inspires you today to have some winter fun crafting today!

VIDEO TUTORIAL


PIN THIS
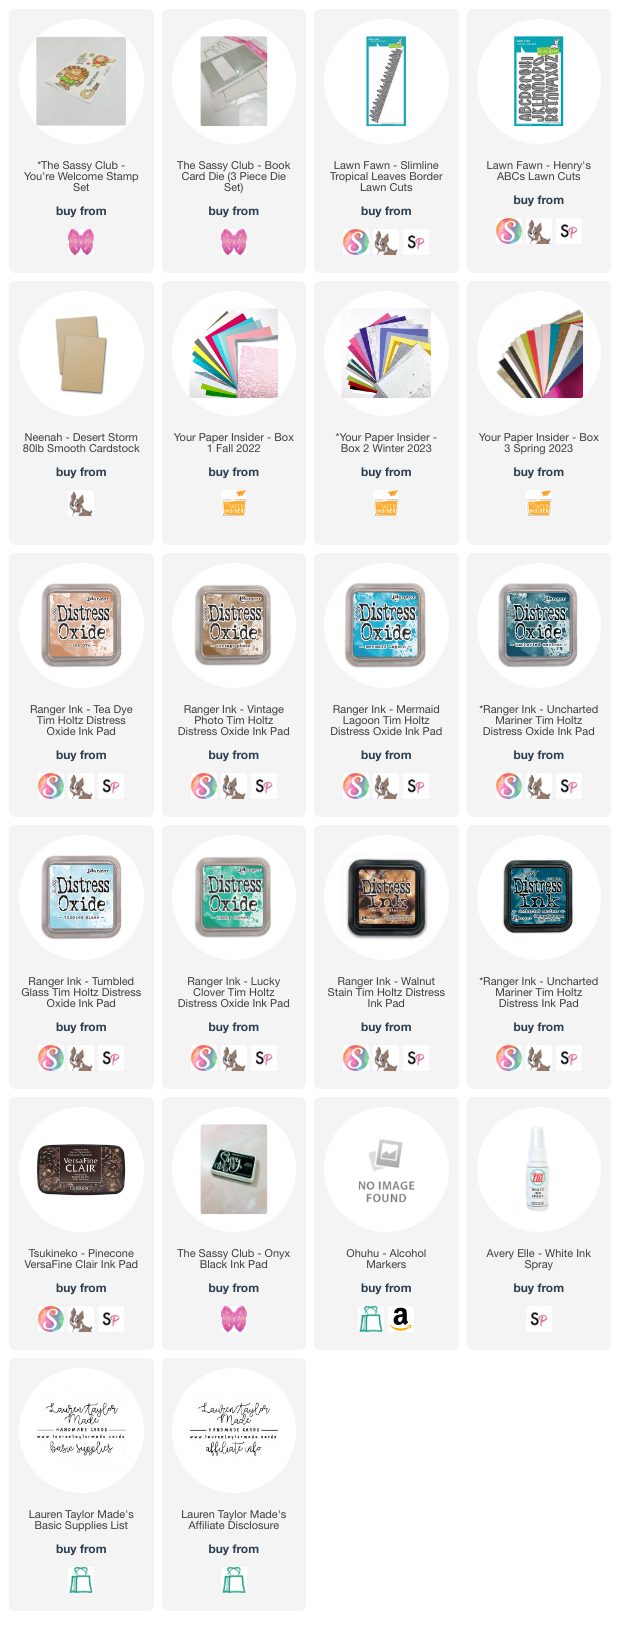
SUPPLY LIST

Read More

New from Lawn Fawn! Ta-Da! Diorama Box Card for a Spooky Birthday

Tuesday, August 29, 2023

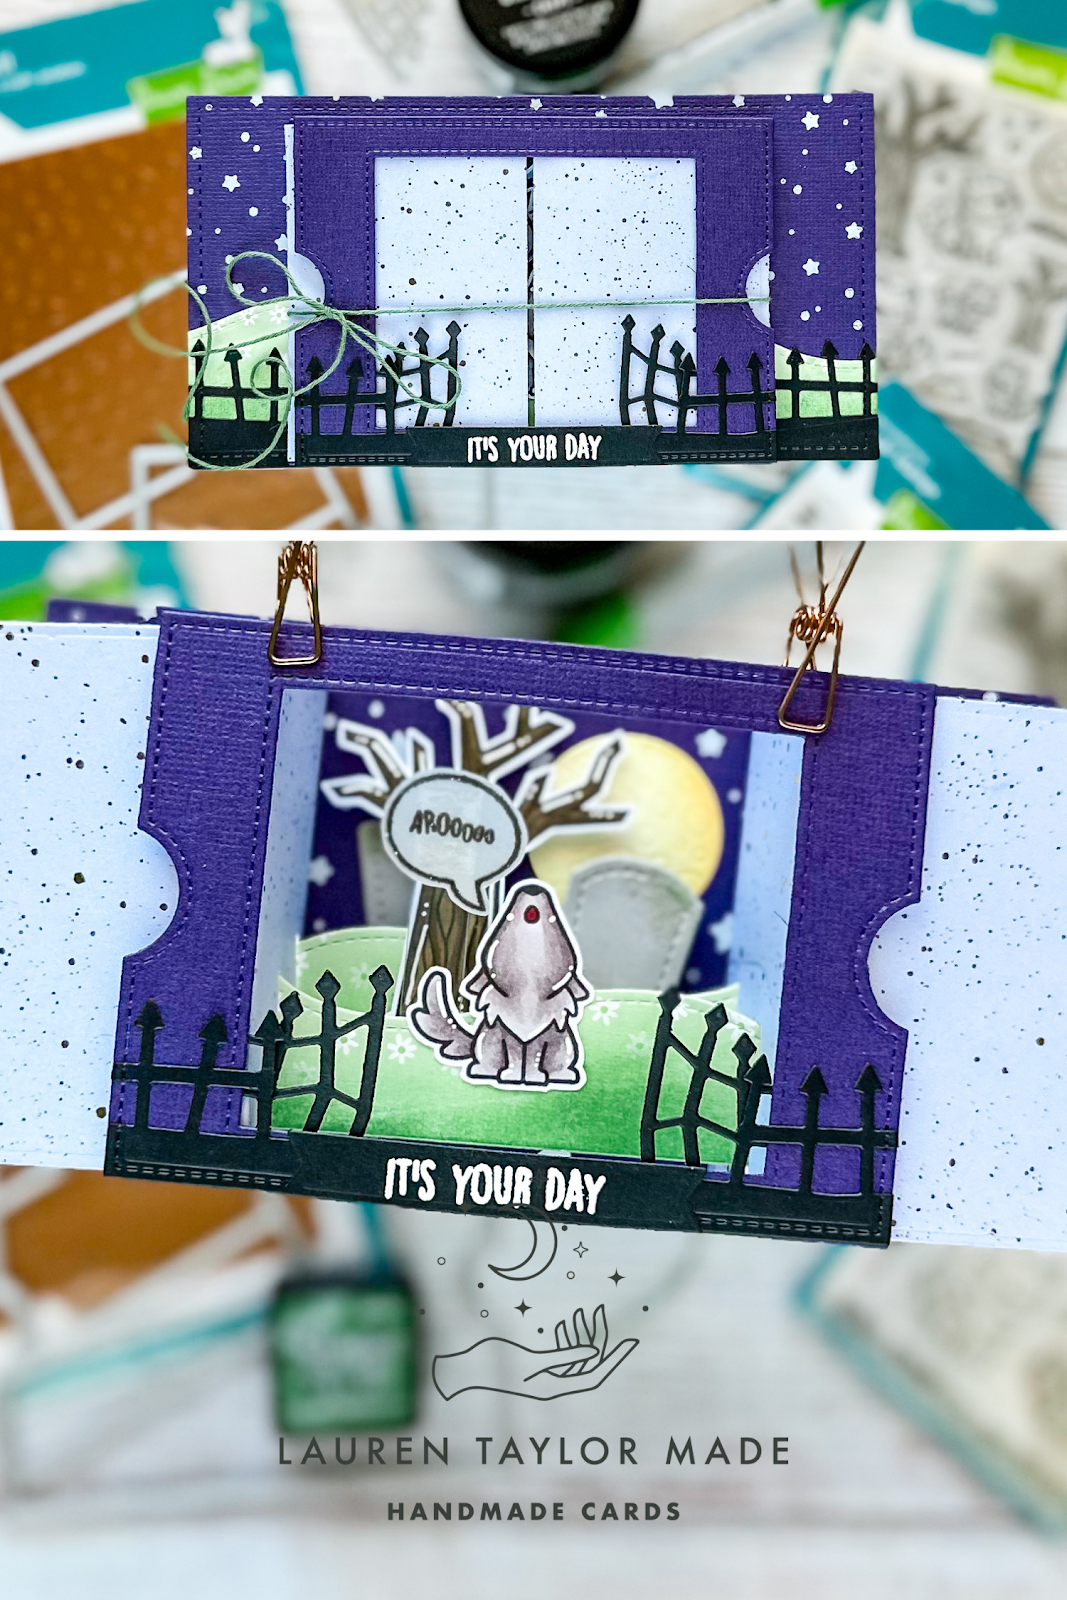
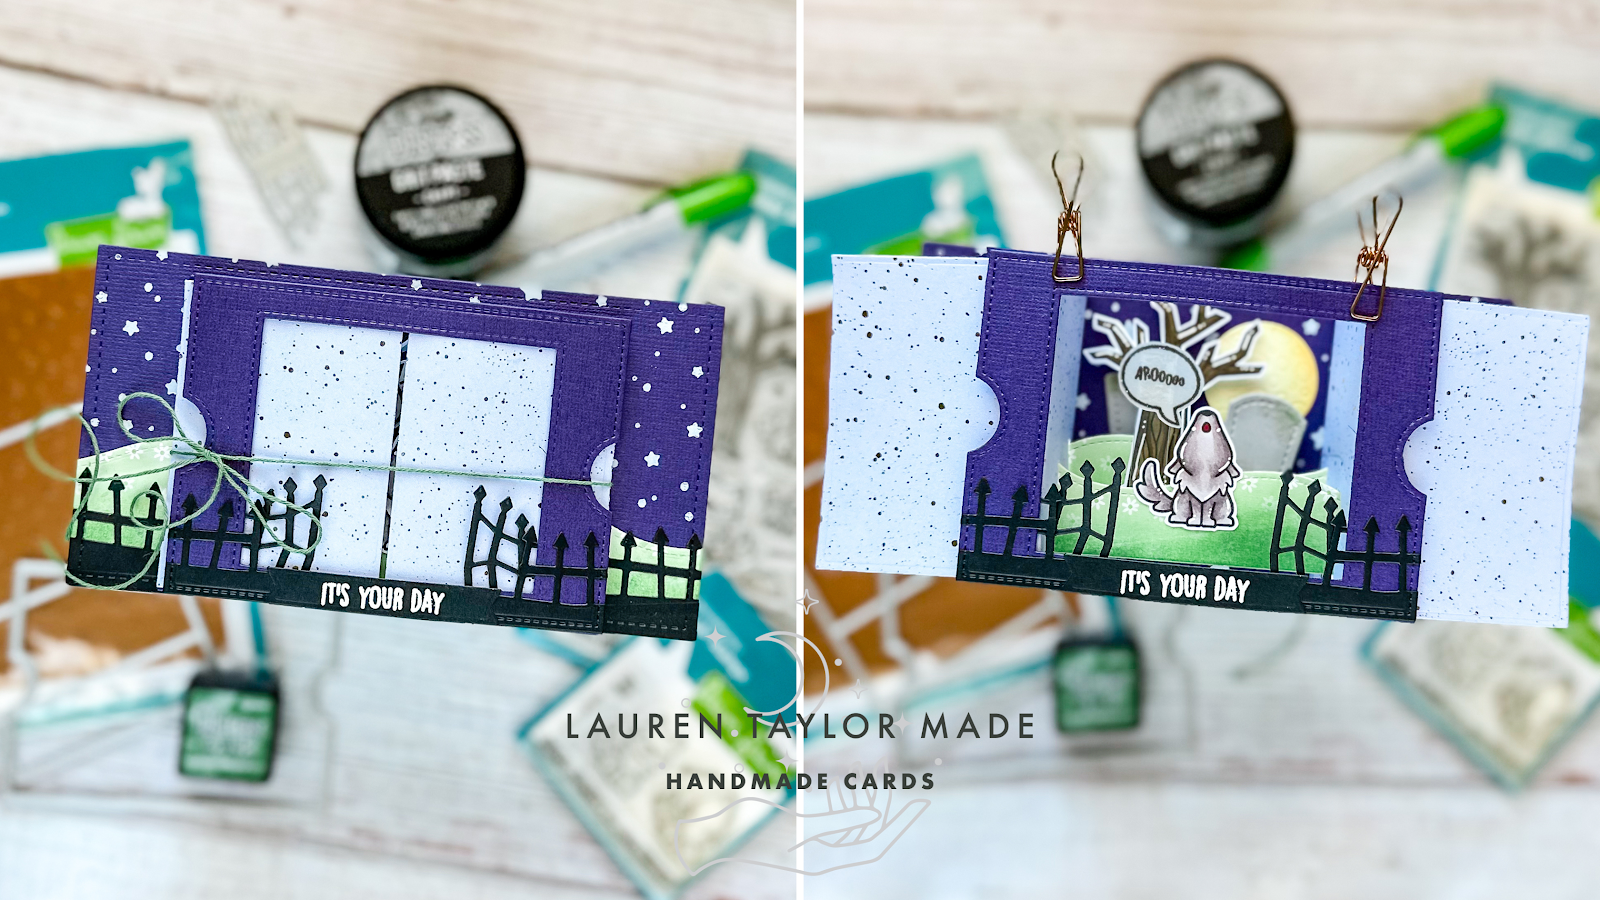
You know I love a good interactive die! Especially when it helps create an adorable scene! I intended to film this idea, but I really wanted to play out how the die goes together before I recorded myself and boy am I glad... I was a hot mess putting this card together. I'll walk you through each layer of my card, but I definitely did not put it together in an effective manner, haha! So we'll just pretend I did things as logically as I explain and not trying to hot foil stars after gluing my hill and fence down...

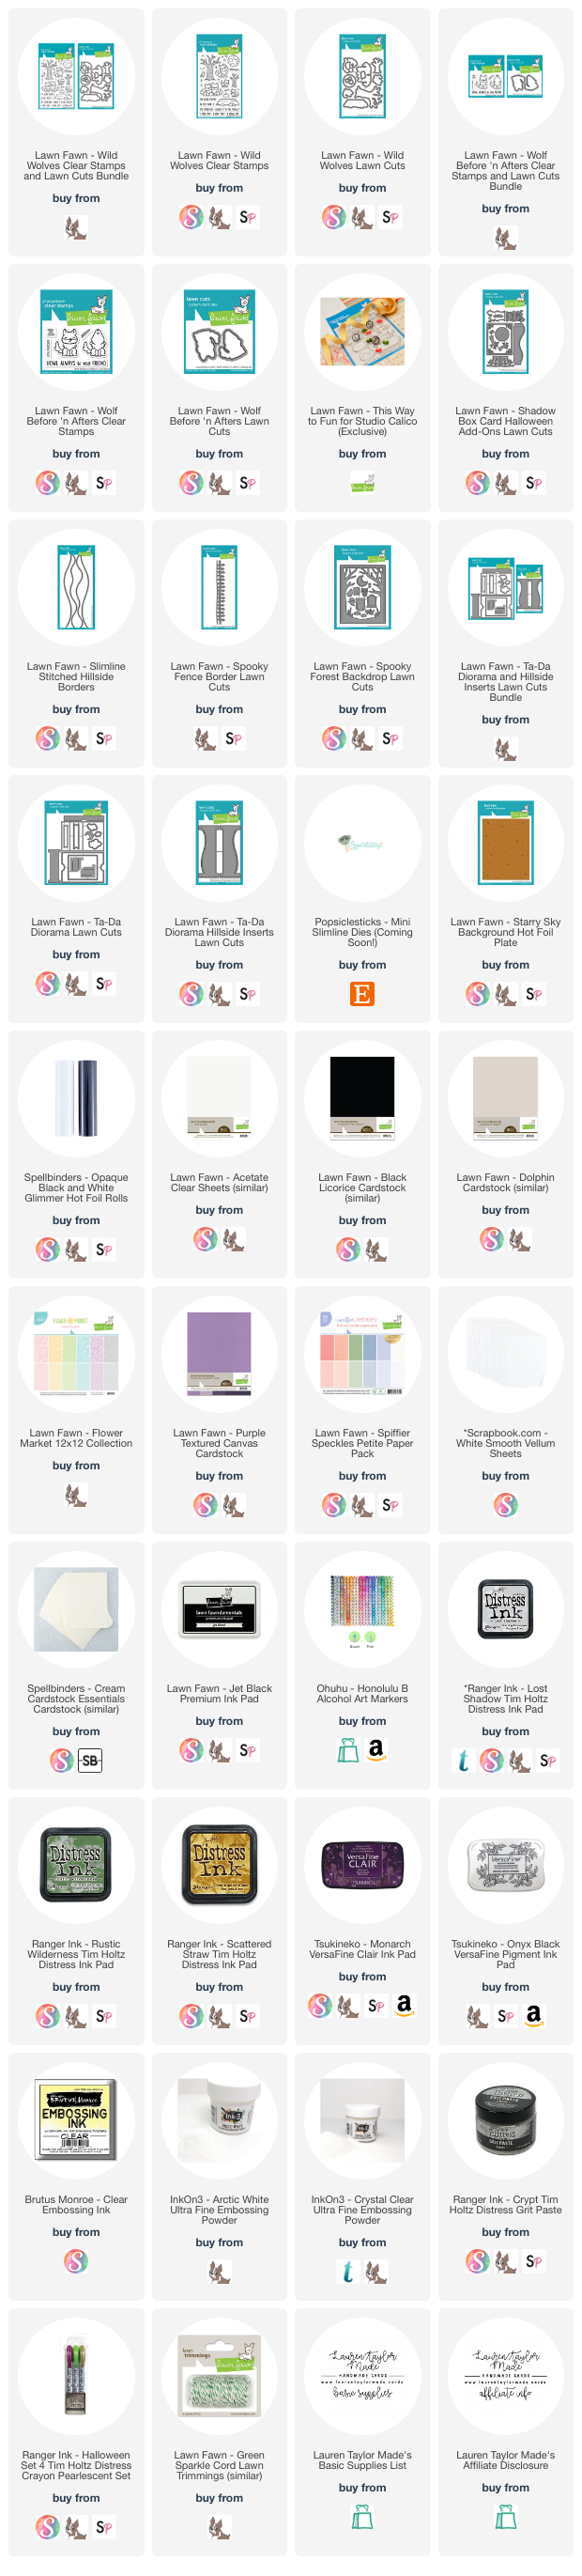
The mini slimline base is using textured, purple cardstock and cut with the largest (6.5 x 3.5") die from PopsicleSticks and while it looks great, I wish I would have gone with the second largest (6.25 x 3.25") as it would have been the perfect size to fit evenly with the Ta-Da! Diorama. Next, you should hot foil on the starry sky background (I used opaque white) and then add your hills and spooky fence. The hills are all cut out of a flower patterned paper (freebie in my order) and the spooky fence is in black cardstock. I added a little Distress Ink to give my hills dimension.

Next is the Ta-Da! Diorama and I just followed Lawn Fawn's video to make sure I understood how to assemble the dies. My front and back were cut out of the same purple cardstock and I added stars to my background as well. The side pieces are from the new Spiffier Petite Paper Pack with the gold (so shiny!) and my hills are cut and colored the same as my side hills on the mini slimline. I also added a gate for my fence to the corners, gluing them to the back side of the open window of the cardstock.

I die cut my moon and tombstones next. I added some Distress Ink to my die cut pieces, but I also added some Grit Paste and a little Distress Crayon to my tombstones to give them an aged look. After stamping, coloring, and cutting out my images, I glued them to my hills. It's important to know that you can only fit a little bit on the front hill. I had one of the tombstones next to my wolf, but the Diorama would not close! So make sure you don't put too much on the front hill that is bigger than the side openings where the inserts slide through.

My moon was glued to the background as well as the tombstone that used to be in the front and I added the second tombstone to the back hill. My sentiment for the front of the card was die cut from one of the banners in the interactive die set and I embossed the stamp in white. The inside is using yellow and purple ink and kind of completes the sentiment on the front to fit the theme. When I glued my Diorama to the min slimline, I added in a piece of green twine to die the interactive part closed so I can put it into an envelope without worrying it will move around or not come out of the envelope cleanly. Not sure if I'll do that again, but it's a tip in case you are worried about that, too.

I hope you like this card and I'll definitely be making a video with this die and stamp soon! Maybe not together, but you'll see them featured on projects.

PIN THIS
SUPPLY LIST
Read More

Three Enchanted Princess Cards with The Sassy Club

Saturday, August 26, 2023

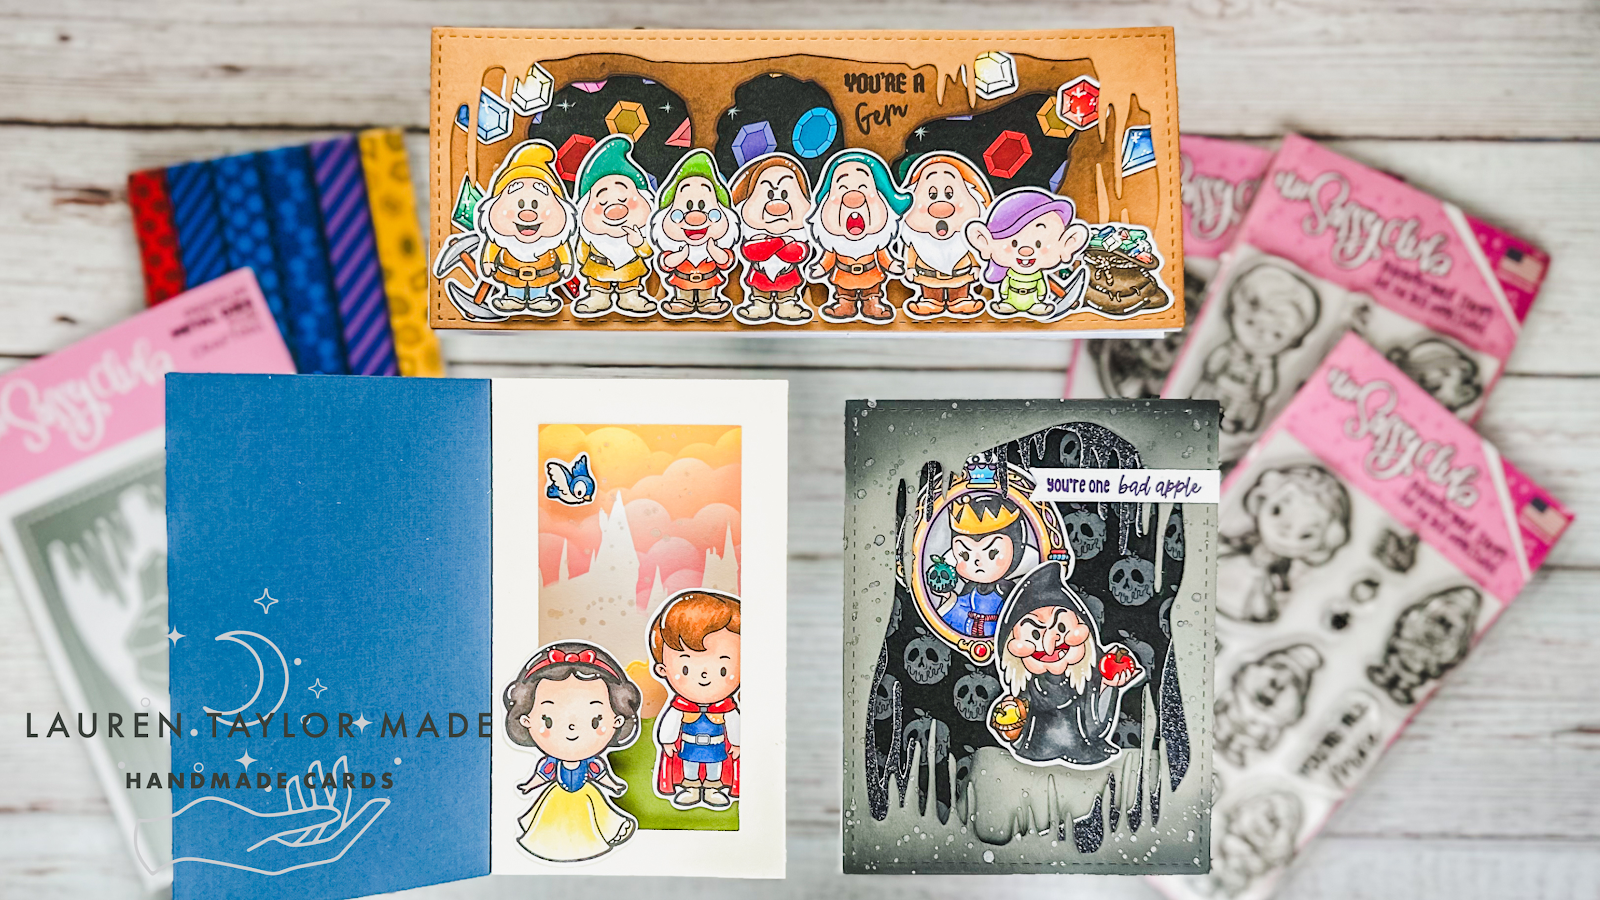
I couldn't narrow down what I wanted to create and share for these Enchanted Princess sets, so I just decided to put all three into one video and one post! It's a longer video today, but I'm walking you through how I put together my evil queen villain A2 sized card, my seven friends at their day job slimline card and finally my enchanted couple book box die card. Make sure to let me know if you want to see a more detailed video of putting the Book Card Die set in the future, but I made sure to show all my steps in the video.

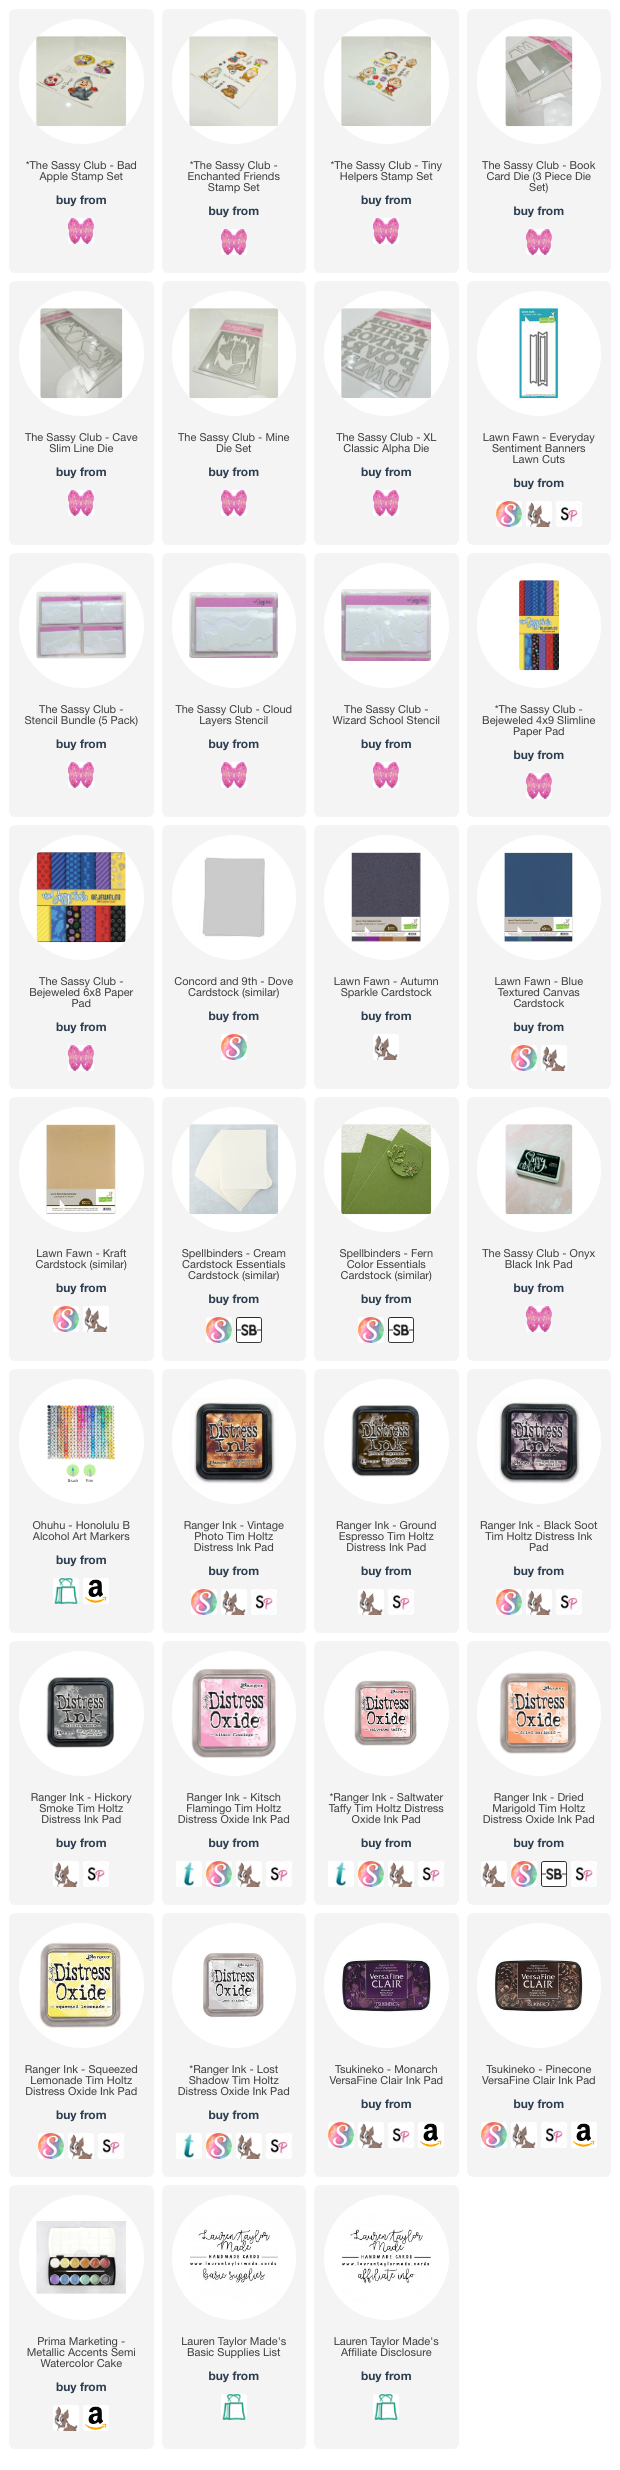
Before I started recording, I stamped all of my images with Onyx Black Ink from The Sassy Club and colored them in with my Ohuhu Art Honolulu Markers. I used my Scan N Cut to cut out all of these images because there were just so many! I also planned out my cards a bit and die cut all of the pieces I needed from each of the die sets with different types of cardstock so I could be ready to assemble once I started filming.

Let me know what you think of the possible ending I talked about in the video and which card is your favorite! I'm already working on ideas for the next set of cards with another fandom bundle from The Sassy Club. Let me know if you have a set(s) idea from The Sassy Club!

VIDEO TUTORIAL


PIN THIS
SUPPLY LIST

Read More

Pink & Silver Snowflake Pop-Up Card with Spellbinders

Sunday, August 20, 2023

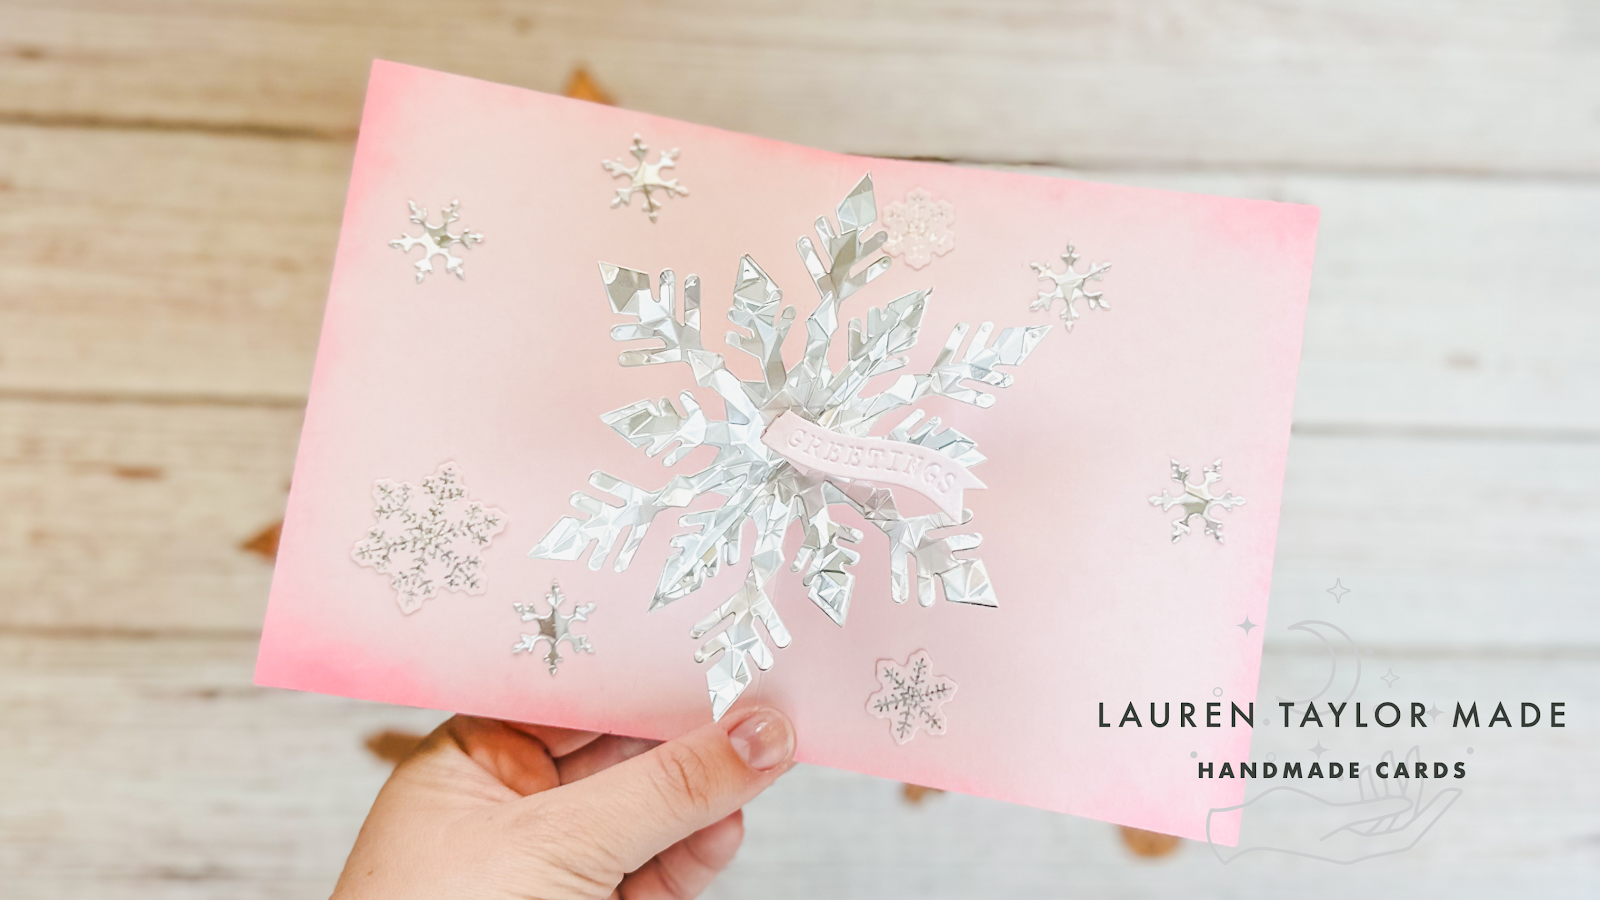
I wasn't sure how I was going to like the Pop-Up Snowflake Dies when I got them in the mail to create some inspiration for Spellbinders. I am terrible at putting anything on the inside of my cards and this die set is literally for the inside of the card! But it was a lot easier than I thought and I love that you can use the dies to decorate the outside of cards, too! AND, you can use cardstock that is one-sided so it's perfect for holographic cardstock.

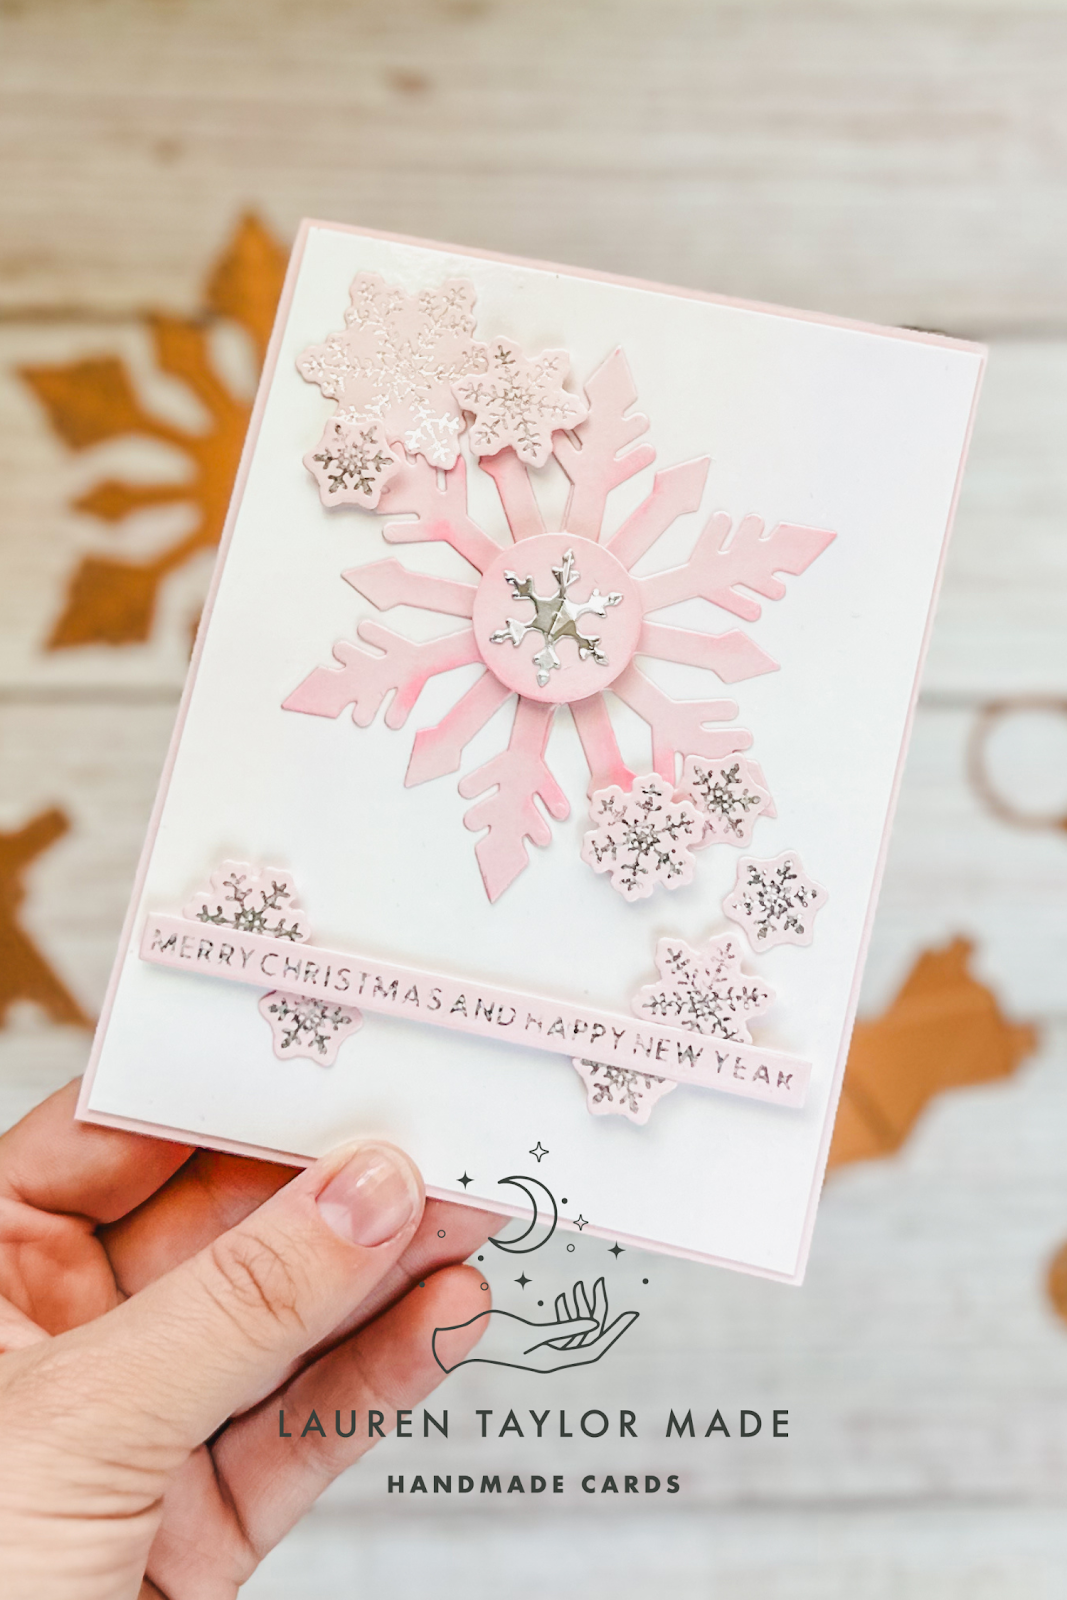
Follow along in my video today to see the steps of how to assemble the Pop-Up Snowflake, assemble the mechanism to attach to the inside of the card and adding more snowflakes as embellishments. I'll also show you how I made the pink snowflake that is on the cover of my card using the half snowflake die and how I tucked in snowflakes that I accidentally hot foiled only half on the cardstock.

The video is also a hop! So make sure to watch over on YouTube so you can get all of the details on how to hop along to see all of the inspiration using products from the August Spellbinders Release.

VIDEO TUTORIAL


PIN THIS
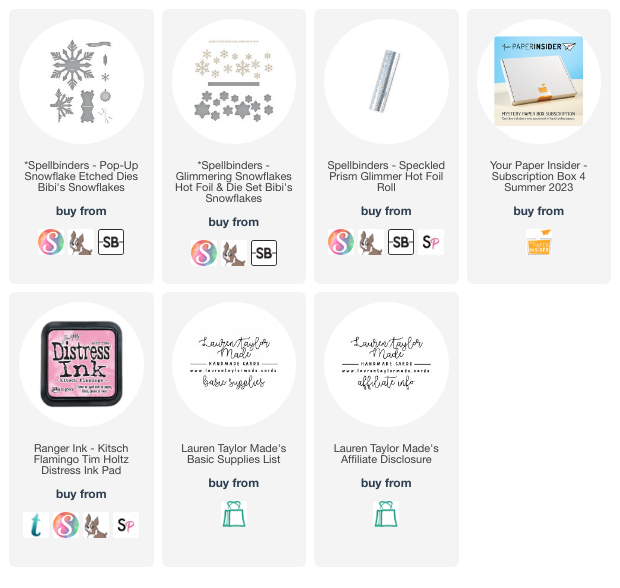
SUPPLY LIST

Read More

Chef Rat Cheers Platform Pop-Up Card with The Sassy Club

Friday, July 7, 2023

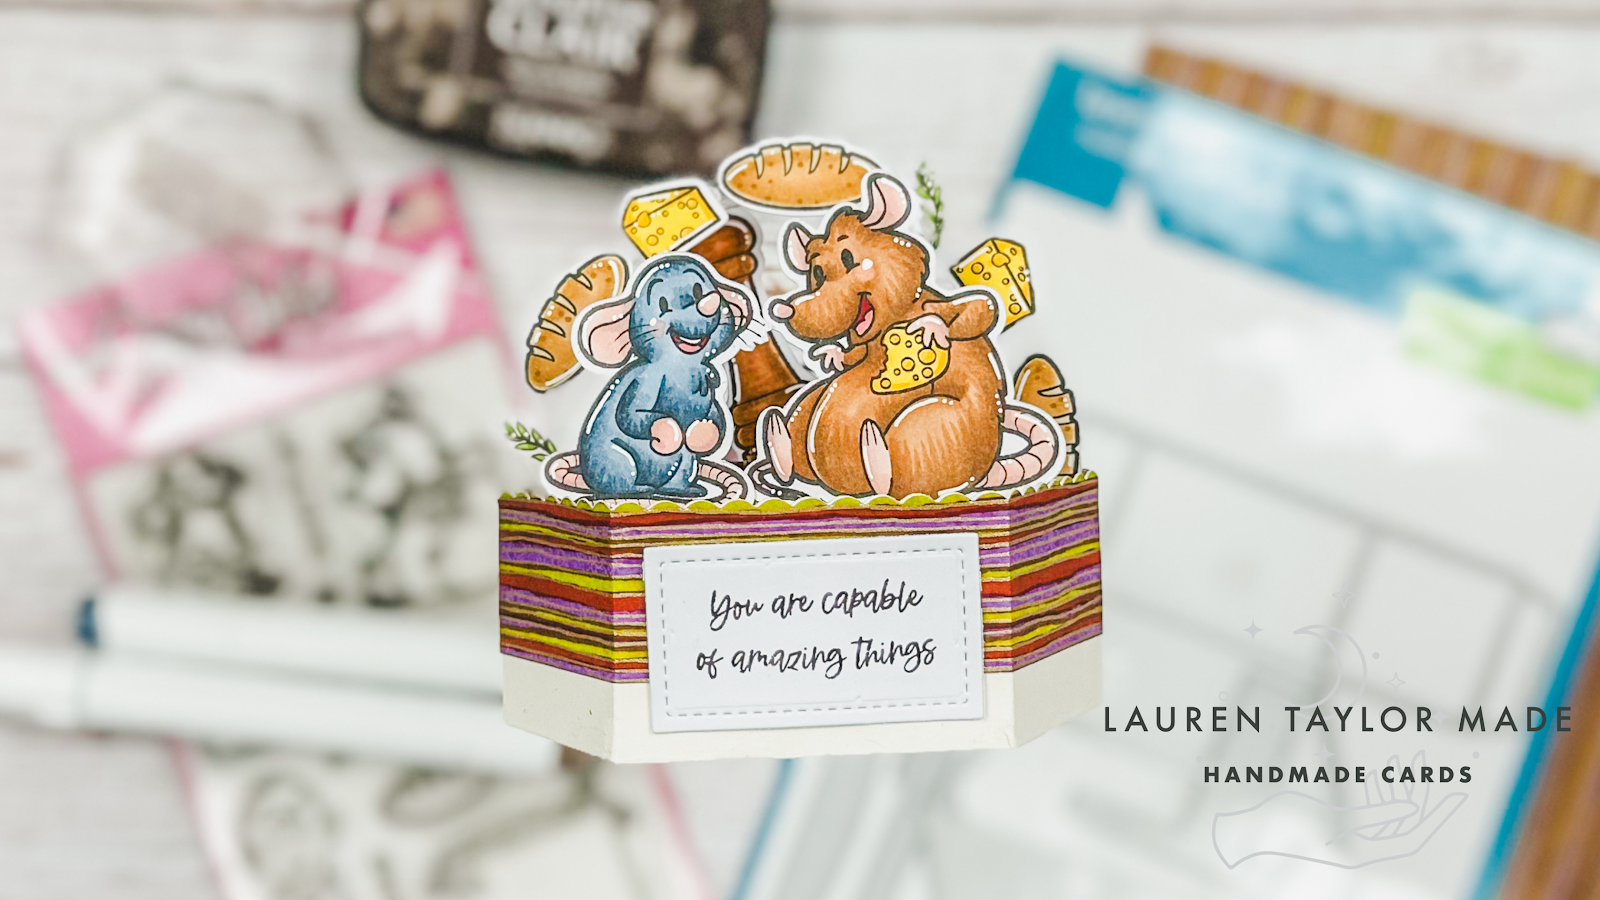
These two brothers are having a wonderful time thinking about their favorite foods! I wanted to create these two like they're sitting on a table with a tablecloth, so in my video today I'm sharing how I added a thinner cardstock on top of my sturdier cardstock to give that effect as well as an acetate ring to have food going around the two rats.

Before my video starts, I stamped and colored my images in with Onyx Black ink from The Sassy Club and Ohuhu Art Markers. I used my Scan N Cut to cut out my images and die cut all of the Platform Pop-Up pieces. The acetate ring was made from nested circles but I did have to cut them with scissors as my acetate was a little too thick for my dies. It left a deep enough impression that I just followed the circle around with my scissors.

I hope you like this fandom box card and how I assembled the box as a table with table cloth was useful to you! Hope you have a great day and thank you for being here!

VIDEO TUTORIAL


PIN THIS
SUPPLY LIST

Read More

The Ocean is Calling Story Book Box Card with The Sassy Club

Friday, May 5, 2023

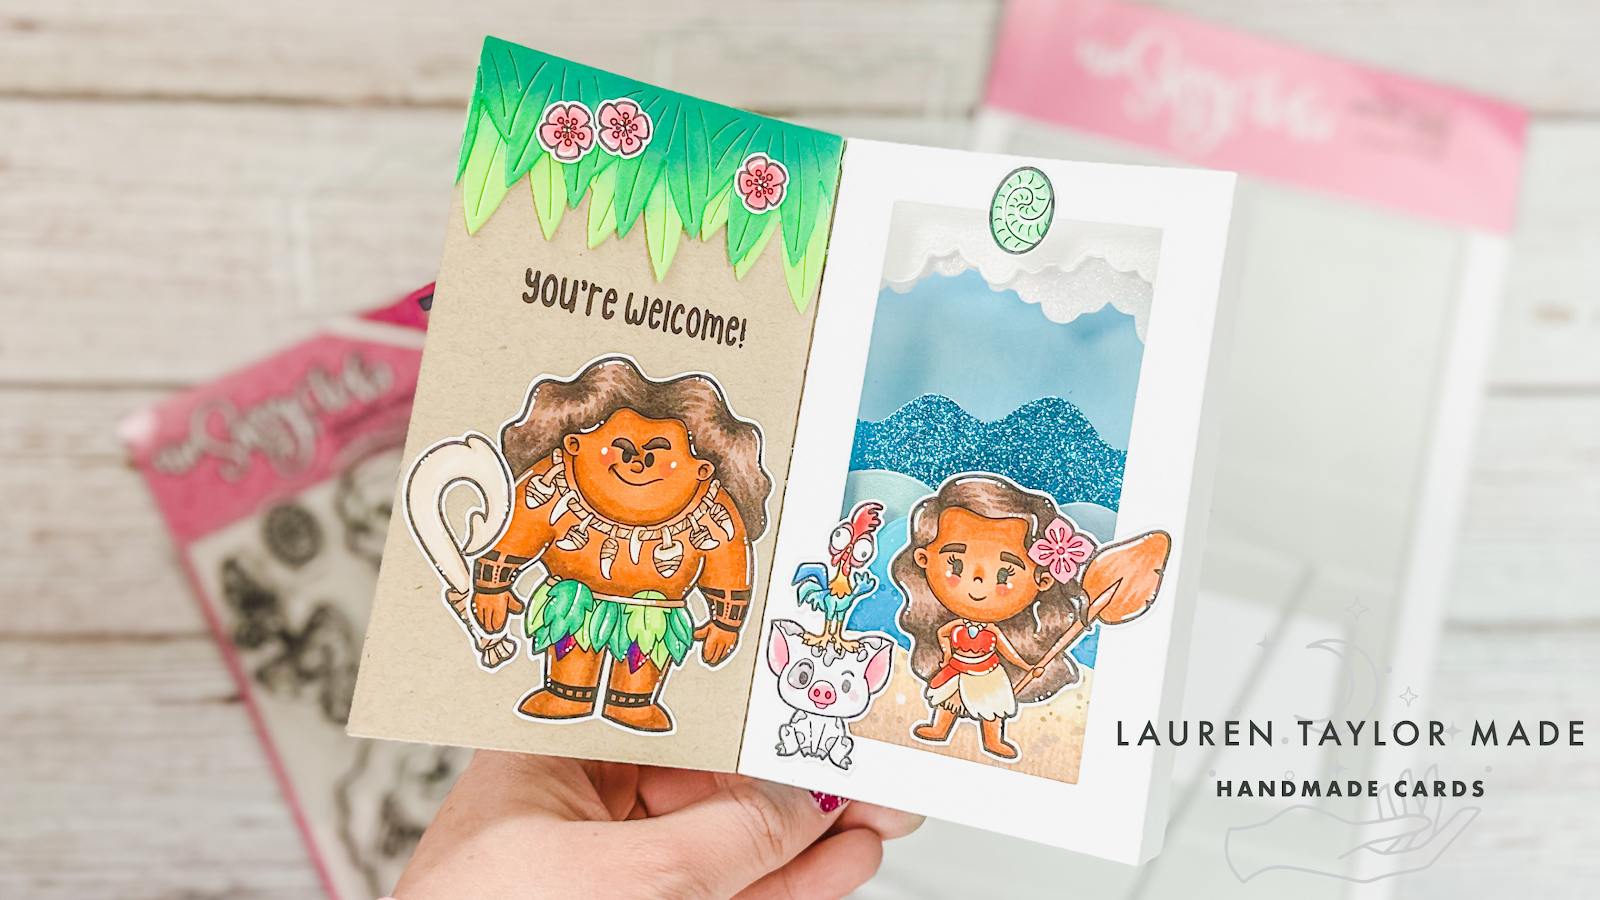
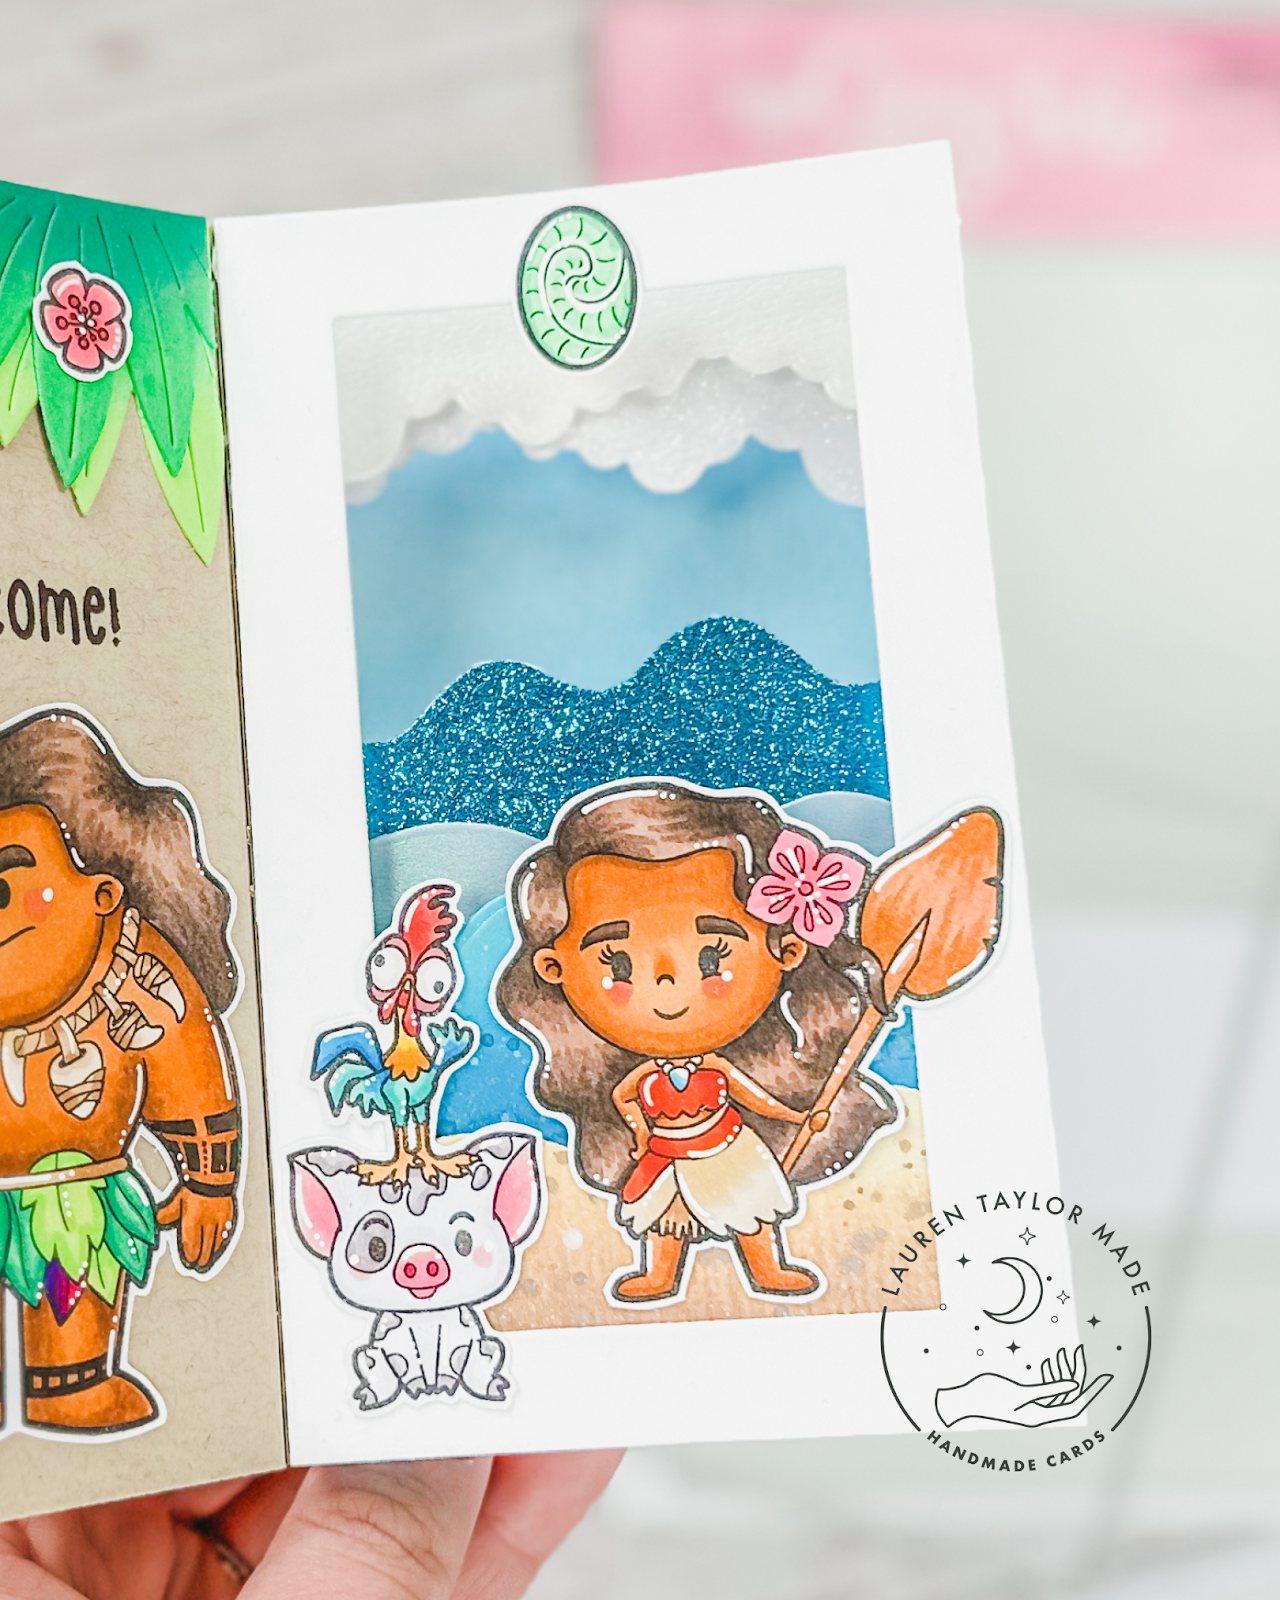
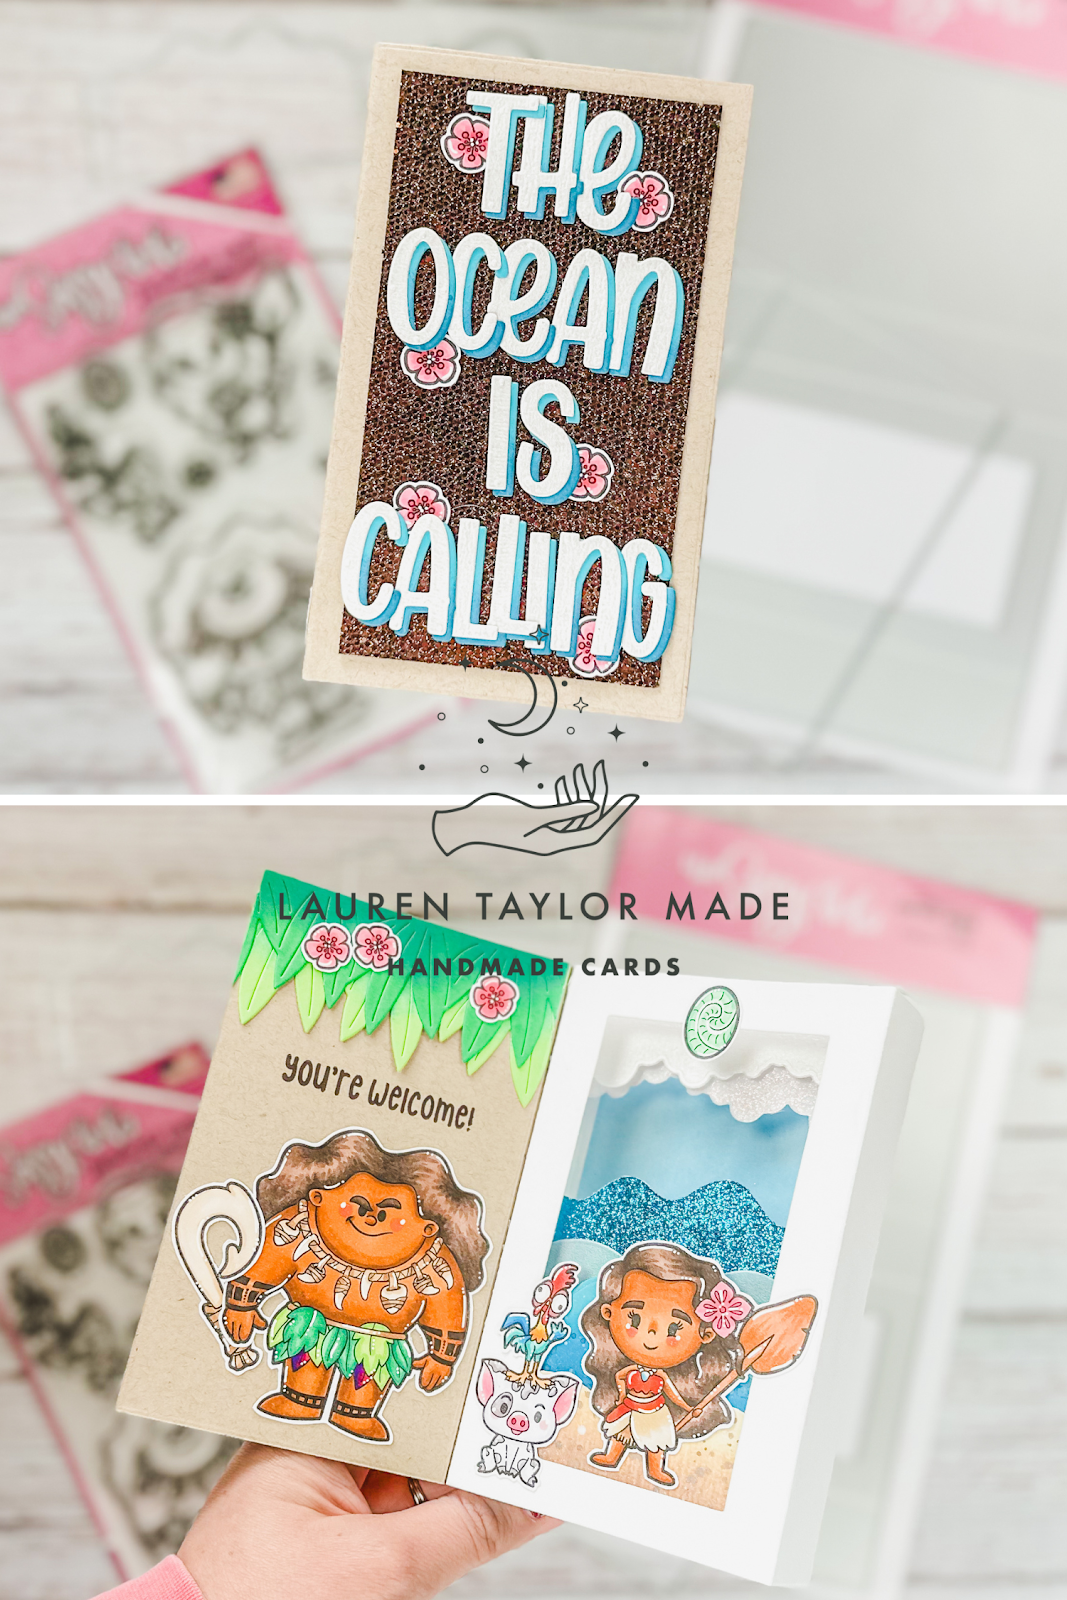
I have a new box card die set! I know, I know... I have too many... But I just love them! And this one is different so hear me out. This one creates a BOOK! The Book Card Dies from The Sassy Club is so fun and I have so many ideas on how to use this die in the future, but I am getting a head of myself. Let's talk about how I used this die for this project today! In my video today, I am showing the different cardstock papers I used for creating my book box card and how I assembled this Polynesian's Princess scene.

Before recording, I did stamp, color and fussy cut out my images from the You're Welcome stamp set also from The Sassy Club. I do show how I added color and splatter to my die cut pieces, especially how I created my sentiment on the front of the book. After assembling the book box die cut pieces, I added in my fandom characters and more details like the leaves and flowers.

I will be making another video in a few weeks with this die set again because I did get a bit excited and need to share more details on how to assemble the scenes on the inside of the box part of the book... I closed it up before adding in my little "shelf" pieces in my scene and I want to give more details on assembly in the future.

What would you like to see next in a book? I'm thinking of may making some magical school houses in the future... How cute would those four books be?!

VIDEO TUTORIAL


PIN THIS
SUPPLY LIST

Read More

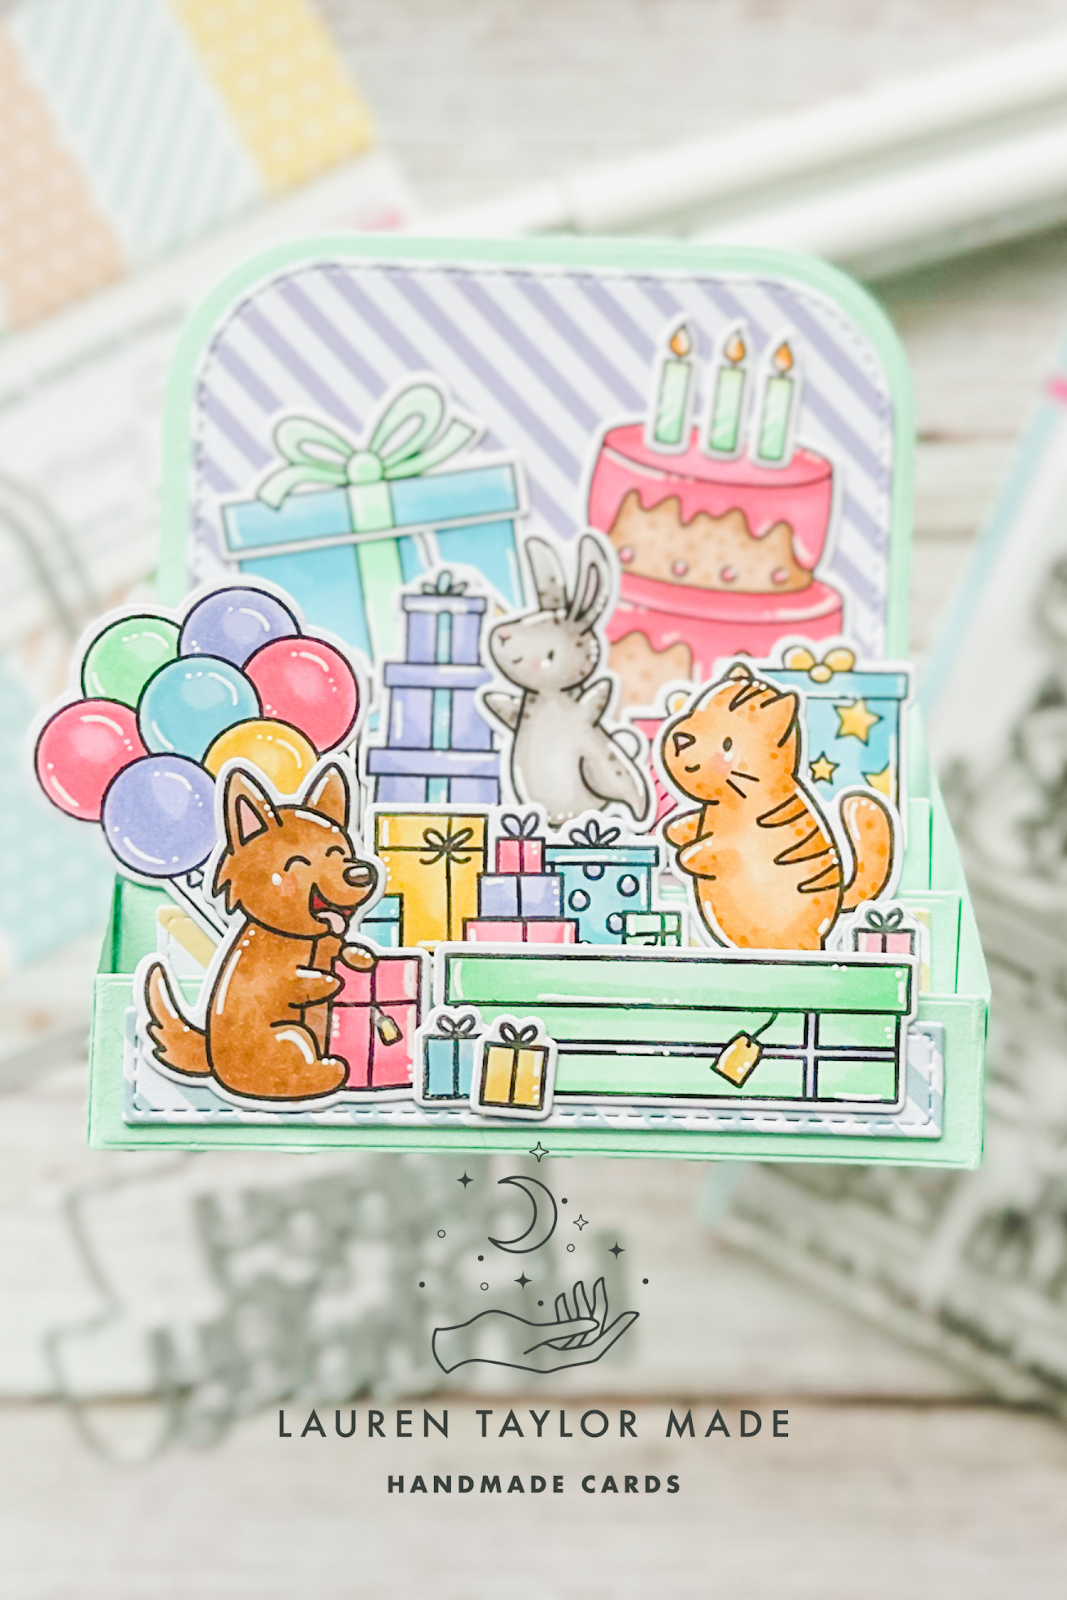
Birthday Party Box Card with Heffy Doodle

Monday, April 24, 2023

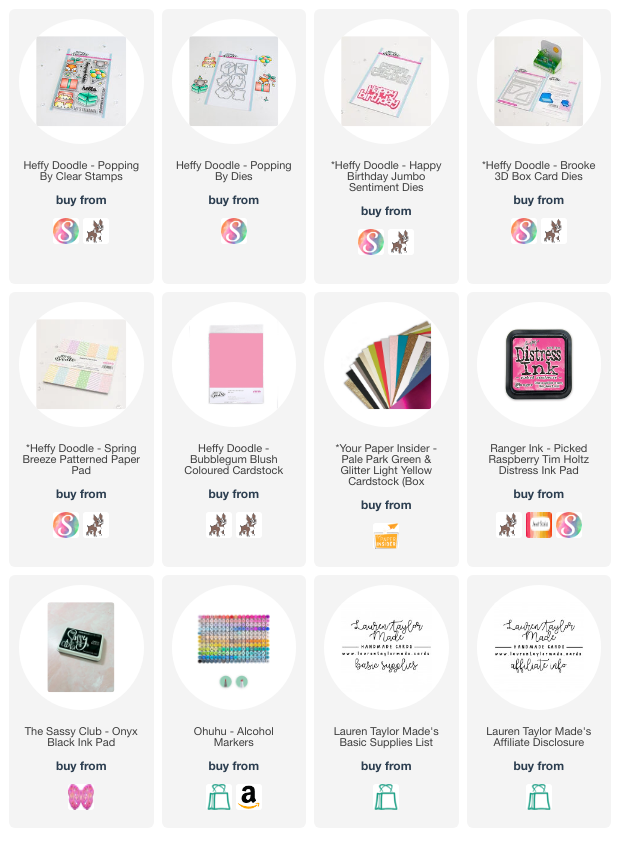
I was being serious when I said I'll be making box cards forever for here on out! Okay, not really, but they really are my favorite cards to make right now. If you remember in a video from last month, I made a box card when this new die set from Heffy Doodle released so you could see how you can put these dies together to make a card. The green and glitter yellow cardstock are from my Your Paper Insider Box 2 and the rest is from Heffy Doodle.

For each of the shelves and the front of the card, I added more colorful paper to cover the card with the beautiful pastel, striped paper. I stamped and colored so many images from different birthday themed sets from Heffy Doodle. I had quite a few coordinating dies for them, so I used them to cut them out. I then layered on all of my images and glued them down to look like a big birthday party for these critters!

I hope you love this card as much as I do! I want a pastel party for my next birthday - as long as it comes with a GIANT cake like the one on this card.

PIN THIS
SUPPLY LIST

Read More
Dinosaur Box Cards with Pretty Pink Posh

Friday, April 21, 2023

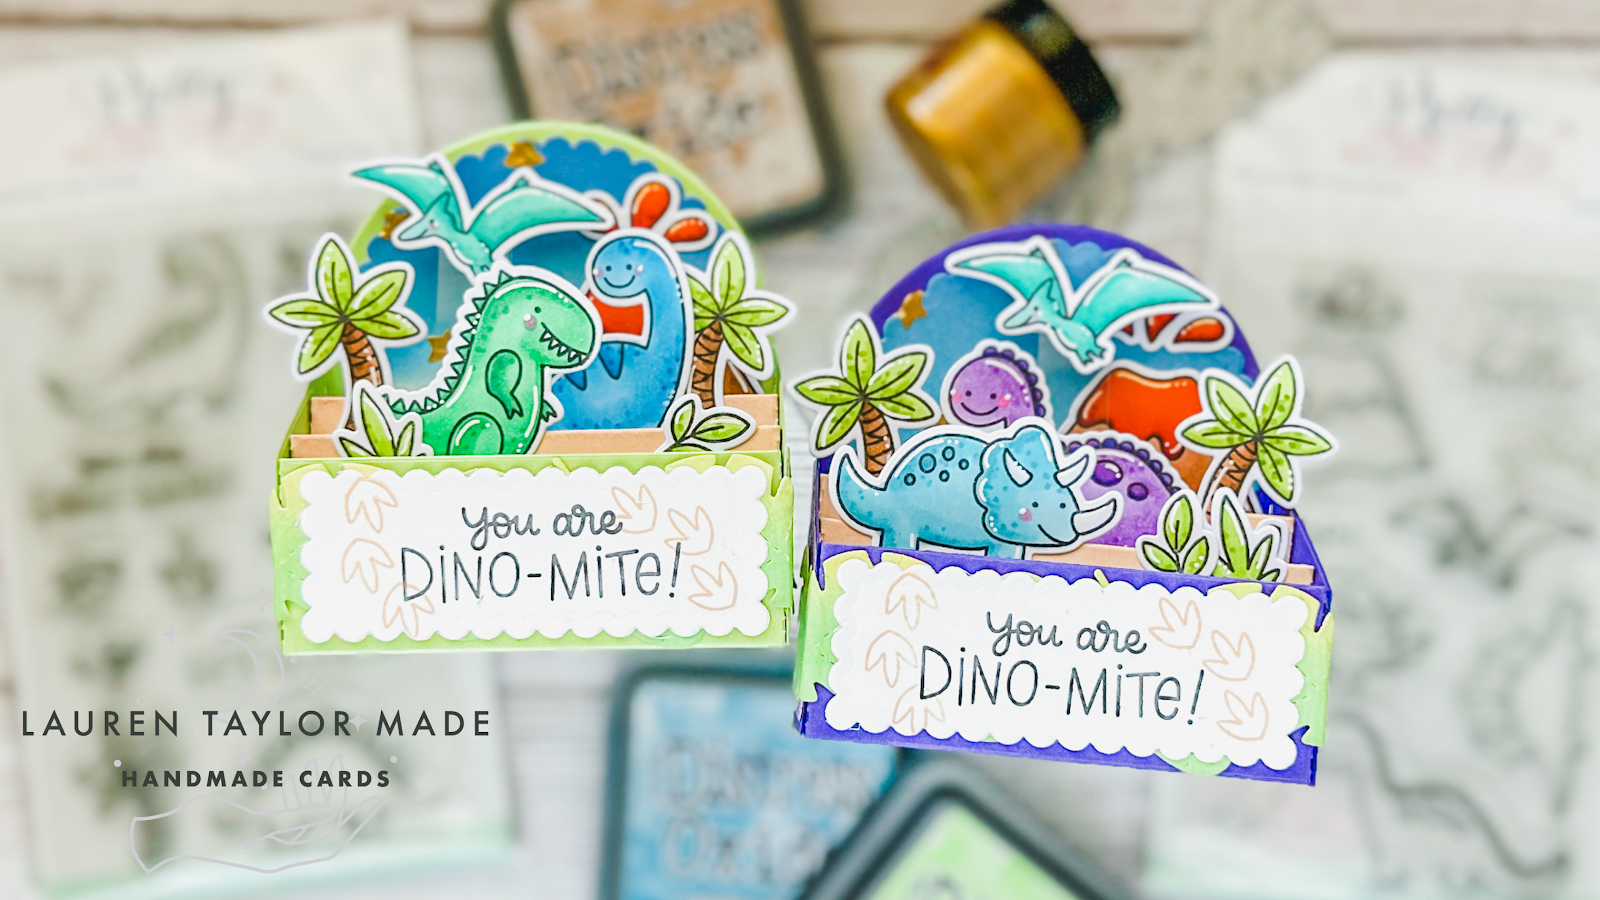
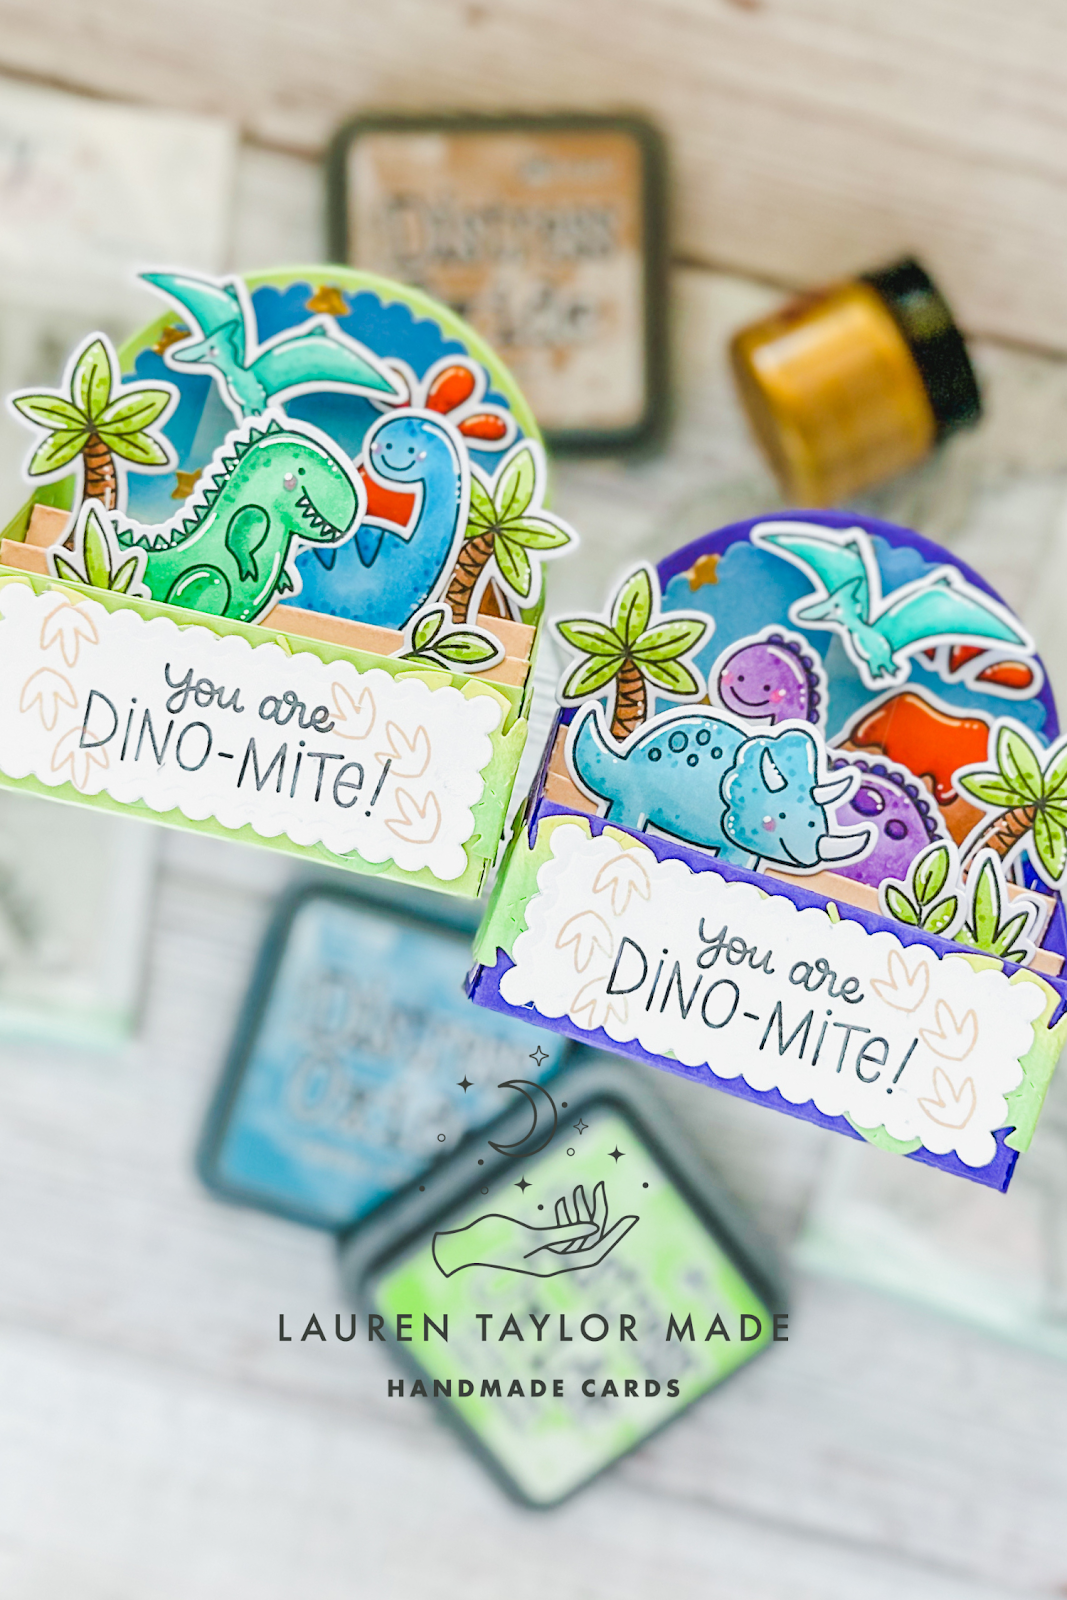
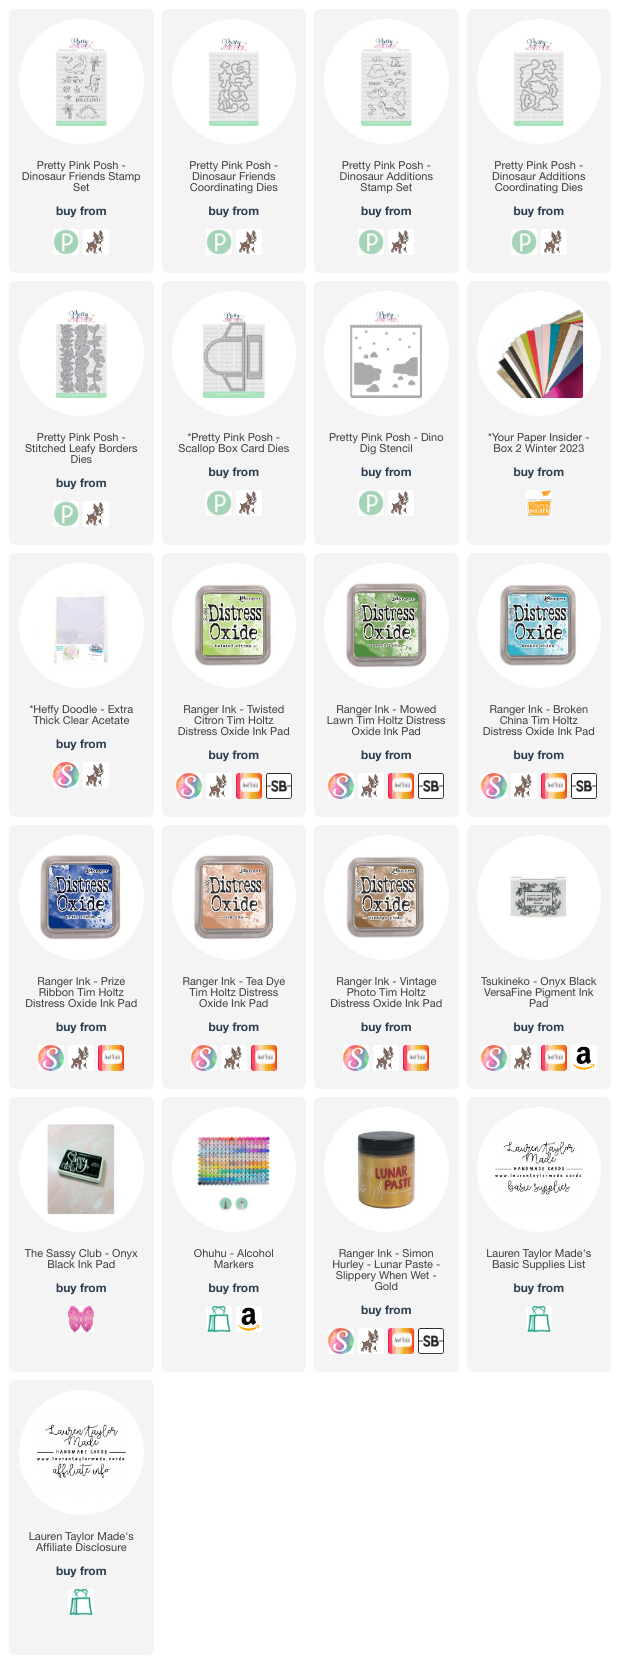
My daughter has been getting invited to lots of birthday parties recently and I realized that I needed to build up my stash of birthday cards that are more interesting to kids. The Pretty Pink Posh Scallop Box Card Dies are perfect as you can create fun pop up scenes! I started with stamping images from the Dinosaur Friends Stamp Set and Dinosaur Additions Stamp Set. I used their coordinating dies (Dinosaur Friends and Dinosaur Additions) to cut out the images and used a light tack mat to hold them in place when coloring them in with Ohuhu Art Markers.

I am coloring the dinosaurs in all different colors so I can create two different themed cards. Next I added Distress Oxide Inks to white cardstock die cuts from the Scallop Box Card Dies and Stitched Leafy Borders Dies. On the scalloped arch, I used Tea Dye, Broken China and Prize Ribbon to create the ground and night sky. Using the Dino Dig Stencil, I added Vintage Photo to create rocks and Slippery When Wet Lunar Paste for gold stars. Using Tea Dye and Vintage Photo again, I added ink to the “shelf” pieces that will be used in the box card as ground for the dinosaurs. Finally, I added Twisted Citron and Mowed Lawn on the Stitched Leafy Borders. The rest of the die cuts were cut out of colored cardstock.

You can follow along in the video as I show how to assemble the Scallop Box Card Dies and any tips I have to help add in the “shelf” pieces. I added the Stitched Leafy Border around the front of the box card and added the scalloped side pieces of glitter cardstock. Once the box was assembled, I added in my volcano, trees, dinosaurs and leaves. The pterodactyl is adhered to the back side of the second “shelf” with acetate so it looks like it’s flying above! I stamped the sentiment with dinosaur tracks on the scalloped rectangle from the Scallop Box Card Dies and glued it to the front of the box card. With my extra dinosaurs and leaves, I glued them to the back of the box cards with another scalloped arch so we have some room to write a note.

I love how these two cards turned out and how they are similar but so different because of the color schemes!

VIDEO TUTORIAL


PIN THIS
SUPPLY LIST

Read More

Spring Chicks Box Card with Pretty Pink Posh

Friday, April 7, 2023

Box cards are so fun and while there are different companies creating different box cards, I love that they're different and offer a different touch to the cards. Pretty Pink Posh's Box Card Dies have adorable scallops around the edges of the arch background, side and front pieces of the box. I think it makes the box cards look extra cute! 

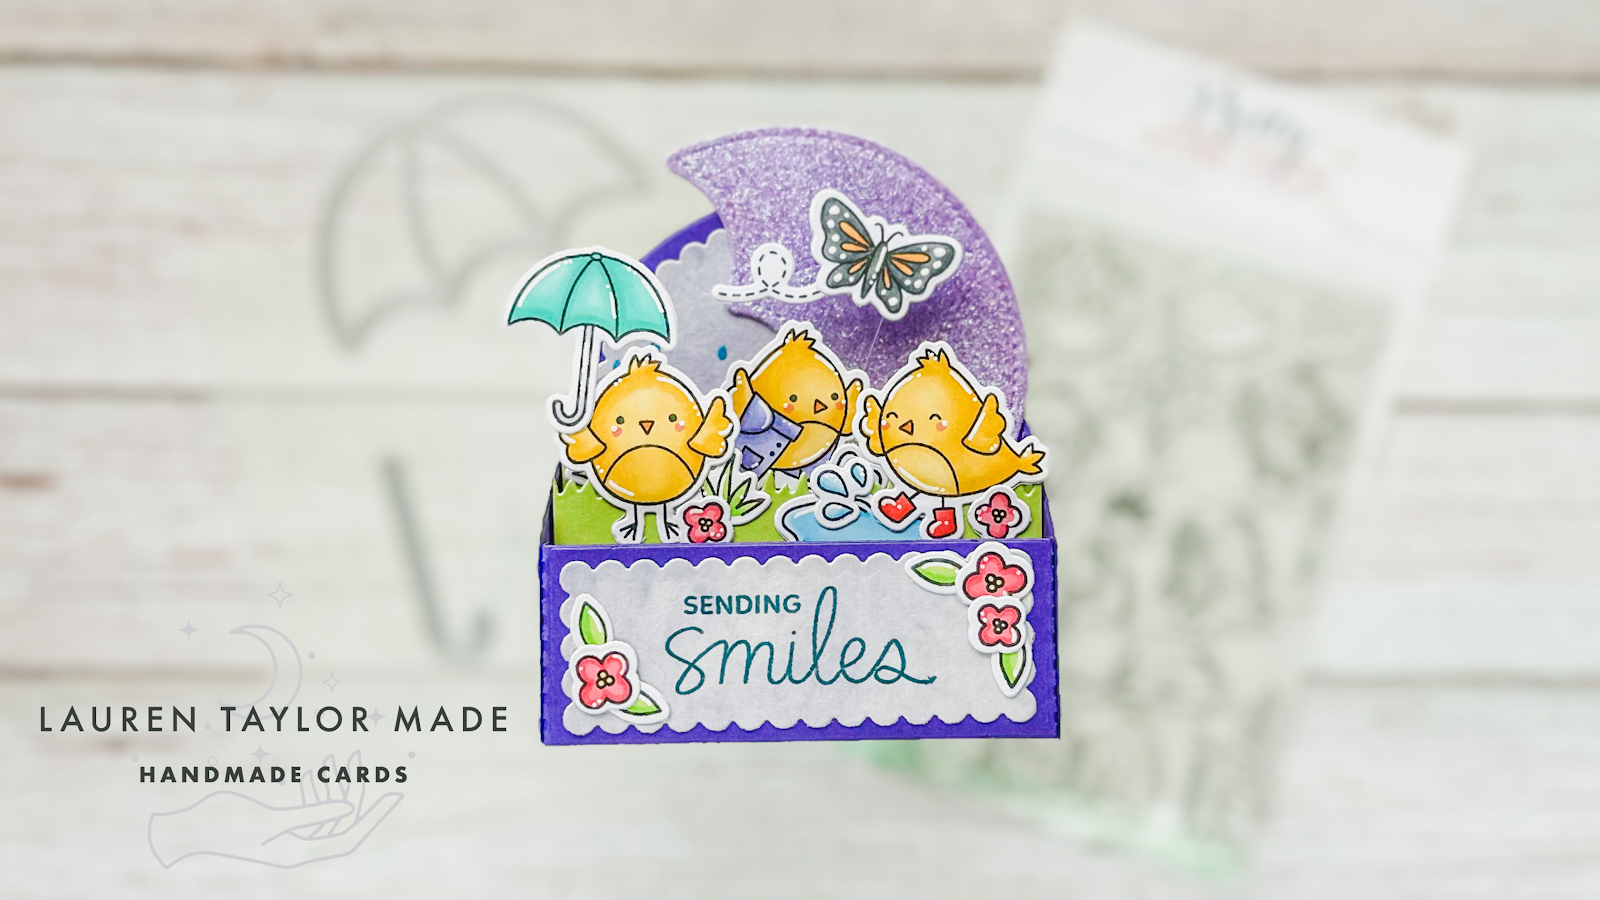
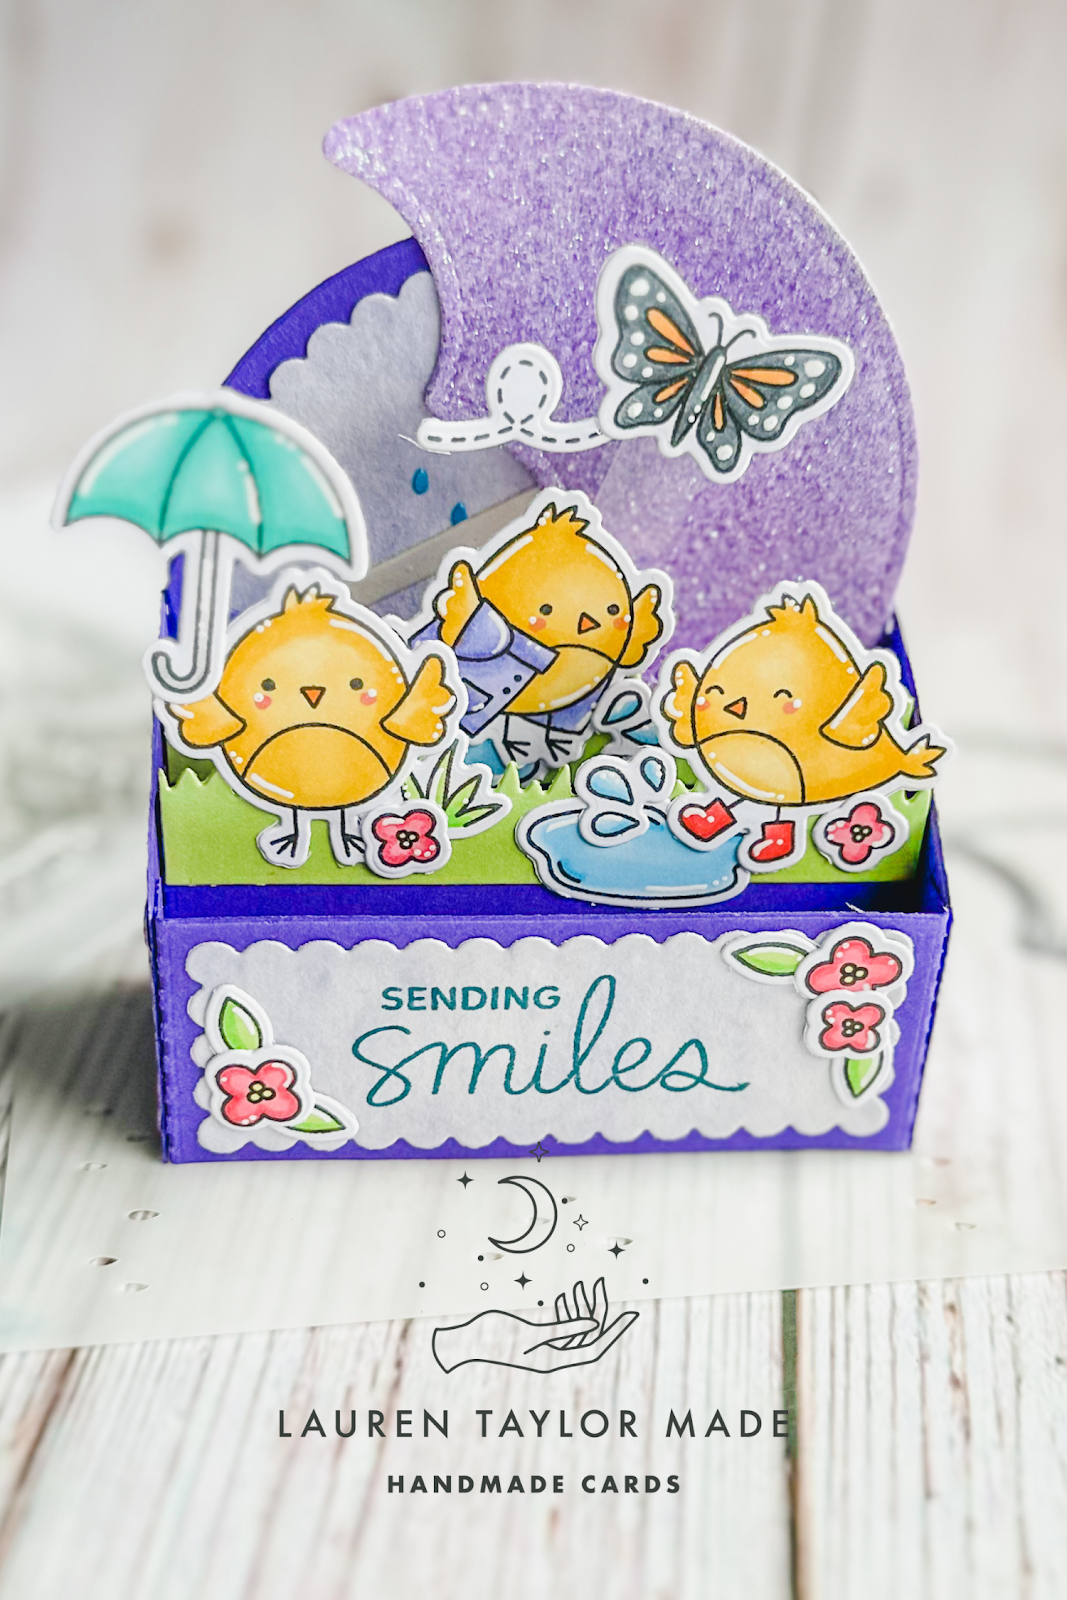
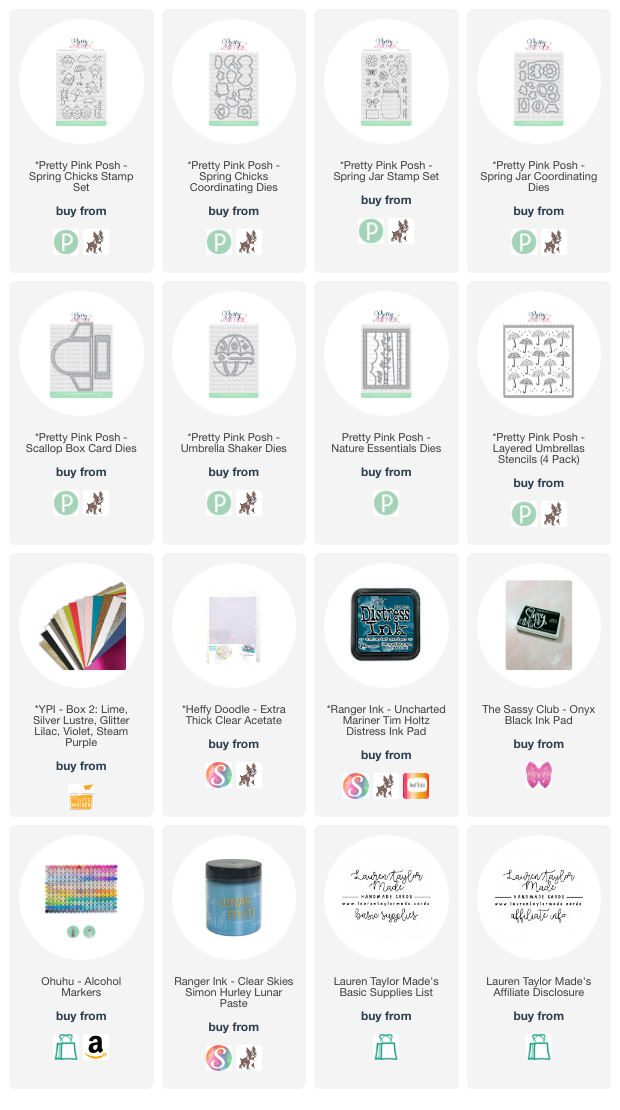
For my video today, I am sharing how I created a rainy Spring day with the Scallop Box Dies, Umbrella Shaker Dies, Spring Chicks Stamp Set and Spring Jar Stamp Set. I did my stamping, coloring and die cutting off camera so I could focus on the assembling of the box card and how I added in the adorable Pretty Pink Posh images.

Let me know what kind of scenes you would like to see on future box cards - I want to make so many more so I could use some ideas!
VIDEO TUTORIAL


PIN THIS
SUPPLY LIST

Read More