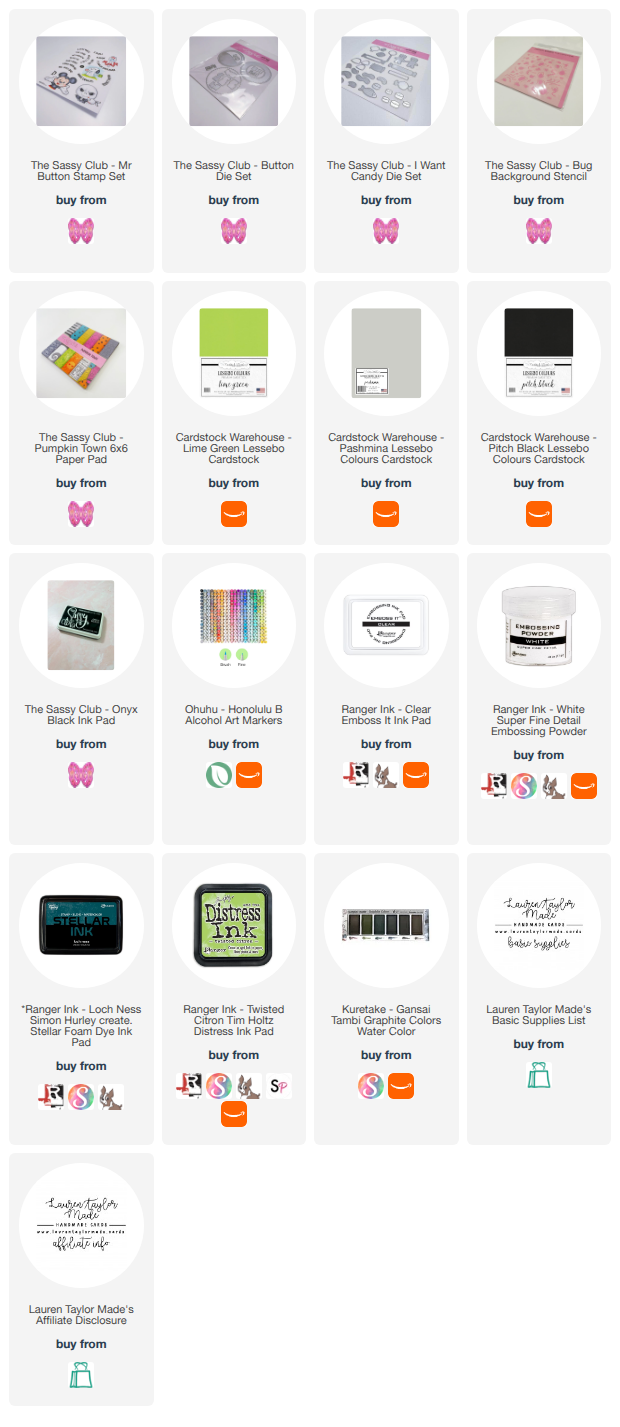
For this month's Halloween project, I broke into the Button die set and coordinating Mr. Button stamp set from The Sassy Club, using the adorable skeleton & ghost dog characters as my main image. I stamped and colored them in with Ohuhu alcohol markers, then did some partial die cutting with the smallest button circle die to match the curve along the bottom of my image, drawing in a tiny missing detail with a fine line pen before fussy cutting around the whole thing so it would line up perfectly with the button shape.
I die cut all of the layers of the button using black cardstock and the Pumpkin Town 6x6 paper pad, and for the sentiment, I stamped "What's This?" in clear embossing ink and white embossed it onto the black cardstock in the top corner, opposite my character, using Rabbit Hole Designs anti-static powder to keep everything clean and Ranger Super Fine White Detail embossing powder for that crisp, bold look.
 |
 |
Once my button layers were assembled, I tucked in a few white swirly die cuts from the I Want Candy die set around the edges since the black background felt a little plain to me, and I died cut a bunch of lime green gummy worms to coordinate with a bug background stencil. I blended Loch Ness and Twisted Citron Distress Inks onto a gray cardstock panel through that bug stencil, then splattered some teal graphite watercolor over the top for extra texture, and added a little Twisted Citron ink shadow to each gummy worm so they would not feel so flat.
I assembled everything with a mix of liquid glue and 1mm foam adhesive, layering the button up in the center of the card vertically since I am definitely a vertical card kind of girl, and tucked the gummy worms underneath and around the edges so they look like they are crawling right across the card. I will admit the lime green worms still throw me off a little against the rest of the palette, but I had so much fun finally playing with this button die set, and I think the finished card is just the cutest, spookiest little surprise!