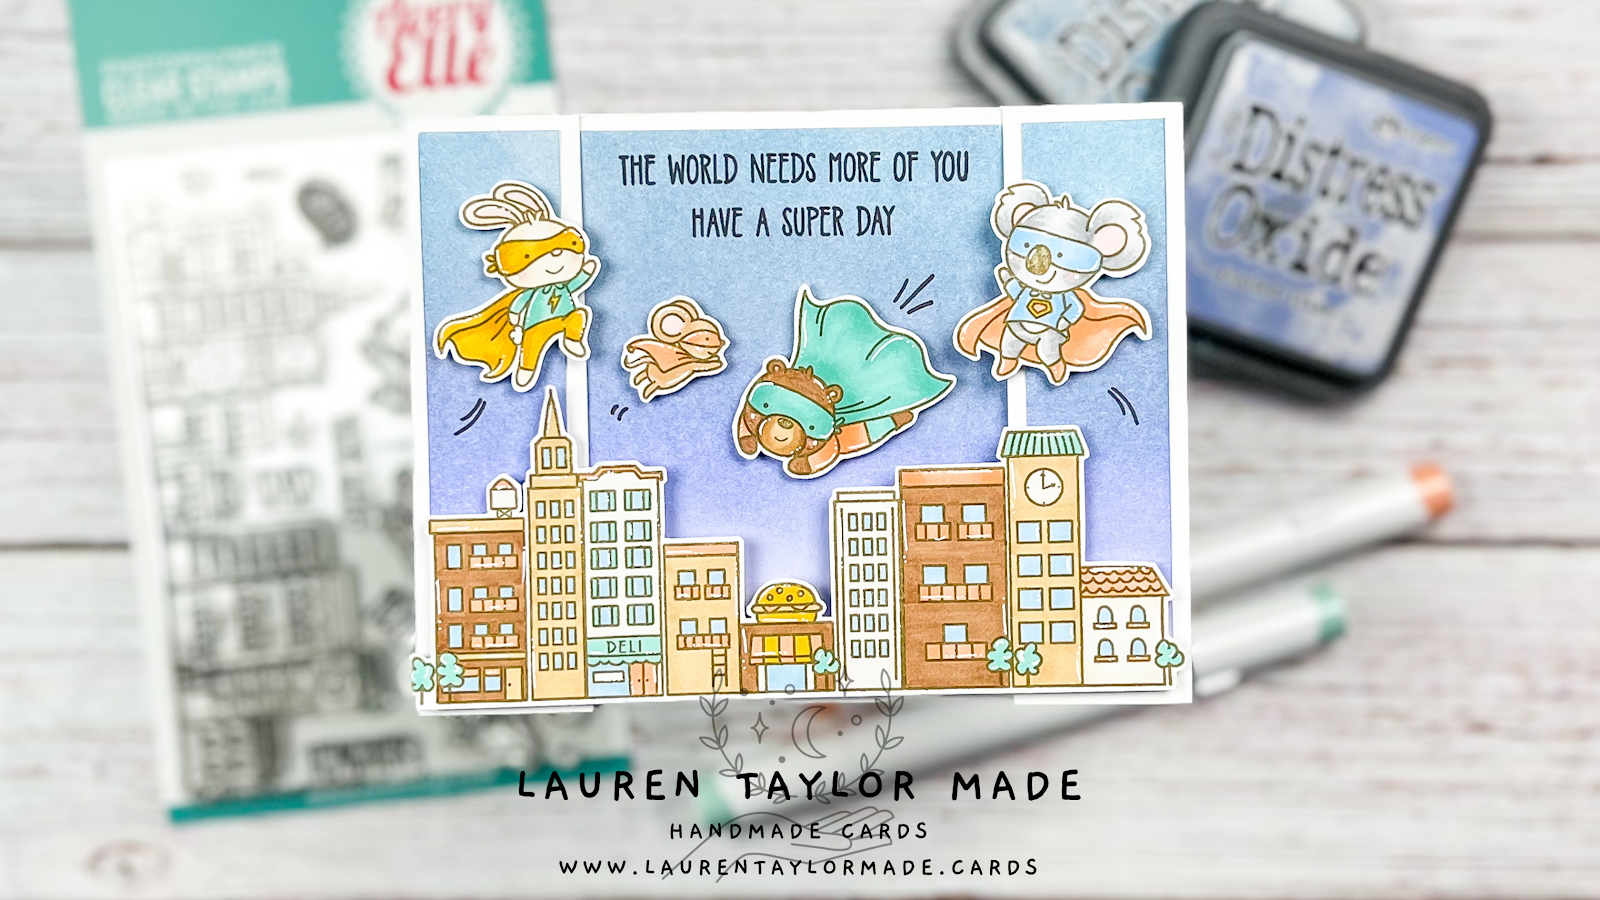
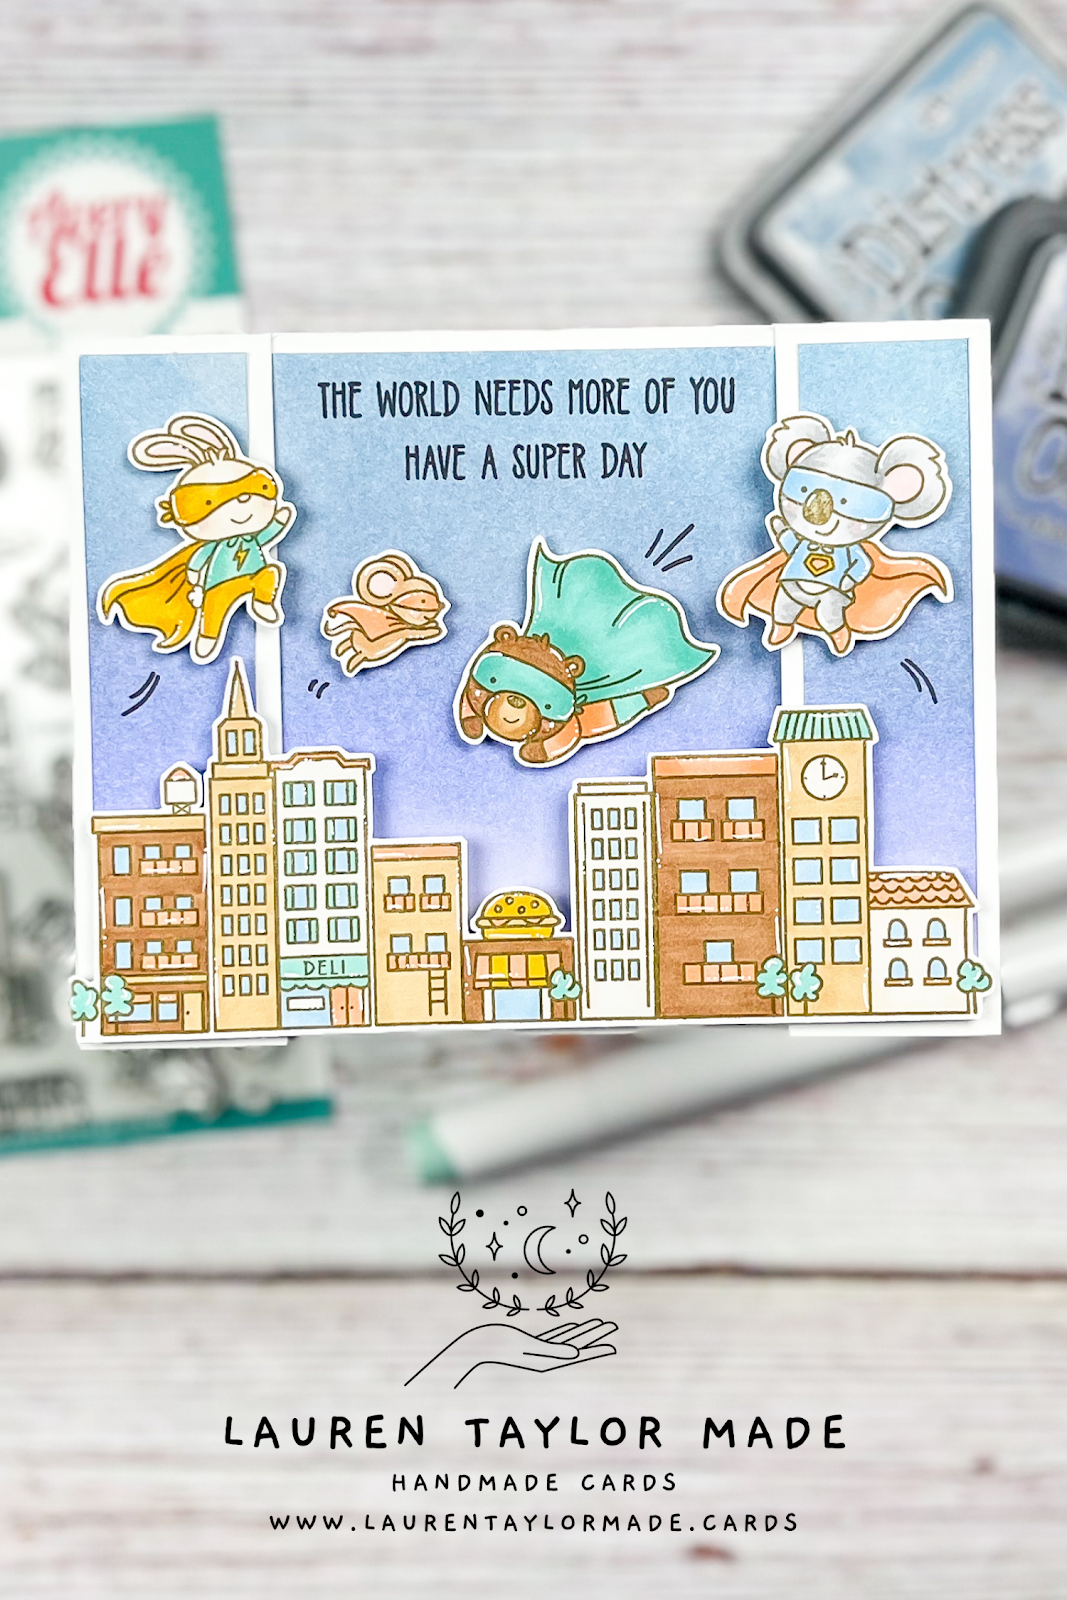
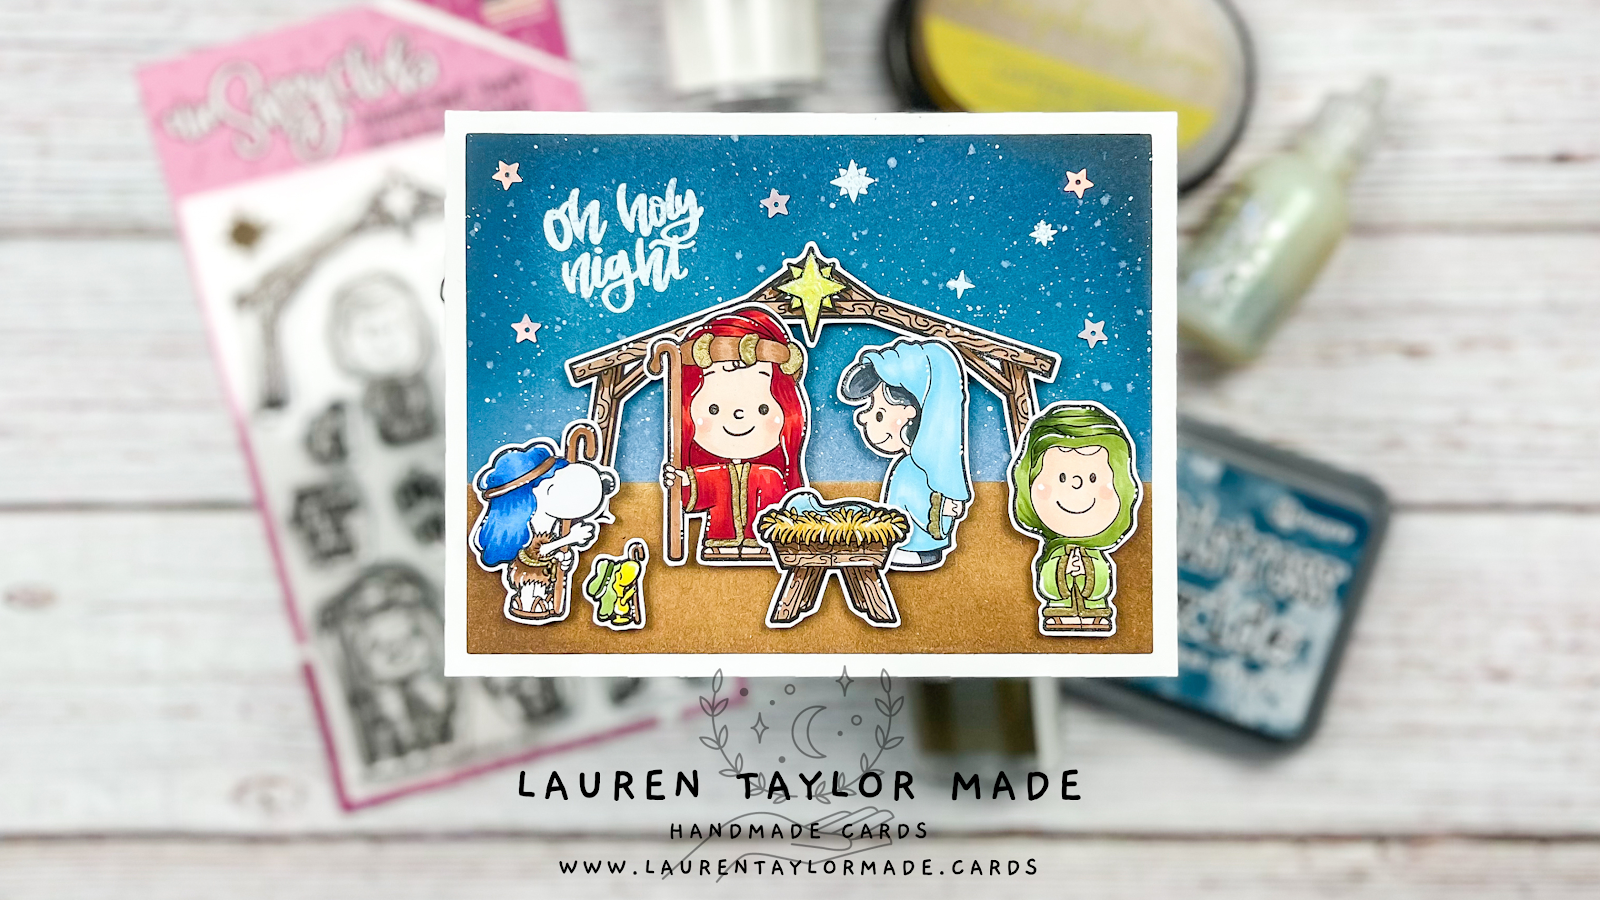
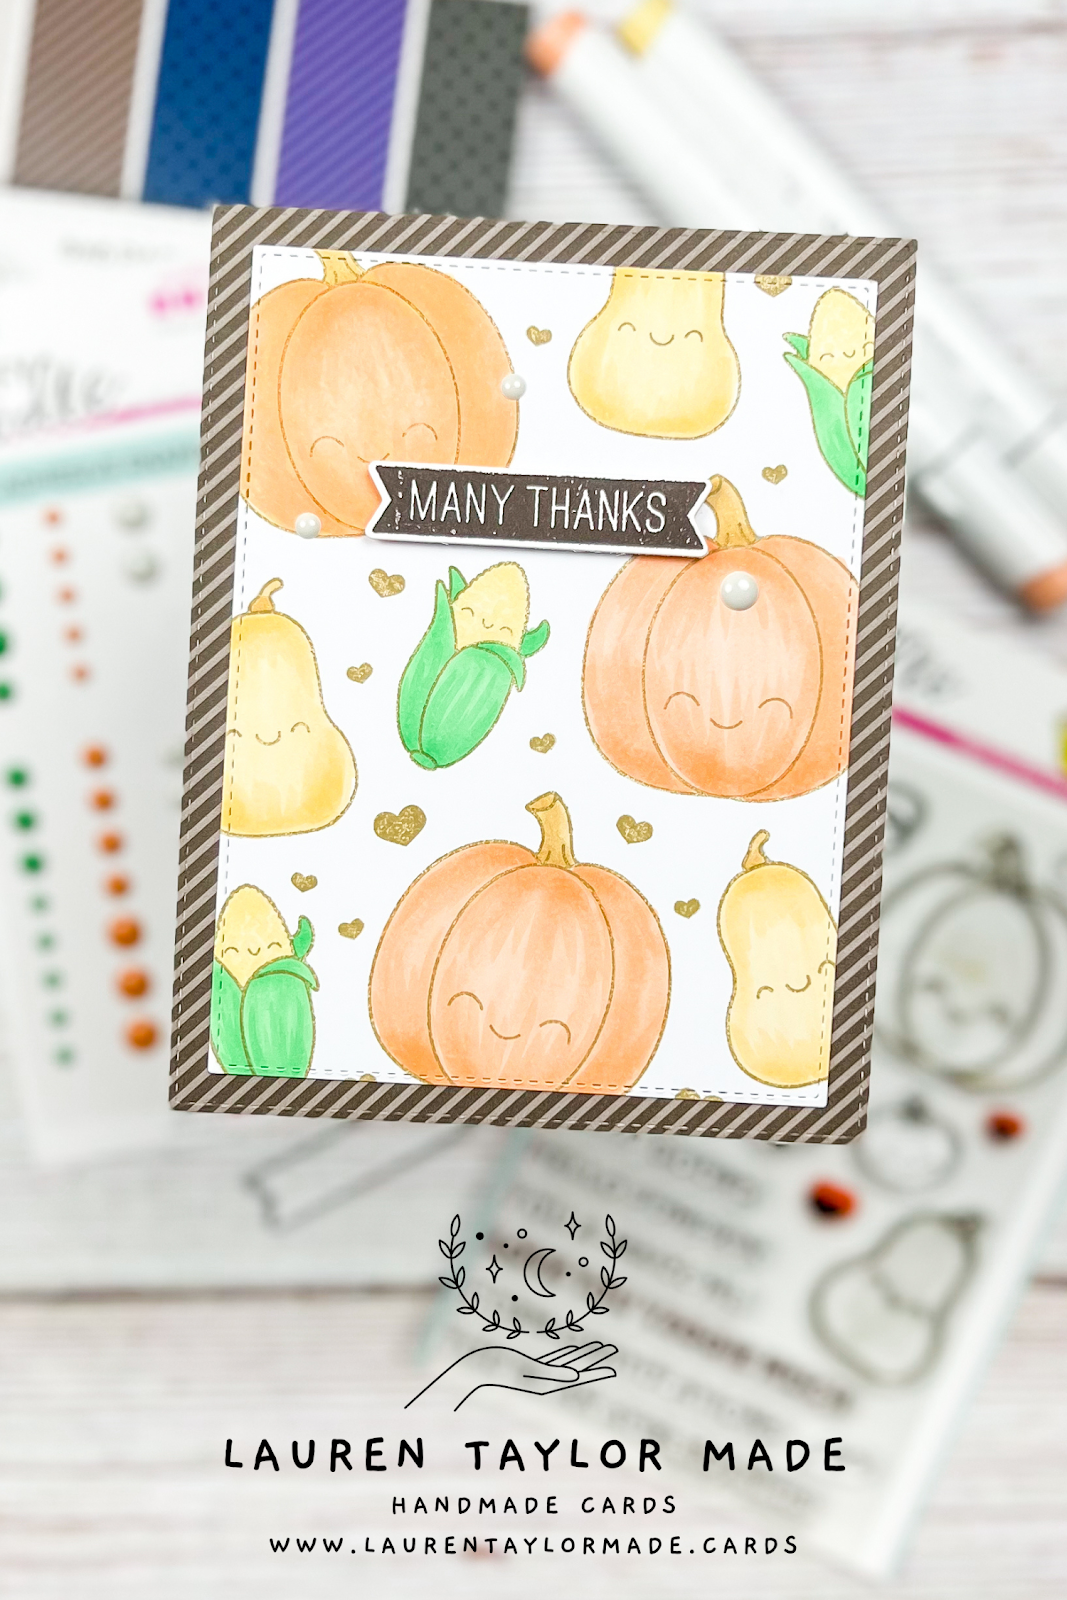
How sweet is this nativity scene from The Sassy Club? When I saw this set, I knew I wanted to create a scene with a night sky and then add all of these fandom characters to fit onto a card. I was thinking of doing a mini slimline card, but knew I wanted to include a pretty sky with room for a sentiment. So, I kept it A2 sized, but in landscape so that all of the images would easily fit in the scene.
I started with stamping, coloring and cutting out all of my images. They are colored with alcohol markers and I used lots of different brands together - Ohuhu and Spectrum Noir. I also added some gold as touches to most of my images using a VersaMark pen and gold embossing powder. Once they were cut out, I laid them out to get a rough idea of where I needed to stamp my sentiment and make pencil marks of where I would be adding Distress Oxide ink for my background.
So I wouldn't have to wait for the Distress Oxides to dry, I started with embossing the "Oh holy night" sentiment and three stars onto some mix media paper. I used an embossing ink with white embossing powder as I thought this would look pretty to emboss resist for the night sky. I masked off where my ground would be and added Distress Oxides to create my night sky - Stormy Sky, Uncharted Mariner, Chipped Sapphire and finally Black Soot.
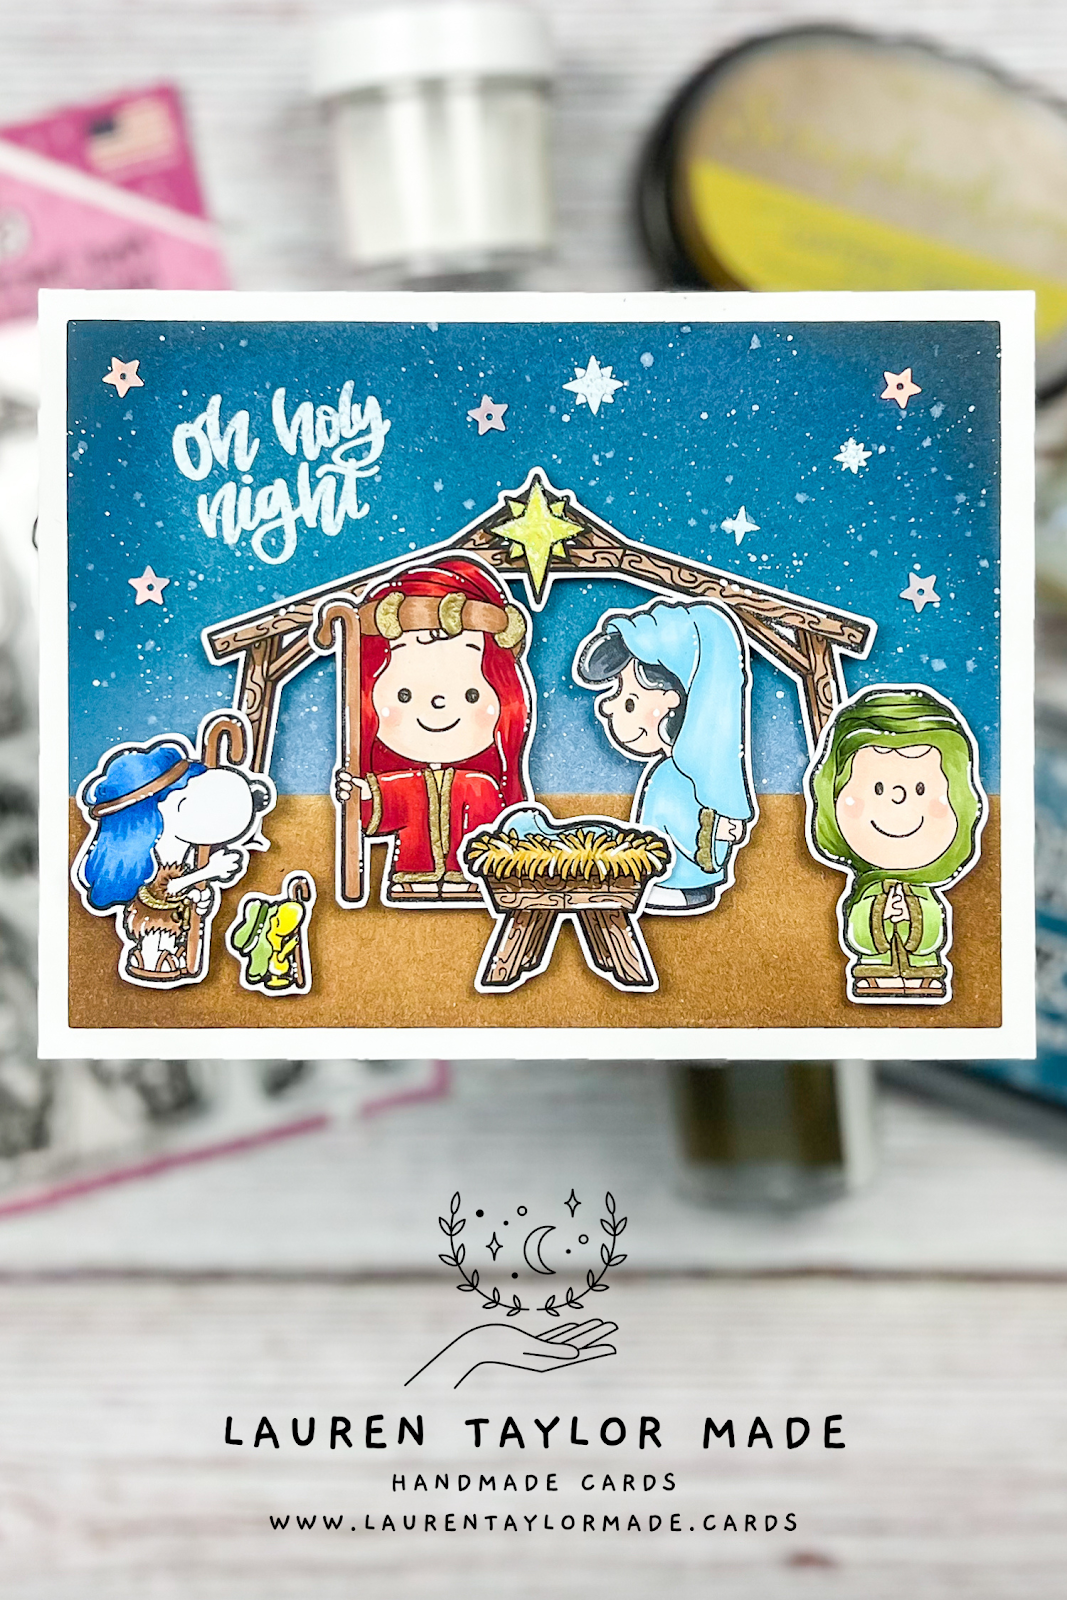
After wiping the ink off of the sentiment and stars, I added some white ink splatters to create more of a star-filled sky. I moved my masking to the sky so that way I could add Vintage Photo Distress Oxide to create my ground. Once my background was dry, I die cut it with a stackable A2 so that way I would have a white border as I adhered it to my card base. The images are all adhered using foam adhesive and I also added some star sequins for more shine!
I just love how this sweet Christmas card turned out and cannot wait to get the companion stamp set from The Sassy Club released this month - that will have to be a slimline card to get all of the cutie images to fit!
PIN THIS
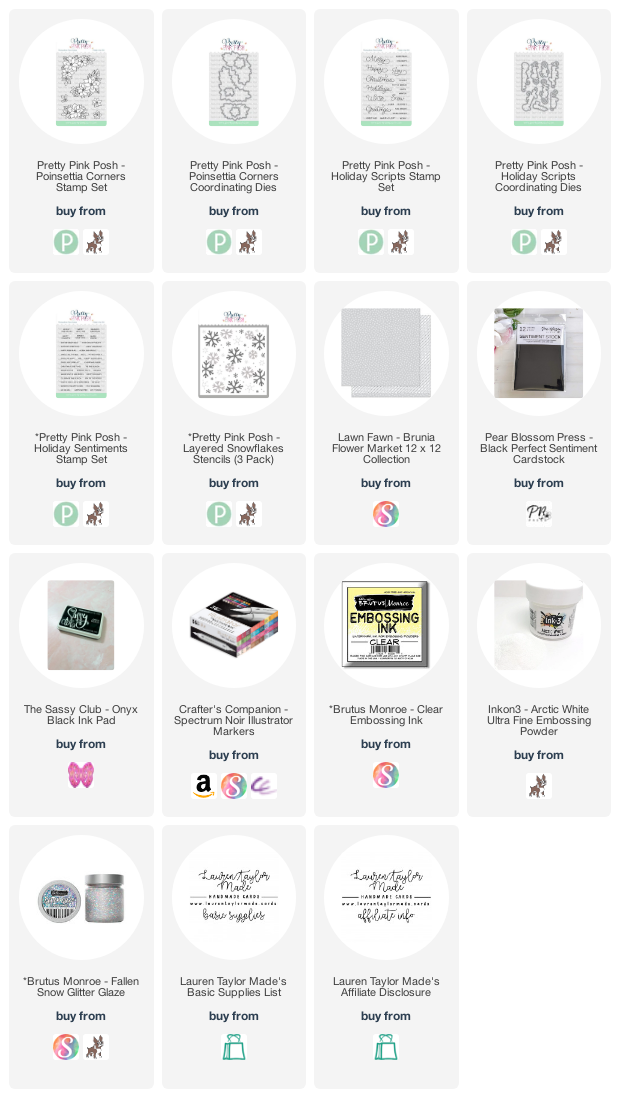
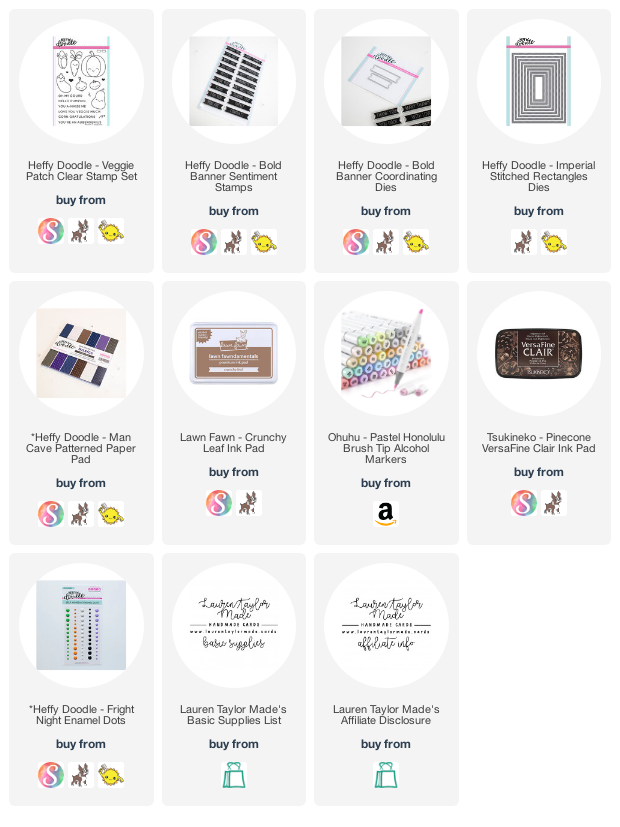
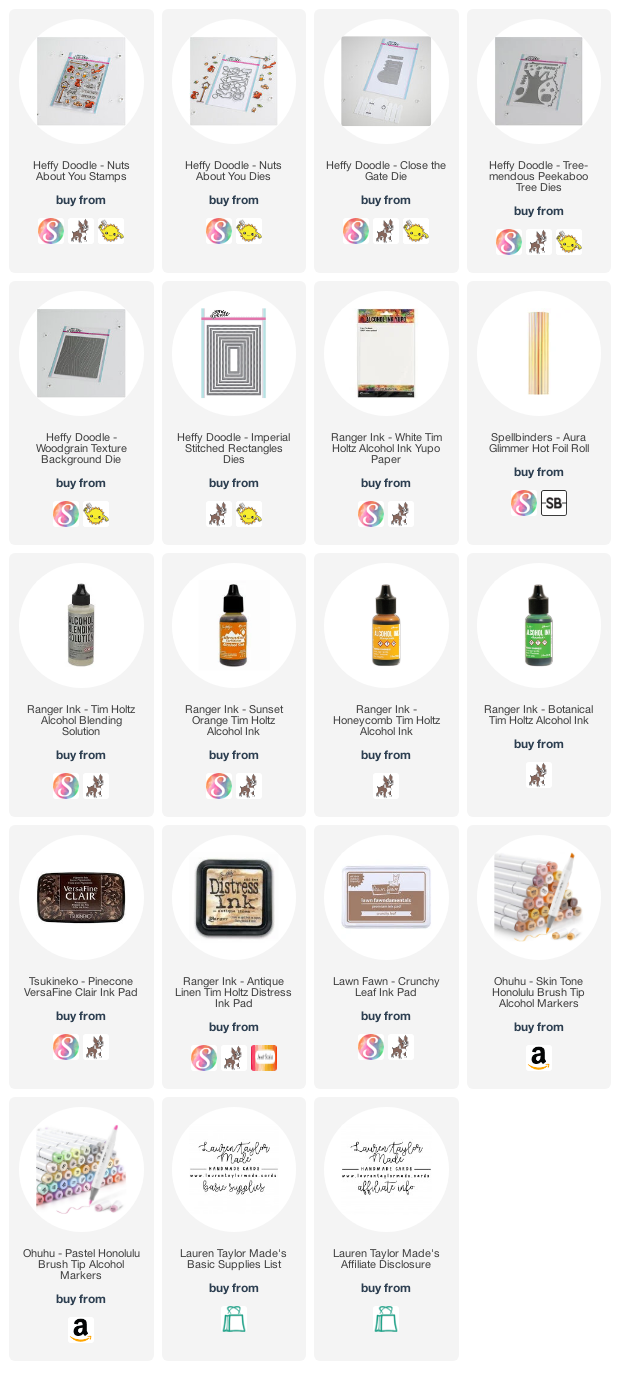
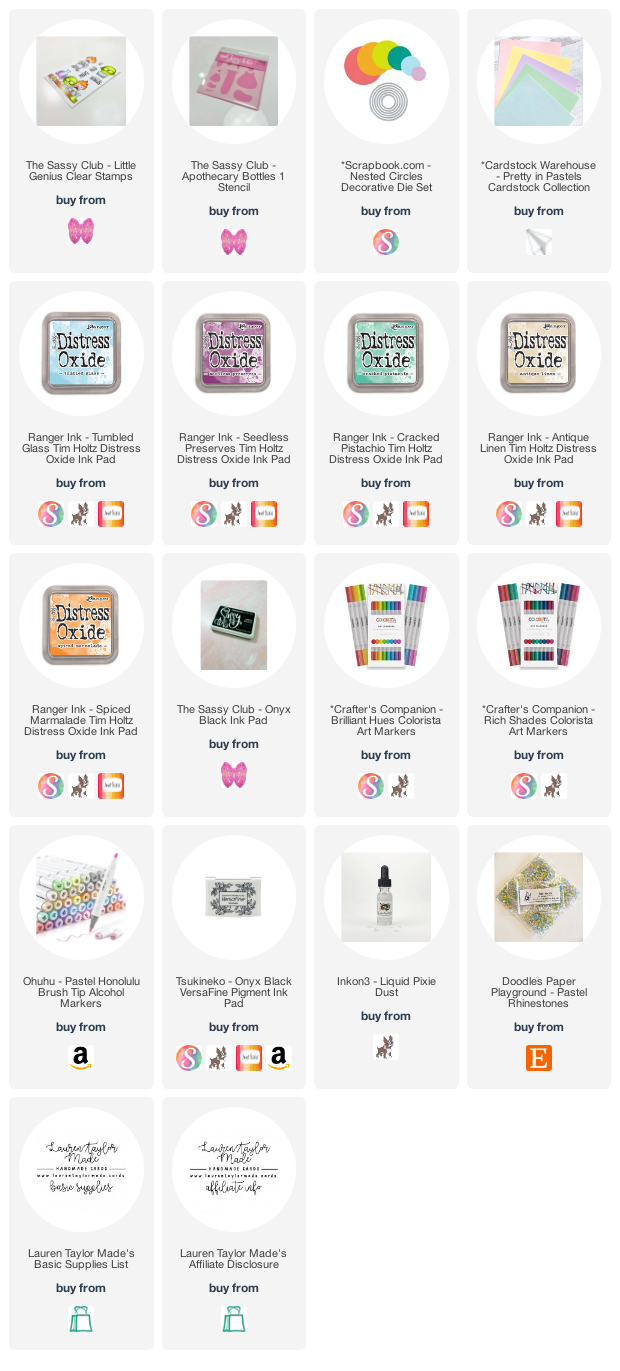
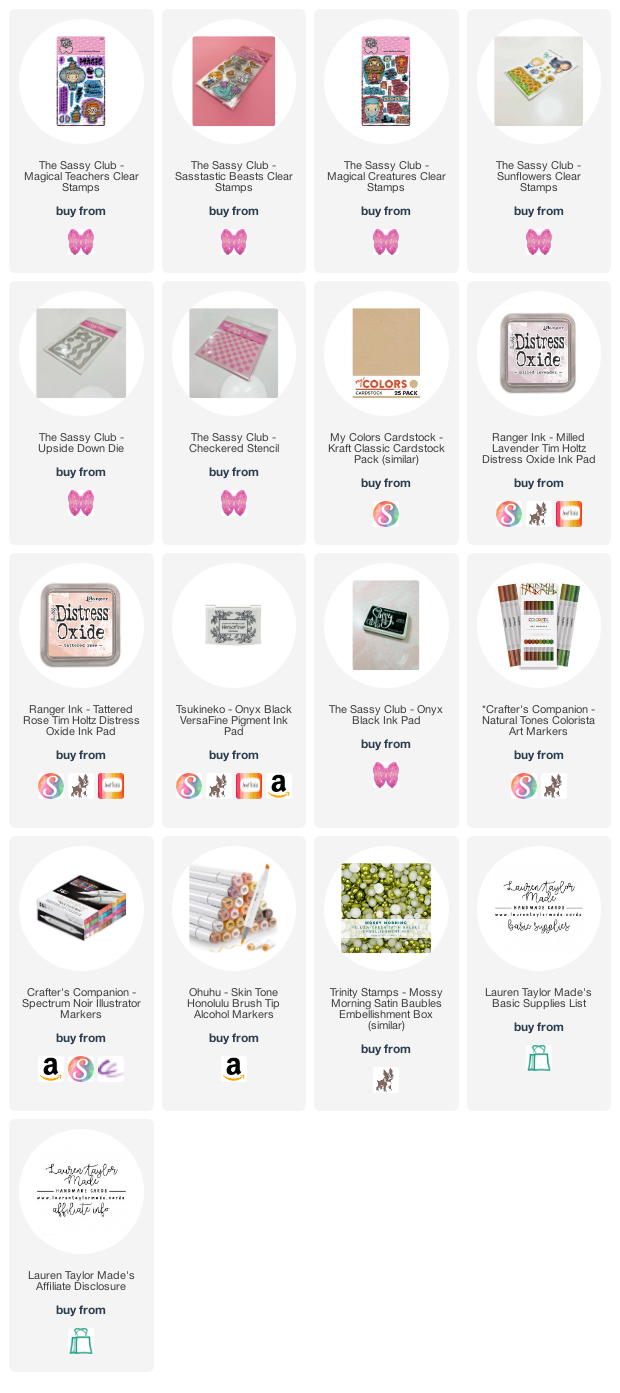
SUPPLY LIST
Read More