Happy last day of April! (It's gonna be Maaayyy.) The last day of the month means it's time for some Halloween inspiration and this month is not super Halloween-y but the character from this fandom can definitely be used for the holiday. Using my Pretty Pink Posh Scallop Box Card Dies, I created a box card! But this card is featuring everything else from The Sassy Club... Stamps, dies, stencil and patterned paper.
In my video today, I'm showing how you can add a window to the back of your box card with partial die cutting, assembling the modified box card, how I stenciled my moon background and adding in vines to really dress up the box card. I just love how I colored my Botany Teacher! I used alcohol marker friendly black ink on alcohol maker friendly white cardstock to stamp and colored the images in with Ohuhu Art Markers. I hope you enjoy today's video and some fun holiday inspiration!
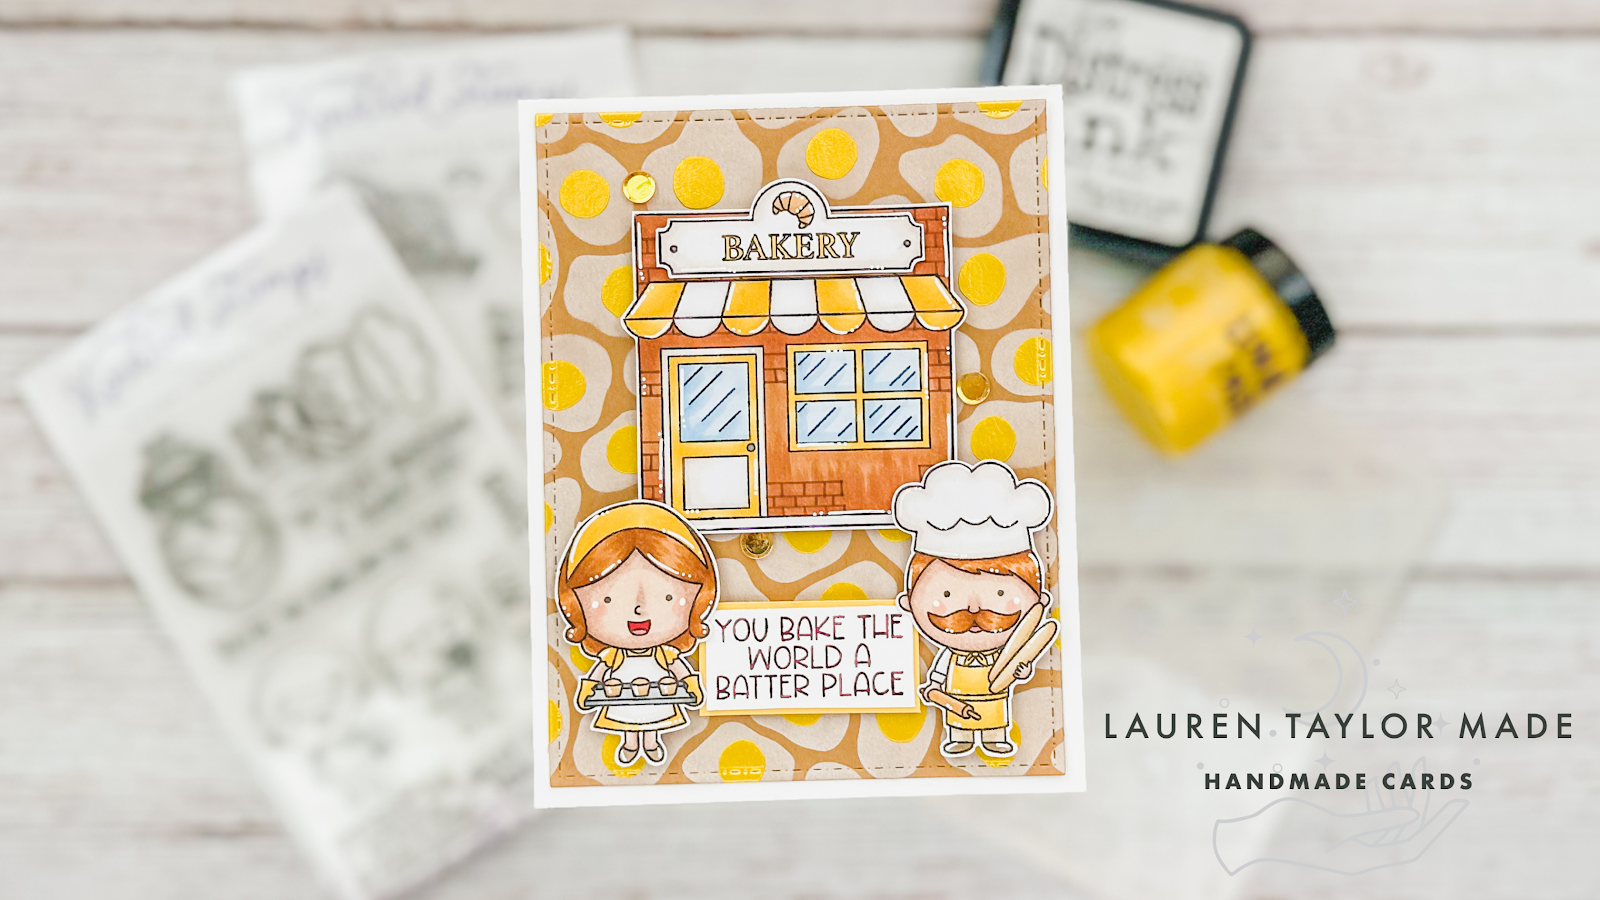
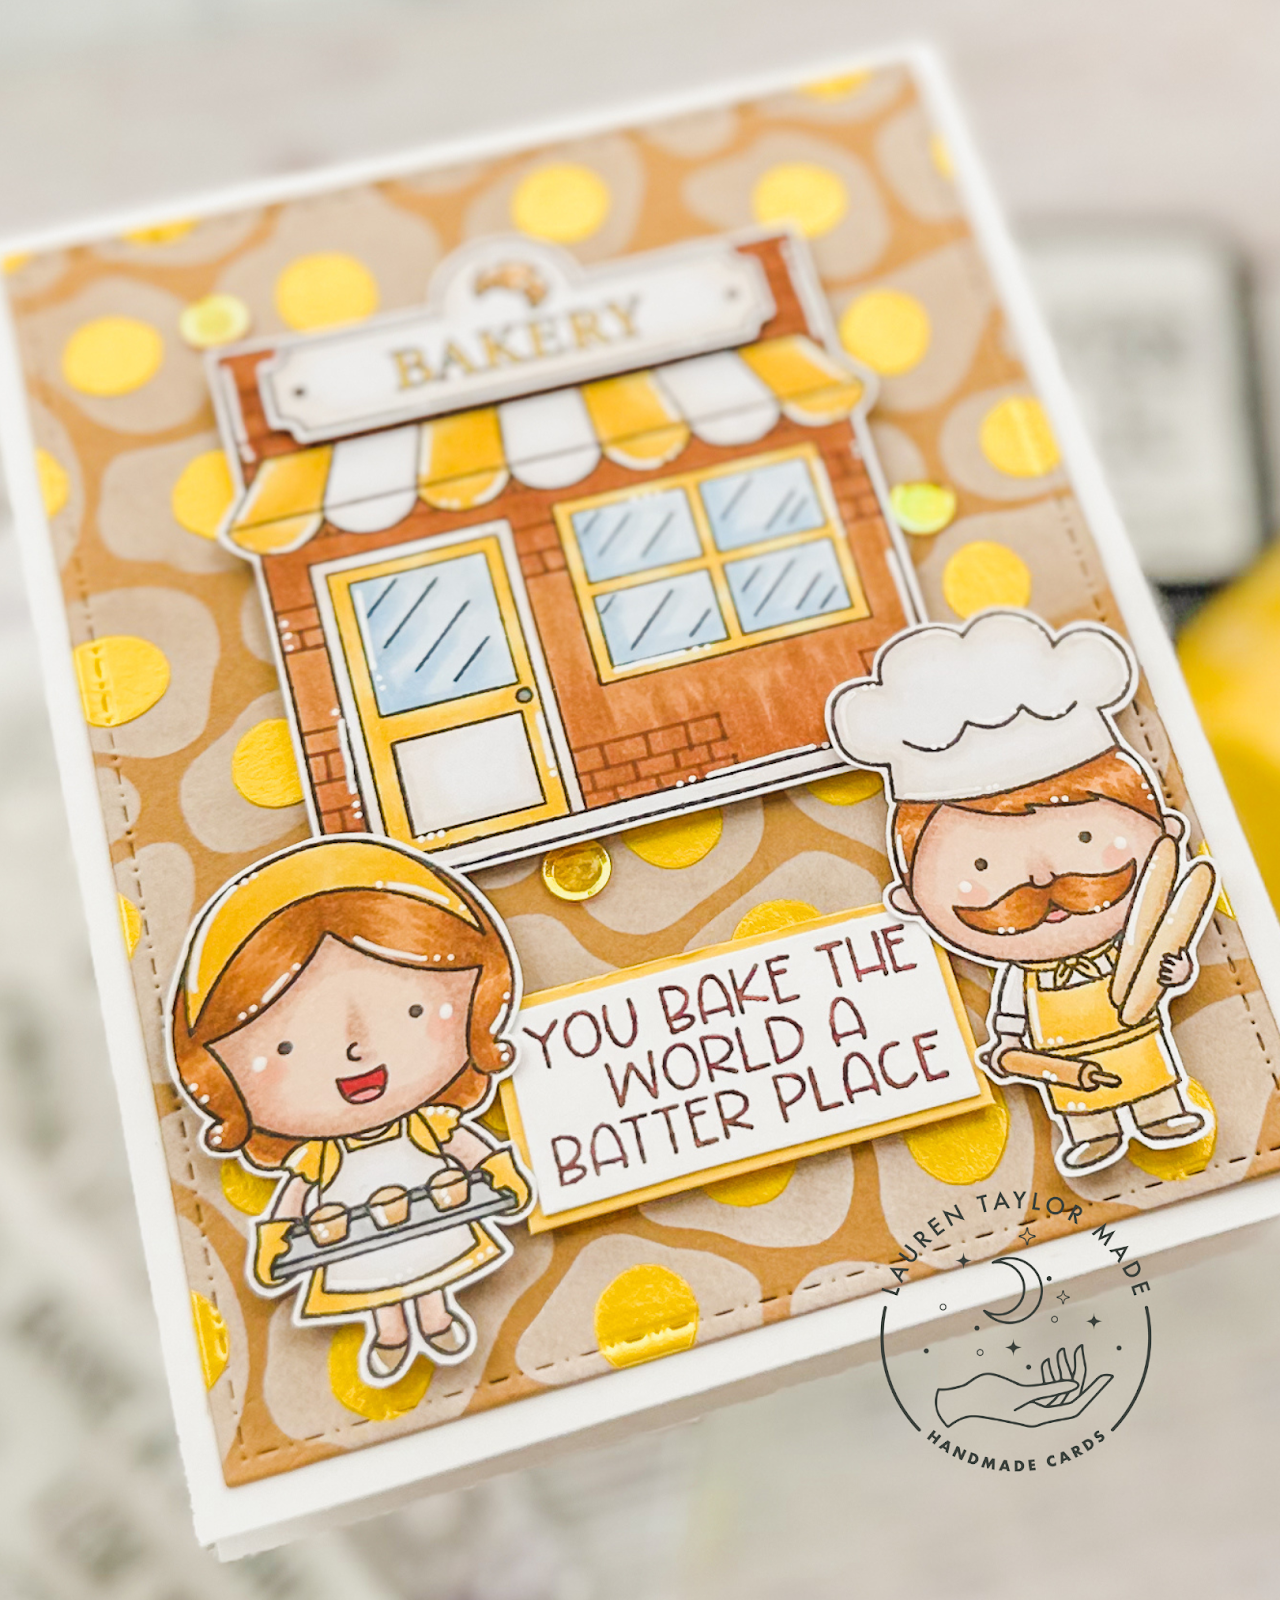
I have my final project as a guest with A Colorful Life Designs today! I think the Layered Eggs Stencil is probably my favorite of all the ones I received and I thought it would be fun to use it as the background of a little bakery. I used the colors of the background to inspire my coloring with Ohuhu Art Markers, too! Since I already had the stenciled background (you can watch the video here), I started with die cutting it to fit onto my A2 card base.
After stamping and coloring my images, I fussy cut them out and added them to the card base with foam adhesive as well as my sentiment. I stamped it in a brown ink onto white cardstock and layered it with yellow cardstock to make a little frame of color. When I received my stencils, I got a few free sequins and I added a few in yellow to keep with the color scheme. I had extra of the background so I glued a large strip to the inside and stamped my sentiment in the same brown ink.
I hope you enjoyed my take on some of the A Colorful Life Designs stencils this month! There's just a couple days left to use my code Lauren10 to save 10% off your order! So get to shopping and let me know in the comments what you buy.
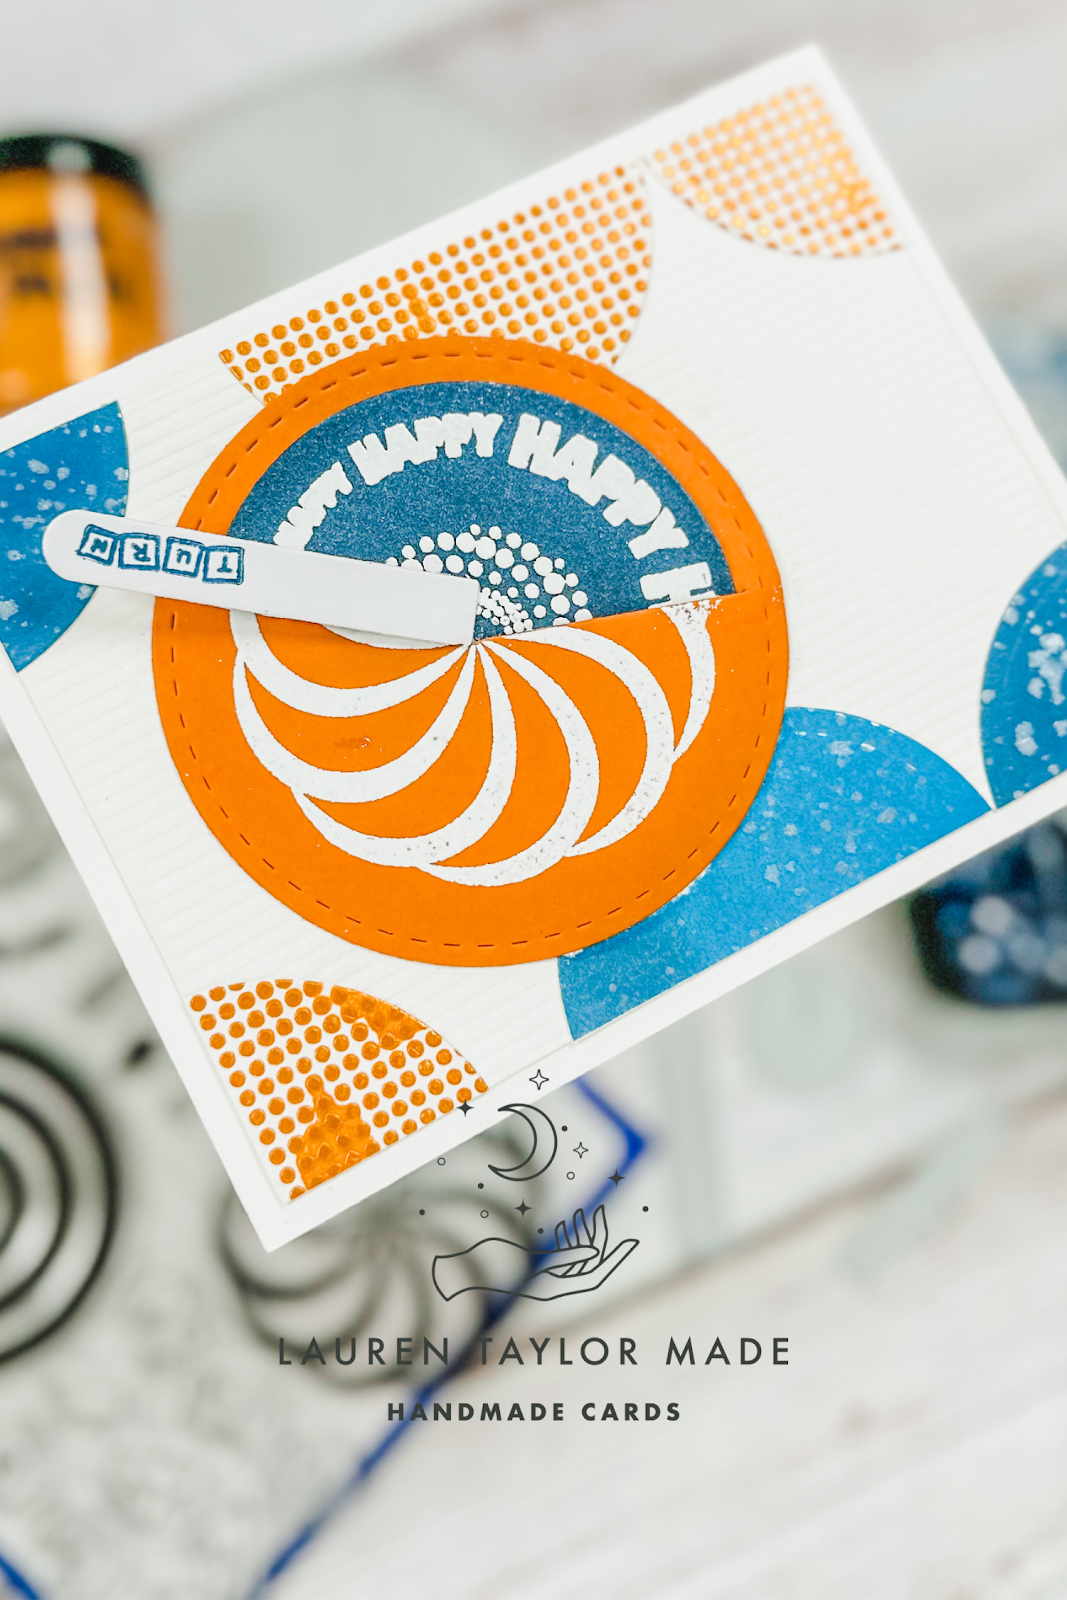
Today is the next Card Hoppin' Video Hop over on YouTube and our April theme is "Complementary Colors" and the technique is "Easel or Spinner Card." I made a background earlier this month with blue and orange that I was planning to use for this project and you can see that post and video here! I also decided to pick Spinner Card as my project as I had a die set called the Magic Wheel from Whimsy Stamps that was sitting in my crafty stash unused.
In my video I walk through how I die cut my stenciled design and created my background as well as how I assembled my Magic Wheel die cuts. As I discuss in my video today, I definitely had some trouble with this die set. I had watched an assembly video prior to using it myself, but I made two Magic Wheels and the first one just completely did not work. I was able to salvage my card and my second Magic Wheel was much better and I share that one in my video. But I think the embossing powder made the wheel a bit hard to use.
Have you used this die before? Let me know your tips and tricks! I definitely need to use it again in the future and maybe try something a little more simple to really give a good review. Be sure to watch the video over on YouTube so you can click the hop hashtag and see all of the inspiration from other crafters on this hop!
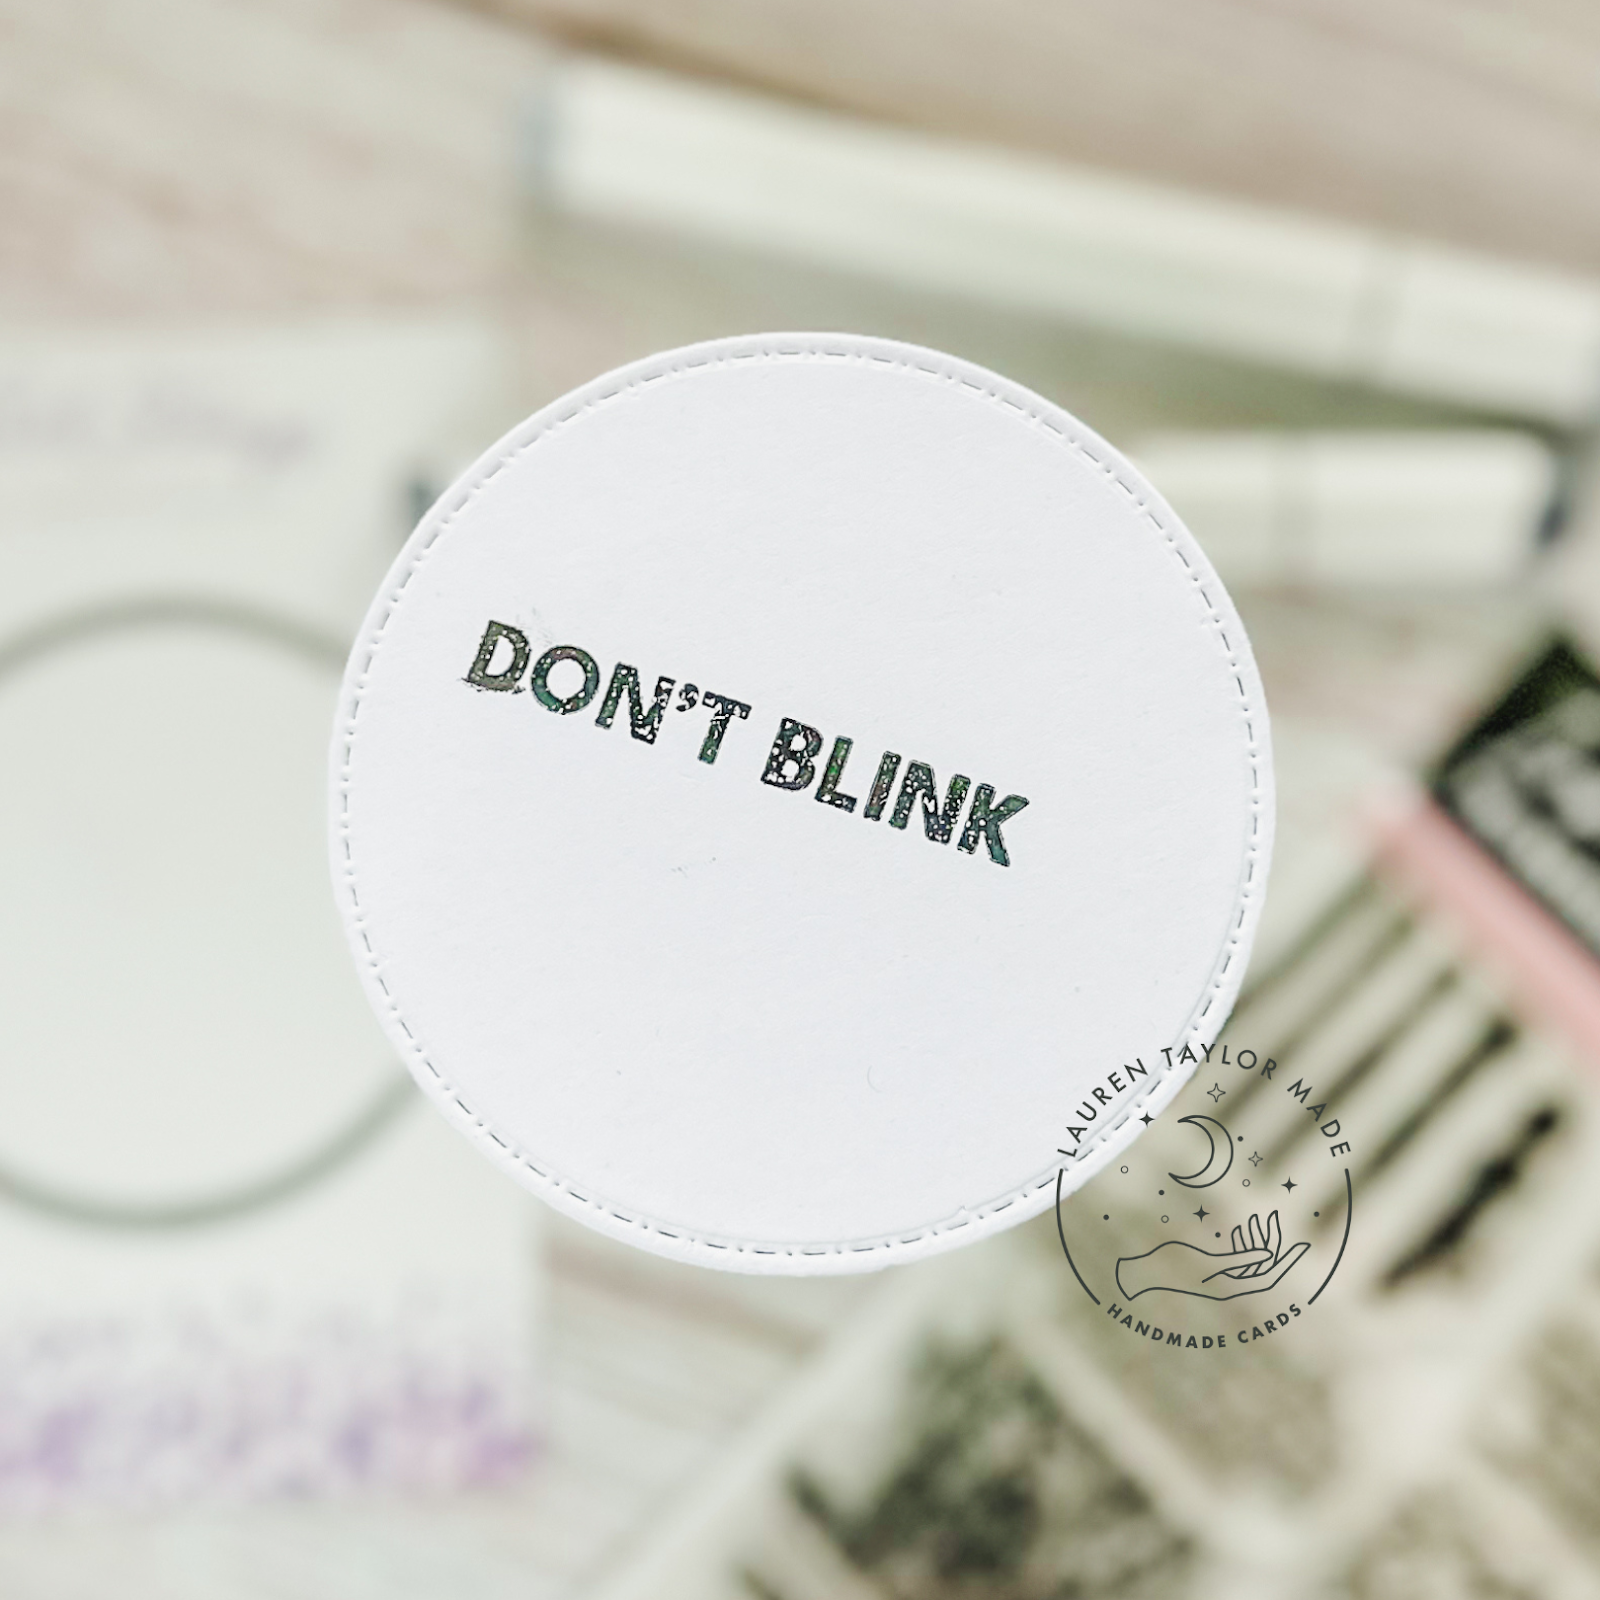
I am still here making weekly(ish) lunch notes for Abigail! This one was a quick one because I already had these stamped and cut out from when I returned back from the Kindred Stamps Retreat earlier this year. I don't own this retired stamp set, but I hope one day I can get my hands on it! These two images were stamped with alcohol marker friendly black ink and I colored them with Ohuhu Art Markers.
For the note, I die cut white cardstock with the larger circle from the Card Basics Die Set and stamped "Don't Blink" from an Ink Road Stamp Set from the same fandom. I used this same die to cut out patterned paper that is blue with white star images from the Futuristic Family Limited Edition Kit and glued them together. I added my two characters with foam adhesive and that's it! Kept it simple since I needed to get it right into Abigail's lunch. I'll be back soon with a batch of lunch notes with a bunch of characters!
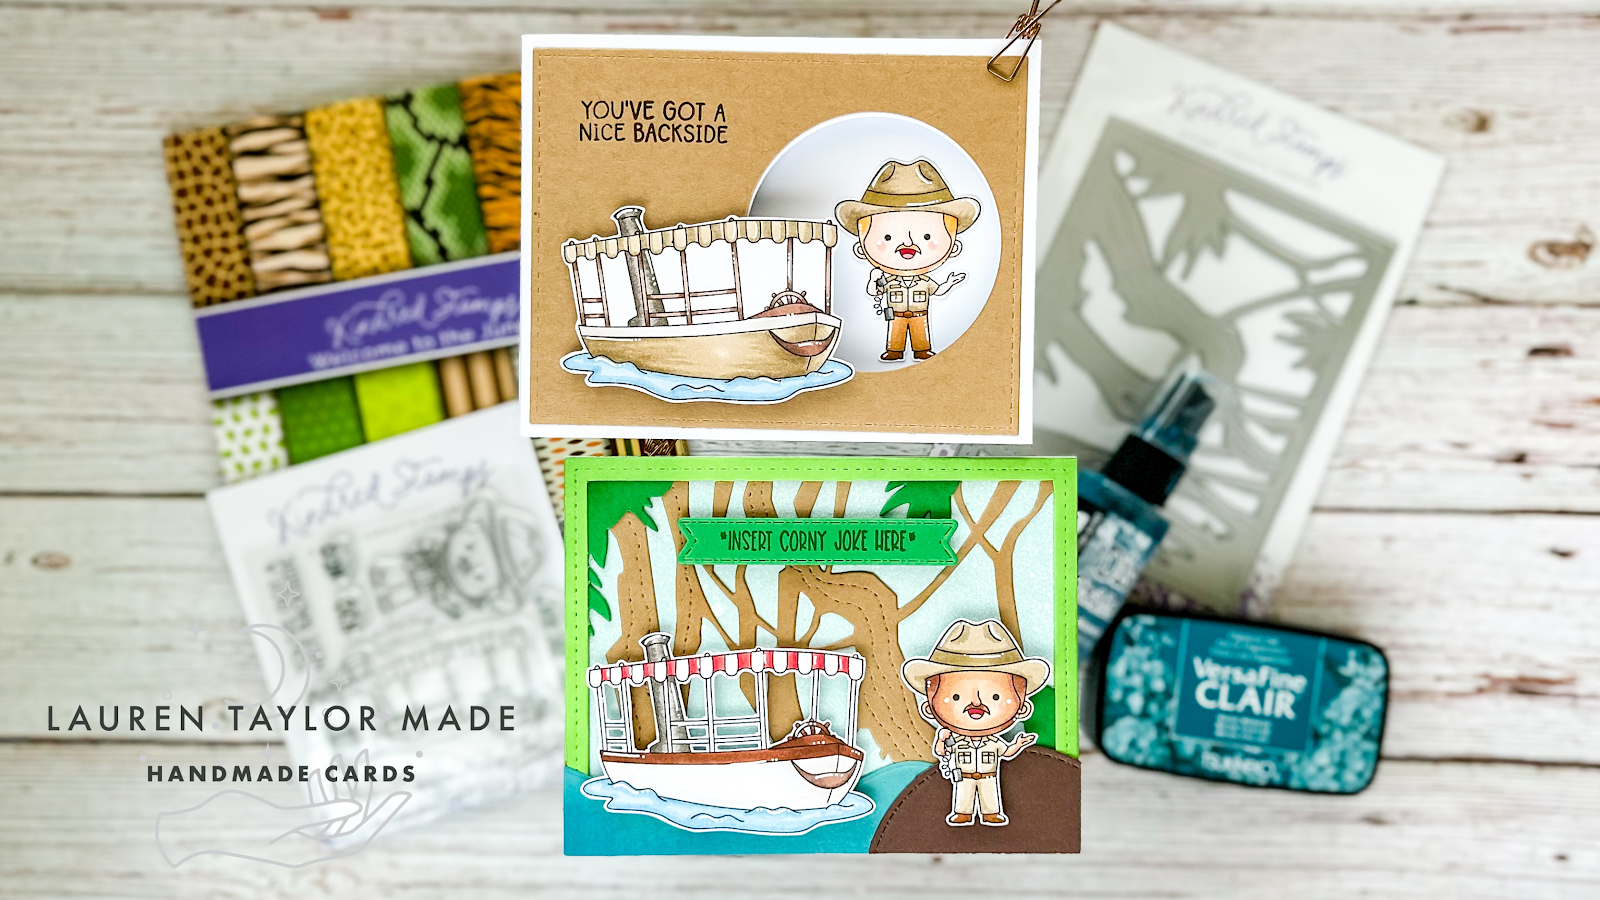
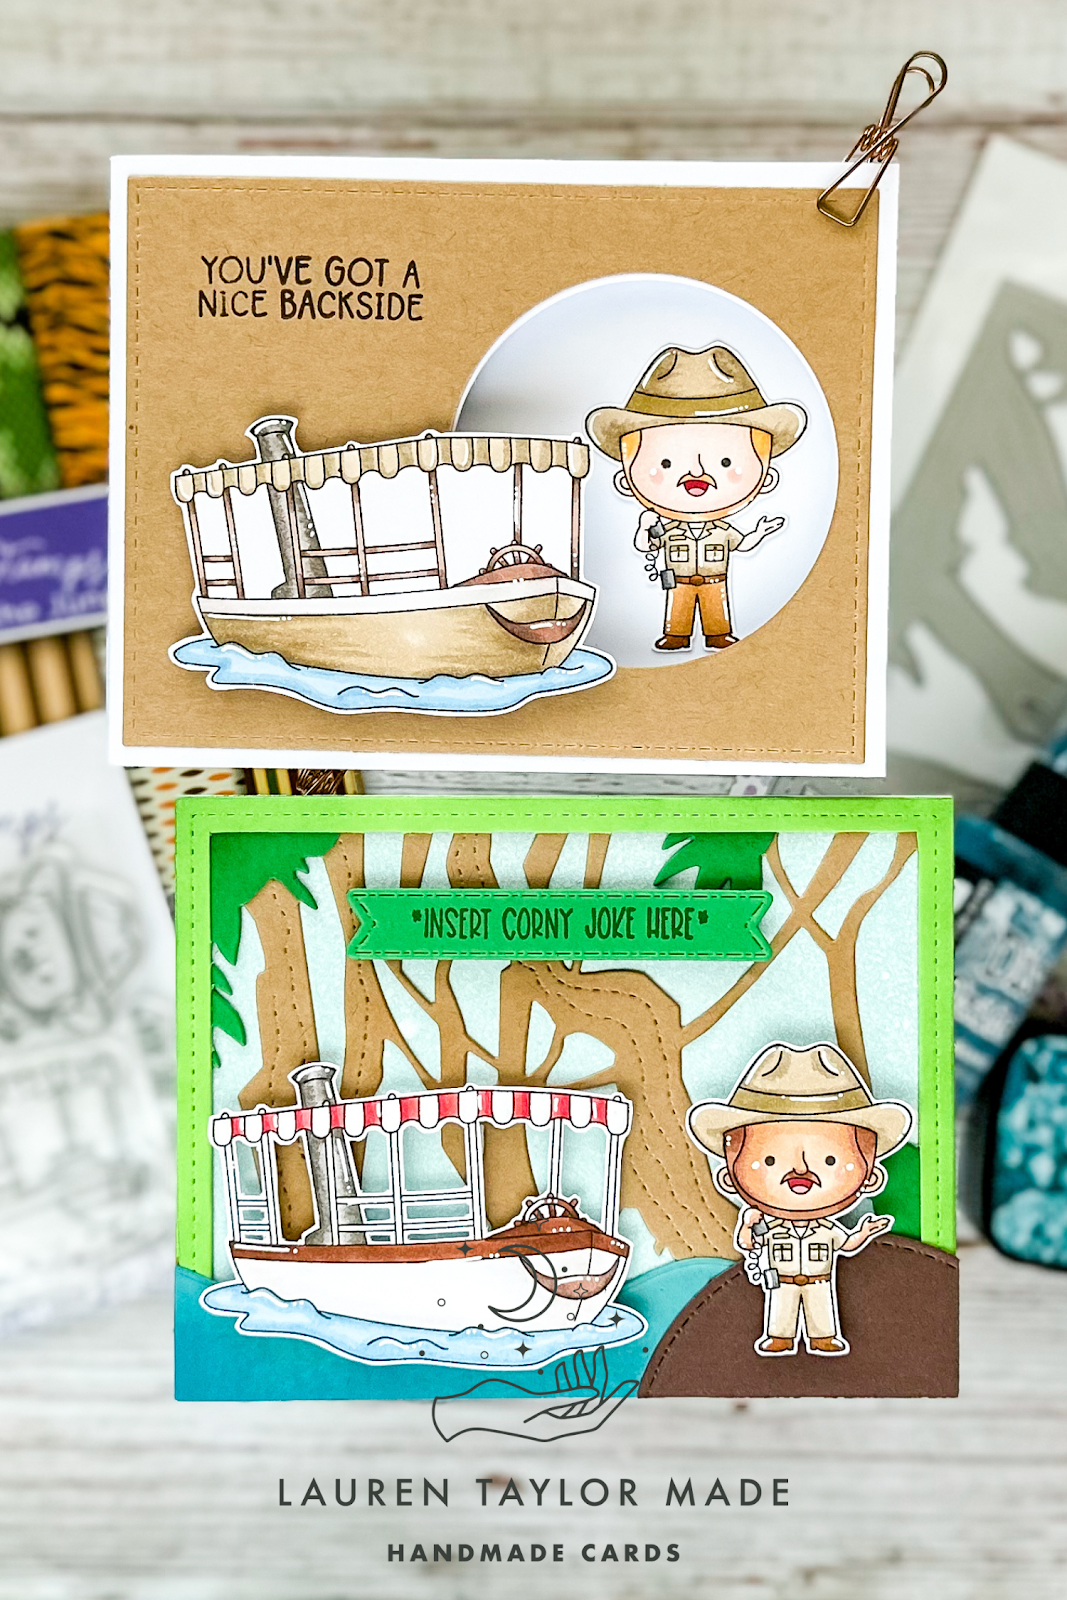
I am so excited to share the new Corny Cruise Stamp Set from Kindred Stamps! The 4x4 stamp set has two images and a few sentiments with a corny joke theme. There are lots of other amazing new products, so make sure you check out the release Friday, April 28th at 8am PT! I have two card samples to share, but I started first with coloring my images with Ohuhu Art and COPIC Markers and fussy cut them out. For one of the boats, I used a small craft knife to cut in between all of the railings.
The first card I used the Jungle Scene Die to create my background using kraft and green cardstocks and used Distress Inks to add a little bit of shadowing. Then I layered it onto a blue piece of cardstock that I sprayed with white ink to give a splattered look which is attached to a card base. I die cut some teal cardstock with a wavy edge die and added it along with a partial circle of brown cardstock to the bottom of the card. Using foam adhesive, I added my images as well as my sentiment banner!
The second card is a fun fold card that I will definitely make a video for in the future. You can see a short video over on my Instagram (it will go live Friday at the time of the release), but I put together the card base and mechanism first out of white cardstock. I added Kraft cardstock to the front along with a stamped sentiment and my boat popped up with foam adhesive. I also glued down the skipper to the inside of the circle that will be on the far back/inside of the card.
The inside has two strips of Welcome to the Jungle Paper Pack and the mechanism that slides into the circle is teal cardstock with a backwards water (hehe) layered with a laminate sheet that I sprayed ink inside to give a teal tint. Both the teal and laminate sheet were also cut on the edge with a wavy edge die to give it more of waterfall feel! I hope you love the new release as much as I do and let me know which products you bought in the comments.
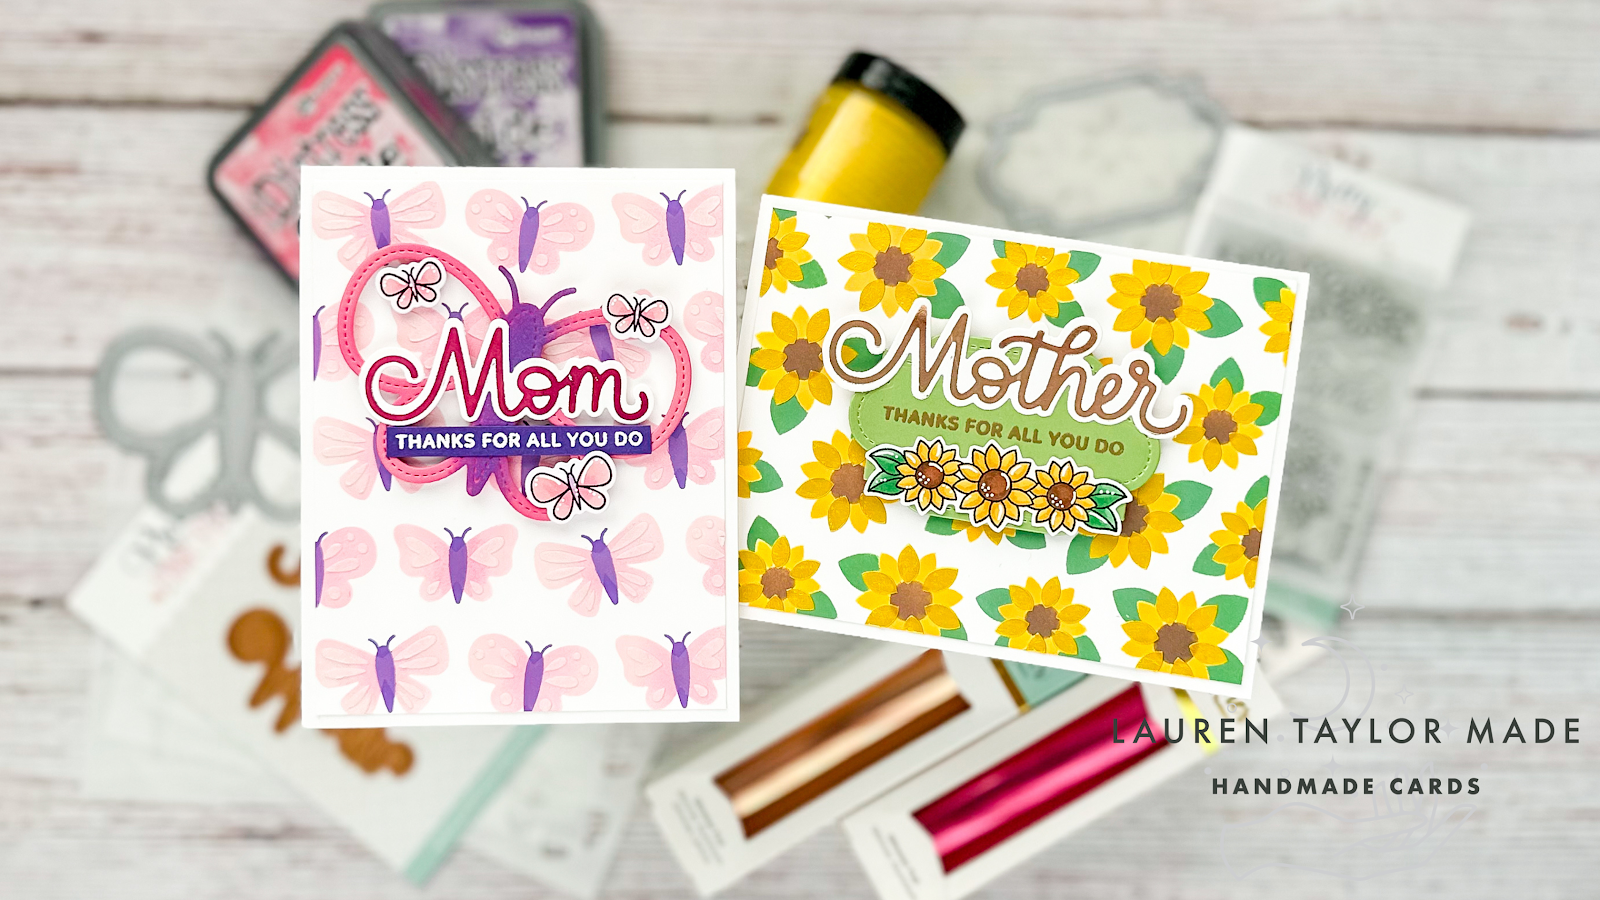
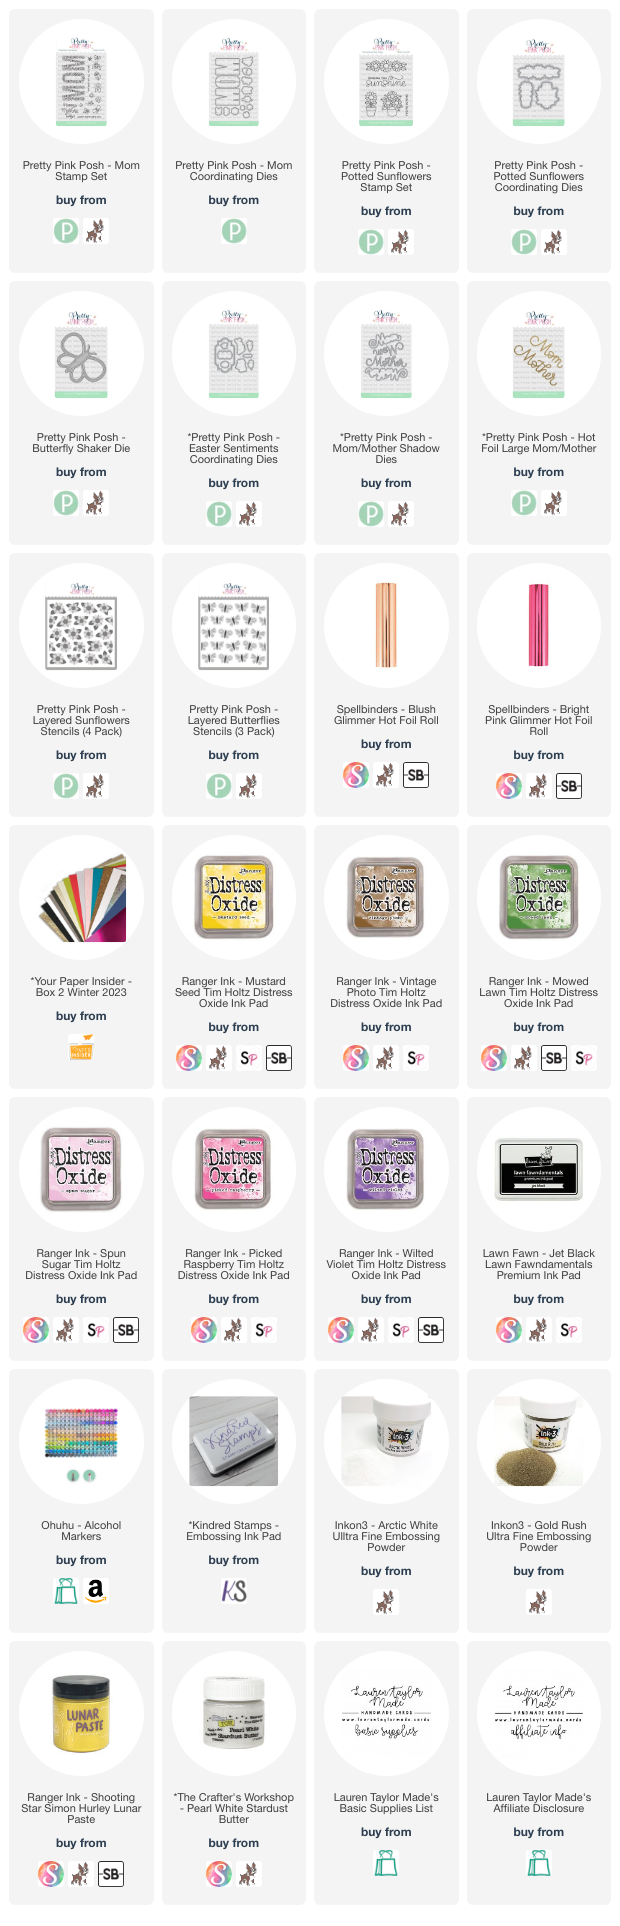
I have a new video today that was originally posted over on the Pretty Pink Posh blog and channel featuring two Mother's Day cards featuring a couple of my favorite Layering Stencils! Definitely check out my video below to see the process of how these cards were put together, but I'll walk you through the process here on the blog as well.
I started with stenciling my backgrounds so they have plenty of time to dry. Using the Layered Sunflowers Stencils, I used Distress Oxides in Mustard Seed, Vintage Photo and Mowed Lawn to add color through the B, C and D stencils. Then using the A stencil, I added yellow stencil paste to add shine and dimension to the background. The second background was with the Layered Butterfly Stencils and I used the A and C stencils with more Distress Oxides in Spun Sugar, Picked Raspberry and Wilted Violet. Then I added some clear sparkle stencil paste through the B stencil to add the details to the butterflies.
Then I worked on the sentiments for my card by hot foiling the Large Mom/Mother Foil Plates with Blush and Bright Pink foils. I used the Mom/Mother Shadow Dies to cut them out as they coordinate perfectly. After die cutting a label from Easter Sentiments Coordinating Dies out of green cardstock, I embossed the “Thanks for all you do” sentiment from the Mom Stamp Set in gold embossing powder. I also embossed the same sentiment on purple cardstock with white embossing powder and trimmed around the sentiment to make a strip.
For the images on the card, I die cut the Butterfly Shaker Die out of pink cardstock and added Picked Raspberry and Wilted Violet Distress Oxide ink to add color. I also stamped and die cut butterflies from the Mom Stamp Set and Coordinating Dies, and flowers from the Potted Sunflowers Stamp Set and Coordinating Dies. Using Ohuhu Art Markers, I colored in the images to match the colors of the stenciled backgrounds.
I assembled the cards by adding my stenciled backgrounds that were trimmed to 4x5-1/4" on A2 card bases with tape runner, the label and butterfly die cut were adhered with foam adhesive, and finally glued the sentiments and images with adhesive. I hope you’re inspired with these stenciled Mother’s Day cards and you make some for yourself!
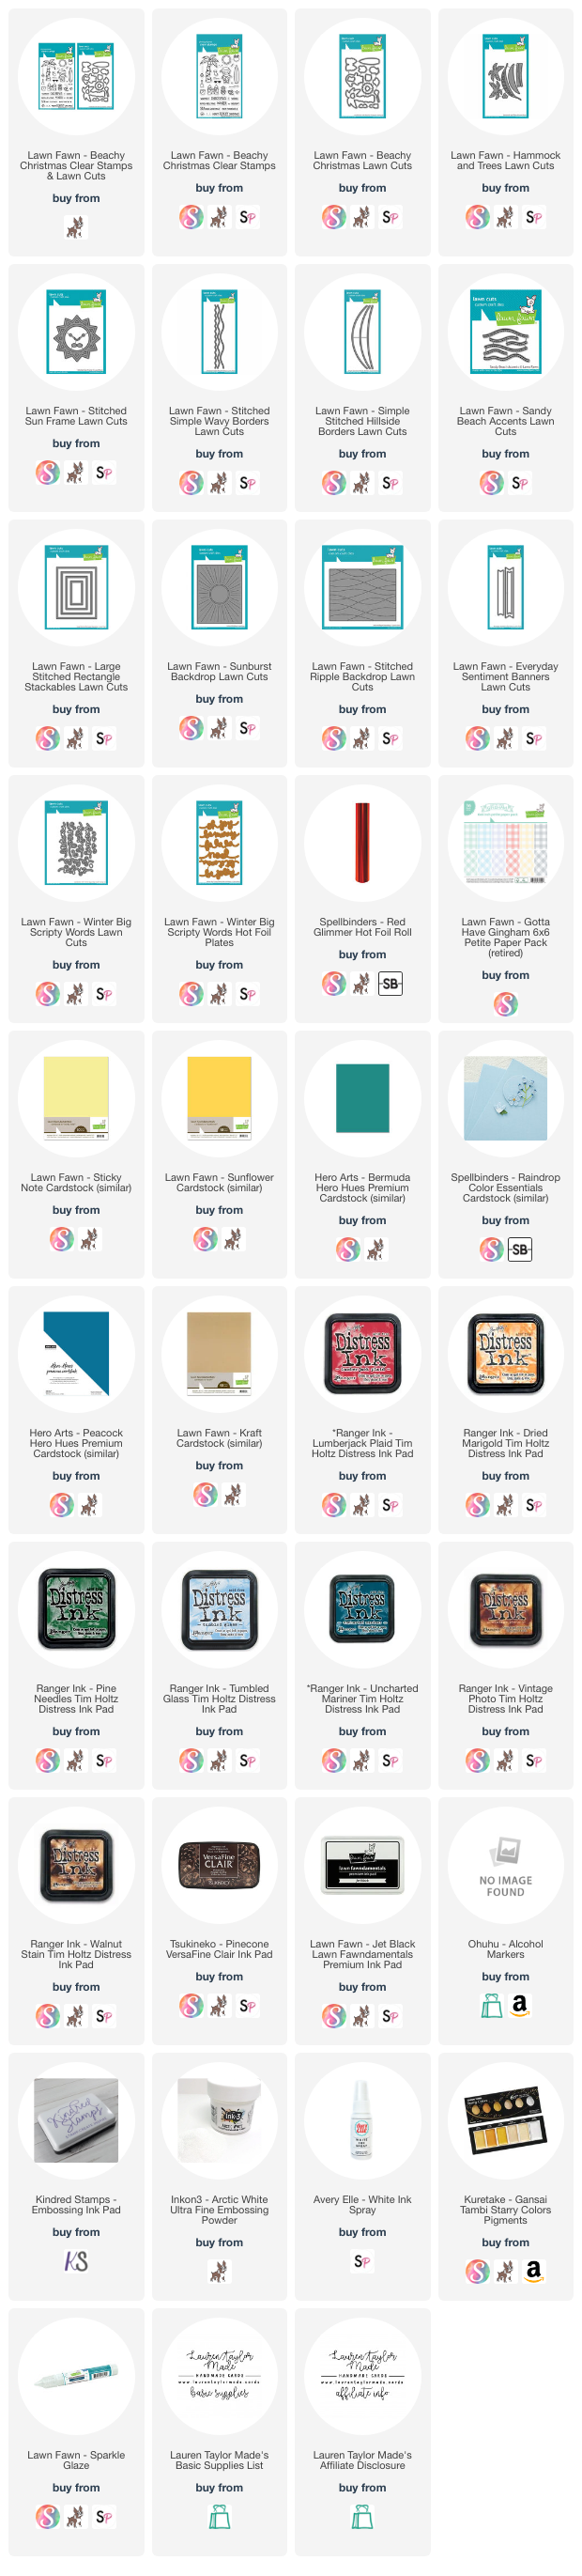
It's the 25th of the month so it's time for some Christmas inspiration! This month we're taking Santa to the beach and we're using die cuts for scene building, hot foil and embossing for sentiments, and coloring the adorable images from Beach Christmas with Ohuhu Art Markers. My card is also inspired by the latest Lawn Fawnatics Challenge and Episode 160 of Craft Roulette!
In the video I share how I add ink and splatter to my die cut images, building the scene and adding in small details. The parameters of Craft Roulette this week were your card choice (I went with my favorite A2 size), strawberry fields colors (red, green, yellow, white, blue and brown), include a chair (hammock) and gingham/plaid (also the hammock). I hope this card inspires you and let me know what you think about my interpretation of these challenges!
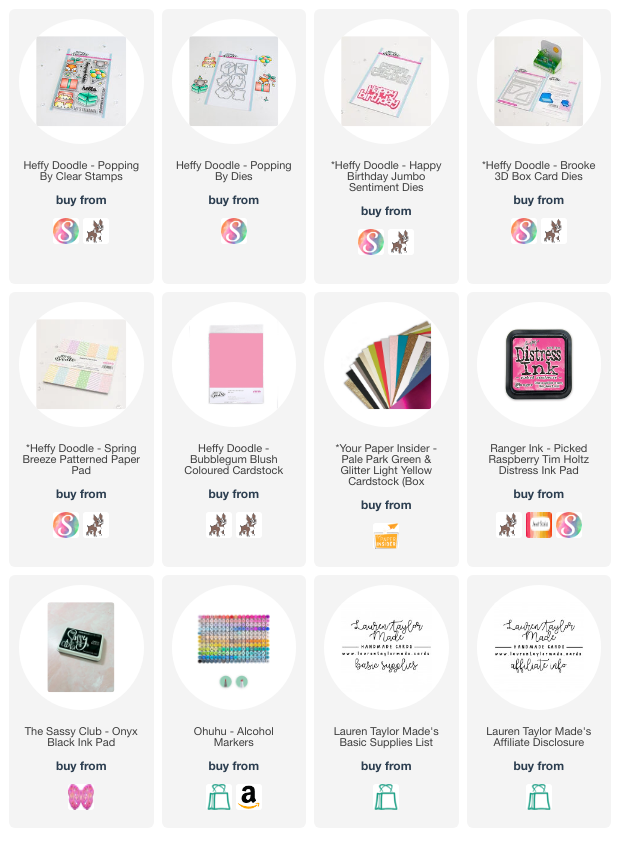
I was being serious when I said I'll be making box cards forever for here on out! Okay, not really, but they really are my favorite cards to make right now. If you remember in a video from last month, I made a box card when this new die set from Heffy Doodle released so you could see how you can put these dies together to make a card. The green and glitter yellow cardstock are from my Your Paper Insider Box 2 and the rest is from Heffy Doodle.
For each of the shelves and the front of the card, I added more colorful paper to cover the card with the beautiful pastel, striped paper. I stamped and colored so many images from different birthday themed sets from Heffy Doodle. I had quite a few coordinating dies for them, so I used them to cut them out. I then layered on all of my images and glued them down to look like a big birthday party for these critters!
I hope you love this card as much as I do! I want a pastel party for my next birthday - as long as it comes with a GIANT cake like the one on this card.
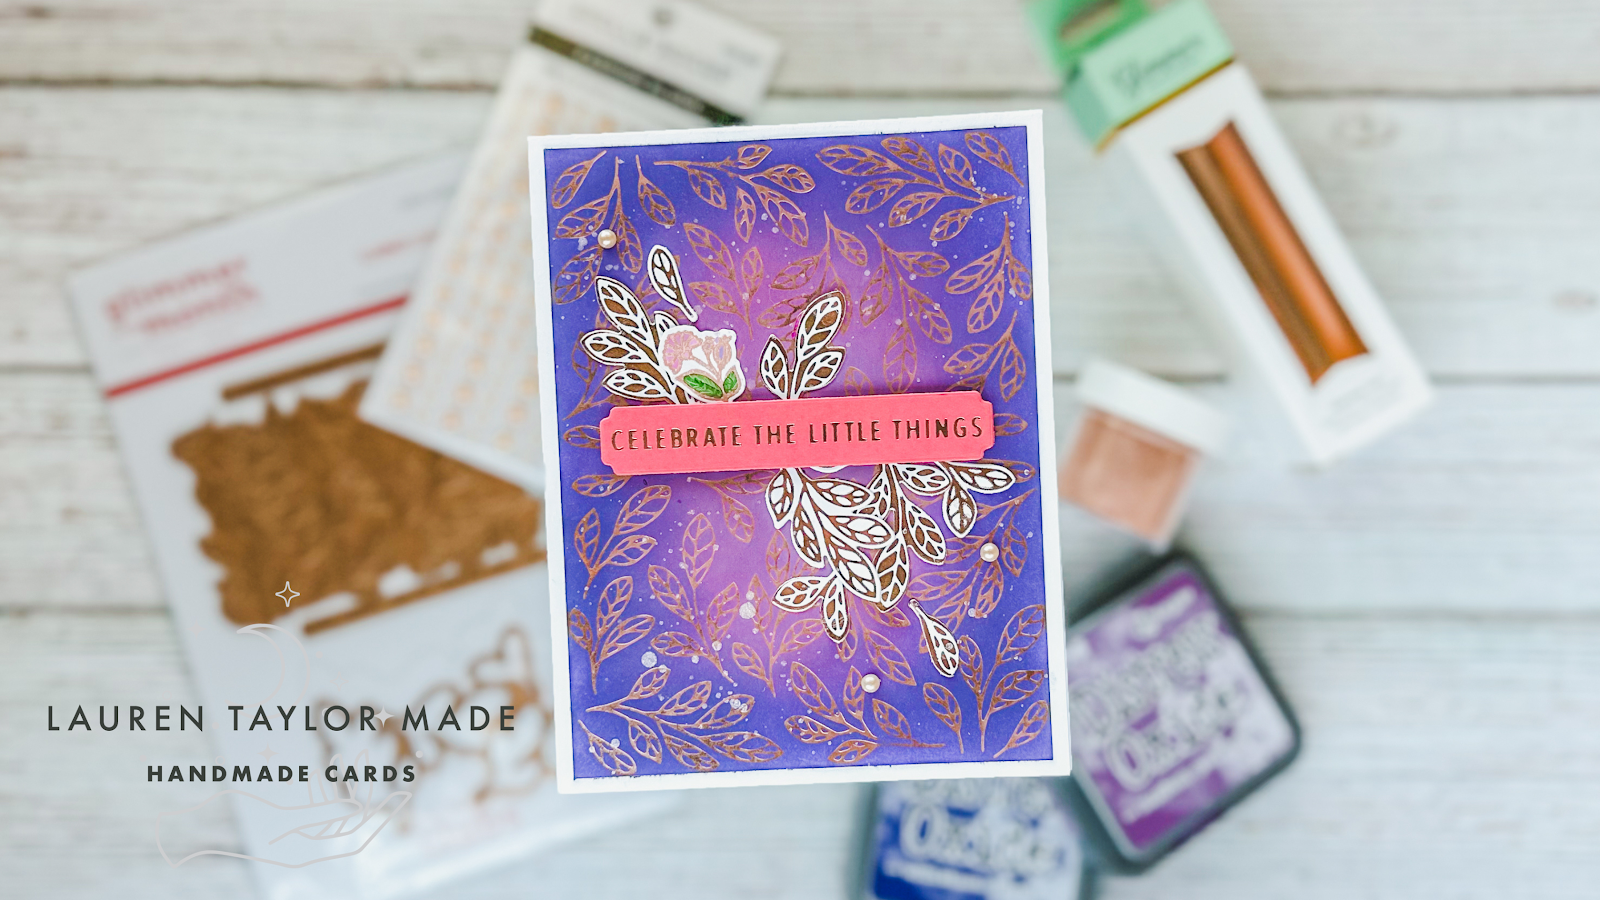
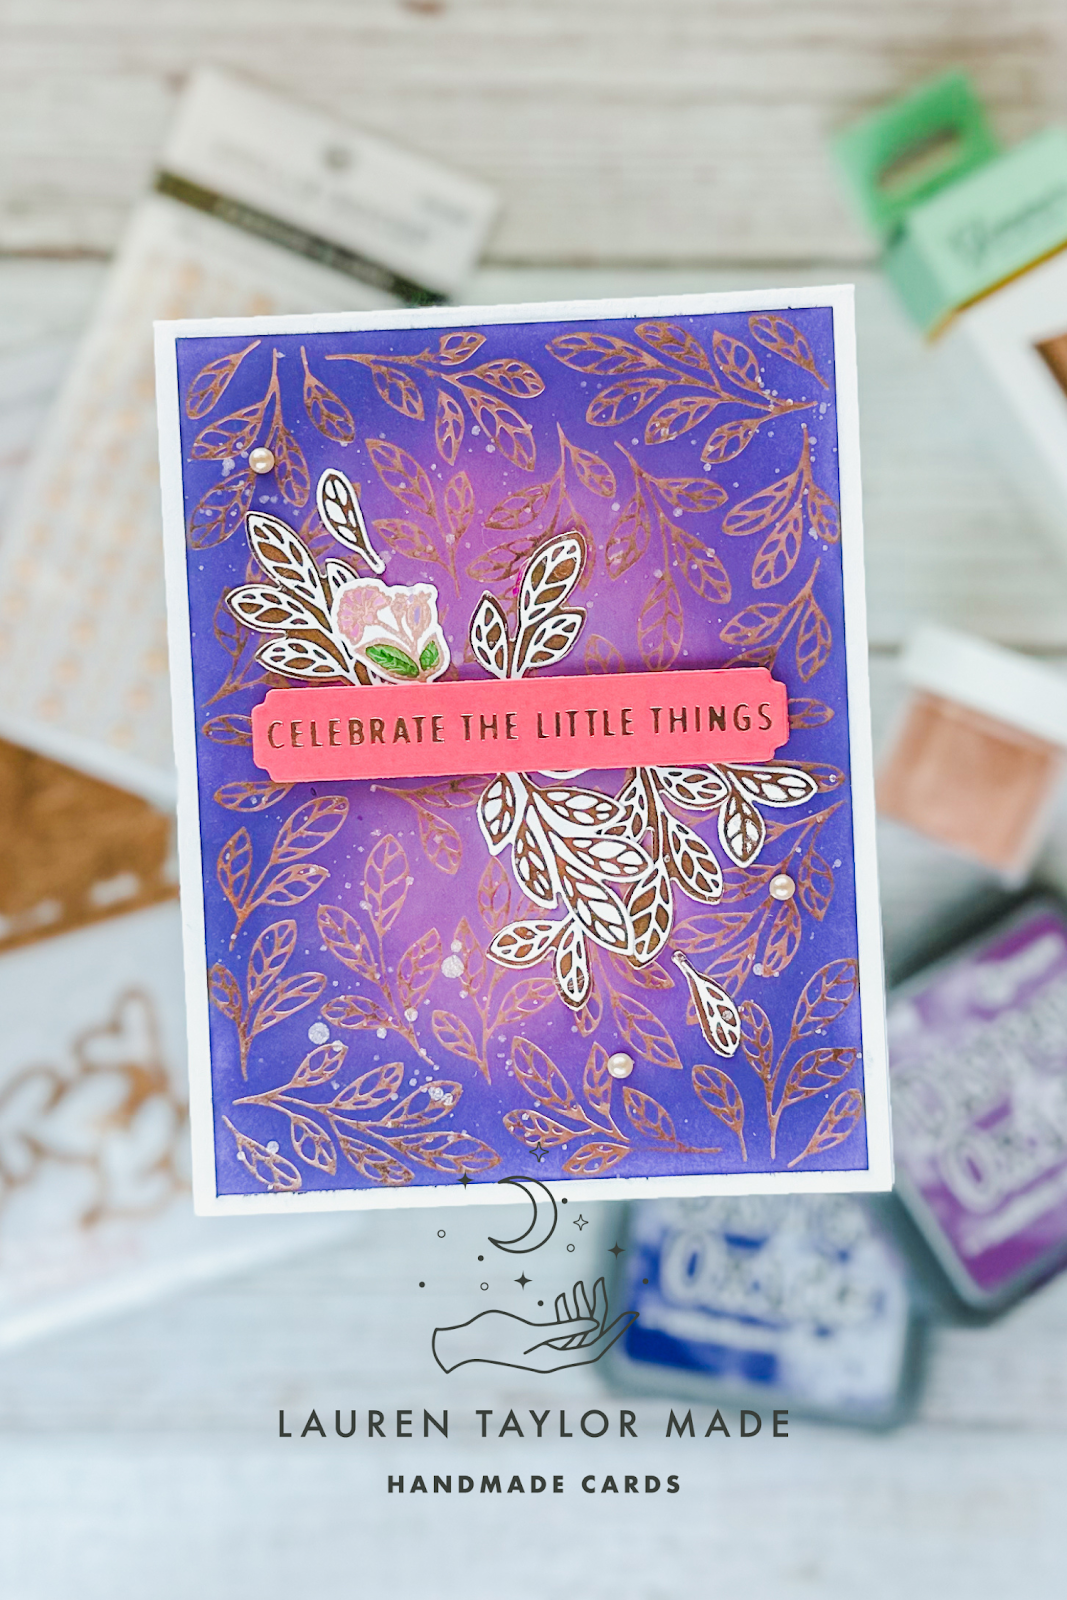
Since joining the Clear Stamp of the Month Influencer Team with Spellbinders, I have rejoined the Hot Foil Glimmer Kit of the Month! I am on the fence about the die kits, but we'll see how the next few months go... I might end up wanting the whole darn think! So while I will get to make projects a head of time to share with you the stamp and dies, I'll share an idea of matching them with the Glimmer Kit a little later since I have to wait for my kit, too.
I started with hot foiling the beautiful leaves with the Blush Foil that came with my kit two times onto white paper measured at 4 x 5-1/4". Using Seedless Preserves and Villainous Potion Distress Oxides, I ink blended onto my background. I lightly rubbed off the ink on the hot foil with a cloth and then sprinkled white metallic watercolor paint. On some scrap white paper, I hot foiled more leaves and used the coordinating dies to cut them out. I also took the negative piece of hot foil from my background and hot foiled onto white paper using my Solid Rectangle Plate, too! Using the dies, I cut them out as well and now I have a mix of what looks like Blush Foil leaves on white as well as white leaves on Blush Foil!
Before turning off my Glimmer Hot Foil Machine, I foiled a sentiment from the kit onto Dahlia Cardstock and used the die from the Clear Stamp + Die Kit of the Month to cut it out. I also stamped the smallest flower that has it's own die from the kit and embossed it in rose gold powder. I used the Distress Oxide inks to add in color to the flowers and a green alcohol marker to color in the leaves. After I cut it out with its coordinating die, I glued it down along with my die cut leaves around my sentiment strip.
Using foam adhesive, I adhered down my hot foiled sentiment and added some blush pearls. I glued this card front to a card base and then stamped a sentiment on the inside with a purple VersaFine Clair ink. I had a few extra pieces from stamping and die cutting, so I glued those inside as well. I hope you enjoyed this card and it inspires you to combine your kits from Spellbinders as well!
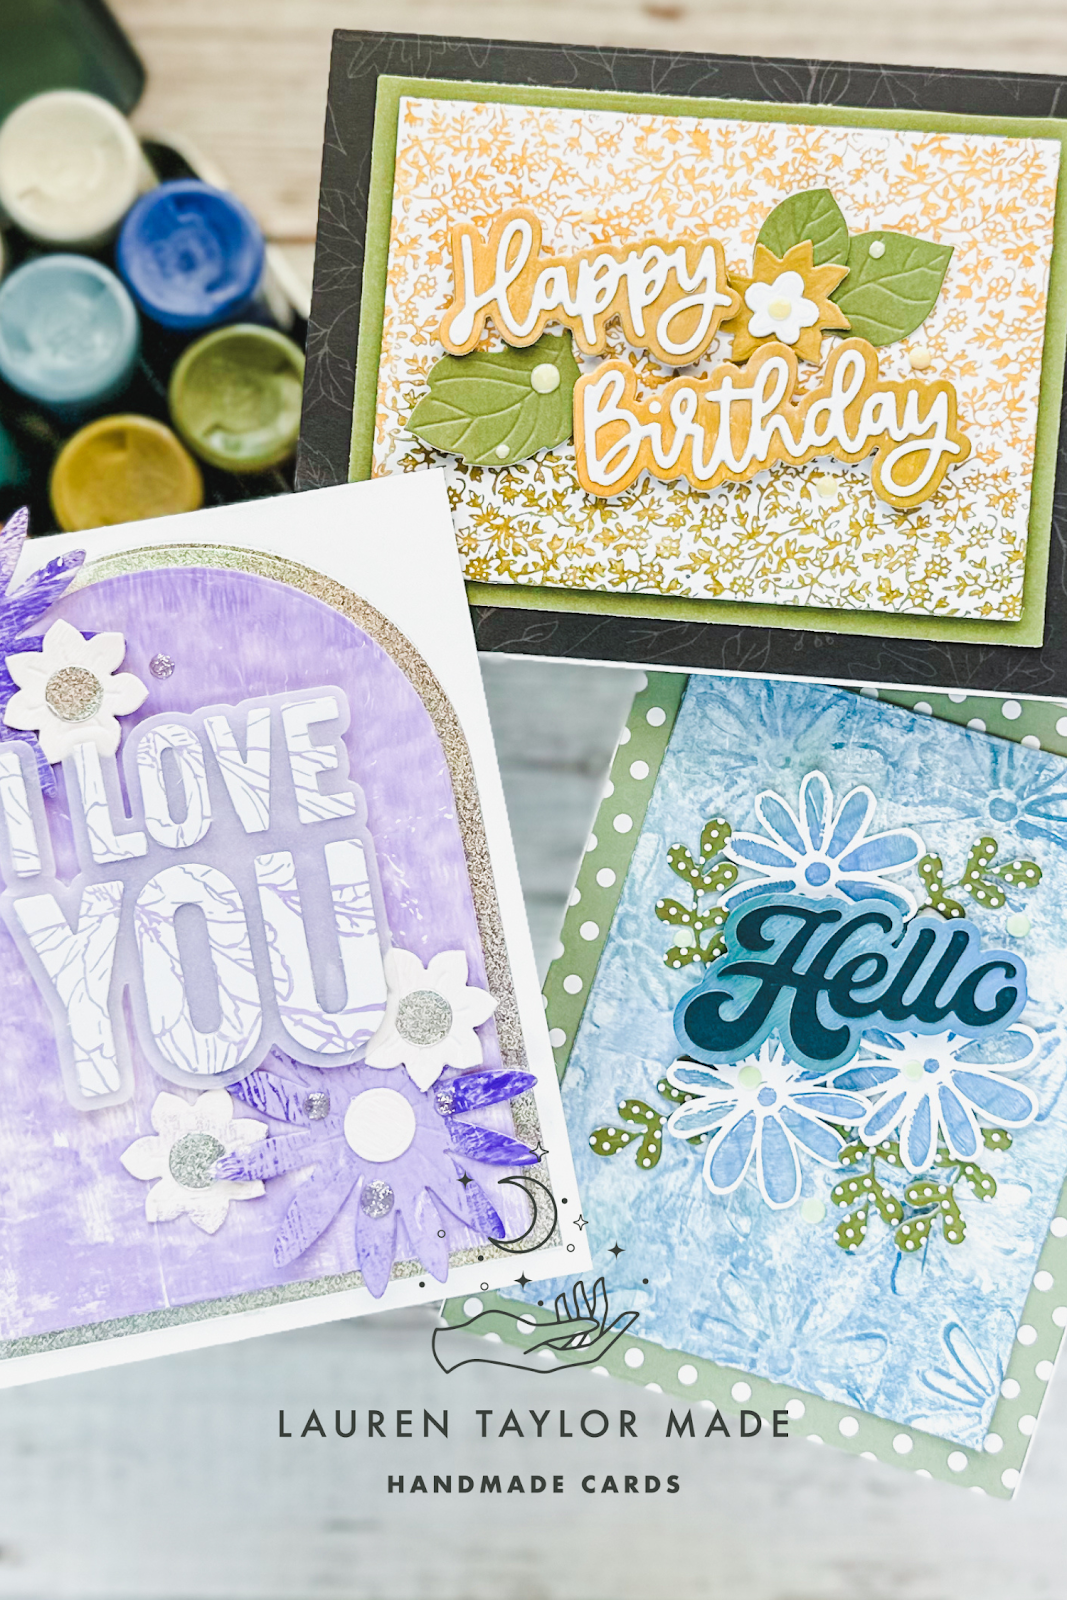
I am so excited that Tim Holtz + Ranger Ink are bringing Distress Paint colors back from the vault! I am ever more excited that there is a fabulous storage tin for them as well! Scrapbook.com gifted me the bundle as well as a few other Stampers Anonymous and Exclusive products that you can see in my video down below. While this is my first time using so many different Distress Paints on projects, I have three card ideas to inspire you today!
Now, when I saw inspire... I also mean to join me on my first Gel Plate journey with Distress Paint, haha. I am a bit of a mess at the beginning of my video today, but once I finish getting prints, I get back in the groove and share how I assembled three cards. The first, blue and green Daisy card is my favorite - the background was the best print I achieved and it makes me so happy! I also created a harvest vibe birthday card using warmer tones of Distress Paint.
Finally, I have lots of purple on a card for a loved one that also includes some holographic shine. What's even better is that this weekend, you can save an extra 11% off your bundle using the code HANDMADE over at Scrapbook.com! So get inspired with my video below and then get shopping so you can get creative, too! I hope you have fun with me on my Gel Plate journey and let me know which card is your favorite in the comments.