Showing posts with label beach. Show all posts

Summerween Beach Cards with Sassy's LLC Emergency Card Kit 113

Sunday, July 26, 2026

For these two cards I started by printing out my favorite sheets from the Sassy's LLC Emergency Card Kit 113 Summerween collection, including the adorable patterned paper with all the cute summerween images on a soft purple background, some circle and rectangle sentiments, and the two A2 sized background scenes, one featuring a picnic basket and drink on a towel and one with a camping scene on the beach. I fussy cut all the images from the printed image sheet, used a 1-3/4" punch to cut out all the circle sentiments, and followed the grid marks on the printout to trim the rectangle sentiments.

For the first card I trimmed the purple pattern paper to 4-1/8 x 5-3/8" and glued it to the center of a side folding A2 card base that I rotated to use as a top folding horizontal card, then trimmed the picnic scene to 3-1/4 x 4-1/4" and glued it onto a piece of Sugarplum cardstock cut to 3-5/8 x 4-3/8" so a little purple would show on the left, right, and bottom edges. I glued that layered panel to the very top of the pattern paper leaving about a quarter inch on the right side so it sat slightly off center, then used foam adhesive to pop up the ghost with the flower crown and sunglasses in the upper left corner so she looked like she was floating toward her little beach picnic.

I die cut a 2" circle from the Emergency Card Essentials Die Set #1 from Trinity Stamps partnered with Sassy's LLC out of more Sugarplum cardstock, adhered the "It's a Hot Ghoul Summer" circle sentiment to the center, and adhered that to the lower right of the card, then finished the inside by die cutting the scalloped rectangle from the same die set, gluing the "Spooky Vibes and Sunny Skies" rectangle sentiment to the center, and adhering that to the inside of the card.

For the second card I trimmed the beach camping scene to the same 4-1/8 x 5-3/8" size and glued it to the center of a top folding card base, then trimmed a piece of the purple pattern paper to 2 x 2-1/2" and glued it to the top of the panel leaving a half inch from the left edge. I die cut another scalloped rectangle from Sugarplum cardstock, glued the "Happy Hot Ghoul Summer" rectangle sentiment to the center, and popped it up with foam adhesive so it overlapped that purple pattern paper piece with a half inch from the right side, making both pieces even from left to right across the card.

I then popped up the bat with the flower crown with foam adhesive so she looked like she was emerging right up out of the camp scene below her, then finished the inside the same way as the first card by cutting a 2" Sugarplum circle, adhering the "Spooky Vibes and Sunny Skies" sentiment to the center, and gluing it inside the card. Every single printable used on both cards including the sentiments, images, and papers are all from Sassy's LLC Emergency Card Kit 113!

PIN THIS
SUPPLY LIST

Read More

Spe-shell Seashell Card with Pretty Pink Posh

Tuesday, July 7, 2026

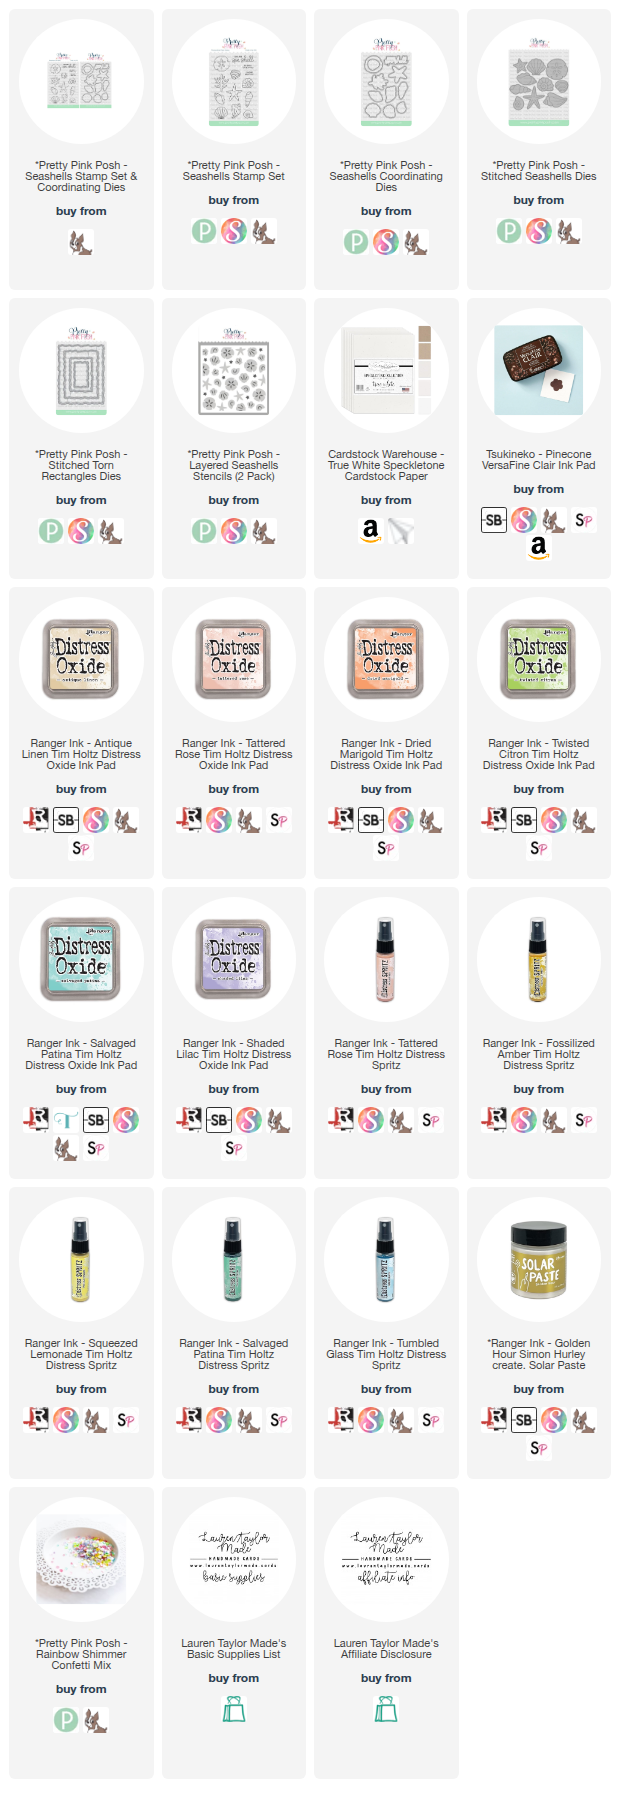
Hi, friends! Today I’m sharing a seashell-inspired card featuring some gorgeous summer products from Pretty Pink Posh’s summer release! This card is all about soft pastel rainbows and a bit of shimmer—perfect for a bright, beachy vibe. I combined the Seashells Stamp Set and Coordinating Dies, the Stitched Seashells Dies, and the Layered Seashells Stencils to bring this design to life. I started by cutting the largest Stitched Torn Rectangle Die and several Stitched Seashells from light speckled kraft cardstock. I ink blended each shell in a soft rainbow of Distress Oxides: Tattered Rose, Dried Marigold, Twisted Citron, Salvaged Patina, and Shaded Lilac. To add shimmer, I spritzed each shell with Distress Spritzes in coordinating colors and set them aside to dry.

For the background, I used the Layered Seashells Stencils to add a subtle tone-on-tone pattern with Antique Linen Distress Oxide and finished it with Golden Hour Solar Paste for extra texture and shine. I heat embossed the "You Are Spe-shell" sentiment in a deep brown ink for contrast and layered it beneath my rainbow shell arrangement. I adhered the stenciled panel to a top-folding A2 card base and popped up the shells with foam adhesive to create dimension. To finish, I added a sprinkle of Rainbow Shimmer Confetti across the card in a soft rainbow pattern to perfectly complement the shells. This card is such a fun celebration of summer, seashells, and shimmer! I love how the pastel colors and sparkly accents came together to make this design shine.

VIDEO TUTORIAL


PIN THIS
SUPPLY LIST

Read More

Monster Fun Summer SheetLoad of Cards with Scrapbook.com

Thursday, July 2, 2026

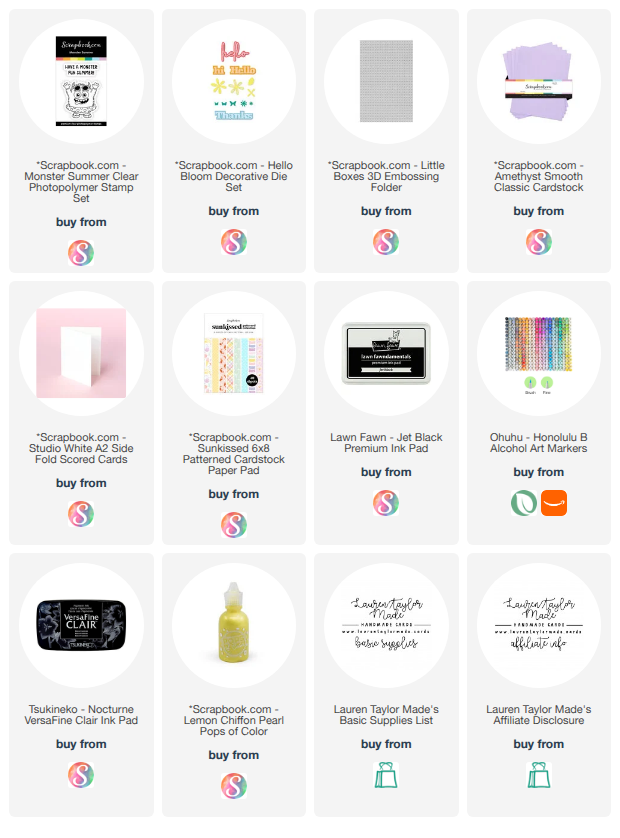
For this month's SheetLoad of Cards collaboration hop with Call Me Crafty Al's creative team, I followed the July 2026 sketch and made a whole batch of nine cards using the Sunkissed 6x8 pattern paper pad from Scrapbook.com! Even though the sketch calls for 6 by 6 paper, I easily adapted it from the 6 by 8 pad and used my favorite wavy design as the main background for all of my cards, pairing it with either a beachy pastel pattern or a starfish print for the secondary layer.

I layered the two pattern papers onto Scrapbook.com Studio A2 side fold card bases using liquid glue and my A7 Card Maker T Square to keep everything nice and straight, then created a white cardstock panel with the word "hi" die cut from the Hello Bloom die set in the lower right corner, layered that onto a light purple cardstock panel that I ran through the Little Boxes 3D embossing folder, and pressed them all together under my MISTI with magnets to give the glue time to set through all of those raised boxes..

For the focal image, I stamped the cutest little summer monster from the silly monster summer stamp set in alcohol marker friendly ink and colored him in as pastelly as I could to coordinate with all of the fun paper pad colors, then fussy cut around him and popped him up onto the sentiment panel with 1mm foam adhesive. I originally planned to stamp the "Have a Monster Fun Summer" sentiment on the front of the cards too, but there just was not enough room once everything was layered together, so the die cut "hi" ended up being the perfect solution and honestly I think it looks even cooler!

I filled in a little bit of open white space above the sentiment with Lemon Chiffon Pops of Color, tapping the back of the card so they settled flat, and stamped "Have a Monster Fun Summer" on the inside of one card with Nocturne VersaFine Clair ink while I figure out what occasions the rest will be used for. Nine cards from one sketch, one paper pad, and one silly little monster turned out to be such a fun summer batch!

VIDEO TUTORIAL


PIN THIS
SUPPLY LIST

Read More

I Lava You Fandom Friday Card with Trinity Stamps

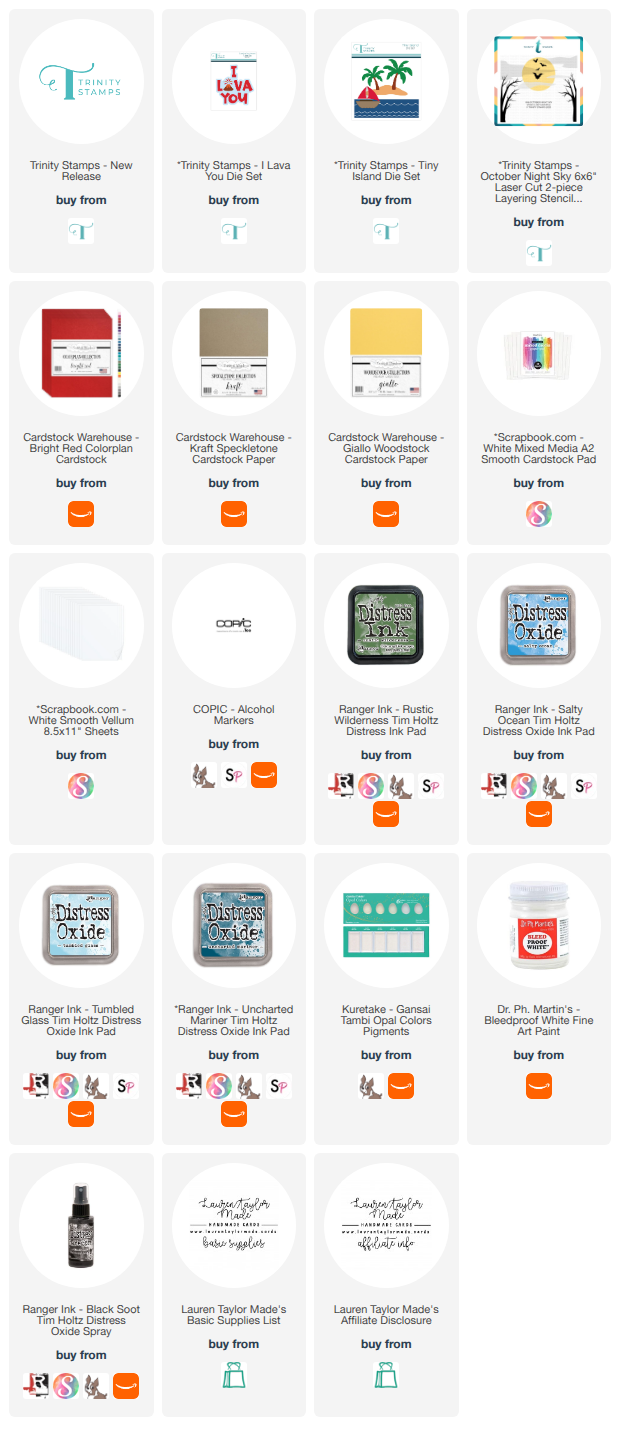
For this week's Fandom Friday, the new I Lava You sentiment from the July Trinity Stamps release immediately made me think of the Pixar short, so I ran with that as my fandom inspiration and built a whole ocean and sky scene to match! I started by ink blending a sky panel on white mixed media cardstock using Tumbled Glass Distress Oxide, holding my cloud stencils from the October Night Sky stencil set in place with magnets while I blended, then added water reactive splatters, opal pigment watercolor in a soft blue tint, and white bleedproof paint for a dreamy layered background.

For the ocean panel I blended Salty Ocean and Uncharted Mariner Distress Oxides, repeated the same splatter technique with heavier water and opal watercolor, then finished with a few flicks of Black Soot Distress Oxide spray for contrast before trimming and layering both panels together onto a top folding A2 card base with a wave die cut from the Tiny Island die set creating that soft horizon line.

For the sentiment, I die cut the I Lava You letters twice, once in yellow cardstock and once in red, then used an orange marker to hand draw an outline around each yellow letter to replicate the font style from the Pixar short before gluing the yellow letters onto the red shadow die cuts slightly offset to the bottom right for that drop shadow effect. I cut the volcano from kraft cardstock, added green Rustic Wilderness Distress Ink at the base for a grassy look, and glued the red lava die cut a little higher than intended so I would have room to draw on an adorable little face with a black pen.

I mounted the full sentiment onto a vellum shadow die cut so the ocean scene could show through underneath, tucked my lava spurts into place, added 1mm foam adhesive strips behind everything so the foam would stay hidden through the vellum, and attached the whole sentiment to the front of the card. It turned out so cute and I absolutely love that the I Lava You sentiment does all the heavy lifting for the fandom connection!

VIDEO TUTORIAL


PIN THIS
SUPPLY LIST

Read More

Capybara Beach Shaker Card with Sassy's LLC Printables

Thursday, June 18, 2026

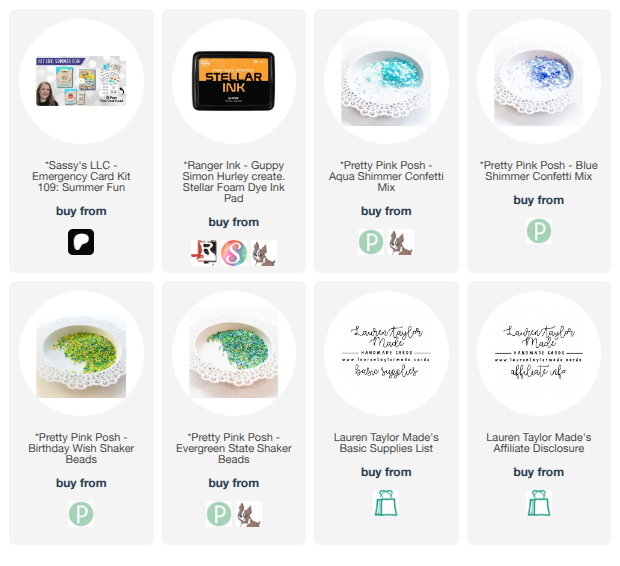
This card came together during my Crafty Besties podcast livestream, and since I do not really walk through every detail on the recording, I wanted to break down exactly how I made it here on the blog! I started by printing out a few of the papers from the Sassy's LLC Emergency Card Kit 109 Summer Fun collection, trimming the yellow scallop design to fit an A2 card base, then cutting a 2-1/4 x 4-1/4" rectangle out of the center of that panel so I would not waste any of my pretty printed paper on a piece that was just going to get covered anyway.

I used Guppy Stellar Ink to darken the edges of both of those scallop panels, then printed and trimmed one of the beach scene panels down to 4 x 5-1/4" and a separate panel down to 2 x 4" featuring the cutest little capybara floating along in a flamingo floaty with the sentiment "Thanks for keeping me afloat." I glued the sentiment panel onto the smaller scallop panel, then attached the larger scallop panel onto a top folding A2 card base to start building everything together.

For the fun part, I took the beach scene panel I had printed and cut and turned it into a full panel shaker using clear plastic, filling it with a mix of sequins and shaker beads from Pretty Pink Posh, including Aqua Shimmer Confetti Mix, Blue Shimmer Confetti Mix, Birthday Wish Shaker Beads, and Evergreen Shaker Beads, then sealed the shaker closed.

I added 1mm foam adhesive to the back of the shaker panel and added it to the center of the card front. I then adhhered the smaller scallop and sentiment panel with double sided adhesive and attached it right to the center of the shaker. This card looks so simple at first glance, but the printed paper is gorgeous on its own, and adding that shaker element gives it so much movement and the best little rattling sound when you shake it!

VIDEO TUTORIAL


PIN THIS
SUPPLY LIST

Read More

Good Vibes Surfing Beach Scene Card with Pretty Pink Posh

Tuesday, May 12, 2026

Hi friends! Today, we’re heading to the beach with a sunny, surfboard-inspired card that’s packed with good vibes and some new Pretty Pink Posh favorites. I combined several fun products from the summer release to bring this beach scene to life, including the Beach Fun Stamp Set and Coordinating Dies, Chevron Pierced Plate Die, Good Vibes Shadow Dies, and the Shoreline Borders Dies. I started by cutting the Chevron Pierced Plate from light blue cardstock to create a textured background. Then, I cut layers of darker blue, teal, and sandy kraft cardstock using the Shoreline Borders Dies to build a wavy beach scene. Once I had the layout just right, I trimmed the layers to size and stamped three surfboards from the Beach Fun Stamp Set onto alcohol marker-friendly cardstock. I colored each board in bold summer tones: one in red and orange, one in teal and blue, and another in yellow and green for a playful variety.

Using the Good Vibes Shadow Dies, I cut the word pieces from glitter white cardstock and layered them on vellum for a dimensional sentiment. To add a subtle sparkle, I splattered my background layers with clear shimmer and white ink, and I added Vintage Photo splatter on the sandy border to give it extra texture. I carefully layered my ocean and sand pieces, leaving room to tuck in the surfboards. I placed the red surfboard further back in the waves, laid the teal board flat on the sand, and propped the green board slightly to the side for balance. I finished off the card with the Good Vibes sentiment positioned at the top and added tiny seashell clay pieces from the Underwater Clay Confetti Mix for a little extra beachy detail. This card is a perfect reminder of sunny days and ocean breezes, and I loved using these Pretty Pink Posh products to bring the beach to life. I hope you’re inspired to create your own shoreline scenes and get creative with layering border dies. Thanks so much for joining me today—happy crafting!

VIDEO TUTORIAL


PIN THIS
SUPPLY LIST

Read More

You're Ink-redible - New Release from Simon Hurley create. and Ranger Ink!

Friday, June 27, 2025

I am so excited to share this underwater scene featuring brand new products from Simon Hurley create. and Ranger Ink! This card is filled with inky layers, texture, and playful ocean vibes. I started by trimming a piece of watercolor cardstock to 4" x 5 1/4" and ink blending High Tide Stellar Ink using a Simon Hurley create. blending brush. I added the first layer of stenciling with the Bubbly stencil and Clear Skies Stellar Ink, then used the Fish Frenzy stencil with Clear Skies Astro Paste to build up more ocean texture. I set this aside to dry and moved on to stamping the Saltwater peel-apart rubber stamp on another watercolor panel using Clear Skies Stellar inks. I sprayed the panel with Neptune Solar Spray for a soft shimmer and added custom splatter using No Diving Lunar Paste. Once dry, I trimmed the stamped piece into two sections to layer on my card.

I glued one section of the stamped Saltwater design onto the stenciled background, then stamped and die cut the octopus from the Under the Sea photopolymer stamp set in Crown Me ink. I stamped the seashells in Prom Queen, Rosy Cheeks, Slippery When Wet, and Traffic Cone inks and added bubbles in High Tide Stellar Ink for extra detail. I arranged all the stamped images around the card, popping up the octopus and the bottom ocean piece with foam adhesive for dimension. To finish, I stamped the sentiment “You’re Ink-Credible” from the Under the Sea set and added the full panel to a top-folding A2 card base. This card was such a blast to create with the new Simon Hurley create. release, and I can’t wait for you to get your hands on these inky goodies!

VIDEO TUTORIAL


PIN THIS
SUPPLY LIST

Read More

Summer Living Beach Scene Card

Friday, June 13, 2025

Ahoy, paper crafting enthusiasts! Get ready to ride a wave of creativity with me today as we dive into a fun and sunny card-making project featuring the amazing products from Cardstock Warehouse! There's nothing quite like crafting a little piece of paradise, and with the right supplies, you can transport yourself (and your lucky recipient) straight to the beach. I used Scrapbook.com's Beach Vacation die set and a delightful array of Cardstock Warehouse cardstock, and the result was a vibrant, textured beach scene that I can't wait to share with you. The quality and variety of papers available at Cardstock Warehouse truly elevate any project, and this card is a perfect example of how their selection can bring your creative vision to life.

To create this little slice of seaside bliss, I started by gathering a beautiful mix of Cardstock Warehouse papers. For the sky, I chose the shimmering Aquamarine Starre cardstock, which instantly evokes the sparkle of the ocean, cutting it with an A2-sized die. Next, I selected Stone Colorplan cardstock for the sand and used a border die from the "Beach Vacation" set to create a fun, textured edge. I also die-cut the adorable palm trees, beach ball, sun, beach chair, and umbrella from various brightly colored Cardstock Warehouse papers. To add depth, I assembled the chair, umbrella, and beach ball, but for the sun and palm trees, I first added Mustard Seed Distress Ink to the sun and Mowed Lawn Distress Ink to the palm fronds. 

To give the sand a realistic, textured feel, I distressed the bottom half of the Stone cardstock with Vintage Photo Distress Ink, letting the color gradually fade towards the top. Then came the fun part—splattering! I squished some Vintage Photo ink onto my glass mat, spritzed it with water, and used a paintbrush to flick splatters onto the sand, repeating with white paint for even more dimension. Once dry, I adhered the shimmering Aquamarine sky to a card base, then glued the textured sand panel in place. Finally, I layered all the die-cut elements onto the scene using a mix of liquid glue and foam adhesive for added dimension, trimming any pieces that extended beyond the card edge. The result is a charming and tactile beach scene that perfectly captures the joy of a sunny getaway, all thanks to the fantastic selection at Cardstock Warehouse!

PIN THIS
SUPPLY LIST

Read More

Summer Vibes Cards with PopsicleSticks Card Building Dies

Saturday, September 21, 2024

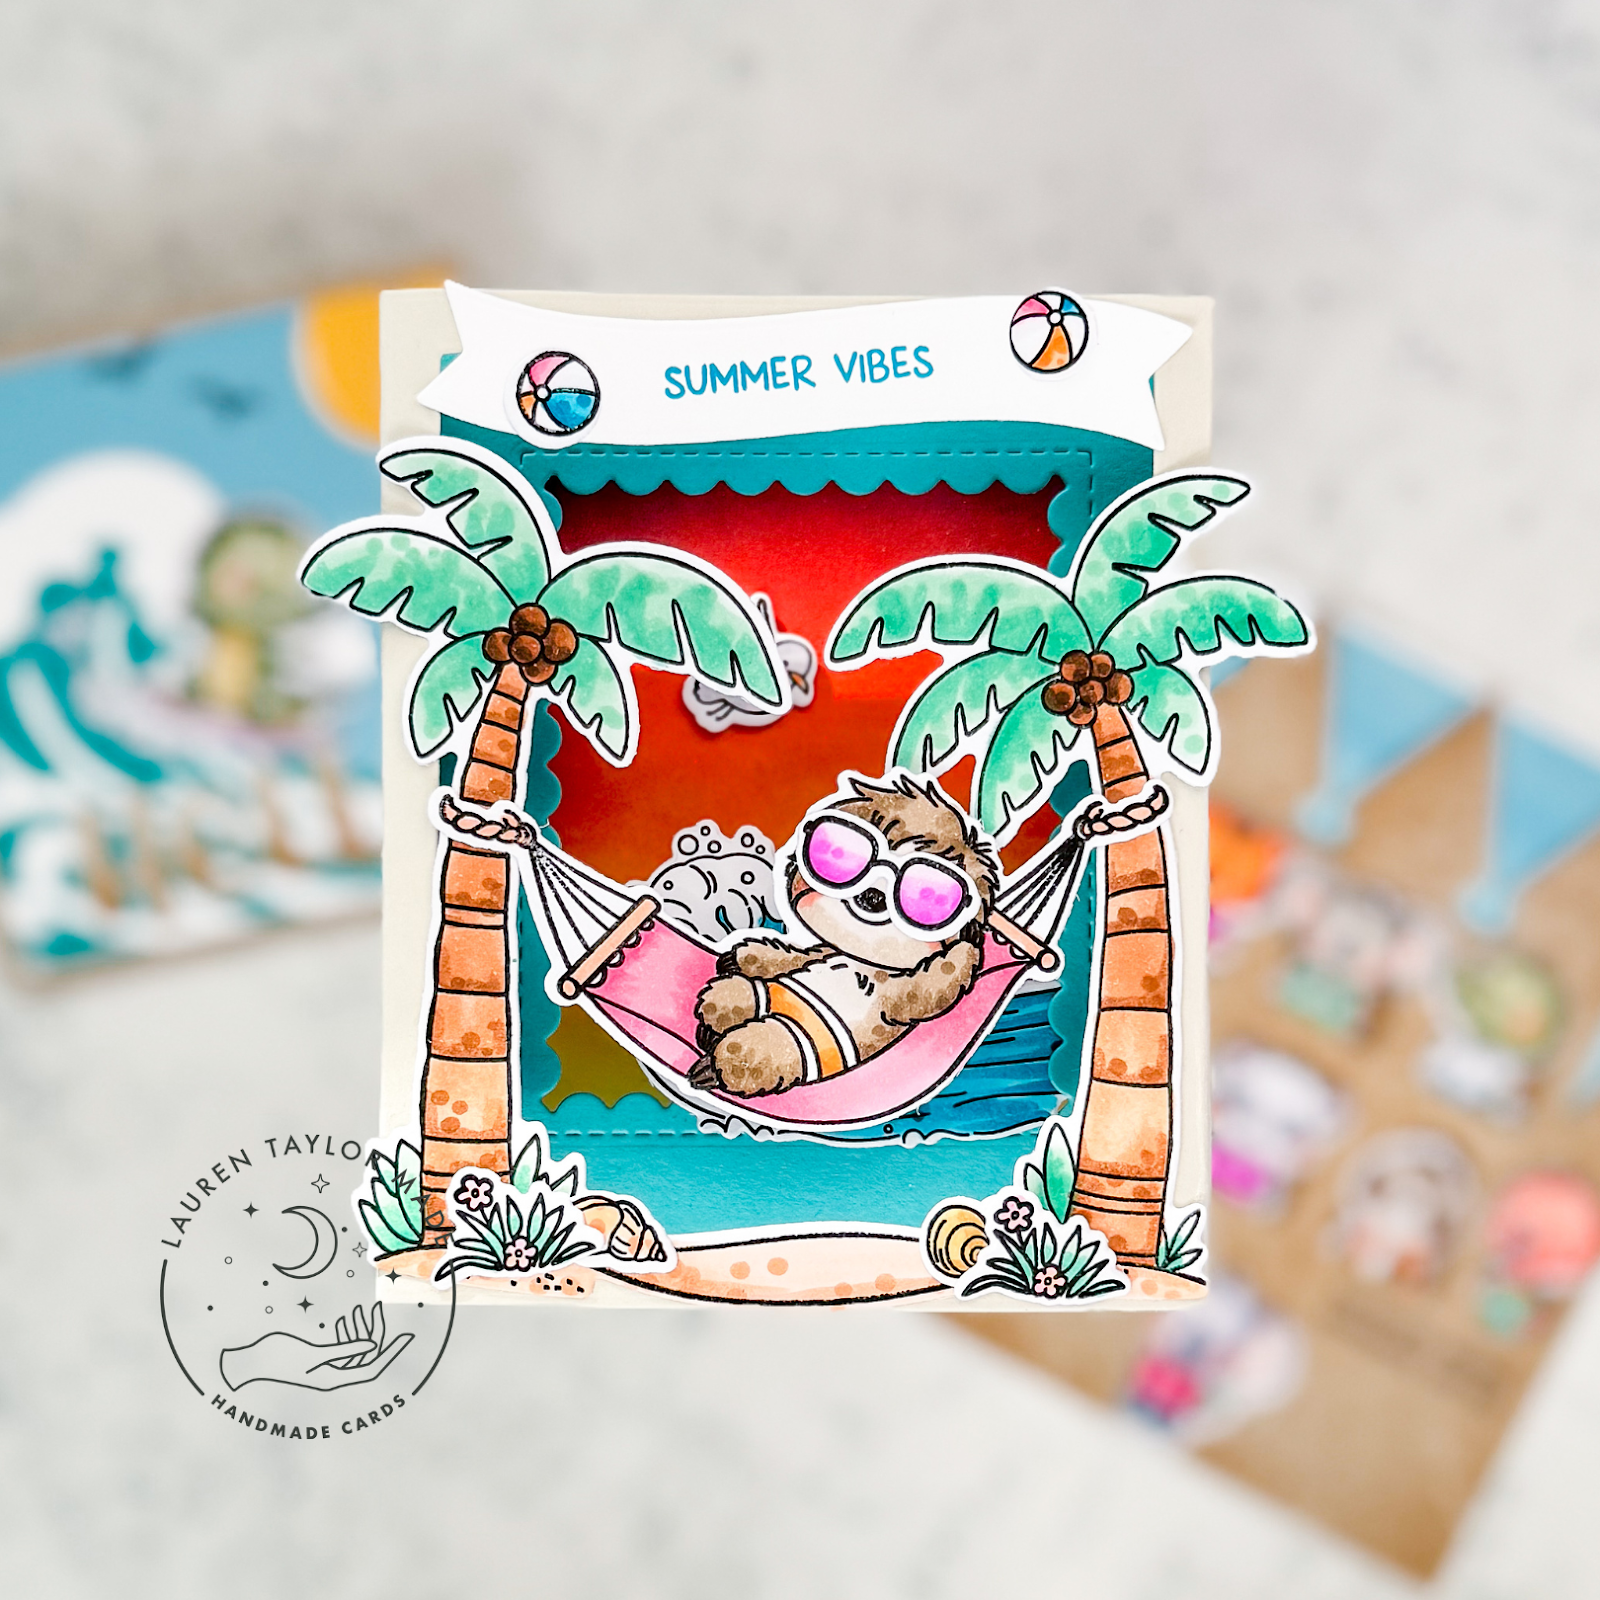
Hi, friends! This post is not going to be very informative... Just wanted to share some photos with you and promote my crafty friend's amazing die sets. I bought the first Hello Bluebird kit(s) and decided to do a ton of stamping one night followed by even more coloring. I love Hello Bluebird images and something about the surfing critters just drew me in and I needed them! 

After I finished all of the die cutting, I thought it would be fun to partner these adorable images with some of my card building die sets from PopsicleSticks! I linked her dies from her Etsy shop down below. I used lot of scraps - most of my cardstock is from Lawn Fawn - as well as some desert storm cardstock. But, I really didn't write anything down or take note of what I used. I just made these cards for fun and to experiment with the die sets.

So, not really much to blog about, but I hope my projects bring you a smile and direct you on over to the Etsy shop where you can get these fantastic card building dies for yourself! I'm IN LOVE with how my easel card turned out - let me know what you think and which card is your favorite from the bunch. I can't wait to create more - I'll be making a video with more of her dies soon!

PIN THIS
SUPPLY LIST

Read More