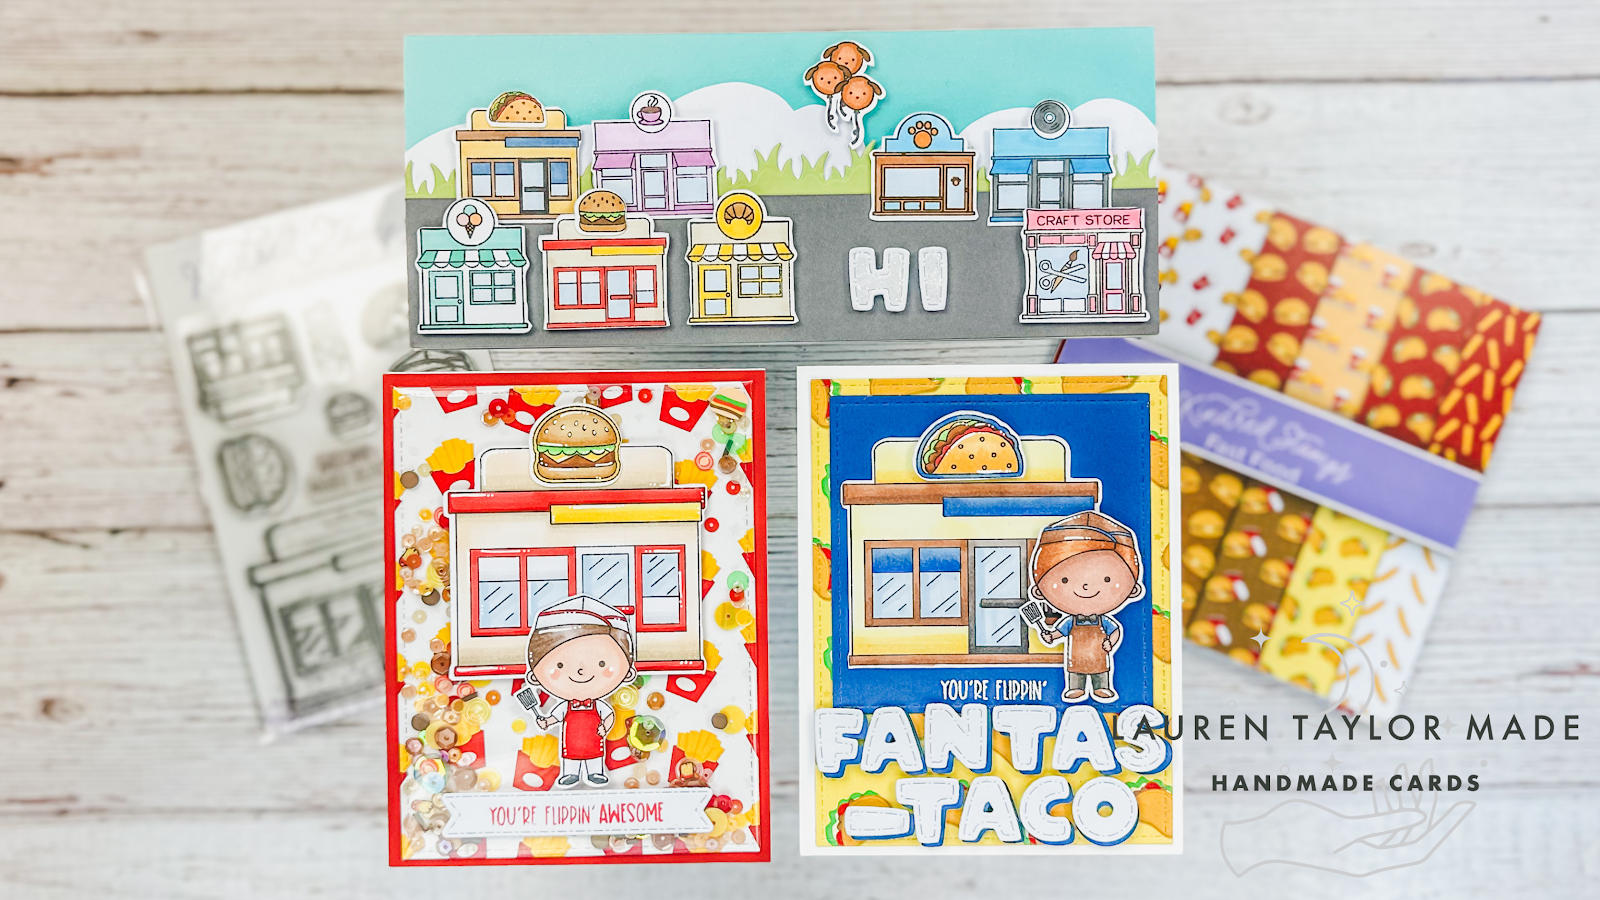
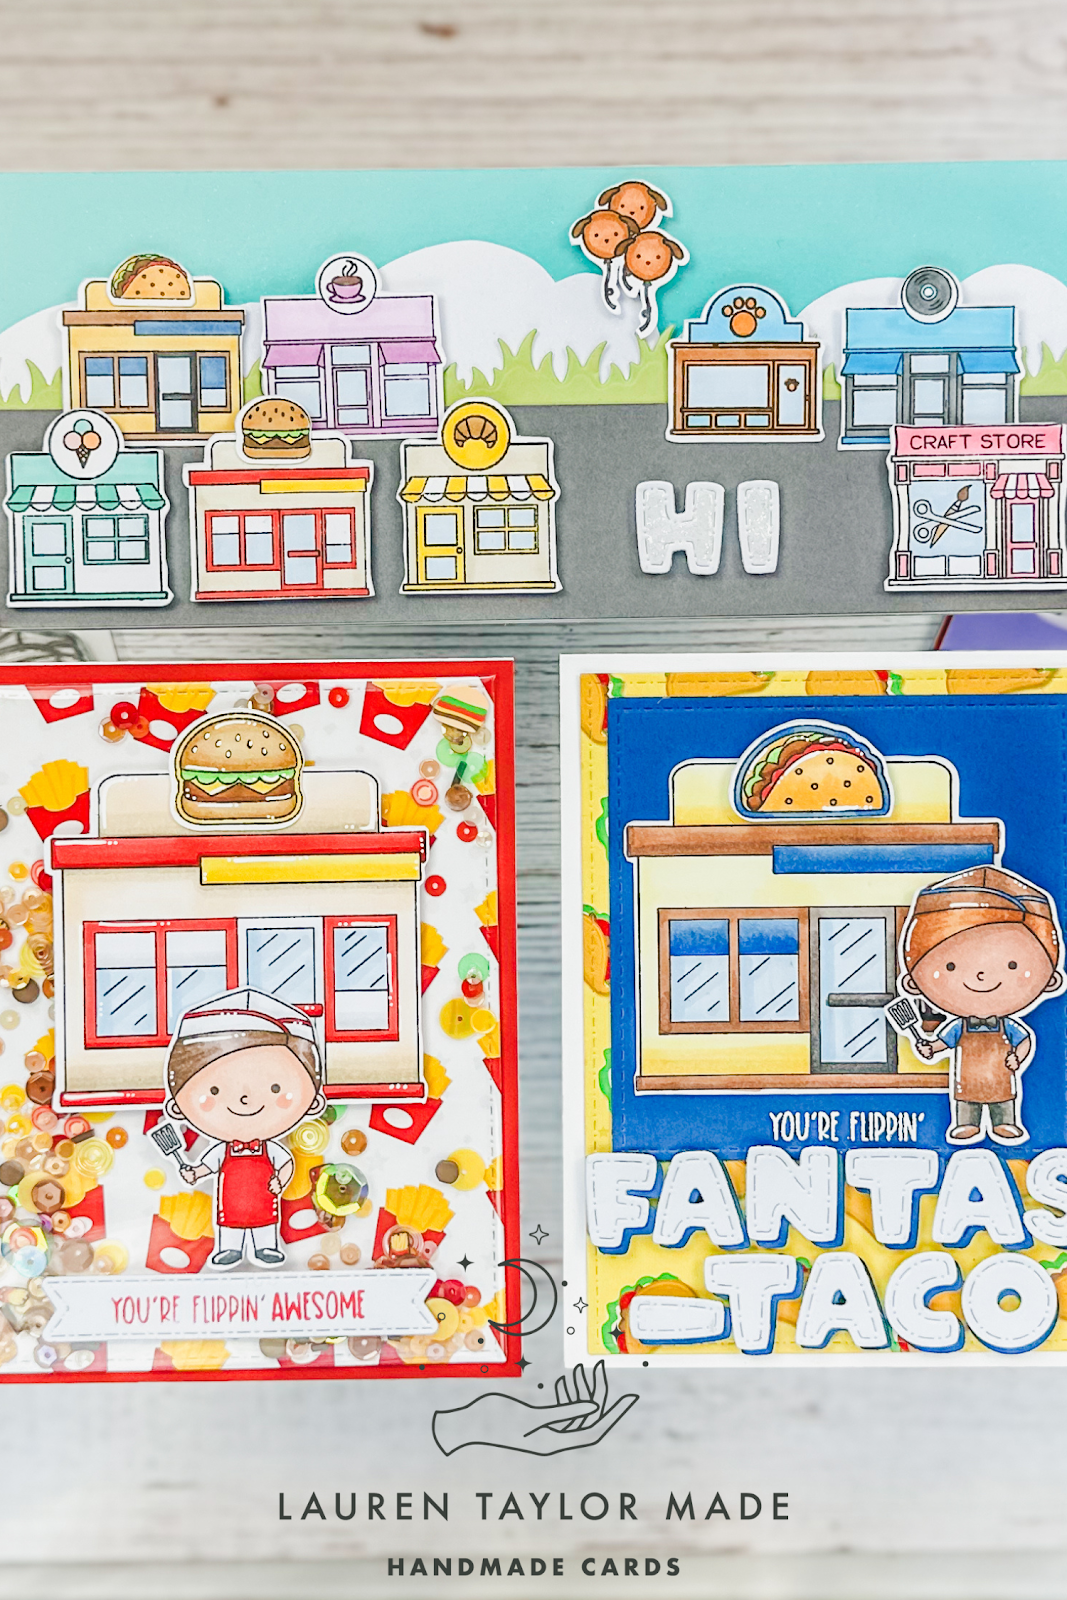
I am so excited for the new Kindred Stamps release! I have been collecting the different Kindred Town stamp sets so I can make my own little town, and I have a street of buildings ready for this release. I also used the new Kindred Town: Fast Food stamp set and Fast Food paper pad for two cards to feature what you can make with these new products.
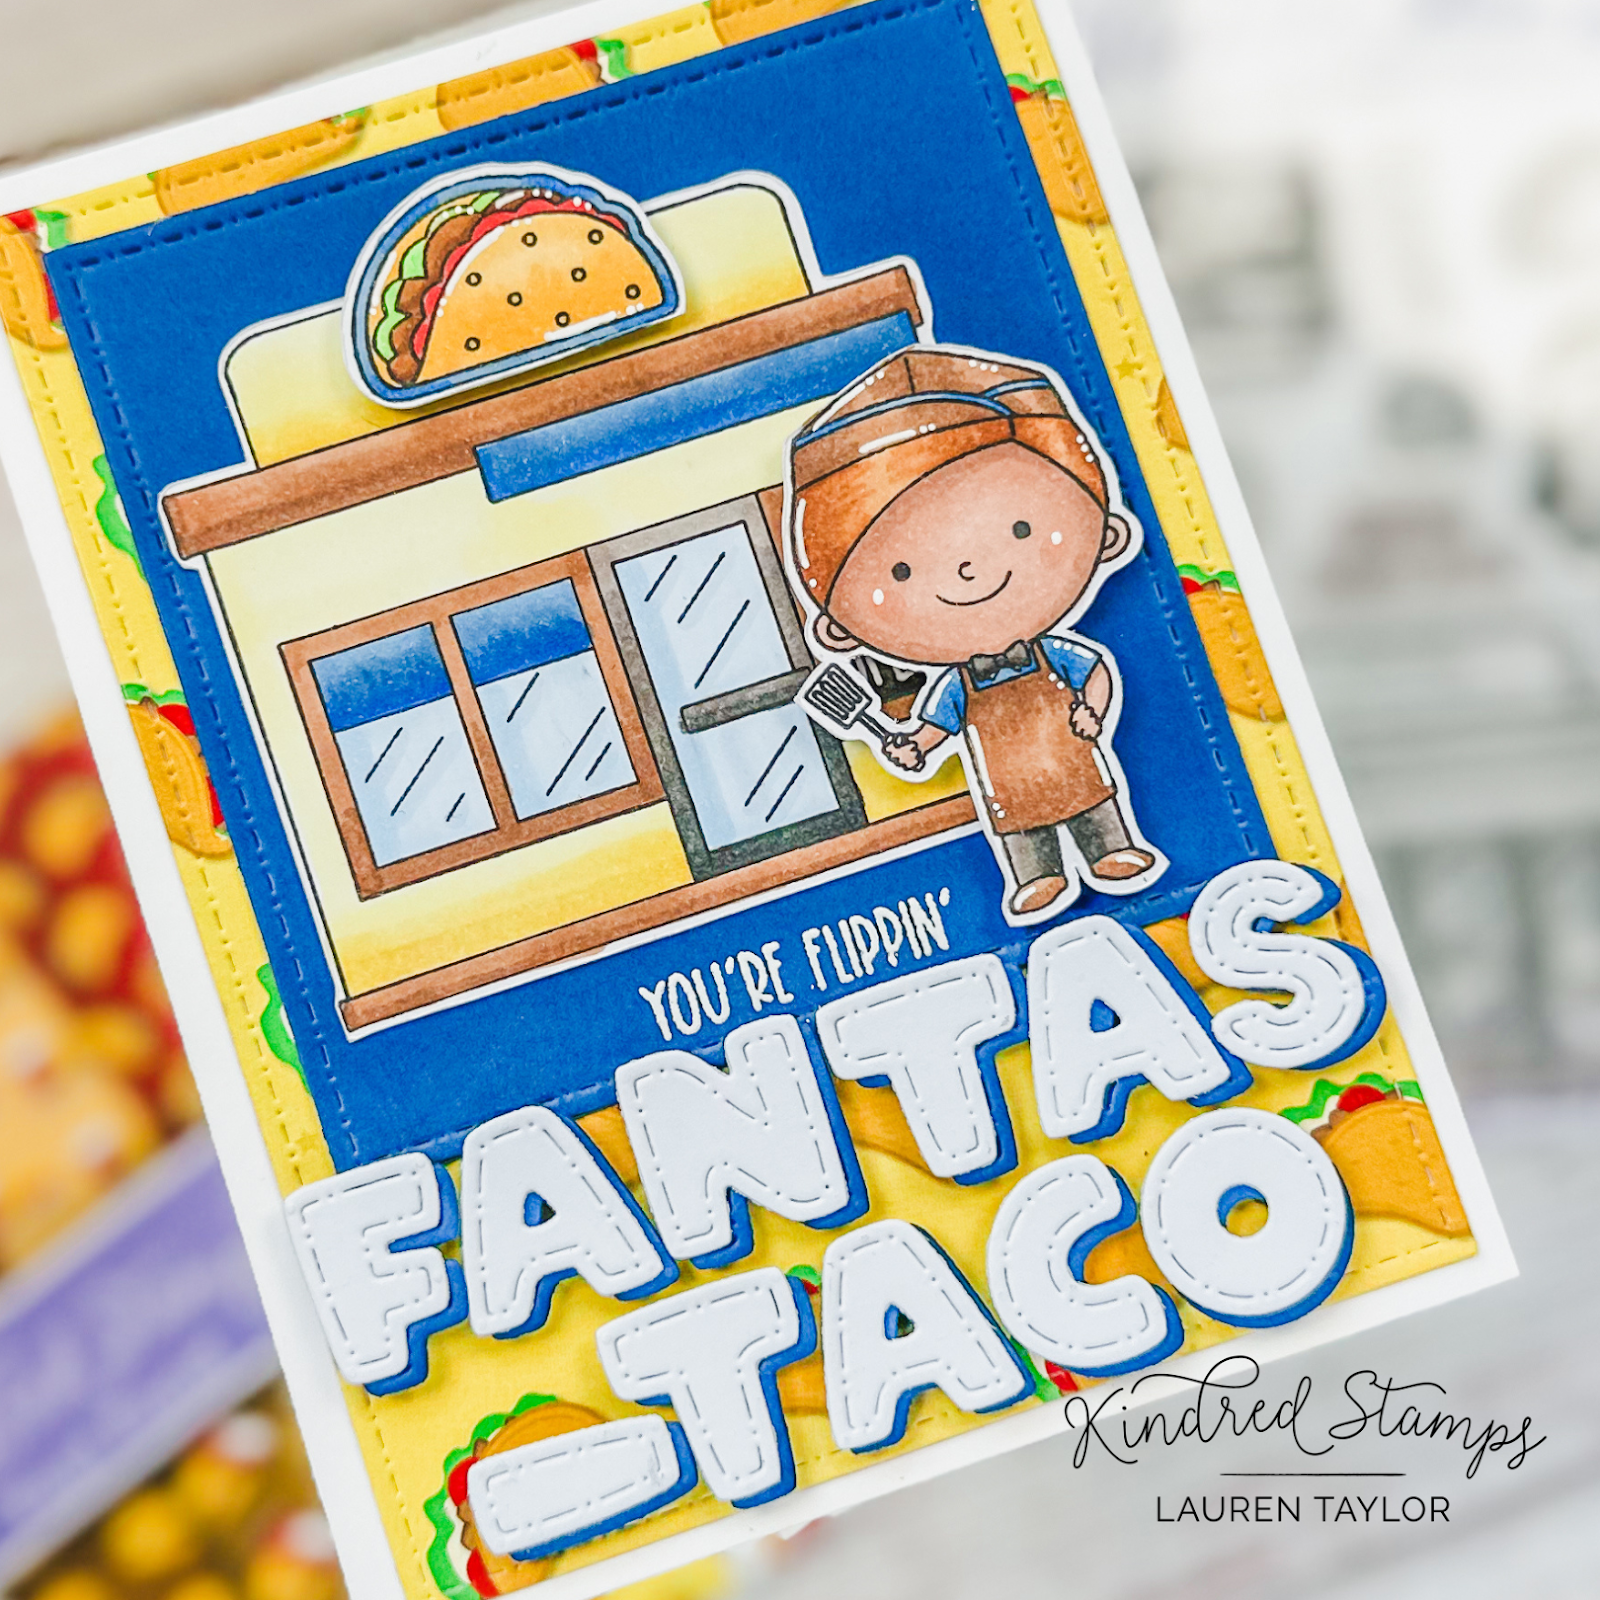
Using my stitched dies from Kindred Stamps, I made a taco background for the card and added a piece of blue cardstock that was cut with the dies, too. My sentiment is embossed in white and also die cut from blue and white cardstock to make a taco pun. I stamped and colored my images in with alcohol markers and used my Scan N Cut to cut my images. My background, blue cardstock and fast food building are glued to my card base, then popped up my taco, worker and die cut sentiment with foam adhesive.
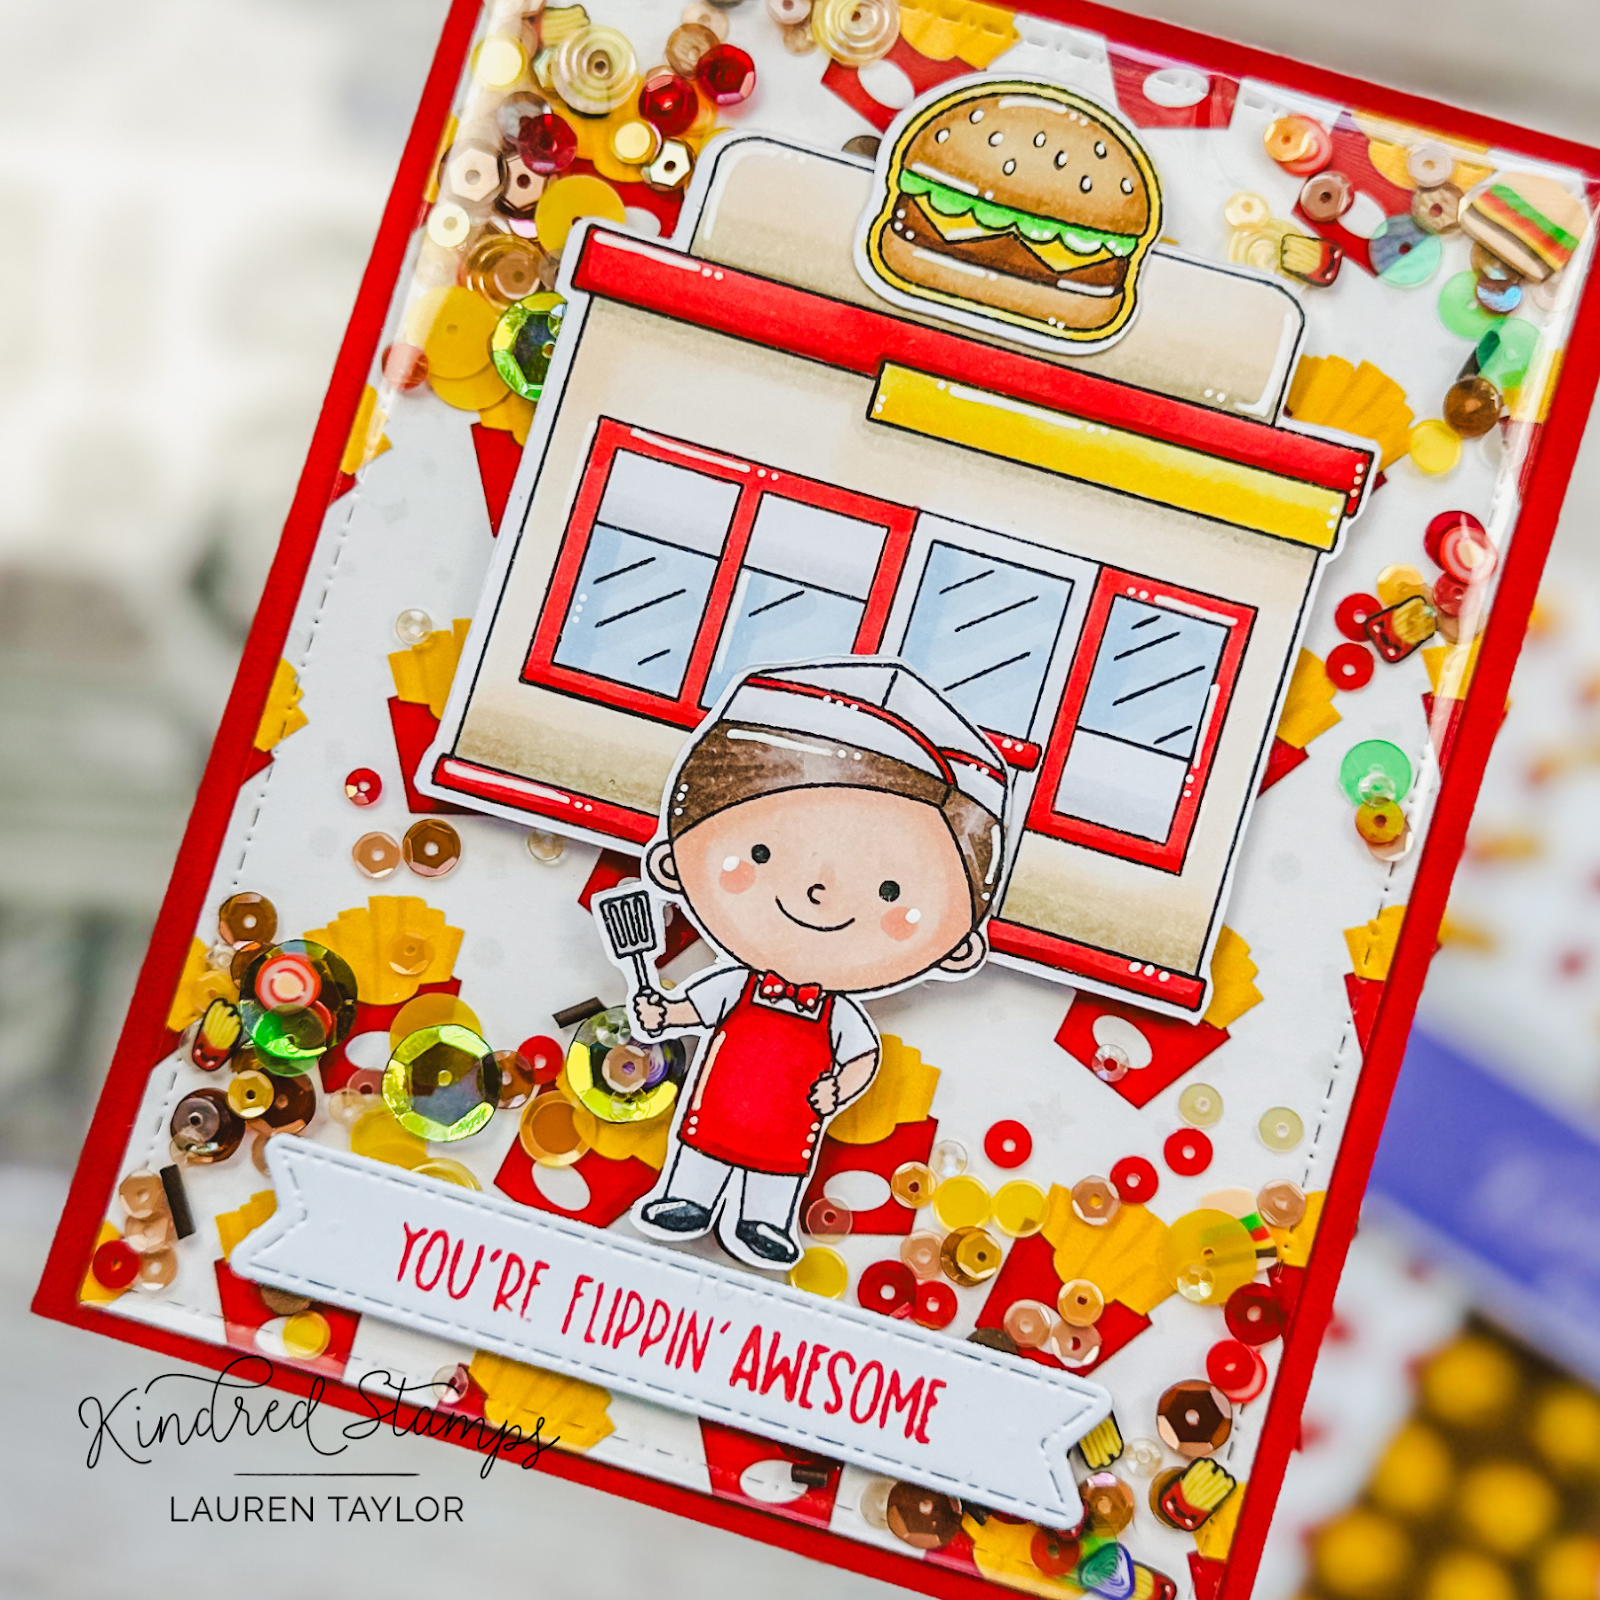
I stamped the building and worker again, but this time with a hamburger. After coloring my images and cutting them out with my Scan N Cut, I die cut another background with my stitched dies and created a shaker panel with a retired fast food sparkle blends mix. I glued my panel down to my card base, then the shaker panel and all of my images. My sentiment was die cut from a sentiment strip and I stamped my sentiment in red ink to match the theme of my card.
My final card is a slimline so I could fit in lots of mini buildings from my Kindred Town sets! I cut my own clouds out of white cardstock and glued it to a blue panel that will fit a slimline card base. Before gluing it to my base, I added some Glitter Dust for some subtle shine to the background. Using green cardstock, I die cut a grassy background, but I'm going to pretend it's a forest or tall grass for behind my buildings. The final layer is the grey cardstock to create a street for my buildings. I stamped my images from different Kindred Town sets, colored them in with alcohol markers and cut them out with my Scan N Cut.
The buildings in the back are glued down to the card base and the buildings in the front are popped up with foam adhesive. I also popped up a "HI" sentiment as I think the would be a cute welcome to the neighborhood card! I hope you like my inspiration with this new set and the release will be this Friday. I'll make sure you update my Supply List below once the links are live!
PIN THIS
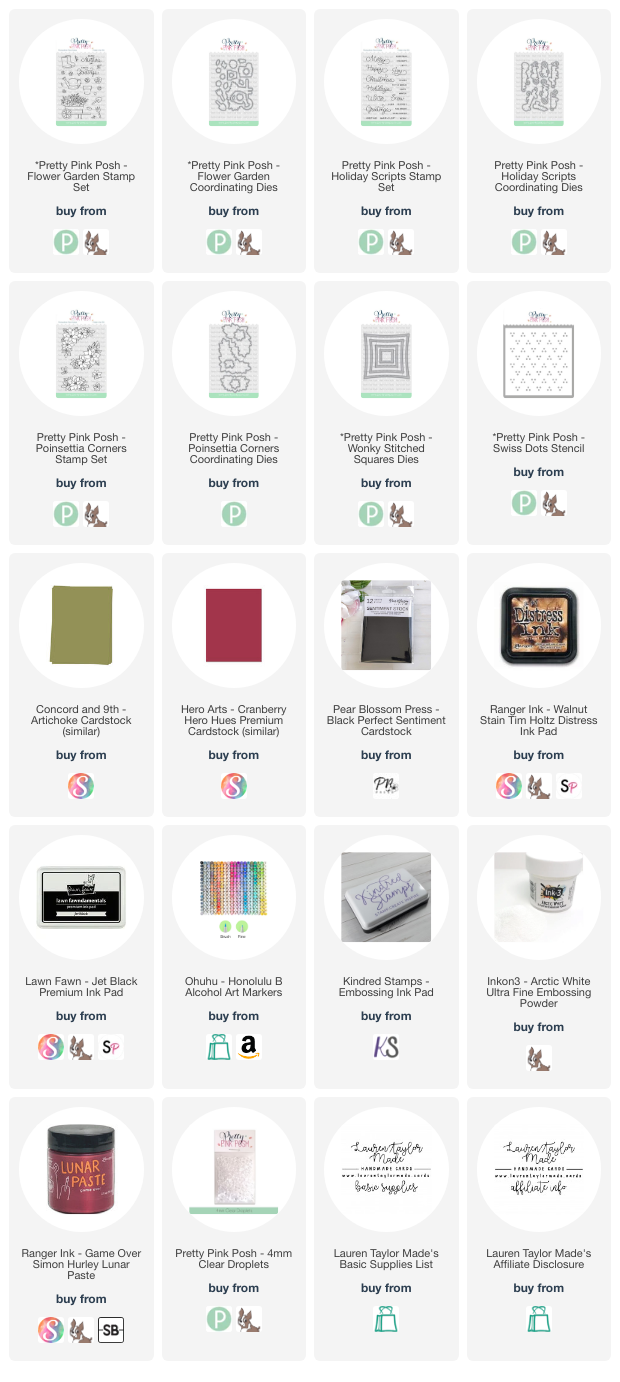
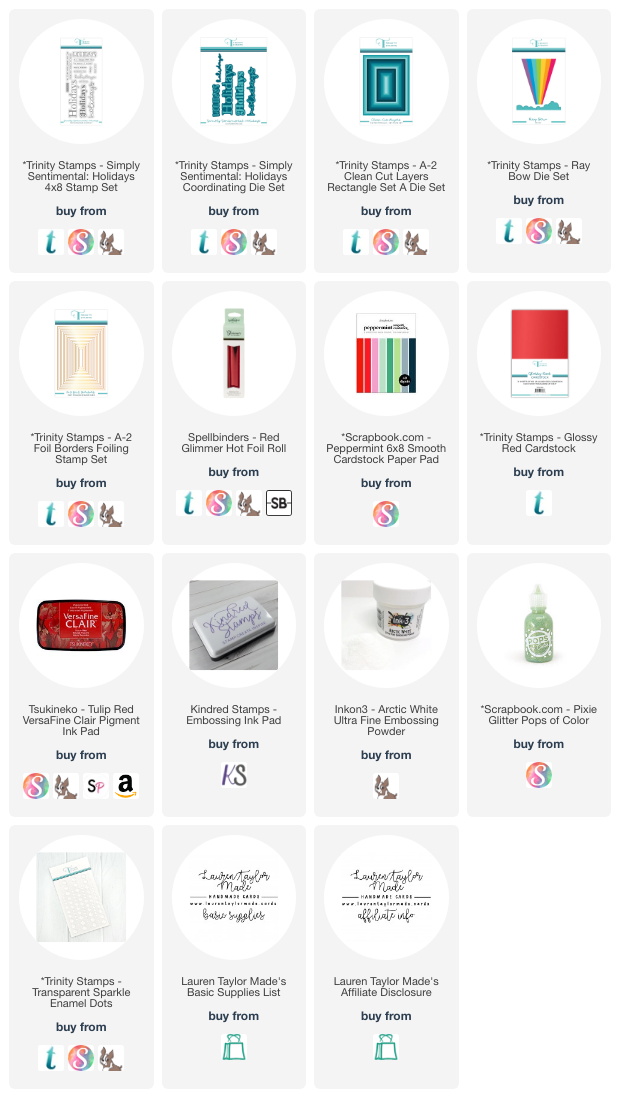
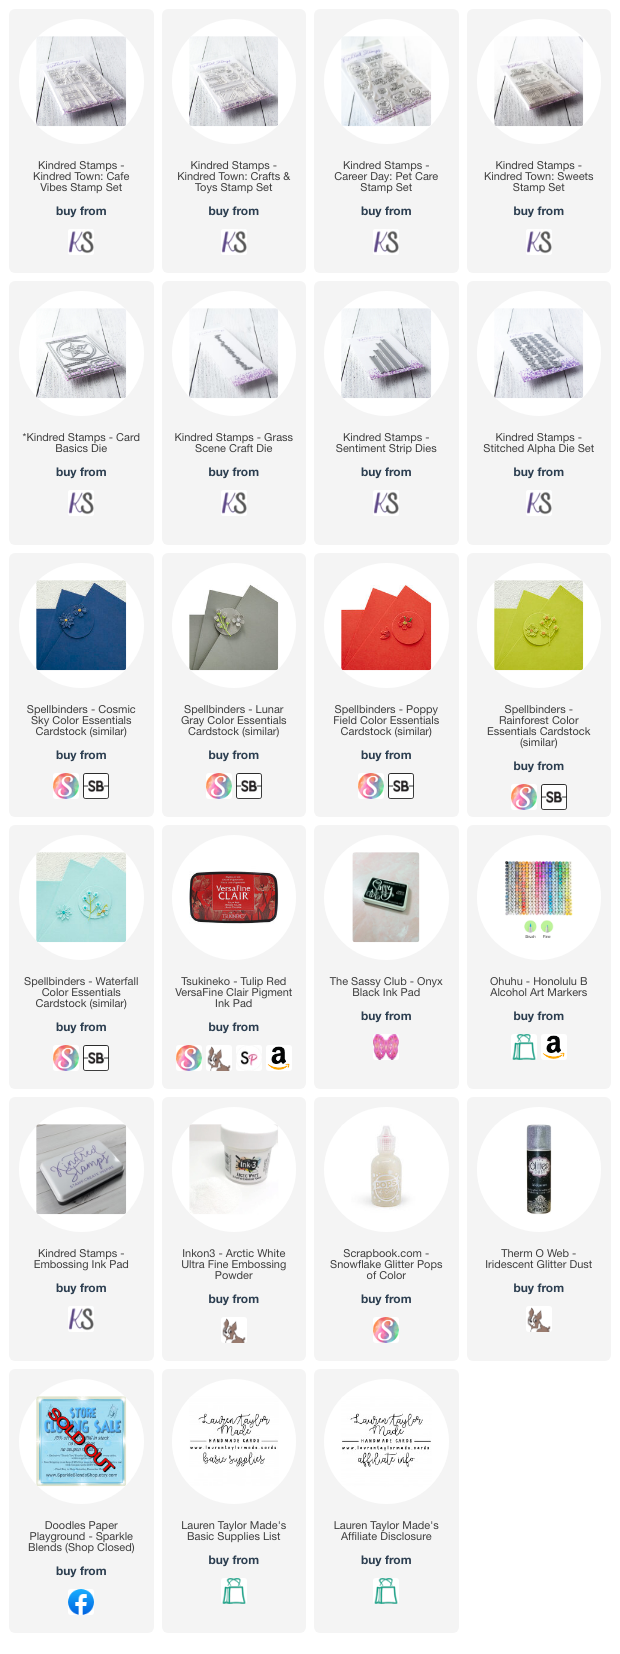
SUPPLY LIST
Read More