Showing posts with label miss ink stamps. Show all posts

You're a Scream May SheetLoad Fandom Cards with Miss Ink Stamps

Saturday, May 2, 2026

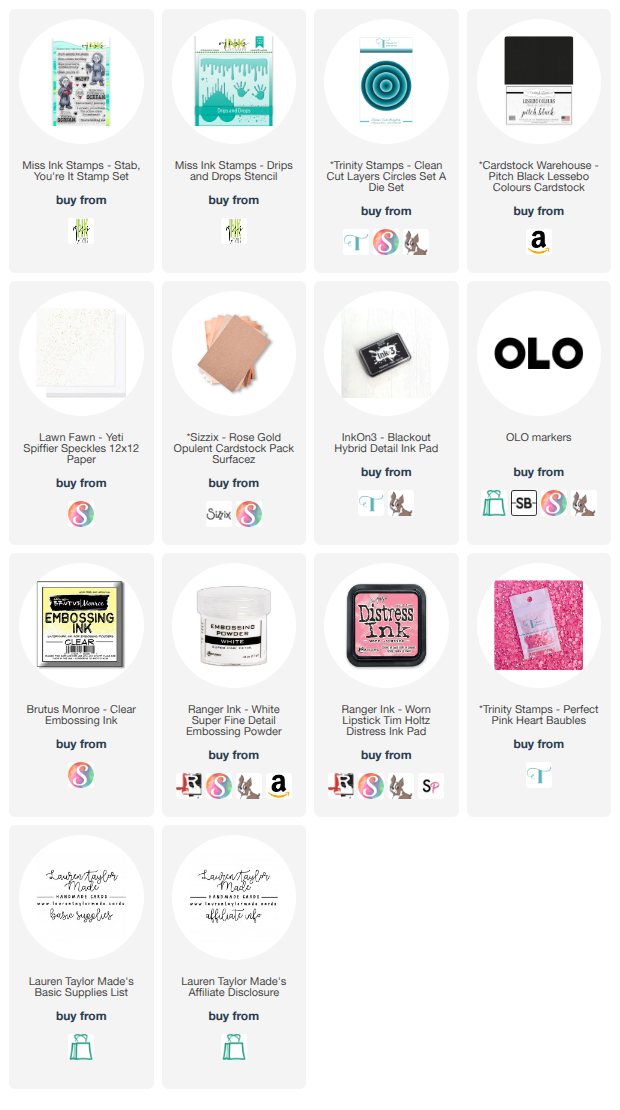
Hi friends, today I am diving into the May 2026 SheetLoad of Cards using products from Miss Ink Stamps with a little spooky fandom twist. I started by choosing bold splatter pattern paper from my stash and layered in even more texture using the Drips and Drops stencil. I first tried a lighter pink ink but quickly switched to a deeper lipstick shade for that dramatic, drippy effect that really pops against the paper. Once all of my pieces were stenciled, I followed the SheetLoad sketch to trim everything down and began assembling my panels onto black card bases to really ground all of those bright and bold elements.

Next, I created the focal point using layered circle dies, cutting a white base and a smaller black circle for the sentiment. I heat embossed the phrase “You’re a scream” in white on the black circle for a crisp, high contrast look, then adhered it to the white layer before popping it up onto the card front with thin foam adhesive. I stamped, colored, and fussy cut my character image, added a few white gel pen highlights, and adhered it to the circle for dimension. To finish everything off, I scattered pink heart embellishments around the sentiment for a playful contrast to the spooky theme. This design is easy to repeat across the full SheetLoad layout, making it perfect for creating a whole set of bold, fandom-inspired cards.

VIDEO TUTORIAL


PIN THIS
SUPPLY LIST

Read More

Some Pig Fandom Friday Card with Miss Ink Stamps

Friday, February 6, 2026

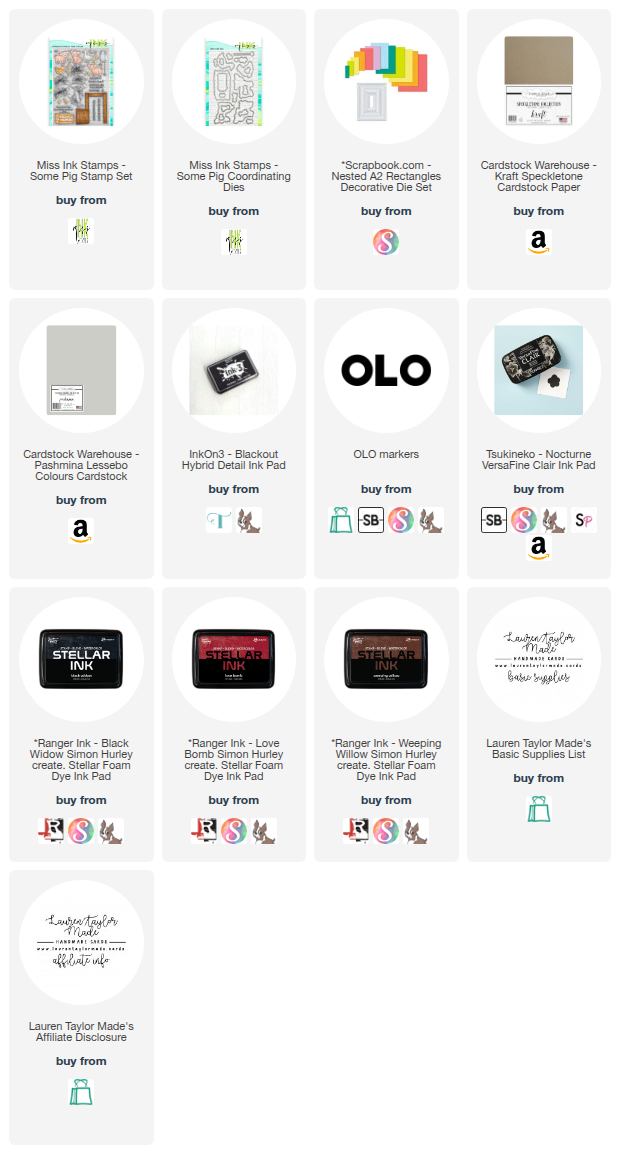
I am so excited to share today’s card for my Fandom Friday series because it features the Some Pig stamp set from Miss Ink Stamps. This story was such a favorite of mine growing up, so creating a card inspired by it felt extra special. I colored my images ahead of time using alcohol markers and kept the palette simple with soft reds for the pig, yellow oranges for the hay, browns for the barn, and grays for the spider and rat. To create the barn scene, I masked off the door opening and ink blended a soft brown background inside so it looked like the characters were sitting in front of their barn.

For the card base, I stenciled spider webs onto a light gray panel and layered my ink blended barn door on top with foam adhesive for subtle dimension. I added splatter to the barn using red watercolor for texture and shine, then arranged the hay, rat, spider, and pig so everything felt balanced. A white gel pen helped clean up edges and add highlights before I adhered the finished panel to an A2 card base. I kept the front sentiment simple and stamped a playful message inside to finish the card. This project came together quickly and was such a fun way to mix storytelling with card making.

VIDEO TUTORIAL


PIN THIS
SUPPLY LIST

Read More

A Flamazing Croquet Scene with Miss Ink Stamps

Sunday, December 7, 2025

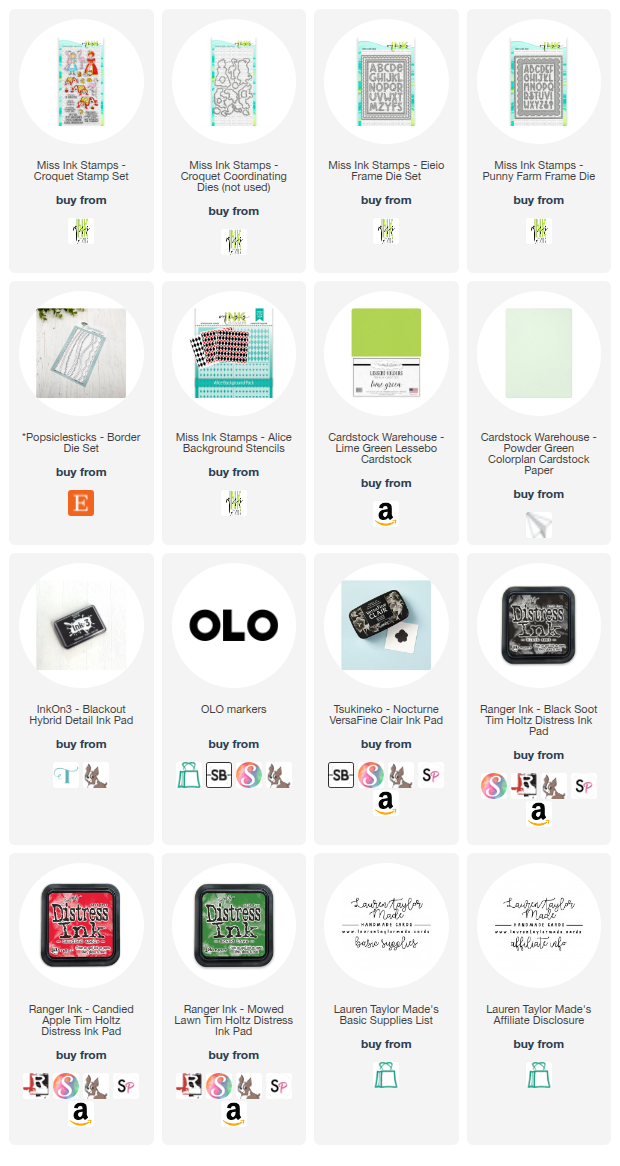
I created a fun croquet inspired card using a mix of stencils, dies, and stamps, with almost everything coming from Miss Ink Stamps. I started by stenciling the Alice Background Stencil onto white card stock using black soot and candied apple distress inks. Once the background was fully blended, I die cut it using the largest rectangle from the Punny Farm Frame die set. For the next layer, I took the stitched rectangle from the EIEIO Frame Die Set and cut it from some powder green card stock. I stamped the sentiment you are flamazing in the top left corner using nocturne versafine clair ink. I used the same stitched rectangle die to cut a second panel from lime green card stock, and then used one of the grassy borders from the Popsicle Sticks Border Die Set. I blended a little mowed lawn distress ink onto the grass pieces and layered them onto the blue sentiment panel. Once everything was glued together, I adhered that panel to the middle of my stenciled background and then attached it to a top folding A2 card base.

Next I stamped the images from the Croquet Stamp Set and colored them with my OLO markers. I originally fussy cut them with my Scan N Cut because I forgot I owned the coordinating dies, but there is a die set for this stamp set. I arranged the scene by placing the queen with her croquet ball, Alice with her little hedgehog ball, and two card soldiers acting as the arches. I glued down the queen, her hedgehog, and the smaller card with liquid glue, then popped up the medium card, Alice, and her hedgehog with one millimeter foam adhesive for added dimension. On the inside of the card, I added an extra card soldier image and stamped the sentiment "it's all fun and games until someone loses their head." Everything was stamped with nocturne versafine clair ink. This card came together so playfully and the layered grass and stenciled background really make the scene come alive.

PIN THIS
SUPPLY LIST

Read More

Faith, Trust, and Churro Dust Birthday Card with Miss Ink Stamps

Friday, December 5, 2025

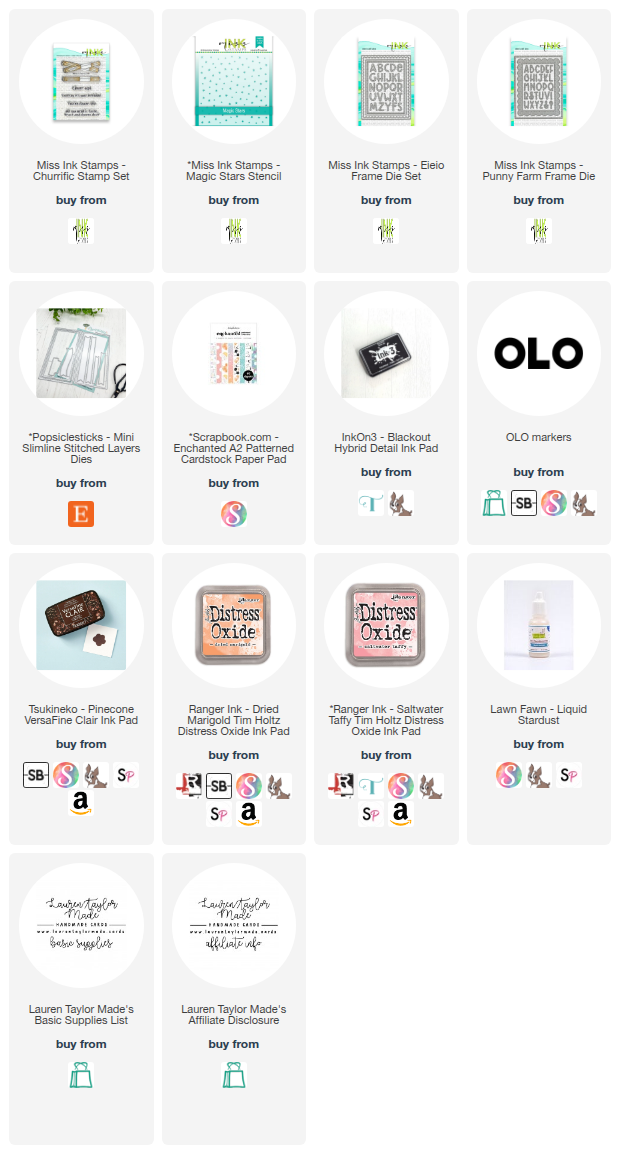
I had so much fun creating today’s churro themed card using the Churrific Stamp Set, the Magic Star Stencil, and some of my favorite frame dies from Miss Ink Stamps. The inspiration for my color palette came from a patterned paper in my stash that has a cute magical mouse design on a pink and peach checkered background. I stenciled that same soft blend onto white cardstock with Dried Marigold and Saltwater Taffy before stamping and coloring the churros with my OLO markers. Since my blackout ink pad needs a refill, I left the stamps in my Misti so I could restamp the images with Pinecone Versafine Clair after coloring, which gave me a bold brown outline that matched the theme perfectly.

Once all my pieces were ready, I created layered panels using the EIEIO and Punny Frame die sets along with a simple banner for the sentiment. I curved the stamp to match the shape of the banner and stamped it with Pinecone ink. After stacking my layers, I arranged the churros around the sentiment and added splatters of Liquid Stardust for a sparkly churro dust effect. The full start to finish process is in the video below if you want to see every step. I love how sweet and simple this card turned out and how well it works as a fun birthday design for any magical amusement park fan.

VIDEO TUTORIAL


PIN THIS
SUPPLY LIST

Read More

A Magical Night Under the Full Moon with Miss Ink Stamps

Friday, November 7, 2025

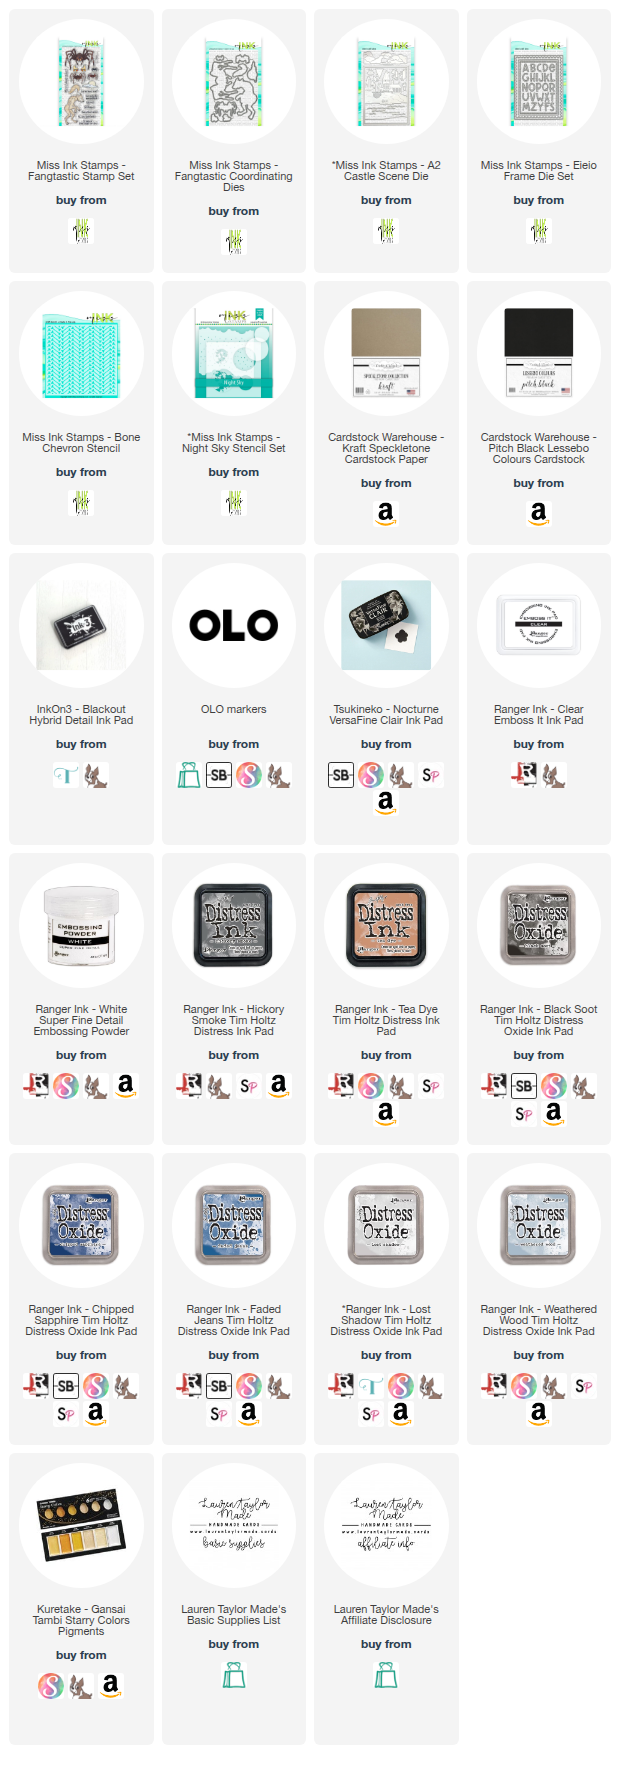
There’s something about a full moon that’s both peaceful and a little mysterious, and I wanted to capture that feeling in my card today. I used products from the Magic Collection by Miss Ink Stamps, including the Fantastic stamp set, A2 Castle Scene Die, and Night Sky stencil set. I started by ink blending the background, focusing on creating that soft, glowing moonlight. I built layers of gray, blue, and black Distress Inks, working darkest at the edges and blending softly toward the moon so the light feels like it’s spilling across the card.

Once my sky had that perfect eerie glow, I added the castle silhouette and my character to the scene. The warm kraft cardstock peeked out just enough to give a natural tone beneath all the cool night colors. I love how the layered stencils and die cuts came together to create a story — one of magic, transformation, and a night filled with possibility.

Don't forget to check out how I colored my werewolf if you're a member of my YouTube Channel!

VIDEO TUTORIAL


PIN THIS
SUPPLY LIST

Read More

Sorting Hat Personalities with Miss Ink Stamps

Friday, October 24, 2025

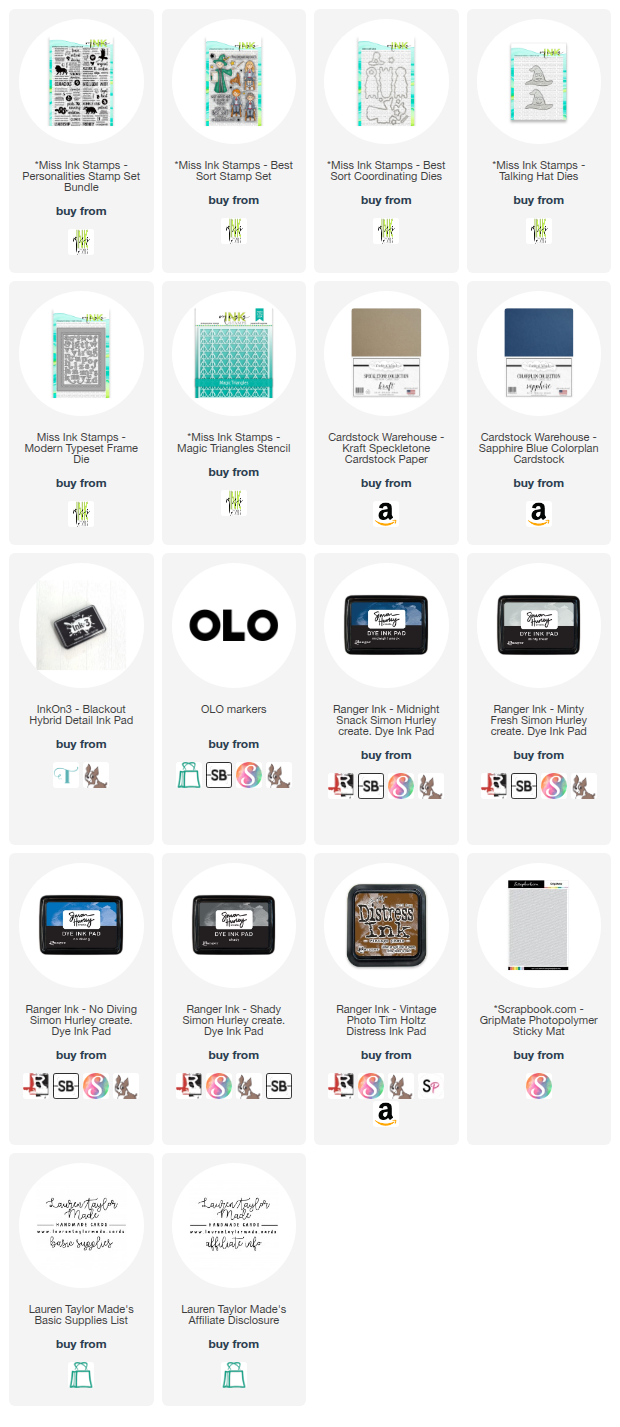
I had so much fun creating this magical card with the brand-new release from Miss Ink Stamps! For this project, I pulled out the witty house from the Personalities stamp sets, the Best Sort stamp set, and the Talking Hat die, plus a few older favorites. I wanted to build a layered background full of words and traits that felt like a nod to the magical world of school sorting, then top it off with a student and that iconic hat to bring the story together.

If you’d like to see exactly how I pulled it all together, I’ve shared a video below walking through my process. From soft stenciled details, to layered stamping in multiple ink colors, to the final die-cutting and assembly, this card came together with a mix of subtle background work and bold focal images. Scroll down to watch, and I hope you enjoy this peek at Miss Ink’s newest magical release!

VIDEO TUTORIAL


PIN THIS
SUPPLY LIST

Read More

Because You Matter - A New Release from Miss Ink Stamps

Saturday, September 27, 2025

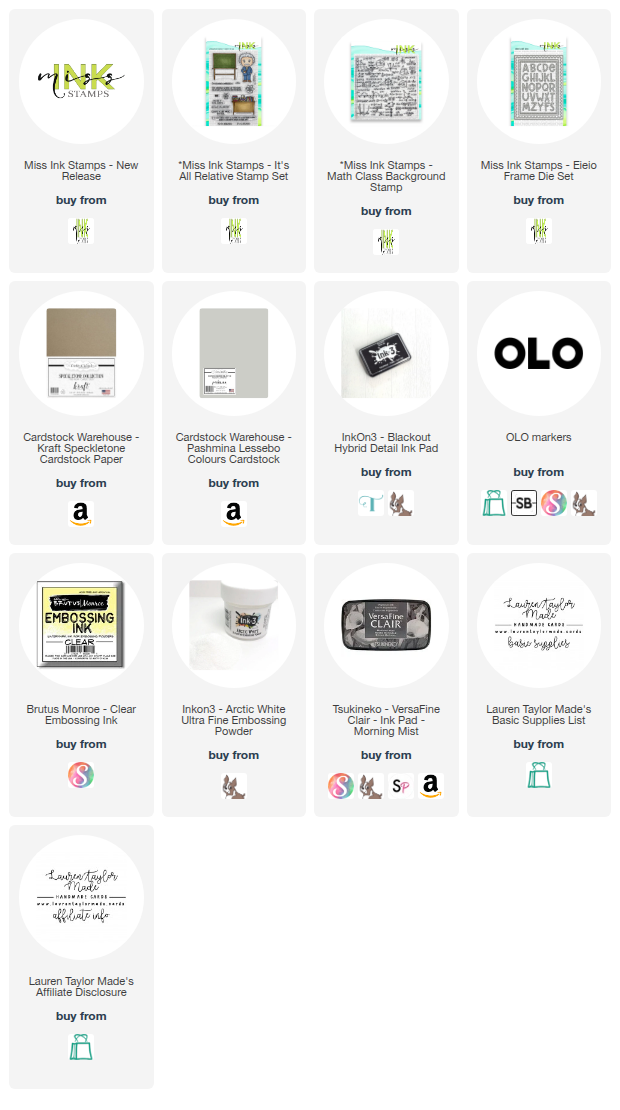
Today I’m sharing a brand new release from Miss Ink Stamps, and I had so much fun making this card inspired by Albert Einstein. For this design, I paired the Math Class background with the It’s All Relative stamp set. I heat embossed the sentiment “Because you matter” on the chalkboard, added a messy little scientist’s desk, and layered everything over stamped cardstock panels for extra texture.

I love how these images come together to create a playful, science-inspired card. In my video, I walk you through coloring, embossing, and layering the background so everything pops. Be sure to check it out below for the full process and a closer look at this fun new release from Miss Ink Stamps.

VIDEO TUTORIAL


PIN THIS
SUPPLY LIST

Read More

Eww! No Boys Allowed! Fandom Card with Miss Ink Stamps

Friday, September 26, 2025

For today’s project, I created a playful card using some of my favorite stamps and dies from the Miss Ink Stamps Magical Collection. I combined the large troll image with the little witch to capture a scene that feels both whimsical and just a little chaotic. To start, I stamped a newspaper-style background in sand ink onto kraft cardstock and then blended the edges with Distress Ink for a rustic look. I added splatters of darker brown and white ink for extra texture and finished the background with golden lightning bolts sprayed through a stencil for a subtle shimmer. I then layered a double-cut scalloped frame from vanilla cardstock for dimension before moving on to the details.

For the sentiment, I die cut the word “Eww!” with alphabet dies, layering multiple cuts for stability, then stamped “No boys allowed!” directly onto the card panel. After coloring the troll and witch with markers and die cutting them, I popped them up with foam adhesive on opposite corners of the frame. A few highlights with a white gel pen brought everything to life, especially on the troll’s textured skin. Finally, I mounted the finished panel onto an A2 base, creating a scene full of humor, sparkle, and just the right amount of magical mischief.

VIDEO TUTORIAL


PIN THIS
SUPPLY LIST

Read More

In Your Future Light Up Birthday Card with Miss Ink Stamps

Friday, August 15, 2025

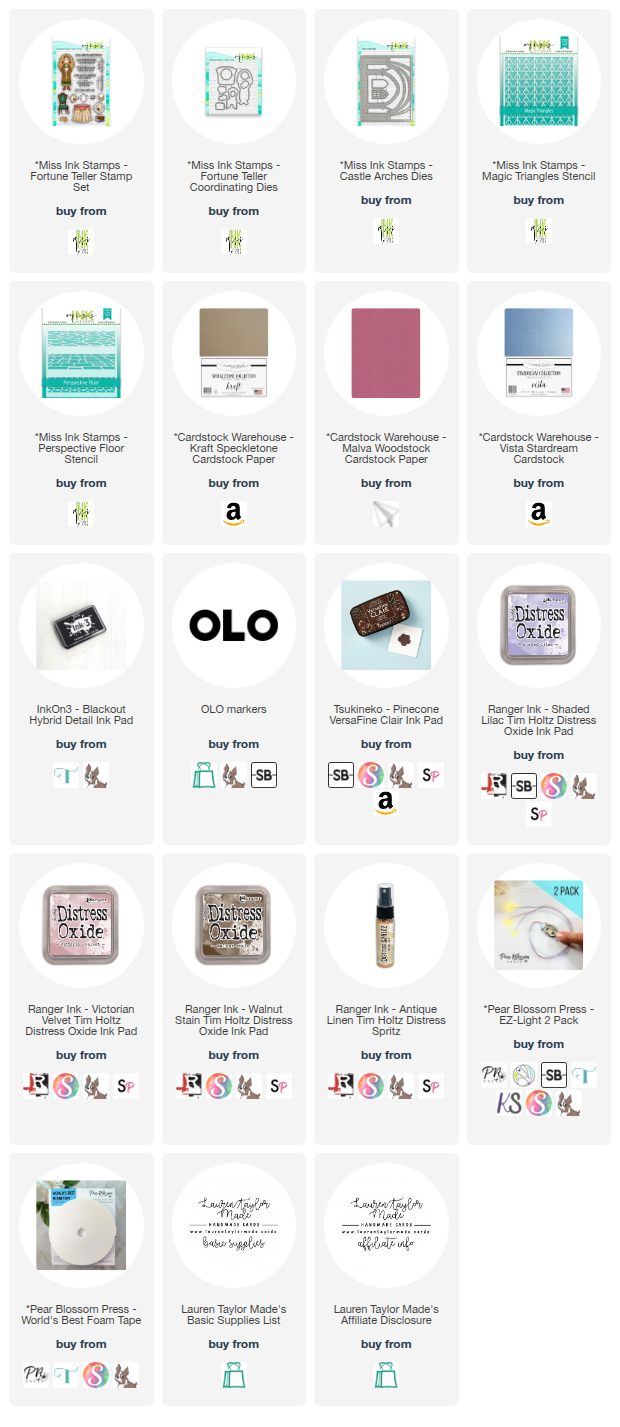
Today’s card feels like it belongs in the corner of a magical castle—stone arches, glowing orbs, and books stacked high for a day of spell practice. I used products from the Miss Ink Stamps Magic Collection (Castle Arches Dies, Magic Triangles and Perspective Floor Stencils, and the Fortune Teller Stamps and Dies) along with an EZ Light from Pear Blossom Press to make the crystal ball and prophecy shine.

I layered ink-blended stenciling, puzzle-pieced arches, and interactive lighting to create a fortune teller’s classroom that’s full of charm (literally). Press the “Push” button, and the crystal ball and prophecy glows like it’s revealing your future—spoiler: it’s full of cake! Watch my video below to see how I brought this magical scene to life.

VIDEO TUTORIAL


PIN THIS
SUPPLY LIST

Read More

Whomp, There It Is Fandom Friday Card with Miss Ink Stamps

Friday, July 11, 2025

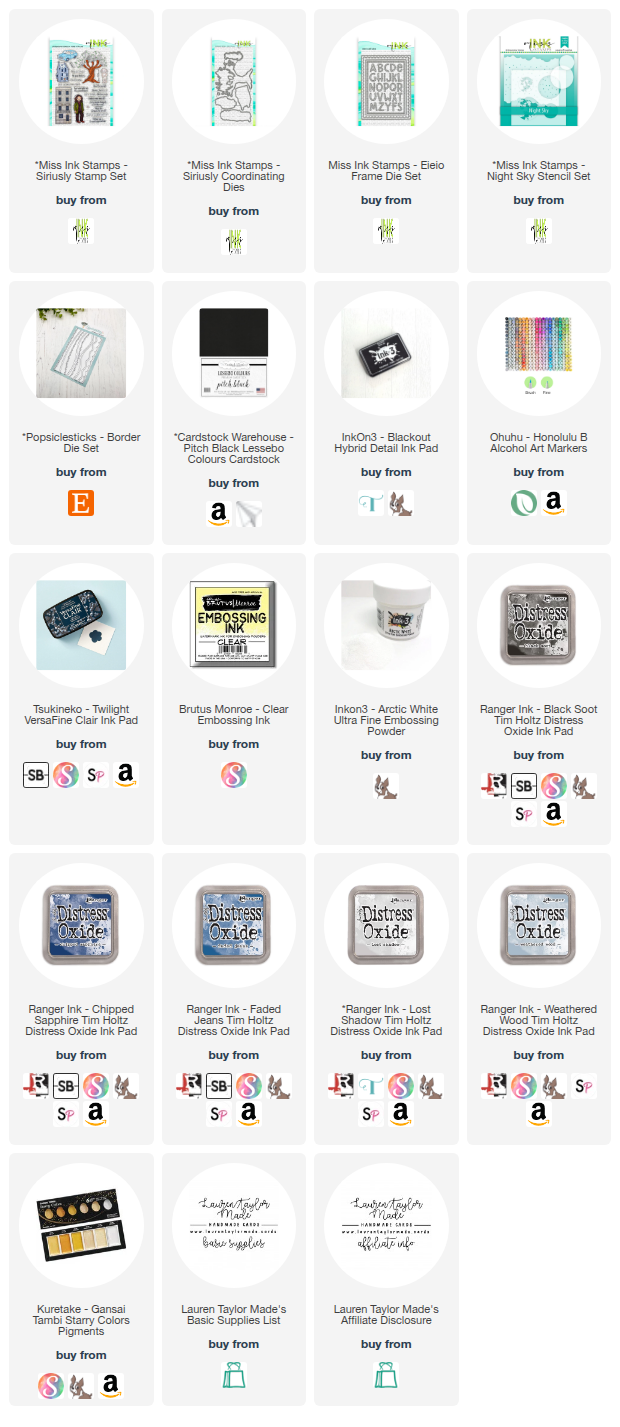
Hi friends! I’m excited to share a magical card I created using some of my favorite products from the Miss Ink Stamps Magic Collection. Inspired by midnight adventures, enchanted forests, and maybe even a flying car or two, this card is full of whimsical charm. I started by creating a glowing moon with the Night Sky Stencil Set and blended a rich ombré sky using Distress Oxides in Faded Jeans, Chipped Sapphire, and Black Soot. To make the stars shine, I added splatter with water and white gold metallic watercolor, keeping the moon mask in place to let it stand out big and bright—perfect for mysterious journeys under the cover of night.

For my scene, I colored the tree and that mischievous blue car from the Seriously Stamp Set using alcohol markers, giving the tree a shadowy look like it’s been watching over secret forest paths for years. I heat embossed the playful sentiment “Whomp, there it is” in white on black cardstock and popped up the car and sentiment with foam adhesive for dimension. I love how this scene came together—it feels like a little snapshot from a magical story we all know and love. Be sure to watch the full tutorial on YouTube to see every step and let me know if you’ve ever crafted a scene inspired by enchanted castles or moonlit adventures!

VIDEO TUTORIAL


PIN THIS
SUPPLY LIST

Read More