Showing posts with label a colorful life designs. Show all posts

Bake the World a Better Place with Kindred Stamps

Saturday, April 29, 2023

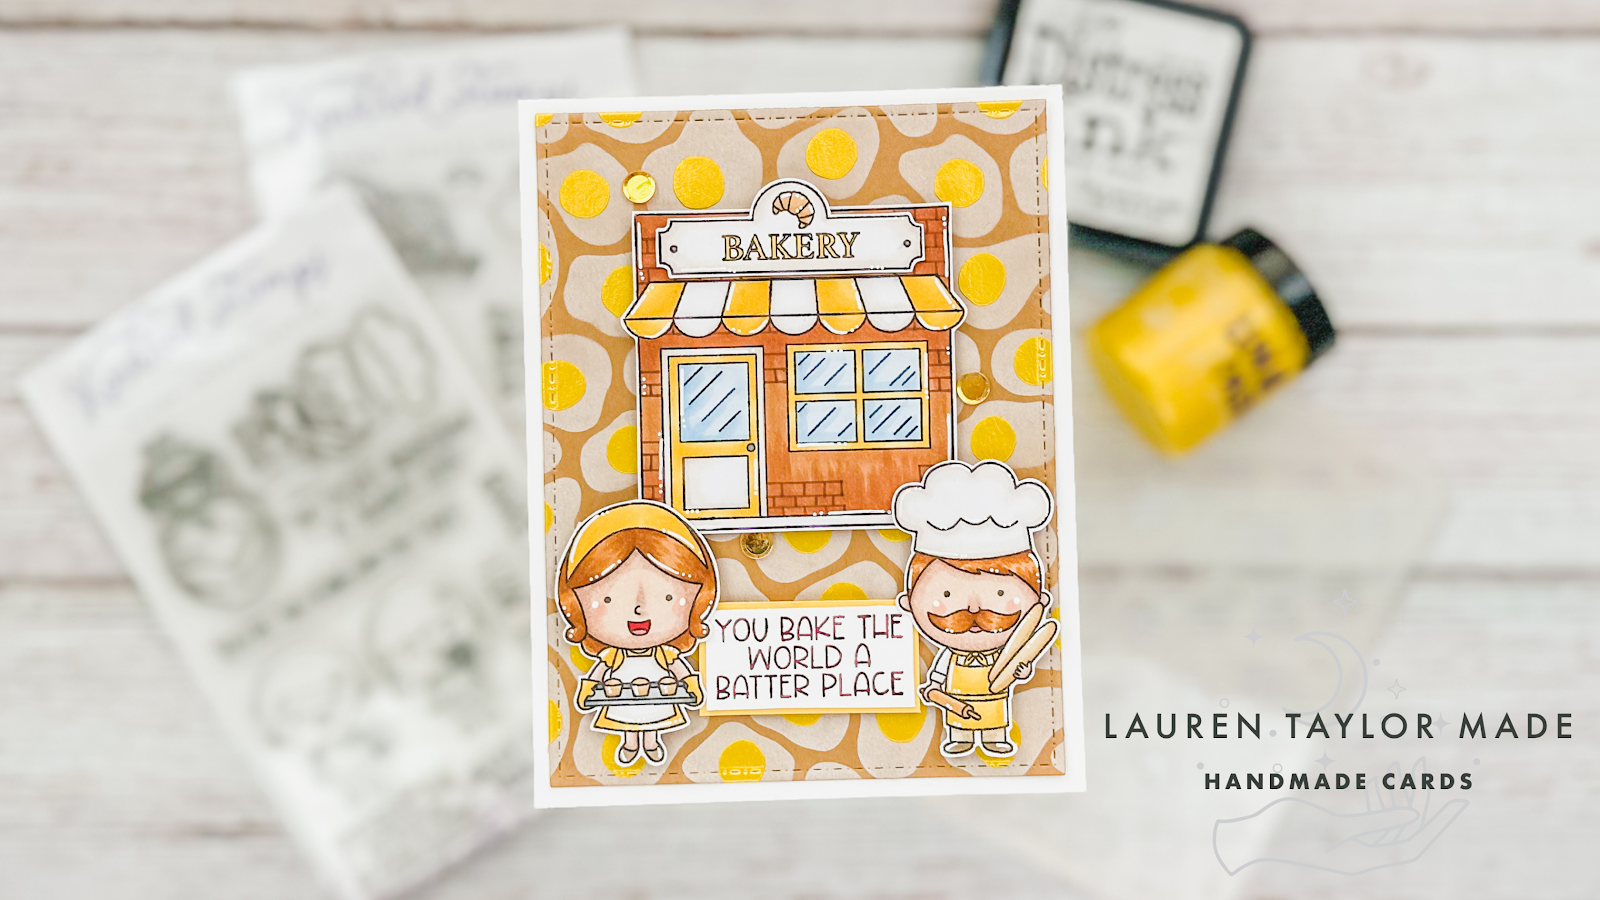
I have my final project as a guest with A Colorful Life Designs today! I think the Layered Eggs Stencil is probably my favorite of all the ones I received and I thought it would be fun to use it as the background of a little bakery. I used the colors of the background to inspire my coloring with Ohuhu Art Markers, too! Since I already had the stenciled background (you can watch the video here), I started with die cutting it to fit onto my A2 card base.
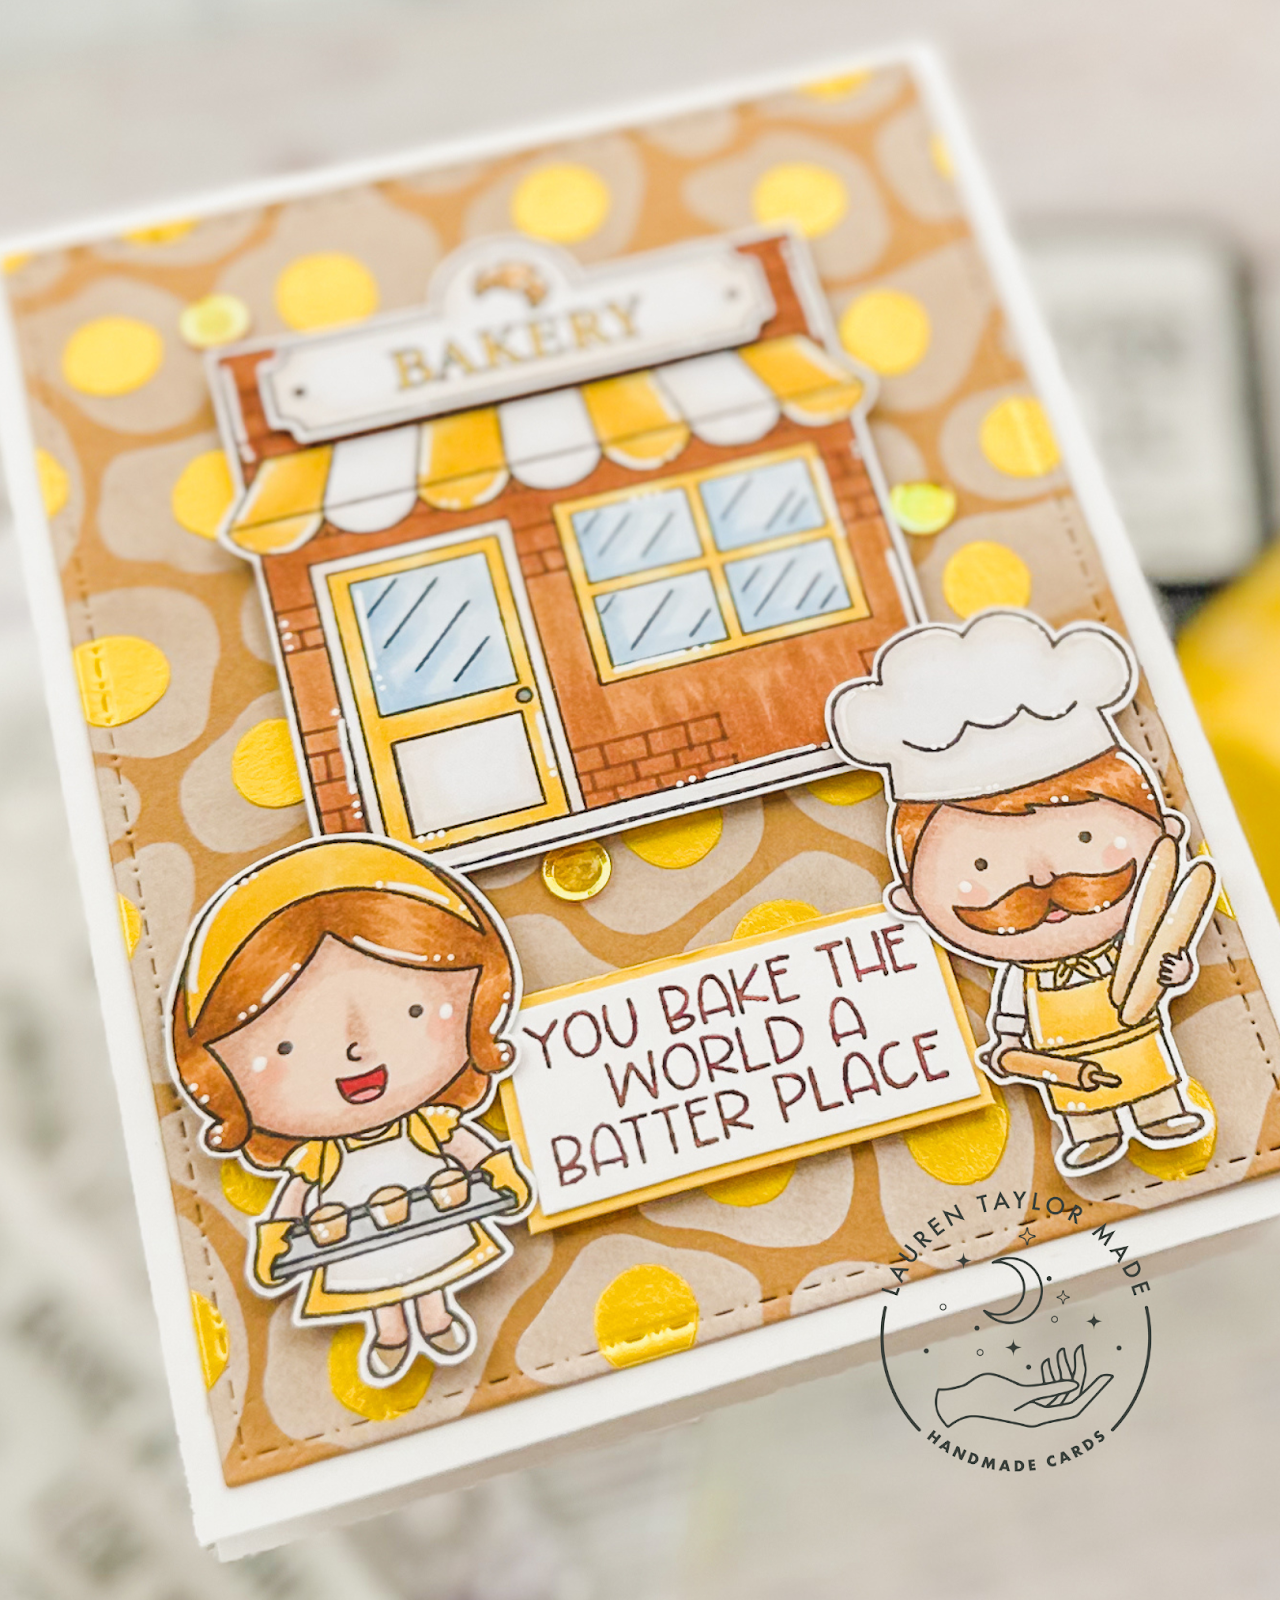
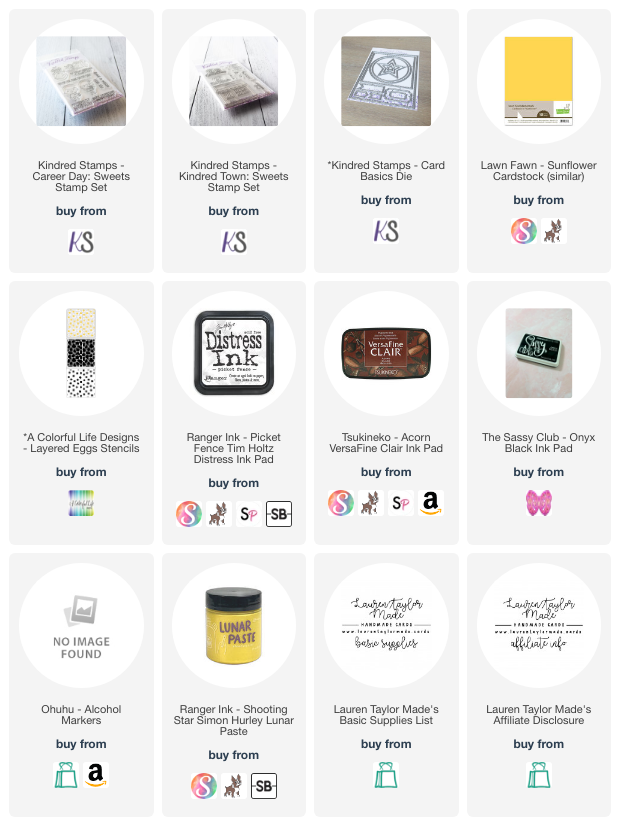
After stamping and coloring my images, I fussy cut them out and added them to the card base with foam adhesive as well as my sentiment. I stamped it in a brown ink onto white cardstock and layered it with yellow cardstock to make a little frame of color. When I received my stencils, I got a few free sequins and I added a few in yellow to keep with the color scheme. I had extra of the background so I glued a large strip to the inside and stamped my sentiment in the same brown ink.

I hope you enjoyed my take on some of the A Colorful Life Designs stencils this month! There's just a couple days left to use my code Lauren10 to save 10% off your order! So get to shopping and let me know in the comments what you buy.

VIDEO TUTORIAL


PIN THIS
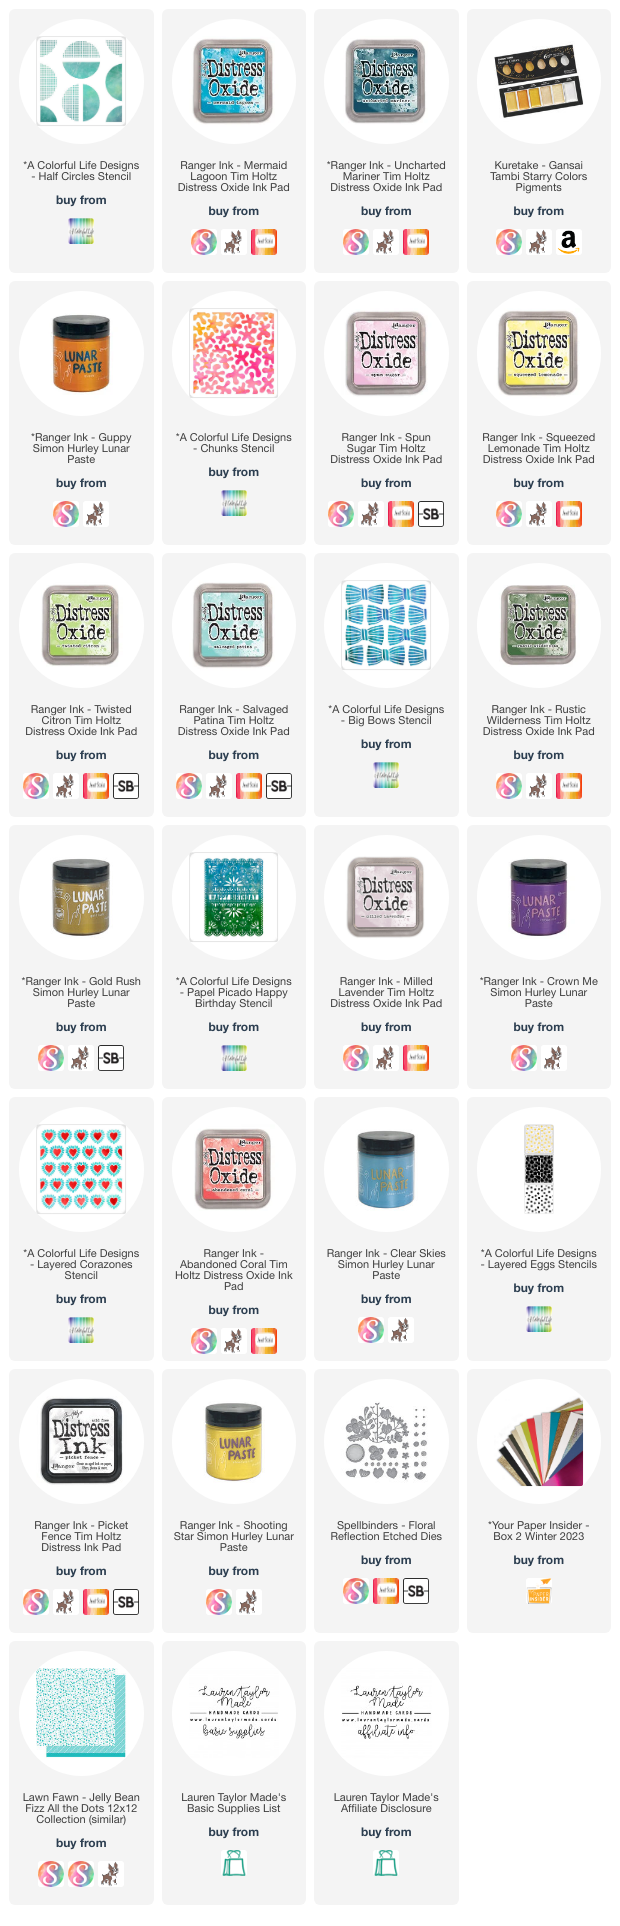
SUPPLY LIST

Read More

Magic Wheel Spinner Card with Whimsy Stamps

Friday, April 28, 2023

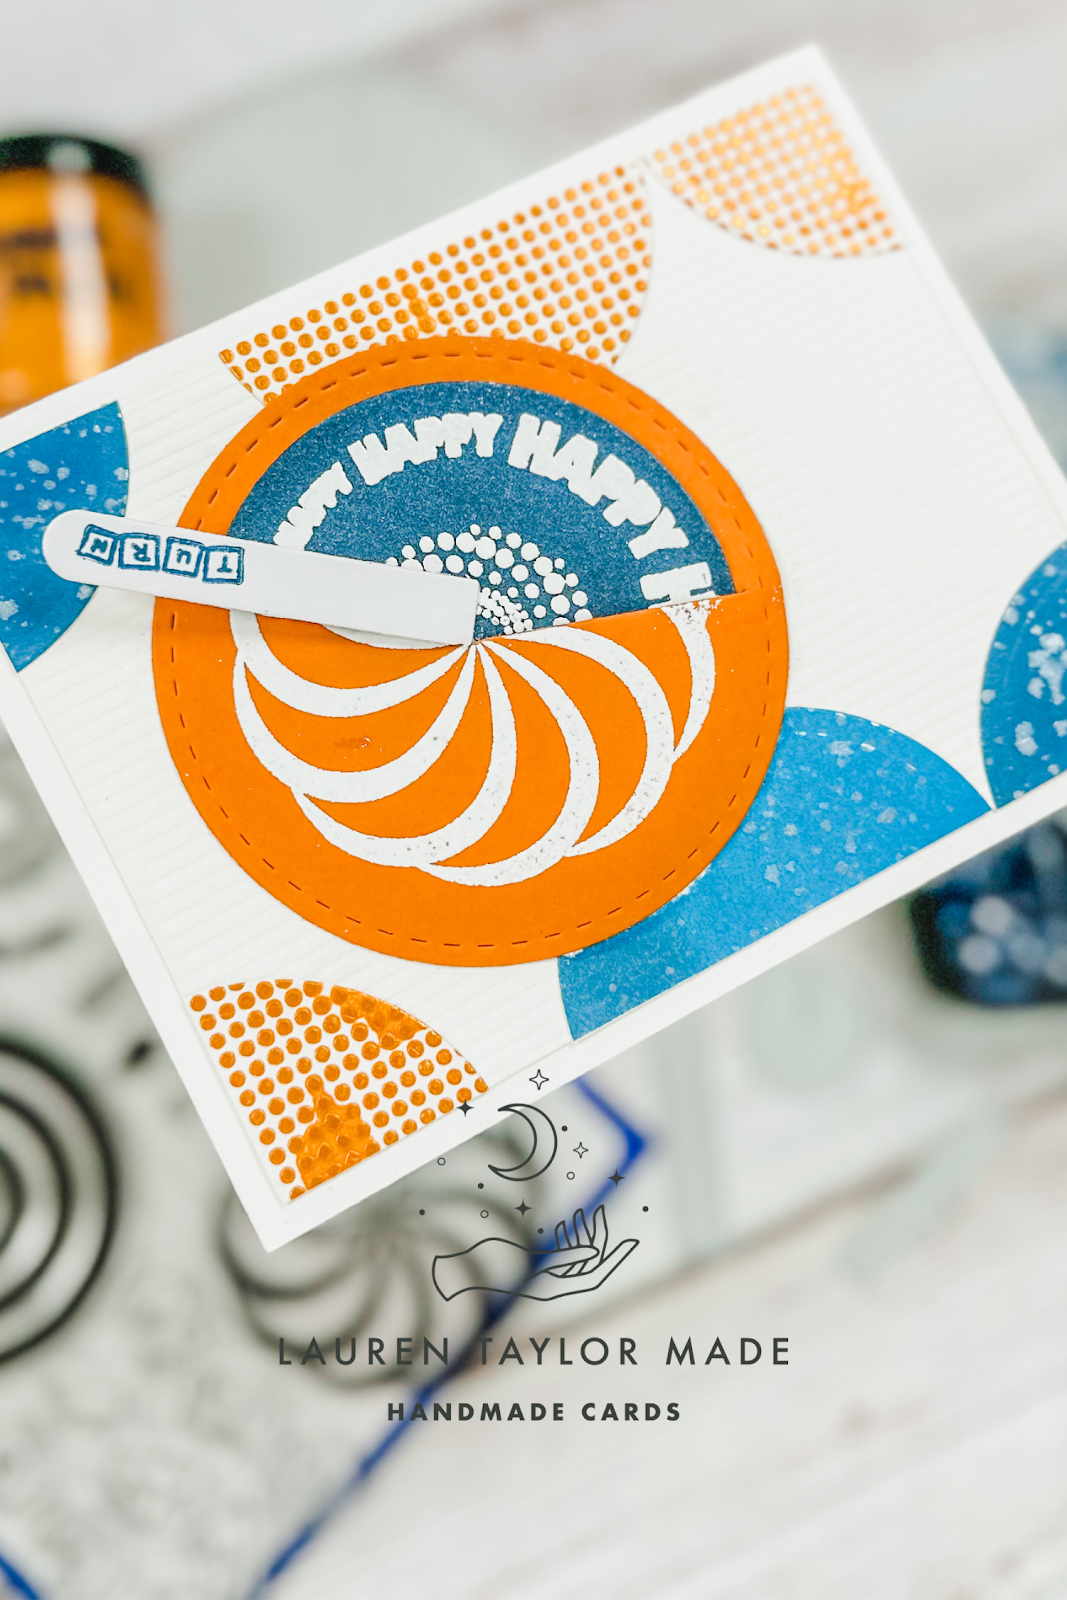
Today is the next Card Hoppin' Video Hop over on YouTube and our April theme is "Complementary Colors" and the technique is "Easel or Spinner Card." I made a background earlier this month with blue and orange that I was planning to use for this project and you can see that post and video here! I also decided to pick Spinner Card as my project as I had a die set called the Magic Wheel from Whimsy Stamps that was sitting in my crafty stash unused. 

In my video I walk through how I die cut my stenciled design and created my background as well as how I assembled my Magic Wheel die cuts. As I discuss in my video today, I definitely had some trouble with this die set. I had watched an assembly video prior to using it myself, but I made two Magic Wheels and the first one just completely did not work. I was able to salvage my card and my second Magic Wheel was much better and I share that one in my video. But I think the embossing powder made the wheel a bit hard to use.

Have you used this die before? Let me know your tips and tricks! I definitely need to use it again in the future and maybe try something a little more simple to really give a good review. Be sure to watch the video over on YouTube so you can click the hop hashtag and see all of the inspiration from other crafters on this hop!

VIDEO TUTORIAL


PIN THIS
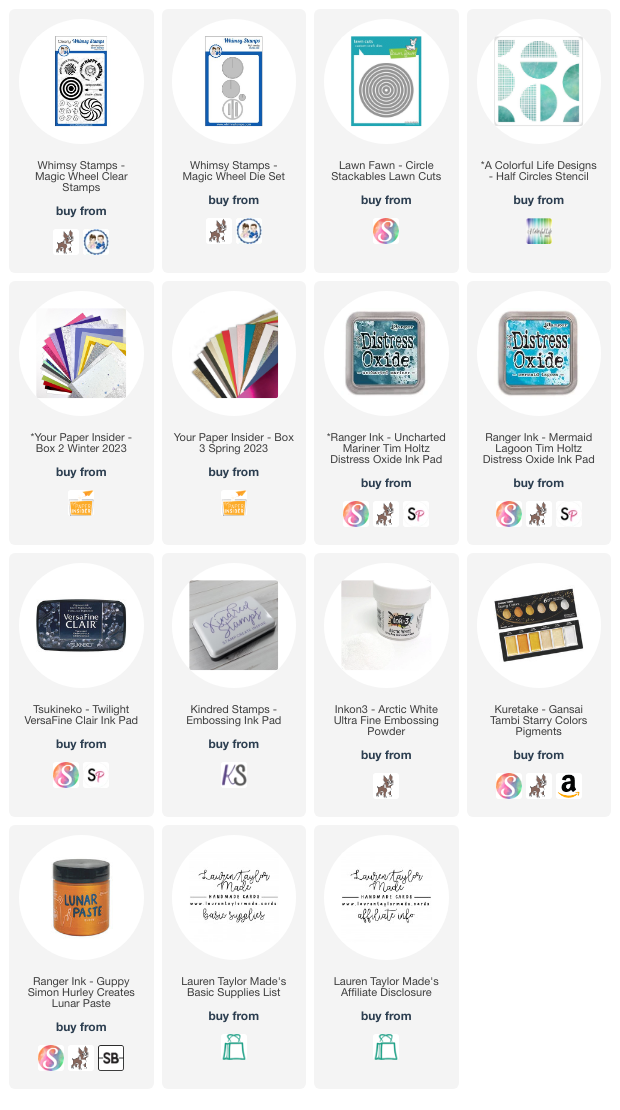
SUPPLY LIST

Read More

Happy Dad's Day Bowtie Stenciled Card

Tuesday, April 18, 2023

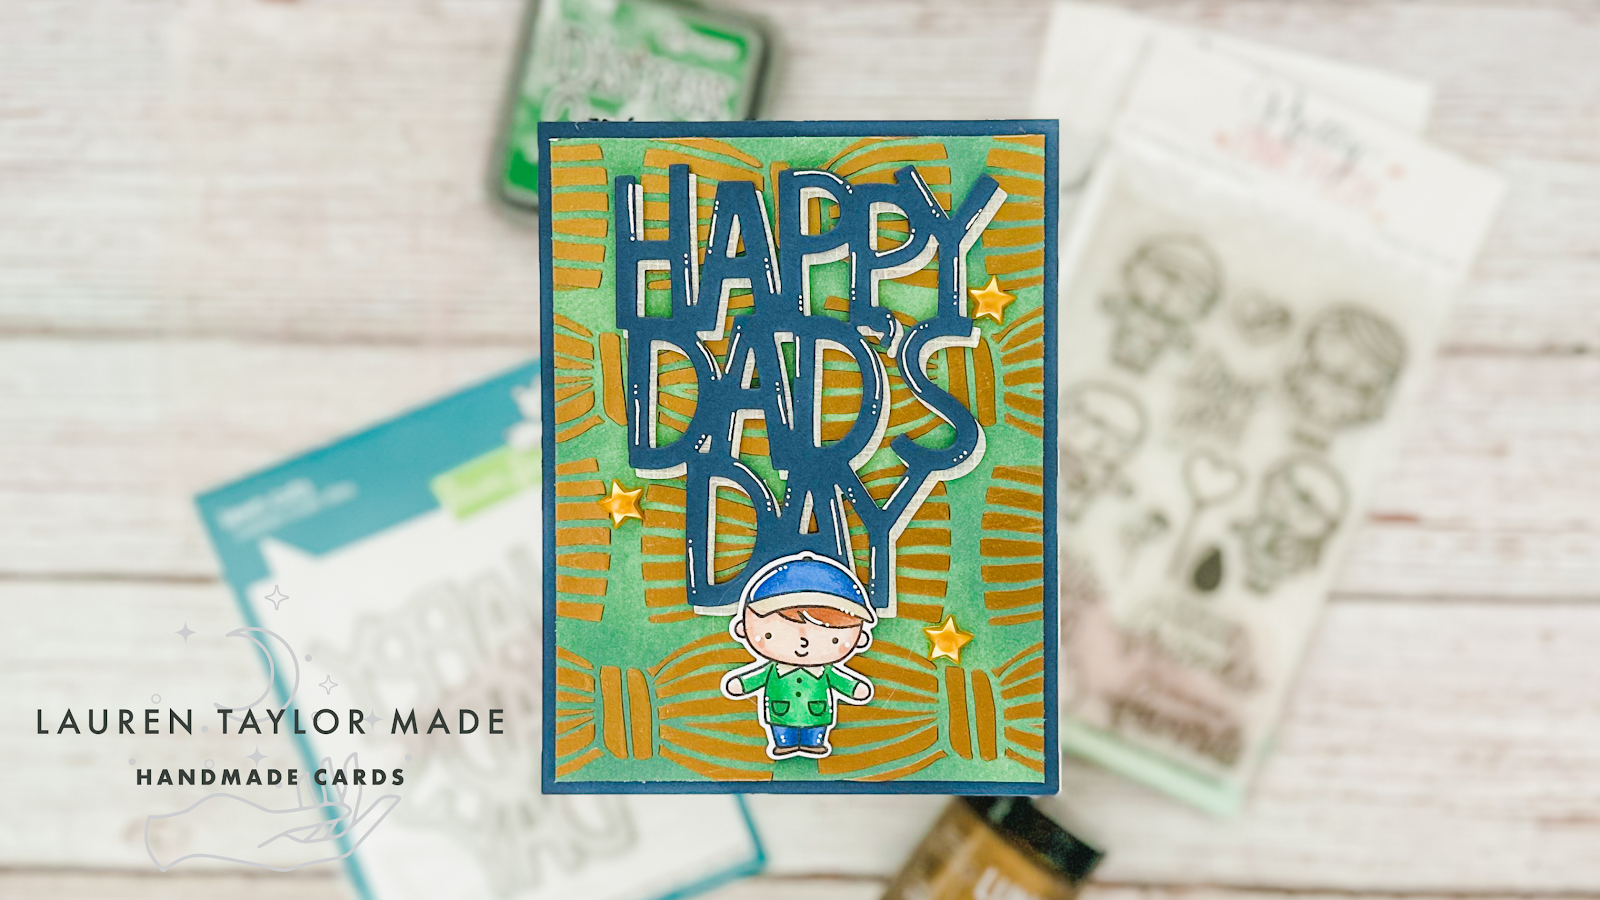
I am back today with another card featuring a stenciled background using A Colorful Life Designs stencils! In case you missed my first post, I have a video that shows how I made all of my backgrounds that I'll be using throughout the month. You can also click on the label above my posts or on the right and see all of my projects I made with their stencils. Since I'm using the Big Bows Stencil, I knew I wanted to make a Father's Day card so that's what I am sharing today!

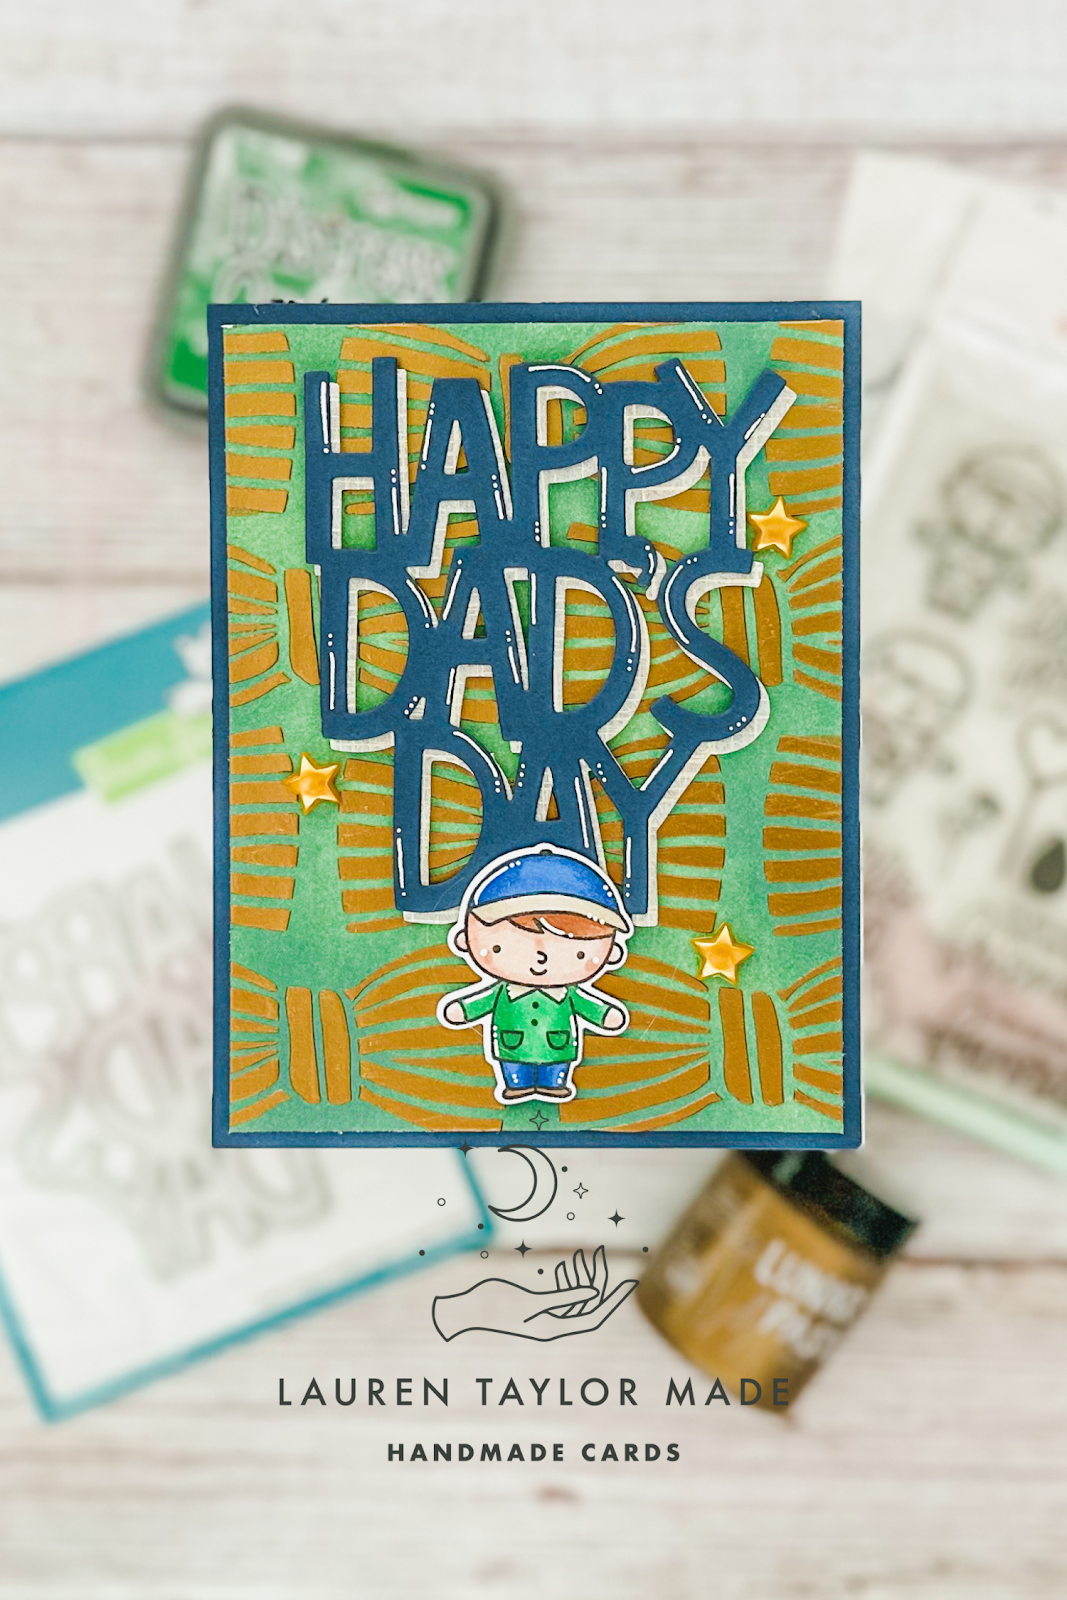
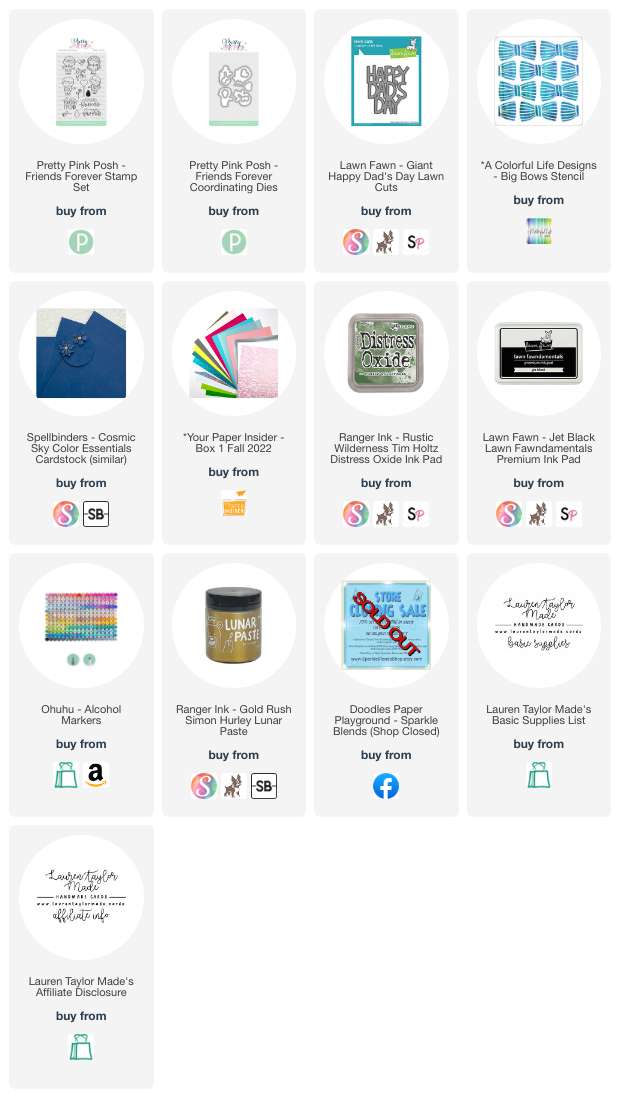
Since my background was already done, I trimmed it down to 4 x 5-1/4" and picked a navy blue cardstock to be my background. I die cut my "Happy Dad's Day" sentiment from Lawn Fawn from the center of the A2 piece of cardstock and then layered the navy cardstock to the card base with the stenciled background. I stamped this cute little guy from Pretty Pink Posh and colored him in with Ohuhu Art Markers how I imagine Jonny would look so Abigail could give this card to him for the upcoming holiday.

I also die cut the "Happy Dad's Day" from a piece of Linen Paper from the Your Paper Insider Box 1 and offset it from the navy cardstock to create a drop shadow. Using 1/8" foam adhesive strips, I adhered the sentiment to the top center of the card. I attached my die cut dad to the bottom center of the card, doing my best to not overlap the sentiment completely. Using a gel pen, I added highlights to my image and the die cut sentiment to give them some dimension.

Finally, I found these three gold stars from my collection of retired Sparkle Blends, so I added them around the card to bring out more gold without too much sine. The Gold Rush Lunar Paste on the background (which is also covered in Rustic Wilderness Distress Oxide) has plenty of shine, but I just felt the card needed a little something more! I hope you enjoy this take on the A Colorful Life Designs stencil and if you check out their stencils, make sure to use my code Lauren10 during the month of April 2023 to save 10% off most of the items in the shop!

PIN THIS
SUPPLY LIST

Read More

Color & Chat: Ahoy, Matey from Avery Elle

Friday, April 14, 2023

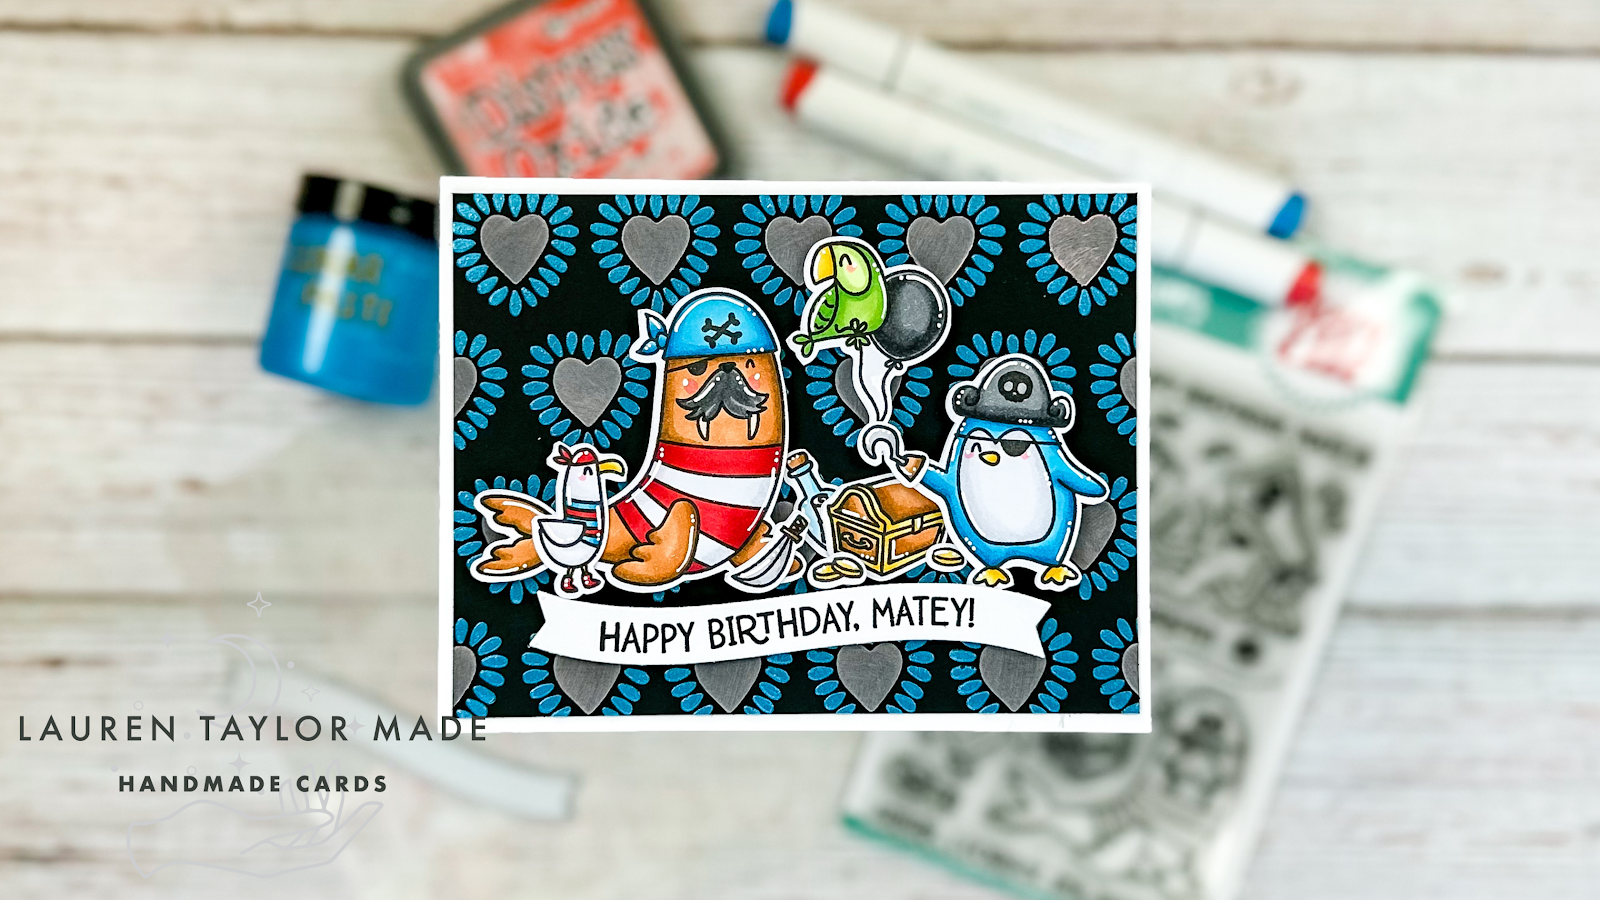
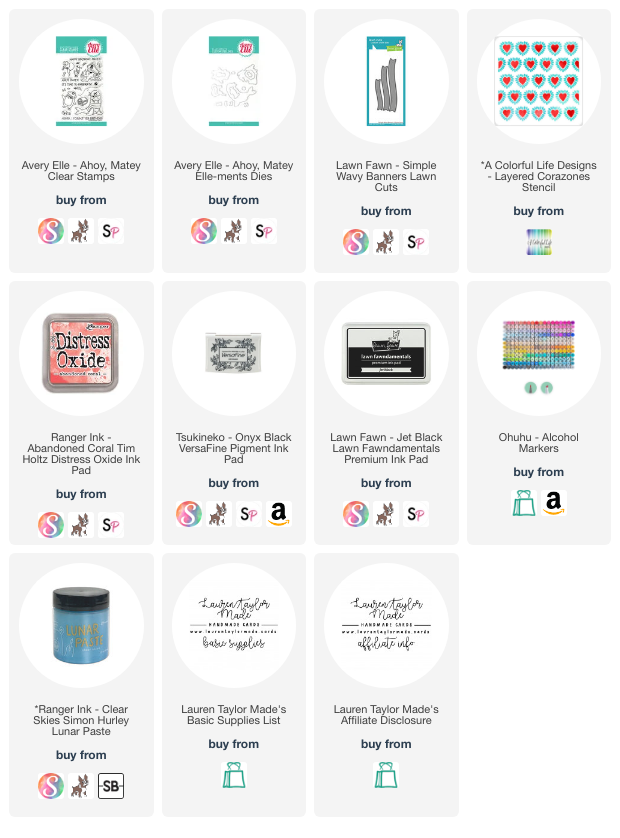
Today I am finally back with another coloring guide with Ohuhu Art Markers! I put a poll on Instagram Stories to get some feedback on what coloring guides would be helpful but I already started these before I got any feedback... So I have plans now for the next couple of months! But I picked a stamp set that I thought would look good with one of my A Colorful Life Designs stenciled background, which was Ahoy, Matey from Avery Elle.

In my video, I color in all of the images from the stamp set while following along with my guides so you can see how I colored them in. I did do things a bit differently where instead of completing one guide at a time, I went with each color at a time because I used the same colors over and over throughout the images so they matched well together.

To create my sample card, I trimmed down my background to fit on a card base and then used my Scan N Cut to cut out all of my images. There is a coordinating die set for this stamp set, but I don't own it. I popped up most my images with foam adhesive and tucked in a few with my Art Glitter Glue. I also glued some additional images to the inside of the card - so check out my video down below so you can see how the inside turned out, too!

I hope my guides are useful to you - you can just click on the images to enlarge them and then save them to your desktop to save for later. I also post my guides on Instagram and you can click the banner image to save them or reference them in my Guides section on my profile as well. Let me know in the comments for any ideas for future coloring guides!

VIDEO TUTORIAL


PIN THIS
SUPPLY LIST

Read More

Cereal Inspired Shaker Card with The Sassy Club

Tuesday, April 11, 2023

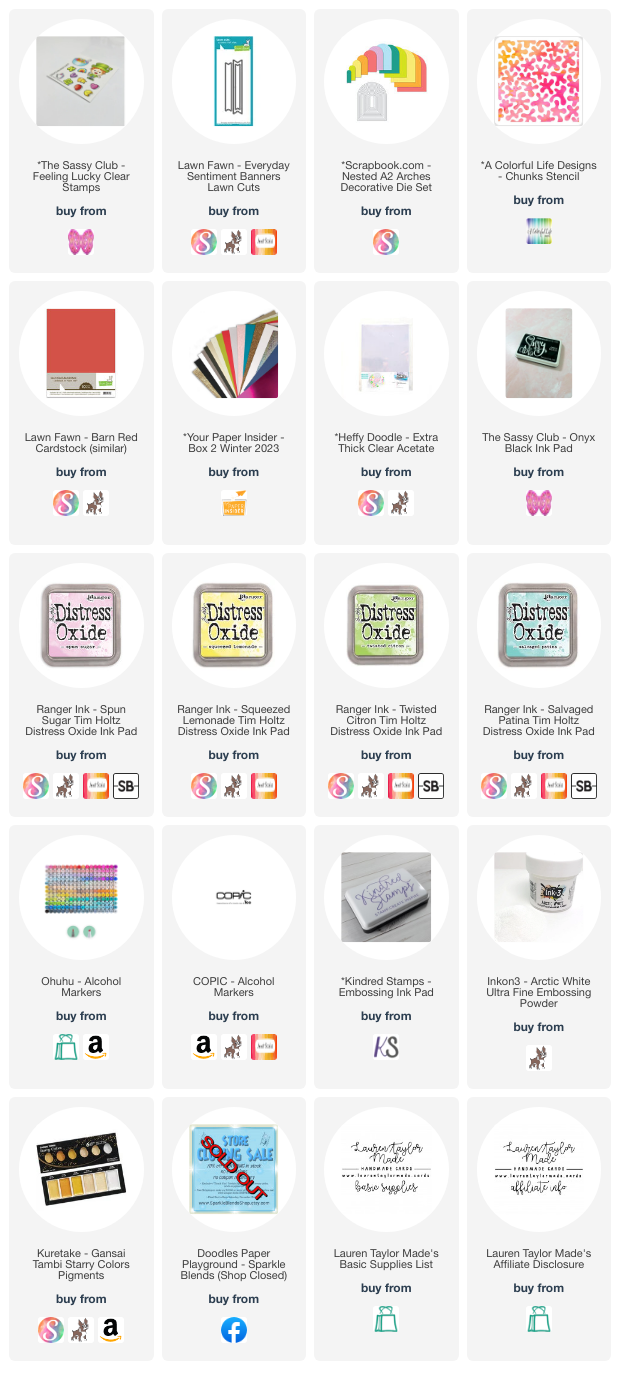
I just love the Feeling Lucky stamp set from The Sassy Club! How cute is this leprechaun and all of the smiley marshmallows? I just can't! I colored them up with Ohuhu Art and COPIC alcohol markers and used my Scan N Cut to cut them out. I also used one of my backgrounds I made with my new stencils from A Colorful Life Designs (check out that post here).

My video down below shares how I used my Nested A2 Arches Dies to create a shaped card as well as making a frame to hide the foam for my shaker card. I also shared how I arranged the images and added my sentiment. I hope you like this card and even though St. Patrick's Day is long over, you still find some inspiration with this adorable stamp set.

VIDEO TUTORIAL


PIN THIS
SUPPLY LIST

Read More

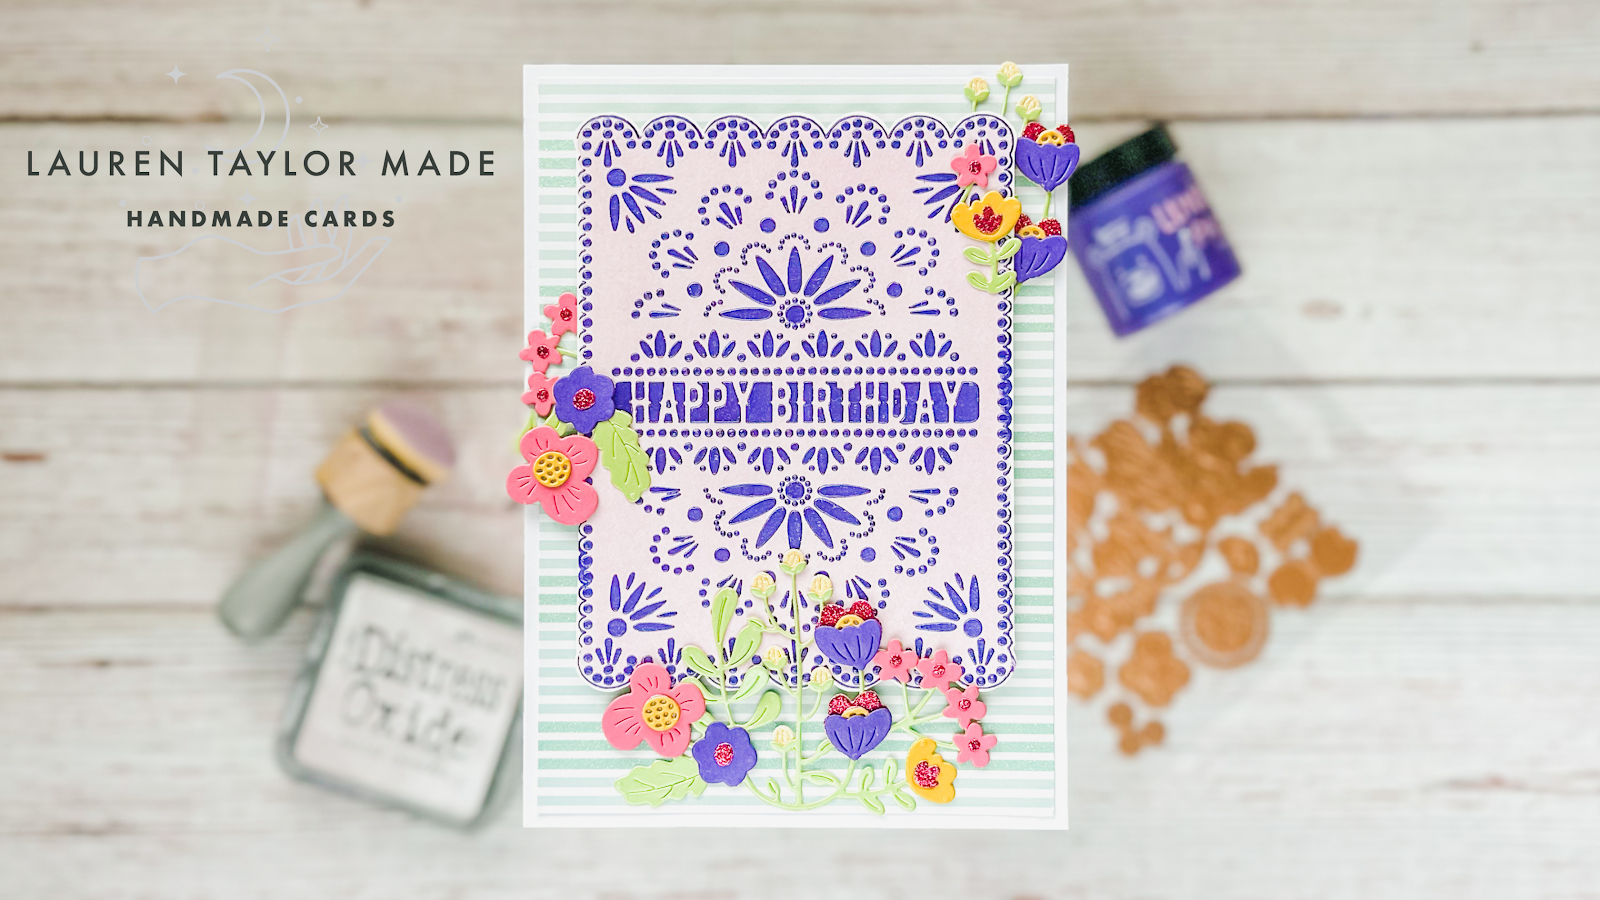
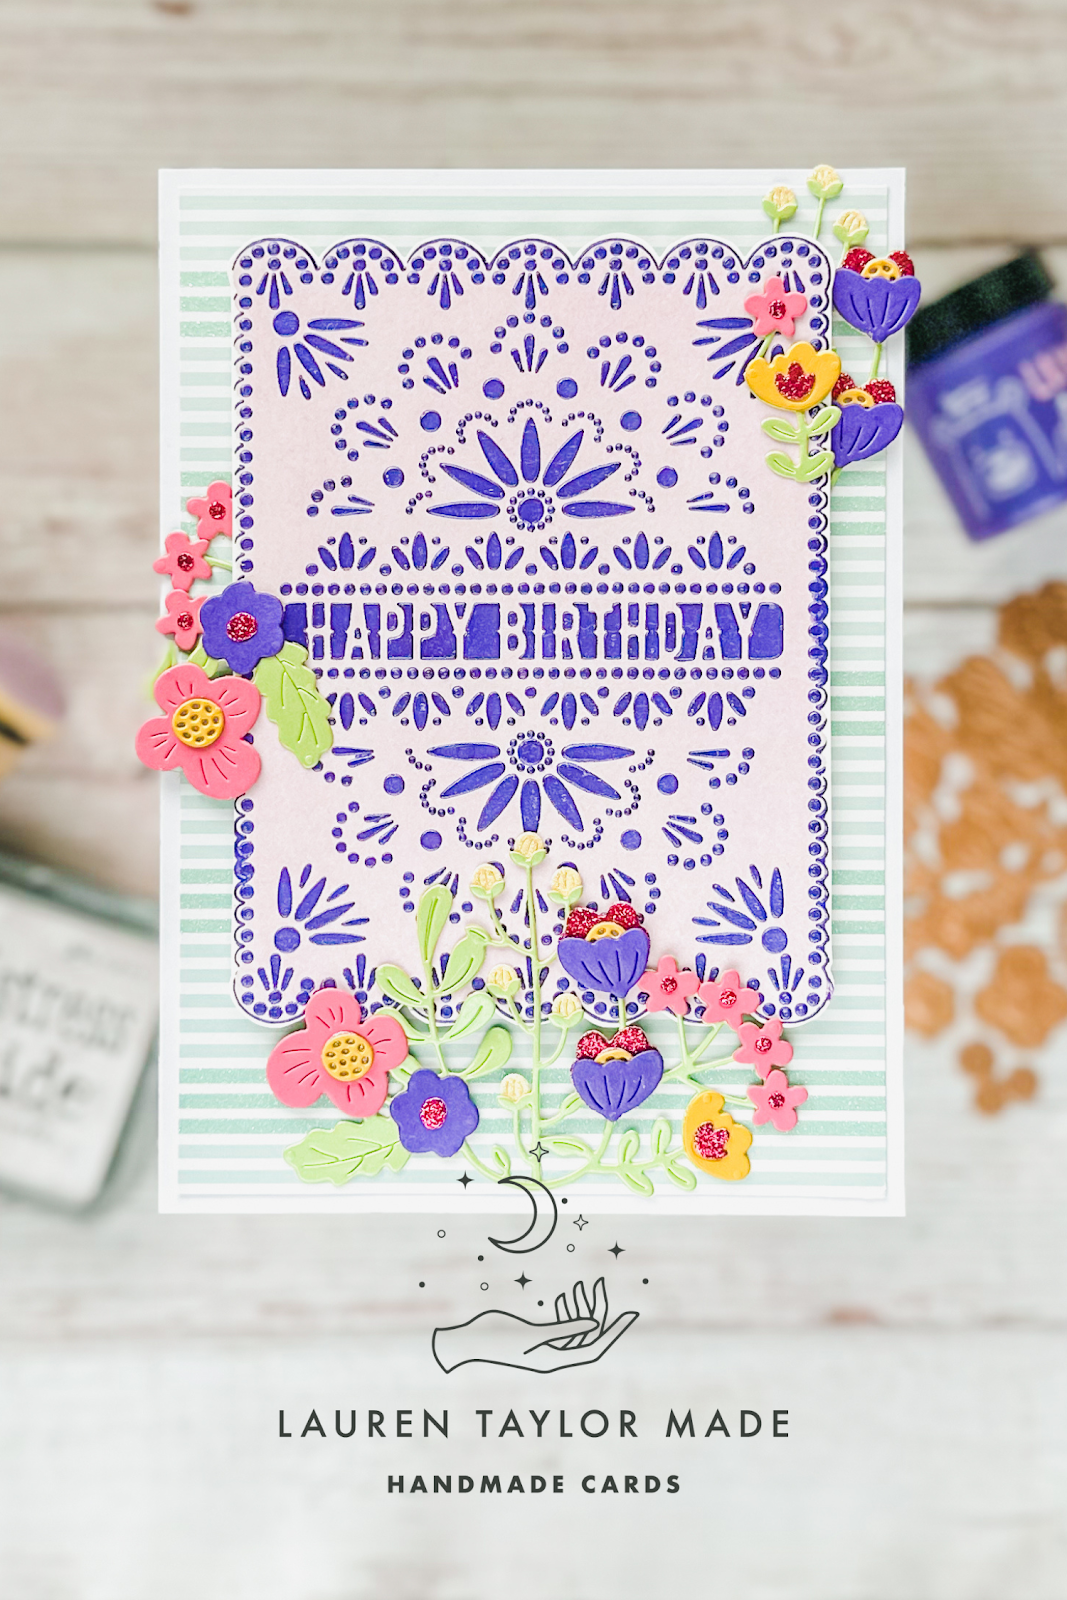
Papel Picado Stenciled Birthday Card with A Colorful Life Designs

Sunday, April 2, 2023

For the month of April, I'll be a Guest Designer for A Colorful Life Designs! In my video today, I'm sharing the stencils I received (and some purchased) and I created some backgrounds that I plan to use throughout the rest of the month. If you check out their stencils, make sure to use my code Lauren10 during the month of April 2023 to save 10% off most of the items in the shop!

To create this card, I used the Papel Picado Happy Birthday Stencil set from A Colorful Life Designs. I started with the background and used Milled Lavender Distress Oxide to create the paper color. The second stencils fits inside and I used Crown Me Lunar Paste to create the cut out details. I thought these two colors went well together and loved how it turned out in purple.

There was one part of my stencil paste that did seep through and created a little bit of a smudge so to hide that, I added some flower die cuts using dies from Spellbinders and paper from my Your Paper Insider Box 2. The card is 5x7 in size and I added the die cuts to decorate the card and hide that little spot I didn't like. I just love how pretty this card turned out; make sure to watch my video below to get a full tutorial.

VIDEO TUTORIAL


PIN THIS
SUPPLY LIST

Read More