Showing posts with label pink and main. Show all posts

Don't Bug Me Before Coffee Tri-Fold Mini Slimline Card with Pink & Main

Tuesday, April 9, 2024

Today is my last project as a guest designer with Pink & Main! I had a lot of fun stamping and coloring the adorable images from the March 2024 release - I still have lots of fun products and will still bring you some inspiration with this release. Especially with all the amazing sequins! For my last project, I was inspired by this past Friday's episode of Craft Roulette and I made a tri-fold card.

To make the card, I trimmed my white card base to 10-1/2 x 6-1/2". I cut across the card width from the 6-1/2" on the right side (the corner of the cardstock) and I angled the cardstock to cut the other side at approximately 3-1/2". I scored the card at 3-1/2" and 7" so that it makes a mini slimline card that measures  3-1/2 x 6-1/2" when all is said and done, hah!

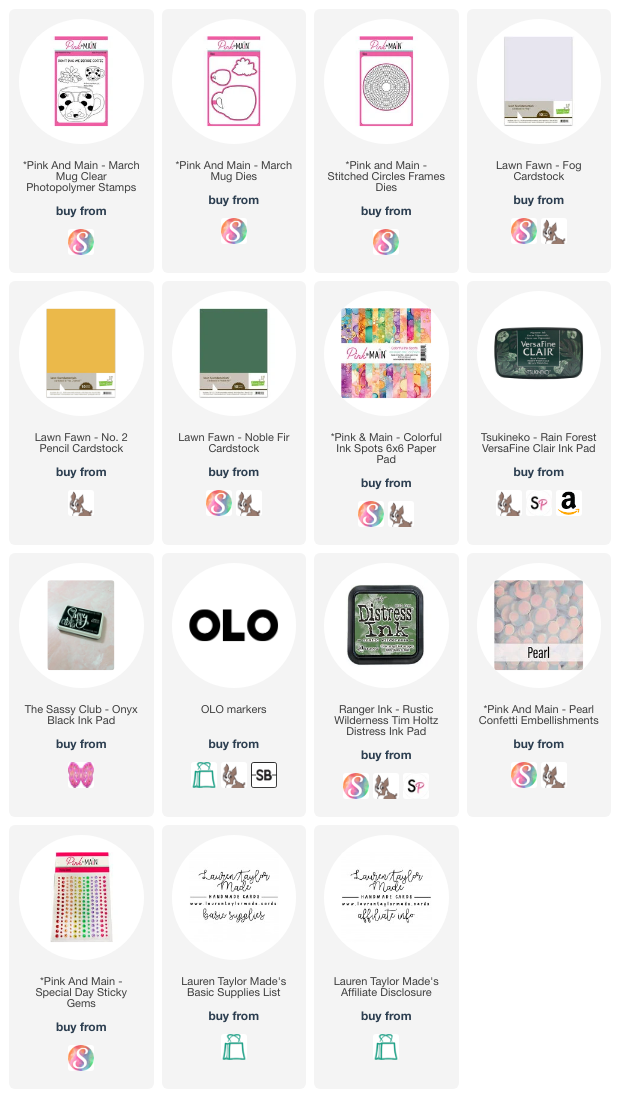
I cut panels (I used a pencil to make marks as needed) to fit on my different panels - I used some patterned paper from Pink & Main for the front panel, green cardstock for the middle and light grey cardstock for the back. I did lots of stamping with my small mug and sentiment with green ink and stamped my mug and floral images with alcohol marker friendly black ink.

After my coloring is done, I used the coordinating dies to cut them out as well as a golden yellow circle from the frame dies. I popped up my die cut images and added some sequins and gems to give it some subtle shine! I hope you had fun with me the past few weeks with Pink & Main! 

PIN THIS
SUPPLY LIST

Read More

Sweet Friend Floral Joy Fold Card with Pink & Main

Monday, April 1, 2024

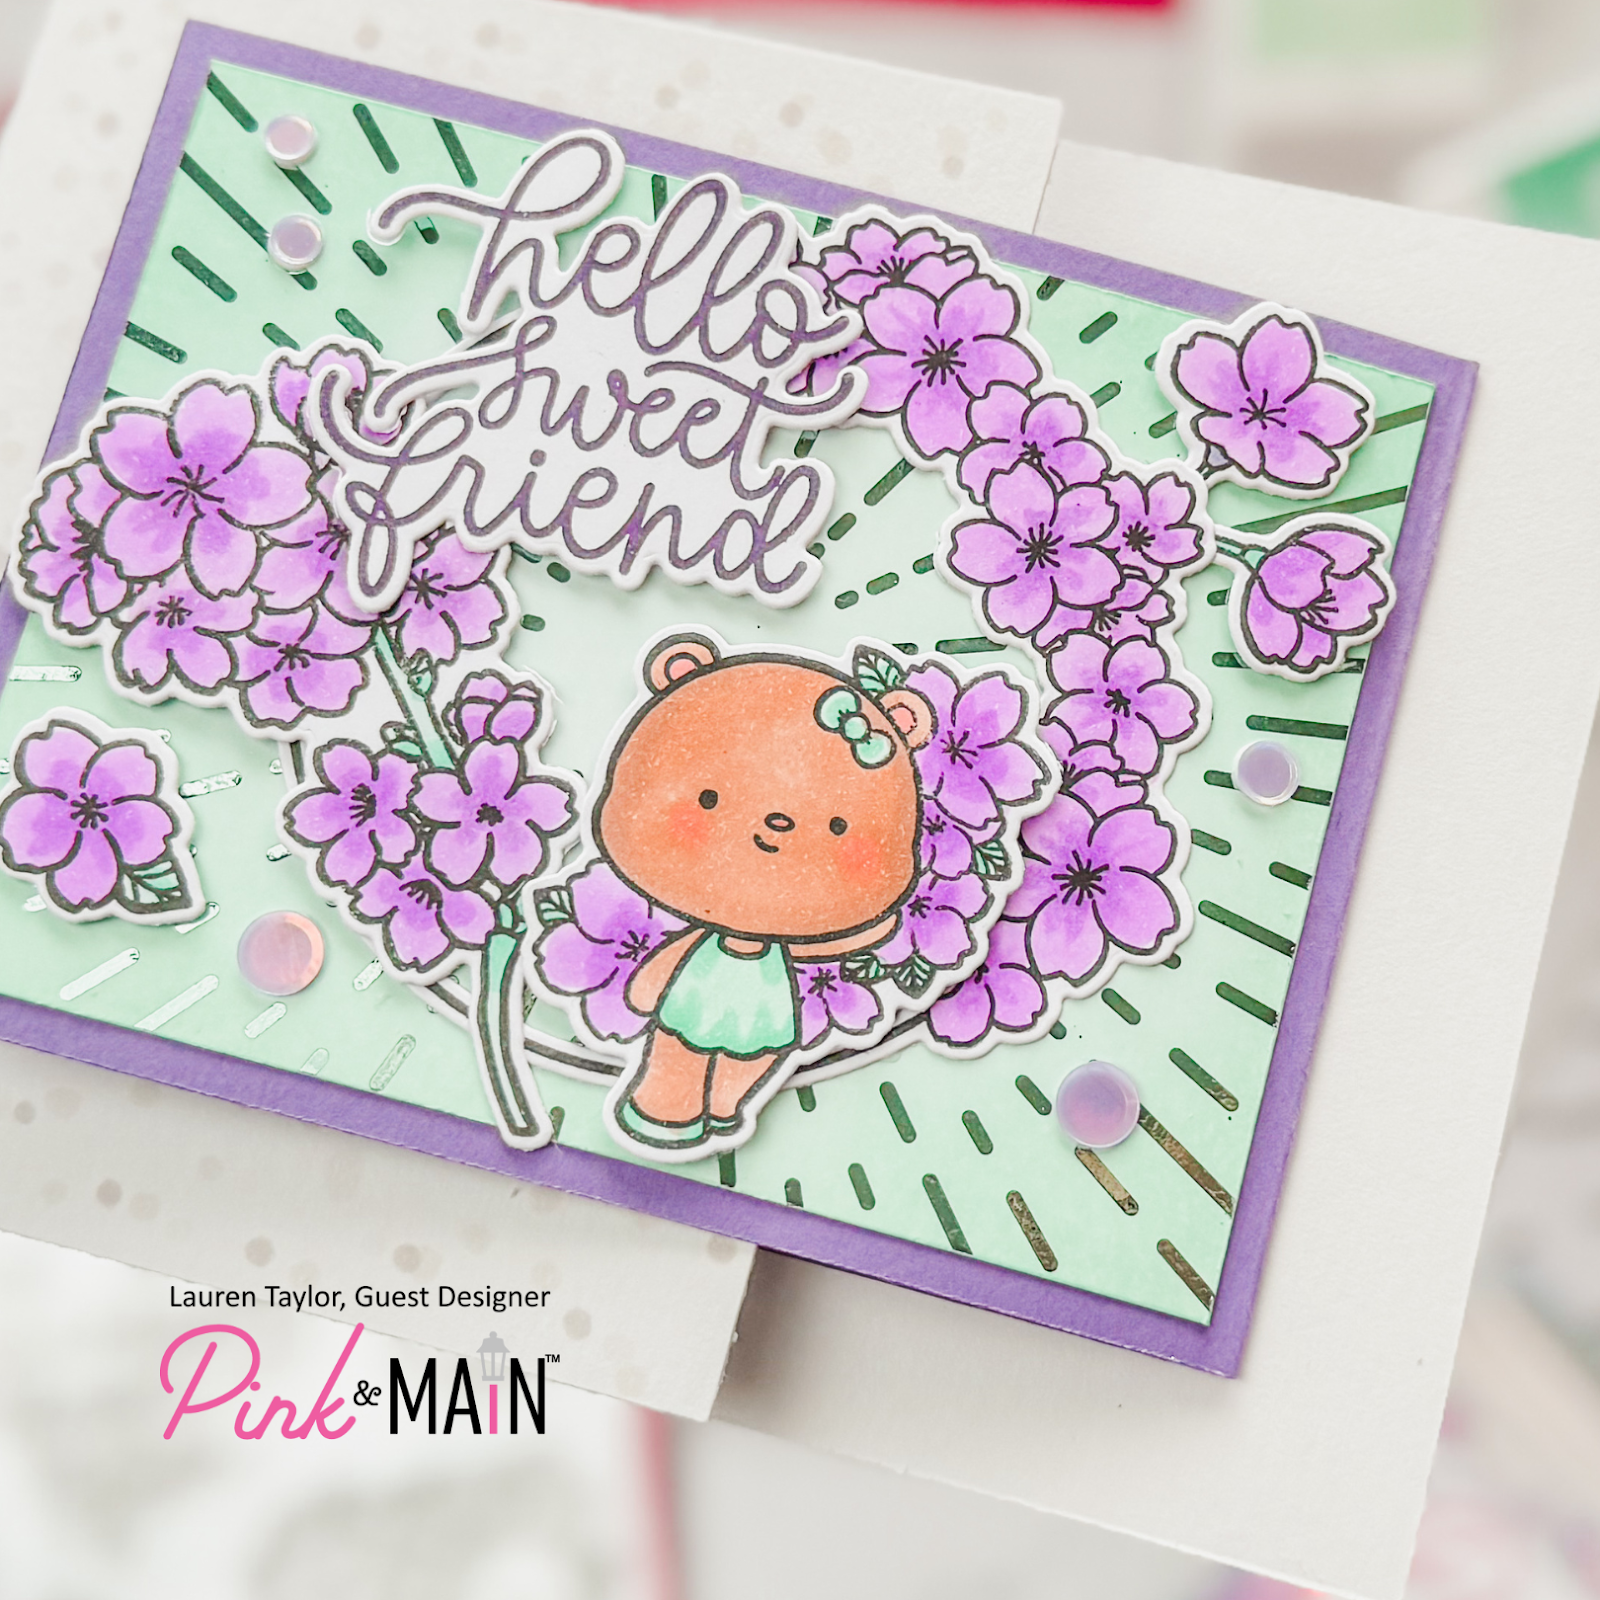
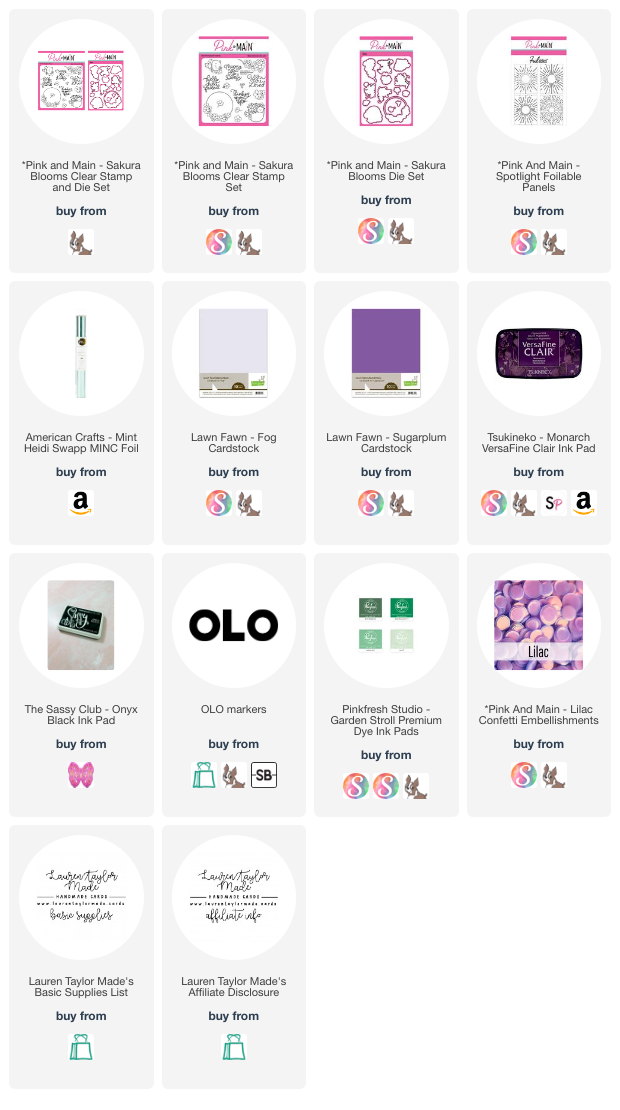
I've got another Pink & Main project to share with you today! (Can you believe that it's APRIL?!) The Sakura Blooms stamp set is so pretty but I decided to color them in purple rather than cherry blossom pink. I brought in some mint colors with the foil and ink blending and I made my own stone looking cardstock to meet the requirements for Craft Roulette this past Friday!

First I stamped and colored my images, then used the coordinating dies to cut them out. I'm realizing now that I'm writing this blog post, I forgot to add my white highlights! I'll probably add them later because those cheeks are just calling for little white highlight dots... I foiled my Foible and with a mint foil from my stash and ink blended green inks to give a pretty, mint background.

I trimmed my foiled background to 3x4" and adhered it to a mini purple card that is 3-1/4x4-1/4" when scored and folded. I have the fold of the card on the right because I'm going to use it as a joy fold card! My grey cardstock is A2 in size and I trimmed the front of the card to be 3-1.2" wide for the joy fold. I glued my purple mini card to the middle of the grey card base.

My images are glued do white card front with liquid adhesive and thin 1mm foam. I have all of the parameters so far except for "stone" so I used alcohol markers to make a stippling pattern to give a stone look to the grey cardstock. I had a lot of fun make this style of card and I hope it brings you some inspiration today!

PIN THIS
SUPPLY LIST

Read More

Hooray! Birthday Mouse Card with Pink & Main

Friday, March 29, 2024

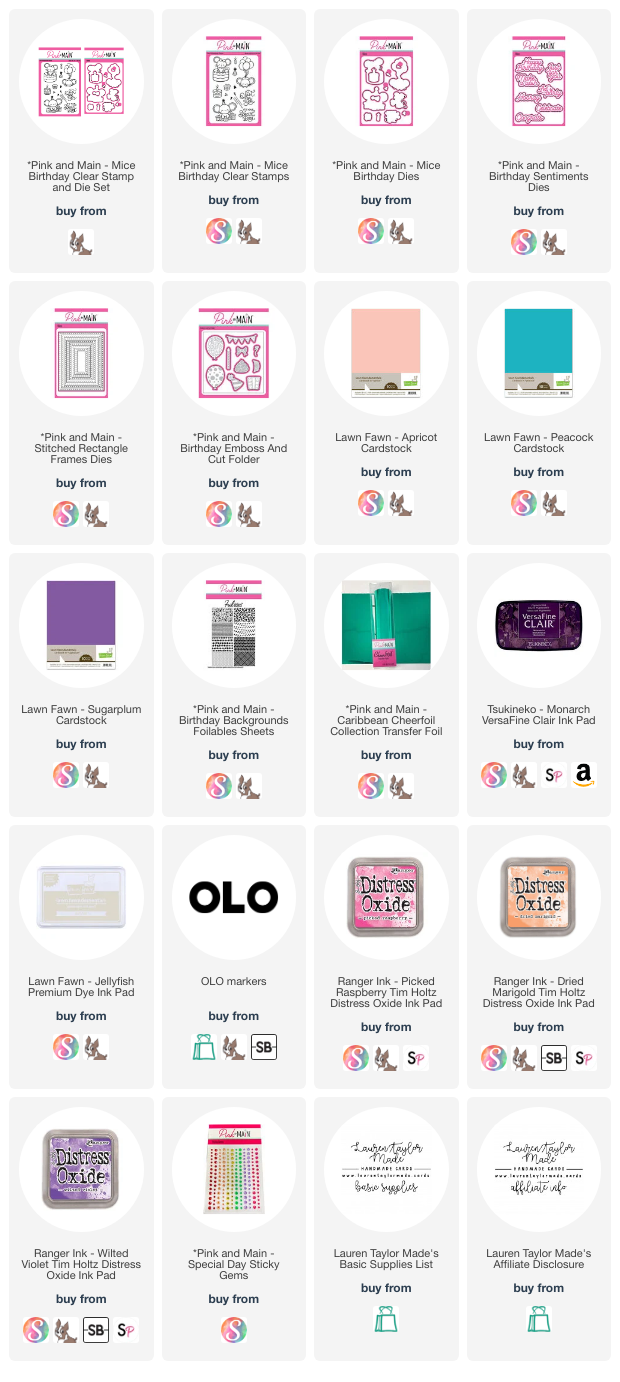
I'm in the celebratory mood with this colorful card! I'm continuing my guest design month with Pink & Main with a cute, birthday card! I was inspired by last Friday's episode of Craft Roulette for the look, theme and colors, but let's get in to how this card was made. I started with foiling my background with a teal colored foil and then ink blended with Distress Oxides to give it fun blend from orange to purple with pink in between.

The panel was trimmed to A2 in size (4-1/4 x 5-1/2") and I used the rectangle frame die in a teal cardstock to add two rectangles onto the card background (which was adhered to a card base) with foam adhesive. I also die cut my "Hooray" sentiment out of apricot and purple cardstock, using leftover pink ink on my brush to add ink to the bottom of the word die cut.

I did the same for my banner that was cut and embossed! I added my sentiment and banner to the card with foam adhesive as well, plus added a few gems for some more shiny color. My images were stamped with a pale grey ink that was alcohol marker friendly and used my OLO markers to color them in. I left my stamps in my MISTI so I could stamp the images again in the same spot with a purple ink to give them a bold outline in a matching color!

Using the coordinating dies, I cut out the images and added them to my card with foam adhesive. I just love how sweet this card turned out and the color scheme just makes me so happy! I hope you like this card, too, and you can check out the new release by using my links below.

PIN THIS
SUPPLY LIST

Read More

Raspberry Lemonade Cupcake Shaker Card - Guest Designing with Pink & Main!

Friday, March 22, 2024

Happy 10th Birthday to Pink & Main! I'm so excited to be guest designing for them for this release so you'll be seeing Pink & Main new products for the next month. I was gifted SO MANY amazing new items (you can see an unboxing at the beginning of my video below) and I wanted to try and use lots of different items for today's project.

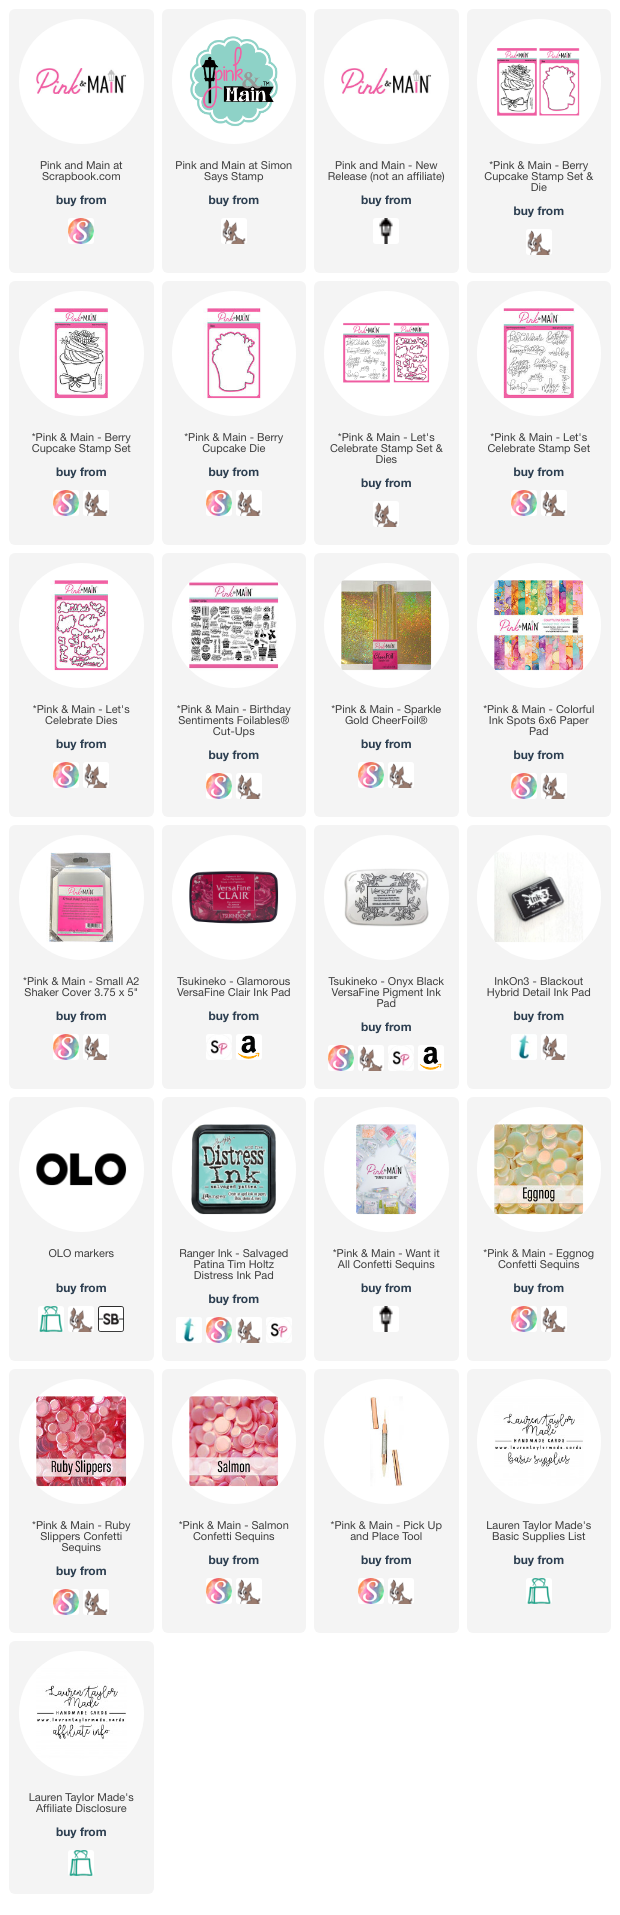
When I saw the Berry Cupcake stamp, I knew I wanted to create a raspberry lemonade cupcake. I colored it with my OLO markers and used it with a shaker panel for this birthday card. You can see my process of today's card down below! Make sure to also head over to Instagram because there is an amazing Instagram Hop where you can see lots of amazing inspiration and a chance to win a $50 gift card. A great way to celebrate, don't you think?!

VIDEO TUTORIAL


PIN THIS
SUPPLY LIST

Read More

Sending Smiles with Pear Blossom Press and Pink & Main

Friday, January 26, 2024

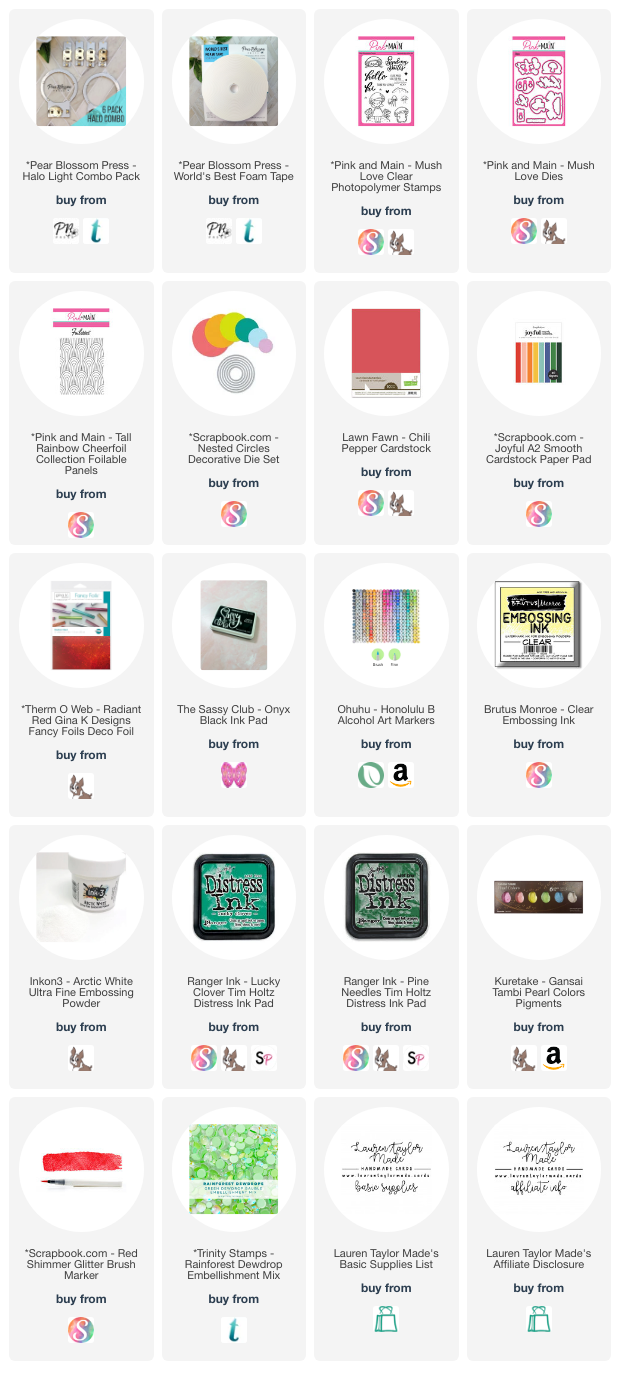
When I saw this adorable girl when shopping Pink & Main, I just had to get her! I thought she was just so cute and I love the sentiments in the set. Especially with their coordinating dies! You know how I just love when stamp sets have dies for their sentiments. I started stamping and coloring all of my images in with Ohuhu Art Markers, then used their coordinating dies to cut them out.

My background is a Foilables and I used a pretty, shimmery red foil and my laminator to add the shine to the foil panel. I die cut a circle out of the background so that I could use a Halo Light to make my card interactive. I adhered the Halo Light to red cardstock measuring A2 in size, then popped up the foiled panel with World's Best Foam Tape. My sentiment is embossed in white and I adhered everything to the panel! I even added a red die cut to indicate where my card receiver should push to activate the Halo Light!

This project is for today's Collaboration Insta-Hop with Pear Blossom Press and Pink & Main! Come hop along with us on Instagram and see some awesome light-up cards! Plus, each company will be giving away $25 PRIZES!

PIN THIS
SUPPLY LIST

Read More