Showing posts with label space. Show all posts

Out of This World Space Birthday Card with Scrapbook.com

Tuesday, July 21, 2026

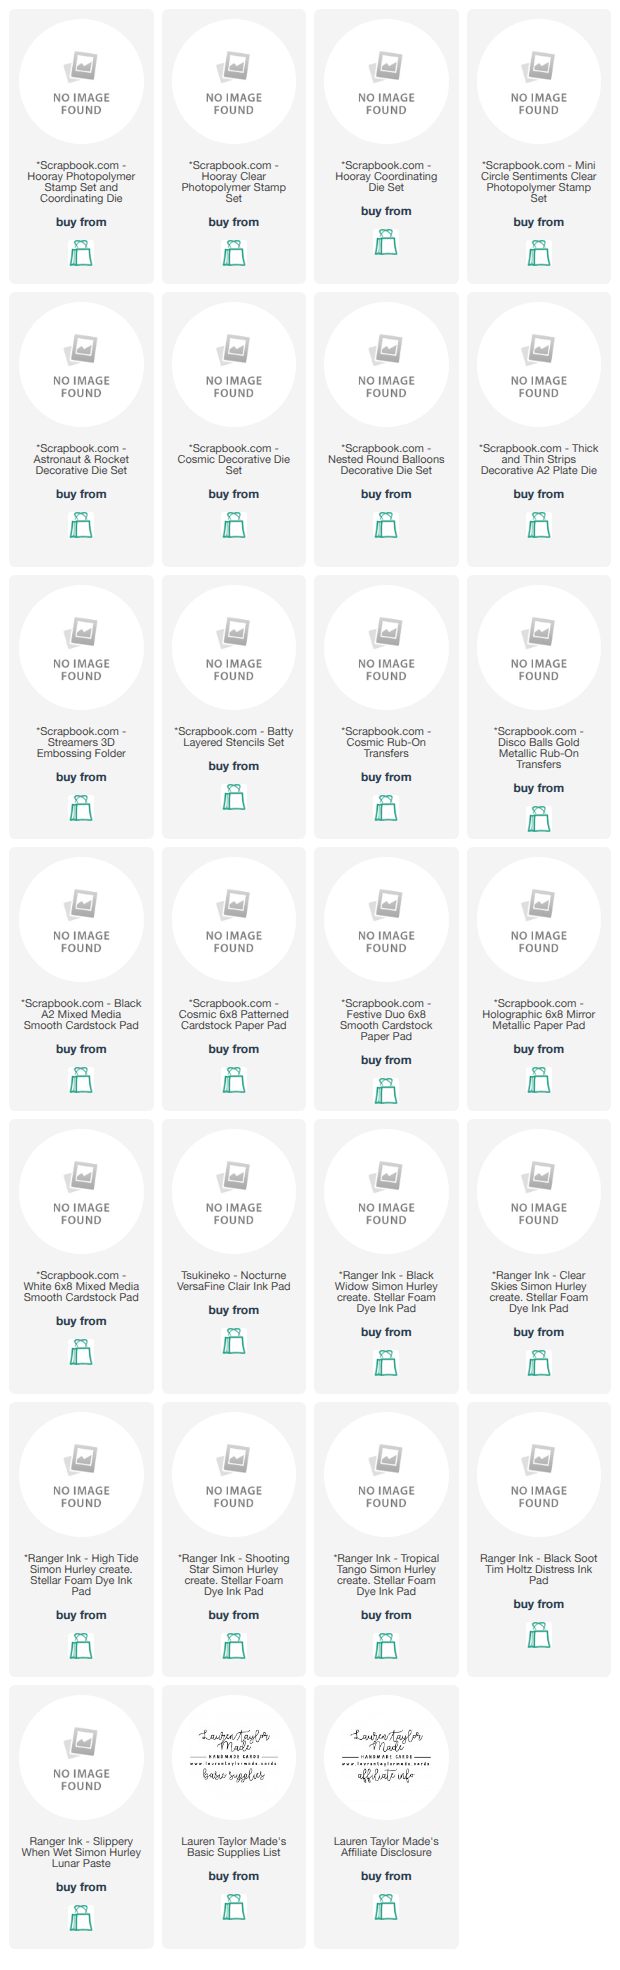
I had the most fun creating this galaxy themed birthday card for the Scrapbook.com channel, and I packed it full of so many fun techniques that I hope at least one of them inspires you to get crafting! I started by ink blending a stunning galaxy background on white mixed media cardstock using Shooting Star, High Tide, Clear Skies, and Tropical Tango Stellar Inks in swooshing layers, then edged everything in Black Widow Stellar Ink and Black Soot Distress Ink to make those colors really pop like a glowing nebula.

I added water reactive splatter for texture, then die cut the background using the Thick and Thin Strips Decorative A2 Plate die and layered the colorful strips at the bottom of a black cardstock panel that I stenciled with lunar paste stars using the Batty Layered Stencil Set, filling in the gaps with metallic star rub ons from the Disco Balls and Cosmic rub on transfer sets. I layered the whole panel onto a piece of the Cosmic 6 by 8 patterned cardstock trimmed to A2 size so just a peek of that swirly pink and orange paper would show around the edges, then glued everything to a top folding A2 card base.

For the focal elements I die cut the astronaut from the Astronaut and Rocket Decorative Die Set, doubling up the white cardstock base for extra sturdiness, then layered all the suit details using the Cosmic patterned paper, the Festive Duo smooth cardstock, and holographic metallic cardstock for the helmet glass and buttons. I turned the planet die cuts from the Cosmic Decorative Die Set into balloons by adding gold metallic balloon string die cuts from the Nested Round Balloons die set, embossing one planet with the Streamers 3D embossing folder for texture, and stamping "Happy Birthday" from the Mini Circle Sentiments stamp set onto a little green moon in Nocturne VersaFine Clair ink using my MISTI to keep it steady.

I arranged all the balloon planets so their strings would bundle together behind the astronaut's hand like he was holding them all, popped everything up with 1mm foam adhesive for lots of dimension, and finished the inside of the card with the "It's Your Day" sentiment from the Hooray stamp set plus a few of those extra galaxy strips along the bottom to tie it all together. Head over to the Scrapbook.com YouTube channel to watch the full video and if you enjoy it, please leave a comment because it truly helps get me back on their channel again!

VIDEO TUTORIAL


PIN THIS
SUPPLY LIST

Read More

Another Orbit Complete Birthday Card with Trinity Stamps

Sunday, January 11, 2026

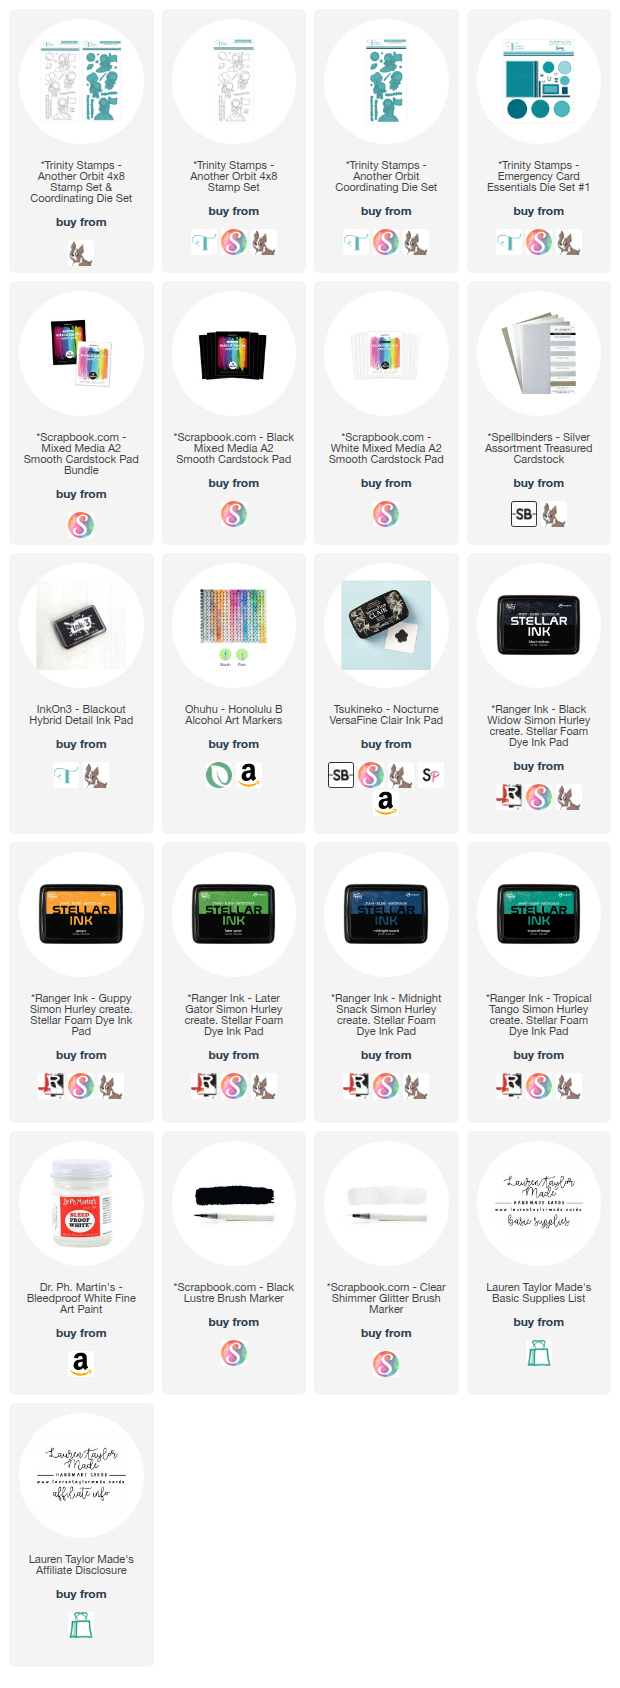
Hi friends! Today I’m sharing a super fun birthday card featuring products from Trinity Stamps, and this one is totally galaxy inspired. I started by stamping the images I wanted to use from the Another Orbit Stamp Set with a black alcohol marker friendly ink, then colored everything in with my Ohuhu Honolulu alcohol markers. Once the coloring was done, I used the Another Orbit Coordinating Die Set to die cut all of the images. I also stamped the sentiments using VersaFine Clair Nocturne ink, including “Happy Birthday” (die cut with the coordinating die) and “Another Orbit Complete” stamped right inside the little flag on one of the images for an extra cute detail.

Next, I created my background using an A2 panel of white mixed media cardstock and ink blended a dreamy galaxy using Simon Hurley create. Stellar Inks in Guppy, Later Gator, Tropical Tango, Midnight Snack, and Black Widow. After my ink blending was finished, I splattered on black luster, bleed proof white paint, and clear shimmer glitter to give the whole panel a starry, dimensional look. Once everything was completely dry, I die cut the panel with the rectangle die that has the angled cut detail, then die cut the smaller angled section again from black mixed media cardstock. To bring it all together, I die cut a thin strip using a die from Emergency Card Essentials Die Set #1 from silver glitter cardstock and glued it on top of the angled cut area like a sparkly connector. I adhered the finished panel onto an A2 card base, then popped up my astronauts, moon, planet, and the “happy birthday” sentiment with 1mm foam adhesive. To finish the scene, I added the comet and three stars with liquid glue for a little extra galaxy magic.

VIDEO TUTORIAL


PIN THIS
SUPPLY LIST

Read More

Fandom Friday Meets SheetLoad of Cards with a Tomorrowland Twist

Friday, January 2, 2026

Today I am sharing my take on January’s SheetLoad of Cards sketch from Call Me Crafty Al for our creative team hop, and I am mixing it with my Fandom Friday series for a little extra fun. I used a space themed paper pad and matching stamp set to bring that futuristic amusement park vibe to life. Following the sketch, I cut my patterned papers using the two inch measurements so the angles would line up perfectly, keeping the pieces taped together while trimming for clean and even cuts. For the background, I stepped it up by foiling a star design onto cotton cardstock using a BetterPress plate and prism foil, which gave me a subtle shine with beautiful debossed detail.

Once the backgrounds were ready, I stamped and paper pieced my little astronaut mouse so it had that neon sign feel, then stamped and die cut a coordinating sentiment to match. I added dimension by embossing the foiled panels with a star embossing folder, layered everything onto white A2 card bases, and used a mix of liquid glue and foam adhesive to assemble the card fronts. After living with the card overnight, I decided to add a vellum oval behind the image and sentiment to help them stand out more from the busy background. A few shimmer star confetti pieces finished everything off and tied the design together from edge to edge.

VIDEO TUTORIAL


PIN THIS
SUPPLY LIST

Read More

Out of This World Gate Fold Card with Scrapbook.com

Thursday, September 18, 2025

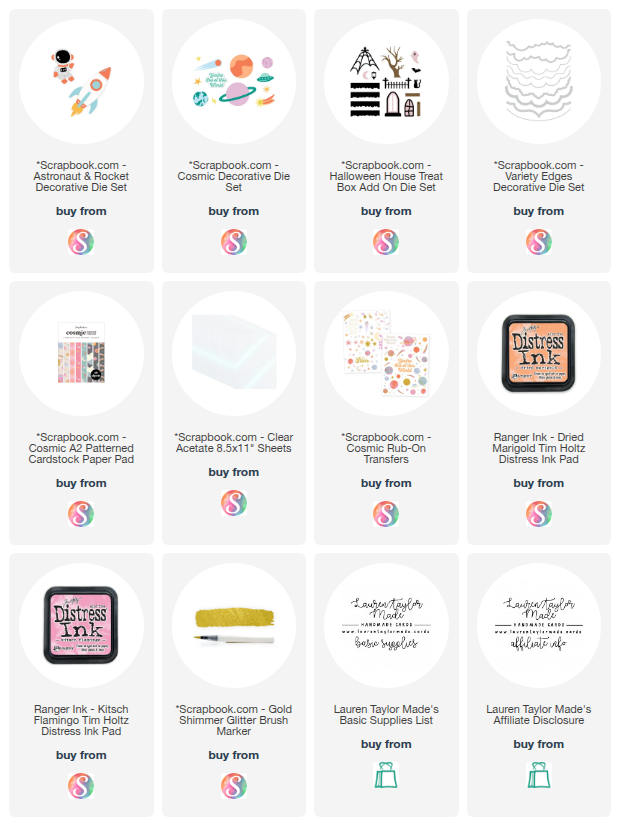
For Craft Roulette Episode 284, I created a gate fold card using the Scrapbook.com Cosmic Collection. I started with a card base measuring 5.5" x 8.5", scoring the 8.5" side into two equal 2 1/8" flaps that fold toward the center. I covered the panels with patterned paper from the Cosmic Paper Pad and added layered clouds from the Variety Edges die set, popped up with foam adhesive. To bring in a galaxy vibe, I added rub-ons, stars, and planets to the front and inside of the card.

For the focal point, I die cut the sentiment “You’re Out of This World” for the inside of the card and a rocket from the Astronaut & Rocket die set. I inked the rocket with Kitsch Flamingo and Dried Marigold Distress Ink to deepen the edges and brighten the flames. A bellyband made of clear acetate slides over the card to keep it closed, with the rocket attached to the overlap so it looks like it’s floating. To meet one more Craft Roulette parameter, I tucked a little gray cat inside the rocket from the Halloween Treat Box Add-On die set, and I finished with a splatter of gold shimmer for that extra shine.

PIN THIS
SUPPLY LIST

Read More

Out of This World Amazing with Simon Hurley create.

Friday, August 29, 2025

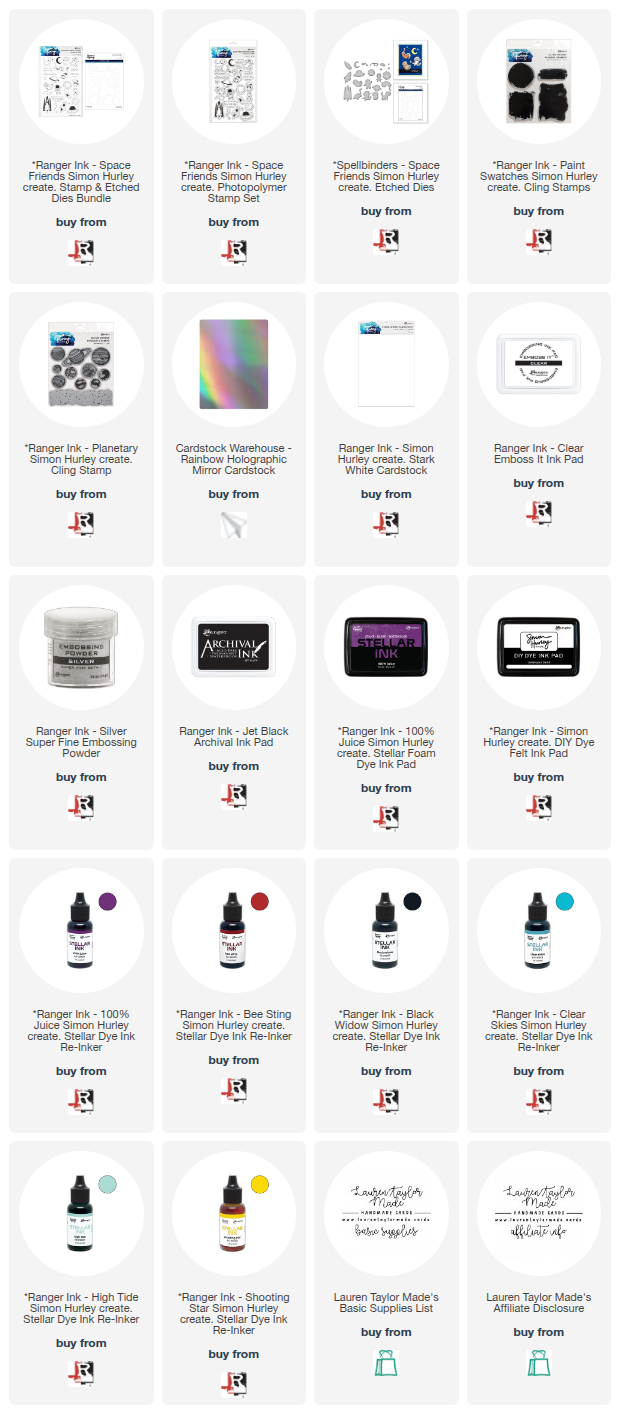
Today I’m sharing a card I created for Ranger Ink featuring Simon Hurley create. products, with a fun galactic feel and plenty of shimmer. I started by trimming a piece of Stark White Cardstock to 3-1/2" x 4-3/4". Using the stars from the Planetary Cling Mount Rubber Stamp Set, I stamped on the left side of the panel with Emboss It Ink and heat embossed with Silver Super Fine Embossing Powder. To create a bold background, I made my own DIY ink pad with Stellar Ink reinkers in 100% Juice, Clear Skies, and High Tide. I then stamped the large rectangle paint swatch from the Paint Swatches Cling Mount Rubber Stamp Set right in the center. For extra texture, I splattered a mix of Black Soot Reinker and water over the panel.

I attached a holographic cardstock frame to an A2 card base and popped up my stamped and splattered panel with foam adhesive. Next, I stamped the astronaut and rocket from the Space Friends Photopolymer Stamp Set in Jet Black Archival Ink. I watercolored them using the same Stellar Ink reinkers plus Shooting Star  and Be Sting, then die-cut the images with the coordinating dies. After arranging and popping up the astronaut and rocket, I stamped the sentiment “You are out of this world amazing” in 100% Juice, fussy cut around it, and adhered it with foam adhesive. The combination of holographic shine, bright ink blending, and cute space elements makes this card perfect for sending an interstellar smile.

VIDEO TUTORIAL


PIN THIS
SUPPLY LIST

Read More

Shine Bright Space Themed Cards with Scrapbook.com

Thursday, July 3, 2025

Hi friends! I’m so excited to share two handmade cards featuring the exclusive Cosmic Collection from Scrapbook.com. The colors and patterns in this collection are absolutely out of this world—perfect for adding a celestial vibe to your card projects. My first card is a sweet “Love You to the Moon” design, where I layered two cosmic patterned papers to build the background, adding interest by flipping a paper strip to reveal its reverse side. I created a focal point using nested circle frames from pink patterned papers and arranged them to give some fun layered dimension. I stamped and die cut the moon, planets, and stars in coordinating colors, then adhered them across the card to create a playful, starry scene. A couple of North Star die cuts and Pops of Color were the perfect finishing touches to make this card shine!

For my second card, I wanted to make a Father’s Day design with a cool cosmic twist. I started by cutting a Nested Stitched Flat Oval from shiny holographic paper and used the leftover piece to add an extra metallic layer to my card base. I layered cosmic cloud-patterned paper on top and added a smaller oval from a complementary pattern, popped up for dimension. I used smaller ovals to create a layered sentiment focal point, stamping the greeting on white cardstock and die cutting a bold “Dad” with a shadow layer to really make it stand out. I stamped and fussy cut the moon and a couple of planets, then clustered them around the sentiment for a galaxy-inspired look. Silver Pops of Color added just the right amount of sparkle to finish it off.

Both cards came together beautifully using the Cosmic Collection, and I love how versatile these products are for any occasion! I hope these projects inspire you to try some cosmic creations of your own—thanks so much for stopping by!

PIN THIS
SUPPLY LIST

Read More

I Want to Believe X-Files Inspired Fandom Card with Trinity Stamps

Sunday, May 18, 2025

Hey crafty friends! Get ready to explore the truth (and some seriously fun card making!) because today we're diving into a project inspired by one of my absolute favorite shows: The X-Files! If you're like me and have a soft spot for Mulder and Scully's paranormal investigations, then you're going to love creating this handmade card featuring the fantastic products from Trinity Stamps. Their versatile dies make it so easy to bring even the most out-of-this-world ideas to life. Trust me, the possibilities are endless when you combine your love for crafting with a touch of the unexplained!

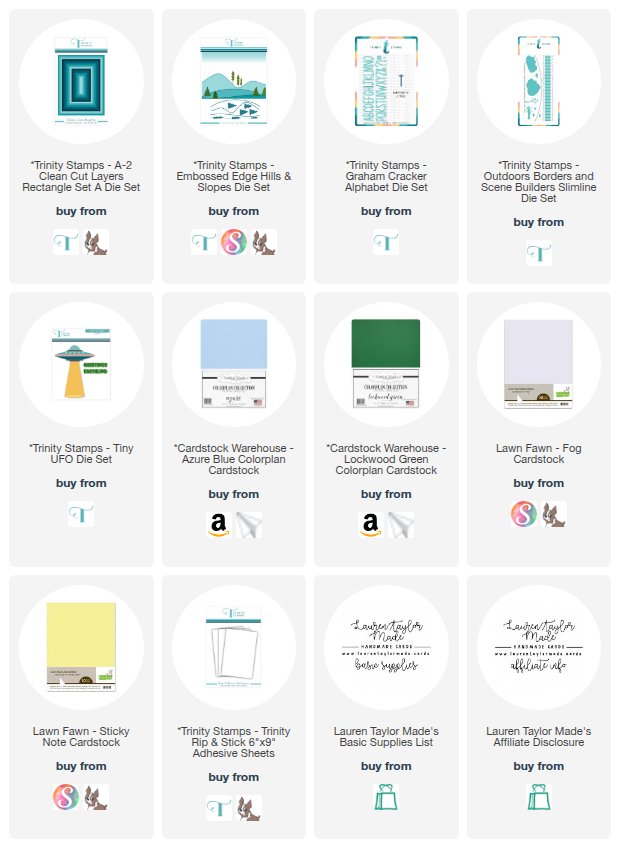
To create my X-Files inspired card, reminiscent of that iconic "I Want to Believe" poster, I started by die-cutting the Tiny UFO from Trinity Stamps using gray cardstock, and added little lights cut from pale yellow cardstock. A touch of liquid adhesive brought this little spacecraft together. For the mysterious landscape, I used the Embossed Edge Hills and Slopes die set and the Outdoors Borders and Scene Building die set, cutting all the various tree pieces from different shades of green cardstock and layering them to create depth. 

I then adhered this scene onto a panel of light blue cardstock cut using one of the A2 Clean Cut Layers Rectangle dies. Finally, using the Graham Cracker Alphabet dies, I die-cut "I WANT TO BELIEVE" from white cardstock that I'd backed with Rip and Stick Adhesive Sheets to create easy-to-apply stickers, placing the sentiment along the bottom of the scene before mounting the entire card front onto an A2 card base. Get ready to believe in the power of paper crafting!

VIDEO TUTORIAL


PIN THIS
SUPPLY LIST

Read More

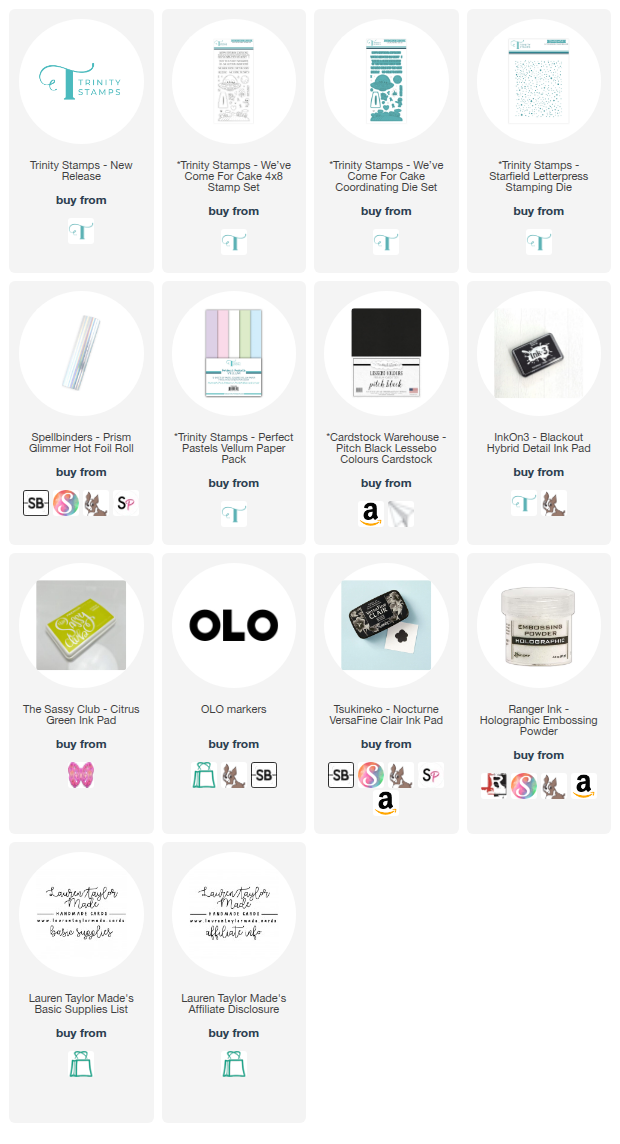
We've Come For Cake! New Release from Trinity Stamps

Wednesday, April 30, 2025

Get ready for liftoff, crafty friends! I'm thrilled to share a peek at my latest card creation featuring the super fun new space-themed release from Trinity Stamps, including the adorable "We've Come For Cake" stamp set and the mesmerizing Starfield Letterpress Die. This release is truly stellar, and I couldn't wait to create a birthday scene with little aliens beaming up a cake! To see exactly how this card came together, and to join in on a fantastic release hop with tons of inspiring projects from other creators (plus a chance to win!), make sure you head over to my YouTube video linked below.

In the video, you'll see how I used the cute stamped, colored, and die-cut alien images and then used the Starfield Letterpress Die with shimmering Prism foil for a cosmic background. I also crafted a translucent beam of light using vellum and the coordinating dies. The scene was then assembled on an A2 card base, adding dimension with foam adhesive, and finished with the punny sentiments, "We've come for the cake" on the front and "This is an close encounter of the getting older kind" inside. Don't miss the hop playlist and supply list in my video description for even more inspiration and your chance to win! Plus, check out Instagram for more out-of-this-world projects from the Trinity Stamps team. Happy hopping!
VIDEO TUTORIAL


PIN THIS
SUPPLY LIST

Read More

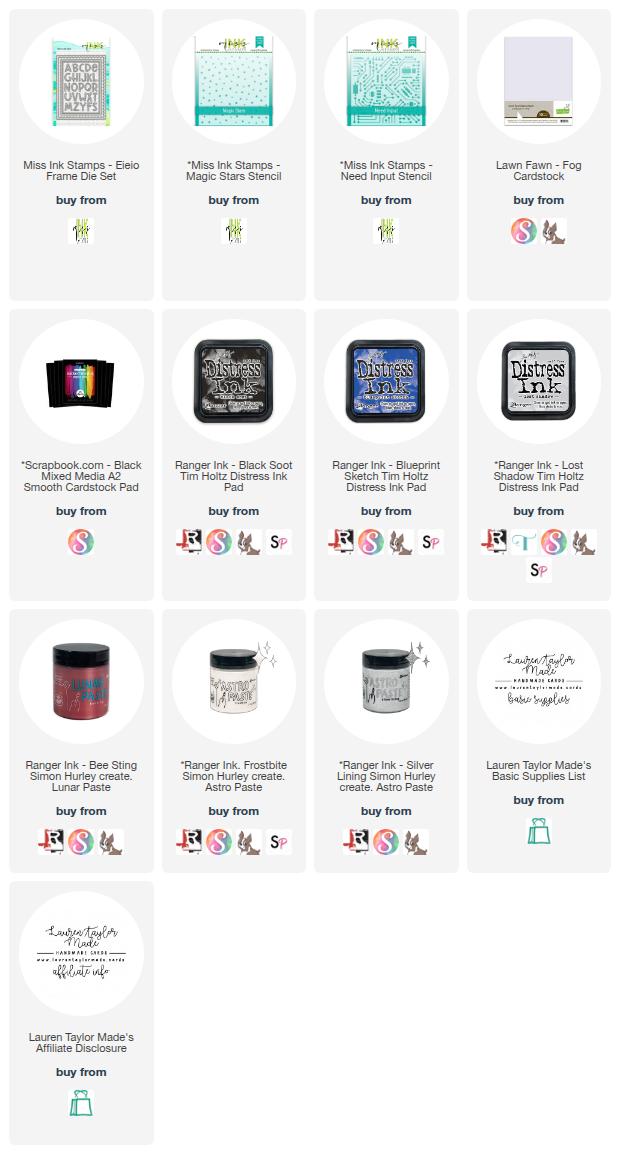
Beep Boop Robot Head in Space Fandom Card with Miss Ink Stamps - New Release!

Saturday, April 26, 2025

Oh my crafting friends, prepare to be utterly delighted! The latest release from Miss Ink Stamps has landed, and let me tell you, it's out of this world! I couldn't wait to dive in and create something truly special, and the result is this super fun, tech-inspired card that's buzzing with personality. Think whirring gears, cute little chirps, and a whole lot of charm packed into one little handmade greeting.

To create this card, I started by bringing a metallic friend to life using the new Robot Head Stencil. Layering Distress Inks in shades of grey and vibrant blue created a fantastic dimensional base. Then, for some extra texture and shine, I incorporated the Bee Sting Lunar Paste and the cool Frostbite Astro Paste through different layers of the stencil. Once dry, I fussy cut this central element.

For the background, the Magic Stars Stencil and Silver Lining Astro Paste on black cardstock gave it a celestial feel. I die cut a couple of quirky Space Icons and added a touch of inky shading for depth. The "Beep Boop" sentiment was created using the Need Input Stencil and alphabet dies, adding a playful touch with a layered, shadowed effect. Finally, I assembled everything onto a card base, popping up the robot head for dimension and adding the icons as fun accents. Trust me, this new release is bursting with creative possibilities – you absolutely need to get your hands on it!

PIN THIS
SUPPLY LIST

Read More

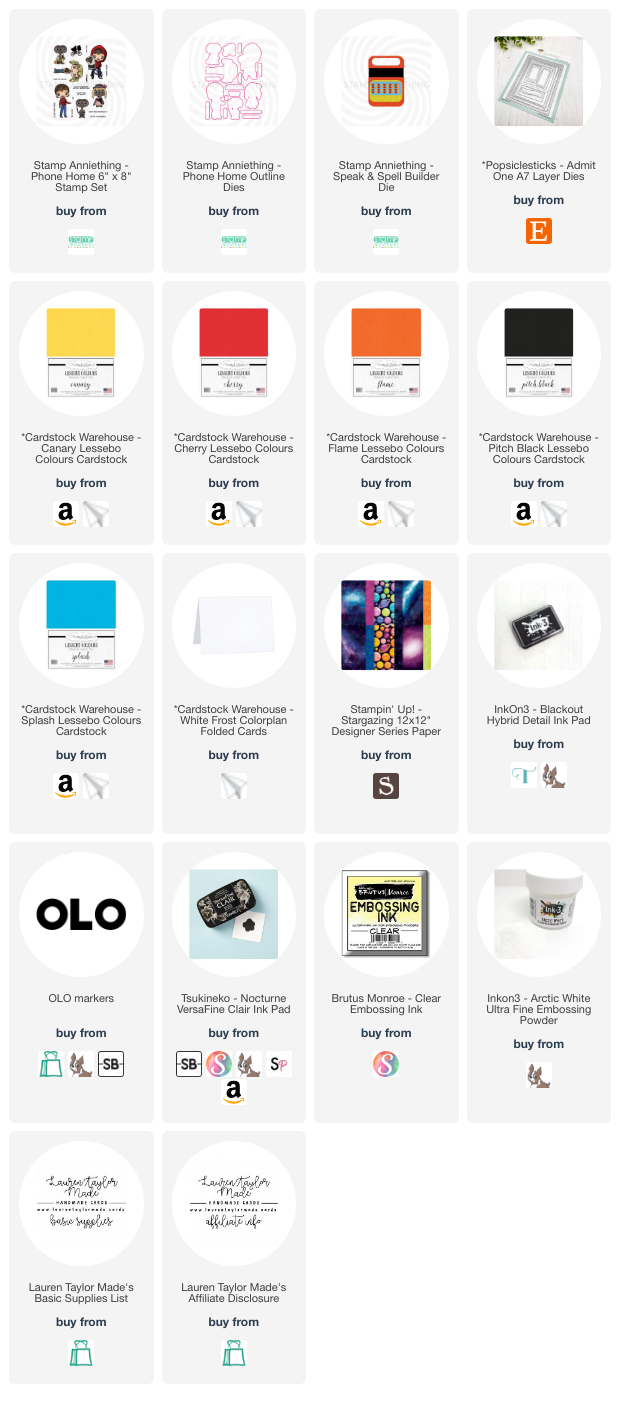
Favorite Extraterrestrial 5x7 Card with Stamp Anniething - Fandom Friday!

Friday, March 21, 2025

Hey crafty friends! Welcome back to my blog and my craft room! It's Fandom Friday, and I'm super excited to share this fun card featuring the adorable extraterrestrial stamp set from Stamp Anniething, "Phone Home," along with their amazing Speak & Spell builder dies. This card was a blast to put together, with lots of die-cutting from various Cardstock Warehouse colors like Cherry, Pitch Black, Canary, Flame, and Splash, all to perfectly match the iconic 80s Speak & Spell from the movie. I even colored the cute characters with my Olo markers, using a range of shades to bring them to life. For a full visual walkthrough and all the tips and tricks, be sure to check out my YouTube video linked below!

To recreate this card, start by die-cutting all the Speak & Spell pieces from your chosen cardstock colors, referencing the original design for button placement. Next, stamp the adorable alien and boy image onto alcohol marker-friendly paper using Inkon3's Blackout Hybrid ink. Color them with Olo markers, paying attention to shading and blending for depth. I used a Stampin' Up Stargazing paper for the background, cutting it to 5x6.5 inches using the Popsiclesticks Admit 1 5x7 layer die. For the sentiment, I used white embossing powder on the black cardstock to mimic the Speak & Spell's display. Assemble the card by adhering the background to a white A7 card base, then adding the Speak & Spell and the colored image with foam adhesive for dimension. Don't forget to watch my YouTube video for all the details, and let me know in the comments what you think of this fun, fandom-inspired card!

VIDEO TUTORIAL


PIN THIS
SUPPLY LIST

Read More