

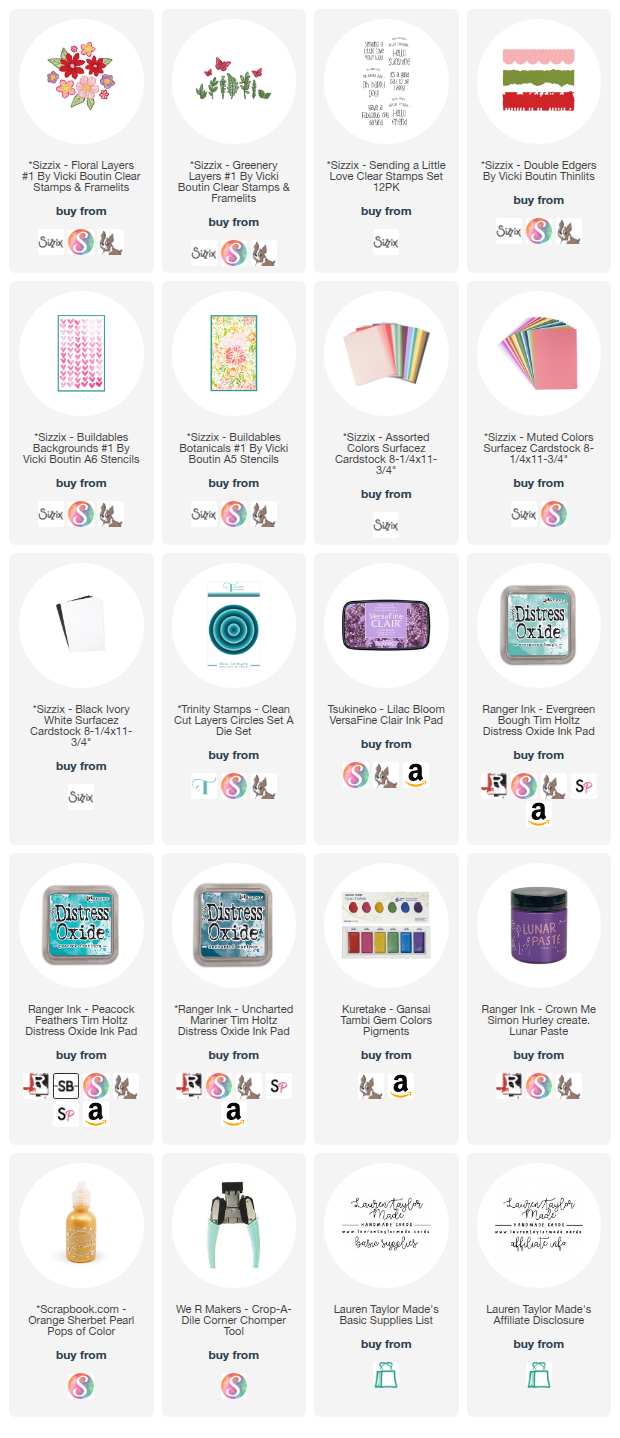
I started this card with a sheet of ivory cardstock and layered stenciling to build a rich, textured background. Using the Buildable Botanicals stencils, I ink blended Distress Oxides starting with Peacock Feathers at the top, blending into Evergreen Bough, and finishing with Uncharted Mariner toward the bottom. Once the stencil was removed, I splattered purple metallic watercolor from the Gem Colors set across the panel and set it aside to dry. After that, I layered in one of the Buildable Background stencils using Crown Me Simon Hurley Lunar Paste to create a soft starburst floral pattern. When everything was completely dry, I trimmed the panel to A2 size and rounded all four corners with a corner chomper. I repeated the same corner rounding on my A2 card base and adhered the finished background panel to the front.
 |
 |
For the focal element, I stamped the sentiment “oh happy day” from the Sending a Little Love stamp set in a circle using Lilac Bloom VersaFine Clair ink and a stamp and spin tool. I die cut the sentiment into a circle, then partially die cut it in half using the scalloped edge from the Double Edgers Thinlits set. I die cut layered flower pieces from the Floral Layers Number One die set and leaf clusters from the Greenery Layers dies using assorted and muted cardstock colors. The larger flower petals were cut from purple cardstock, while the smaller petal layer was enhanced with purple metallic watercolor for extra depth and shine. I layered the flower together, added the leaves behind it, and adhered the entire cluster to the scalloped sentiment piece. That focal cluster was popped up on the card with foam adhesive, and I finished the design by adding Orange Sherbet Pearl Pops of Color to the flower center. The mix of teal, purple, green, and warm yellow tones brings the whole card together in a bright and cheerful way.

Post a Comment