Showing posts with label indoors. Show all posts

Magical Sorting Dutch Fold Card with Miss Ink Stamps

Wednesday, May 3, 2023

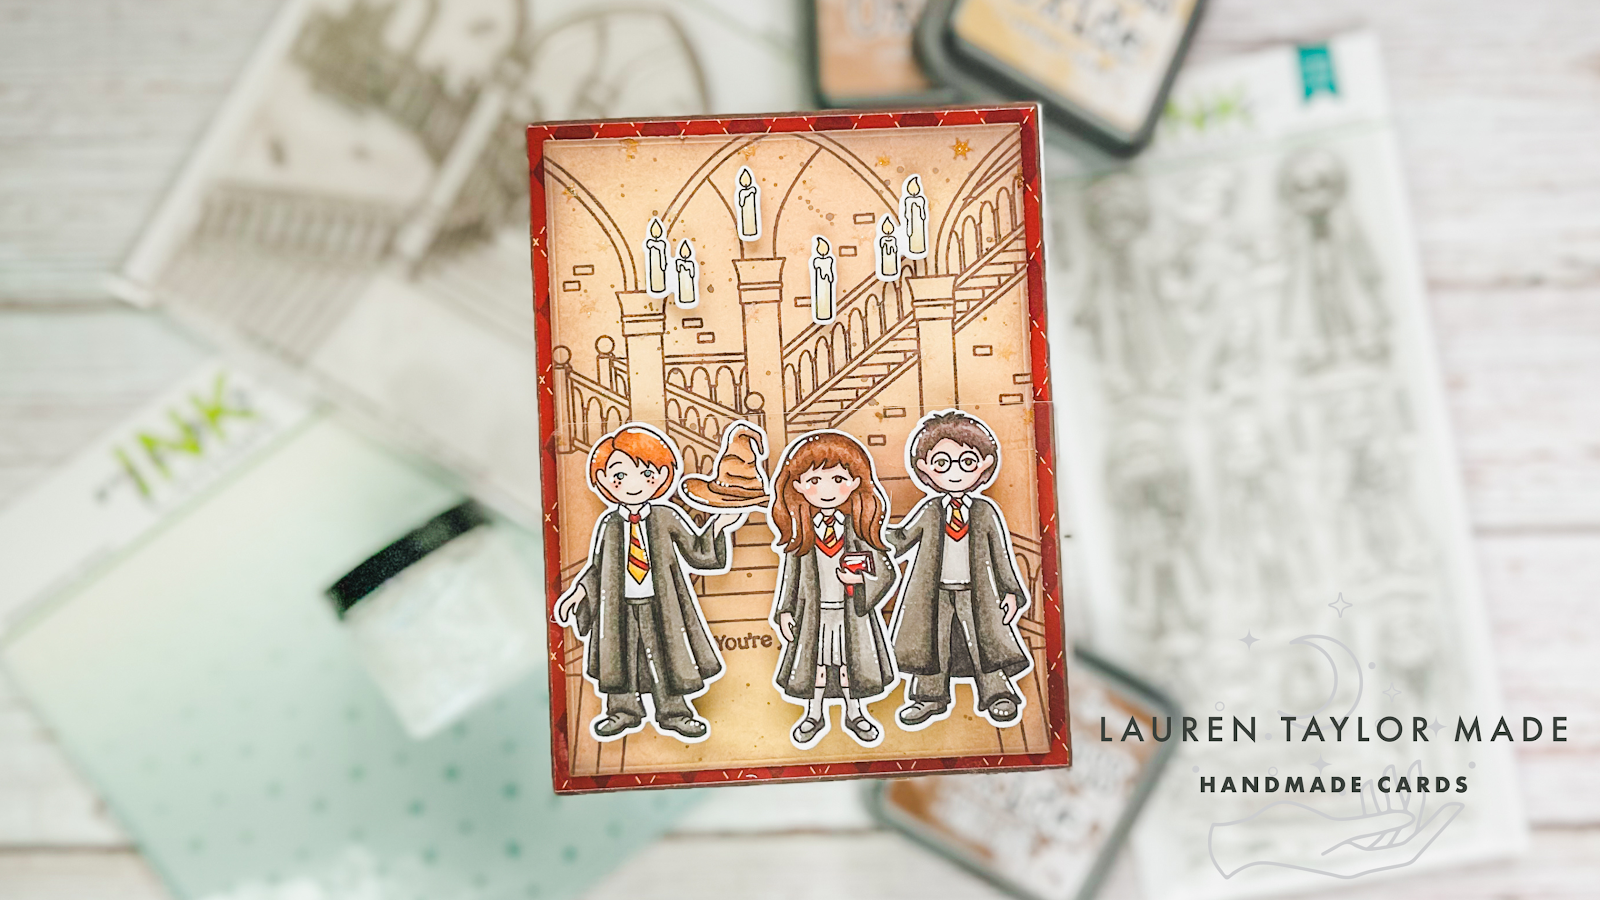
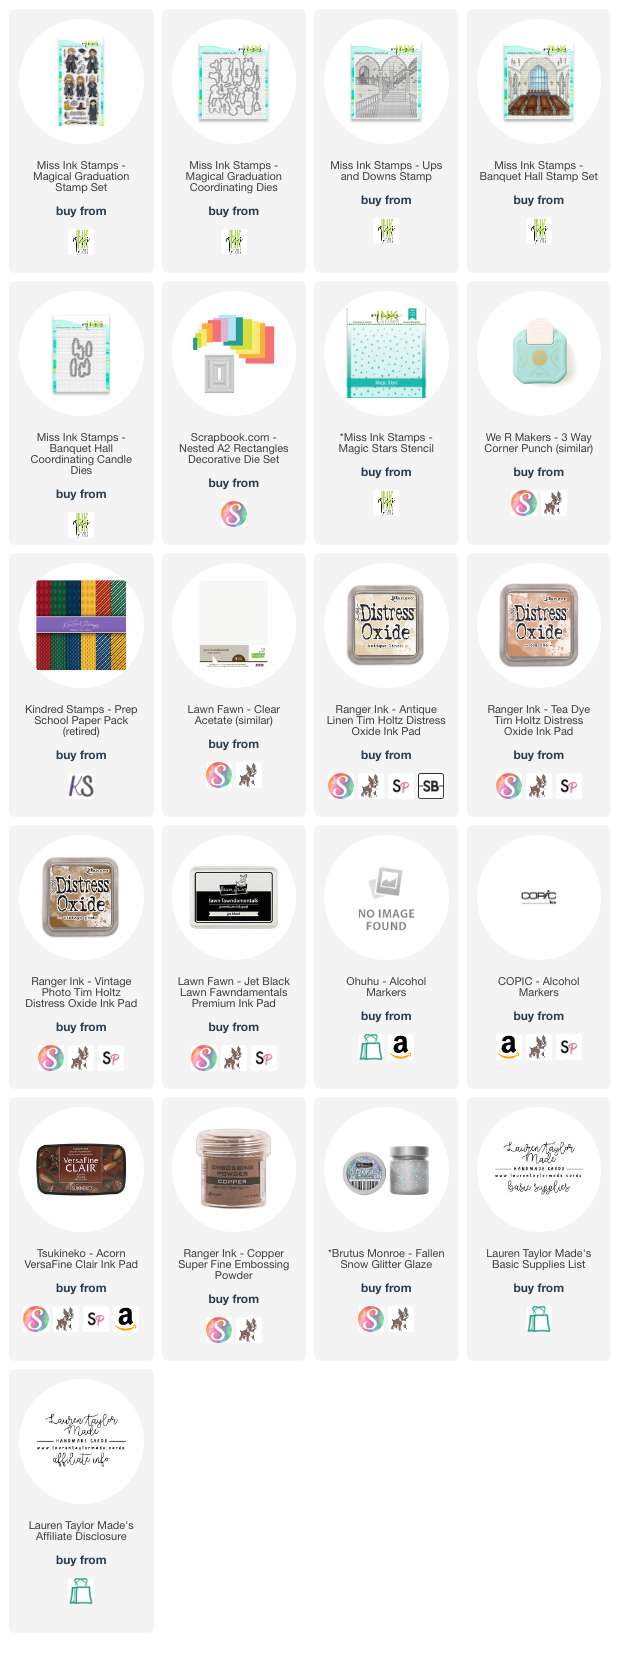
I was perusing Instagram a couple weeks ago and saw a card by the ever so talented Davina from PopsicleSticks and was introduced to Miss Ink Stamps! I bought pretty much the whole magical release and was so excited to use some of the products in my latest card for Craft Roulette. The parameters from Friday's episode were: dutch fold card, campfire colors, include a hat/cap and book page.

Starting with my background, I stamped the Ups and Downs background stamp as well as my sentiment with Acorn Versafine Clair ink and embossed it with copper embossing powder. I inked on Distress Oxides to give it a vintage paper feel. I wanted to give it a little more texture, so I used the Magic Stars Stencil and some clear Glitter Glaze on the top half of the background. 
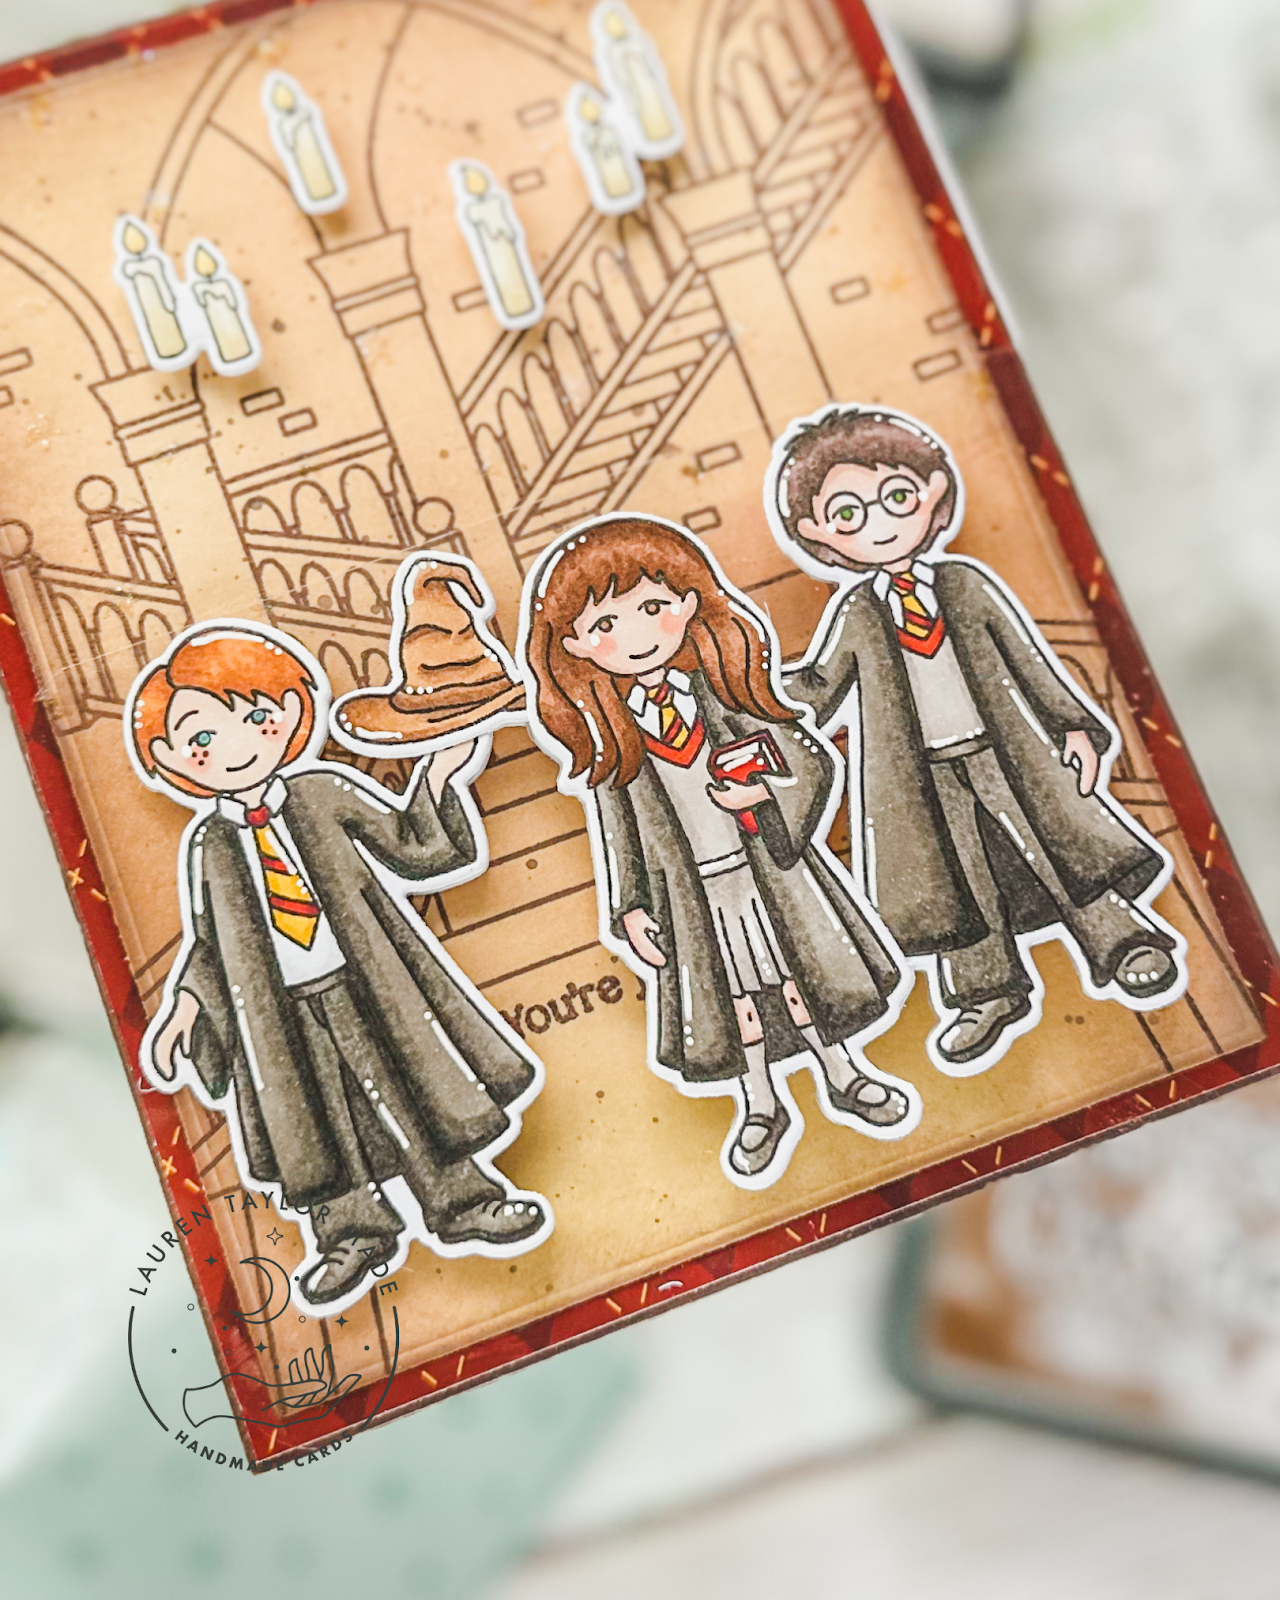
While the background dried, I got to stamping and coloring. I stamped my three magical students, an old hat and floating candles with alcohol friendly black ink and colored them with my Ohuhu Art and COPIC Markers. Using their coordinating dies made it super easy to cut them out and I also cut out a second set of students and hat with just white cardstock. Once my background was dry, I layered it with some red and gold argyle patterned paper onto an A2 piece of brown cardstock. I also tucked in a small magnet and glued it under the stamped background towards the bottom left.

I made my dutch fold with a piece of acetate that is cut to 3x4-3/4". I scored it at a 1/2" so that way the part that overlaps the front of my card is 4-1/4" which is the size of my A2 card base. I used a bone folder to really fold over the acetate as it's pretty heavy duty. I adhered the 1/2" of my acetate to the back of the brown cardstock (which has my layered background adhered to it) creating the dutch fold. I then glued the whole front of the card to a side folding A2 card base.

Next I figured where my other magnet needed to go on the clear acetate to help keep the card closed and glued it to the front of the acetate. Using thin foam adhesive squares, I adhered my red-headed student to the acetate so that he covers the magnet! I then glued the extra die cut of him to the back side of the acetate to hide the foam adhesive and magnet. I repeat this with the hat and two other students! I also used foam adhesive to add my floating candles to the top of the card.

I know the magnet part was probably difficult to picture since I didn't film myself making this card. So let me know in the comments if you'd like to see me use magnets in a future video! My crafty friend Carrie Rhoades has used them in her videos (here's one here) but I'll definitely incorporate them in future videos if you'd like to see them in action. Make sure to leave a comment letting me know what you think of my interpretation of the Craft Roulette parameters!
PIN THIS
SUPPLY LIST

Read More

12 Days of Christmas: Scrapbook.com Paper Pads + Winter Wishes Paper Pieced Card

Saturday, December 3, 2022

Continuing my 12 Days of Christmas and Day 3 its about the wonderful paper pads from Scrapbook.com! I love the 6x8 Patterned Paper Collections and how they match perfectly with the 6x8, Slimline and A2 Smooth Cardstock Paper Pads with the same name. There are so many different collections of colors - Christmas, Brights, Roses, Warms, Cools, Boho, Harvest... I can go on and on!

Depending on what size you use the most, you can easily stock up on A2, Slimline or 6x8. Although I really just want all the sizes! I thought a great way to share some inspiration using the beautiful paper pads with some paper piecing and layering.

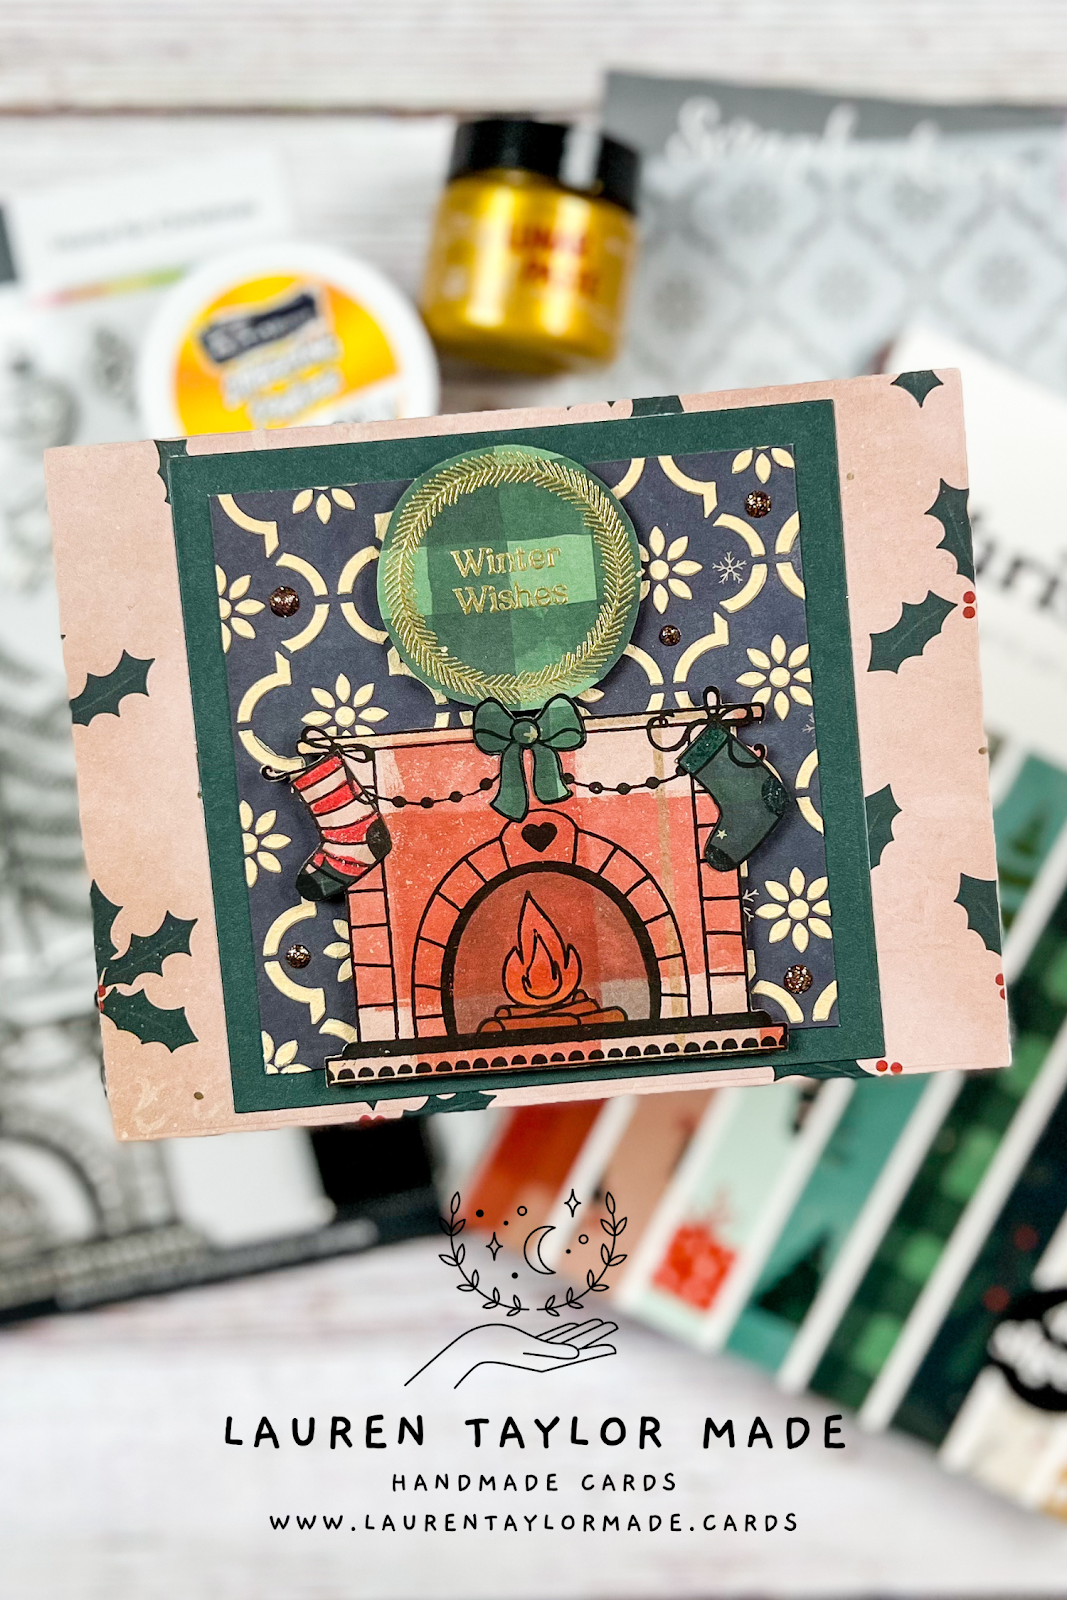
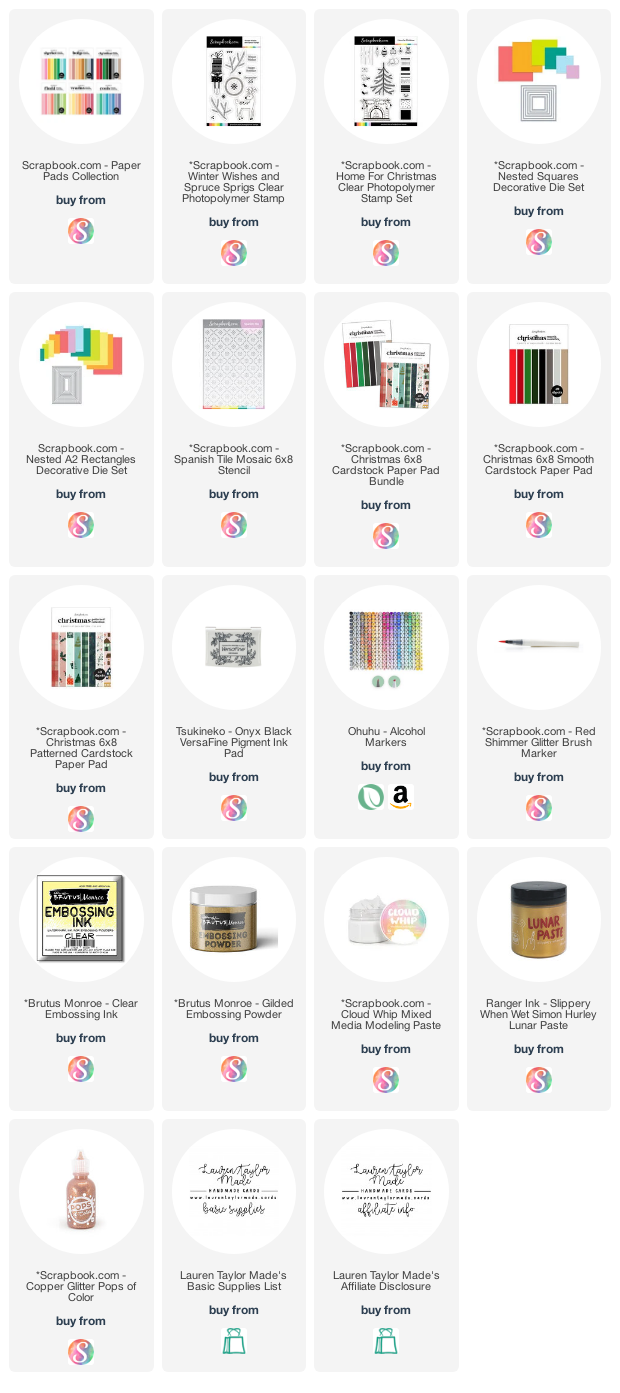
I stamped all of my images on the Christmas Patterned Collection Pad and paper pieced the stockings and bow onto the fireplace with a little bit of coloring. The wreath and sentiment are gold embossed onto more patterned paper as well stenciling on some Cloud Whip + Lunar Paste on even more patterned paper. I layered my fireplace scene onto some Christmas Smooth Cardstock that I cut with my largest Nested Square die and then onto a final piece of patterned paper that was die cut with the largest A2 Rectangle die.

My fireplace and treat are adhered with foam adhesive and I added some Glitter Pops of Color for some additional shine in Copper. I hope you add some paper pads to your wish list so you can love them as much as I do!

PIN THIS
12 DAYS OF CHRISTMAS
SUPPLY LIST

Read More

A Cozy, Hygge Hello Card with Time for Tea Designs

Tuesday, July 26, 2022

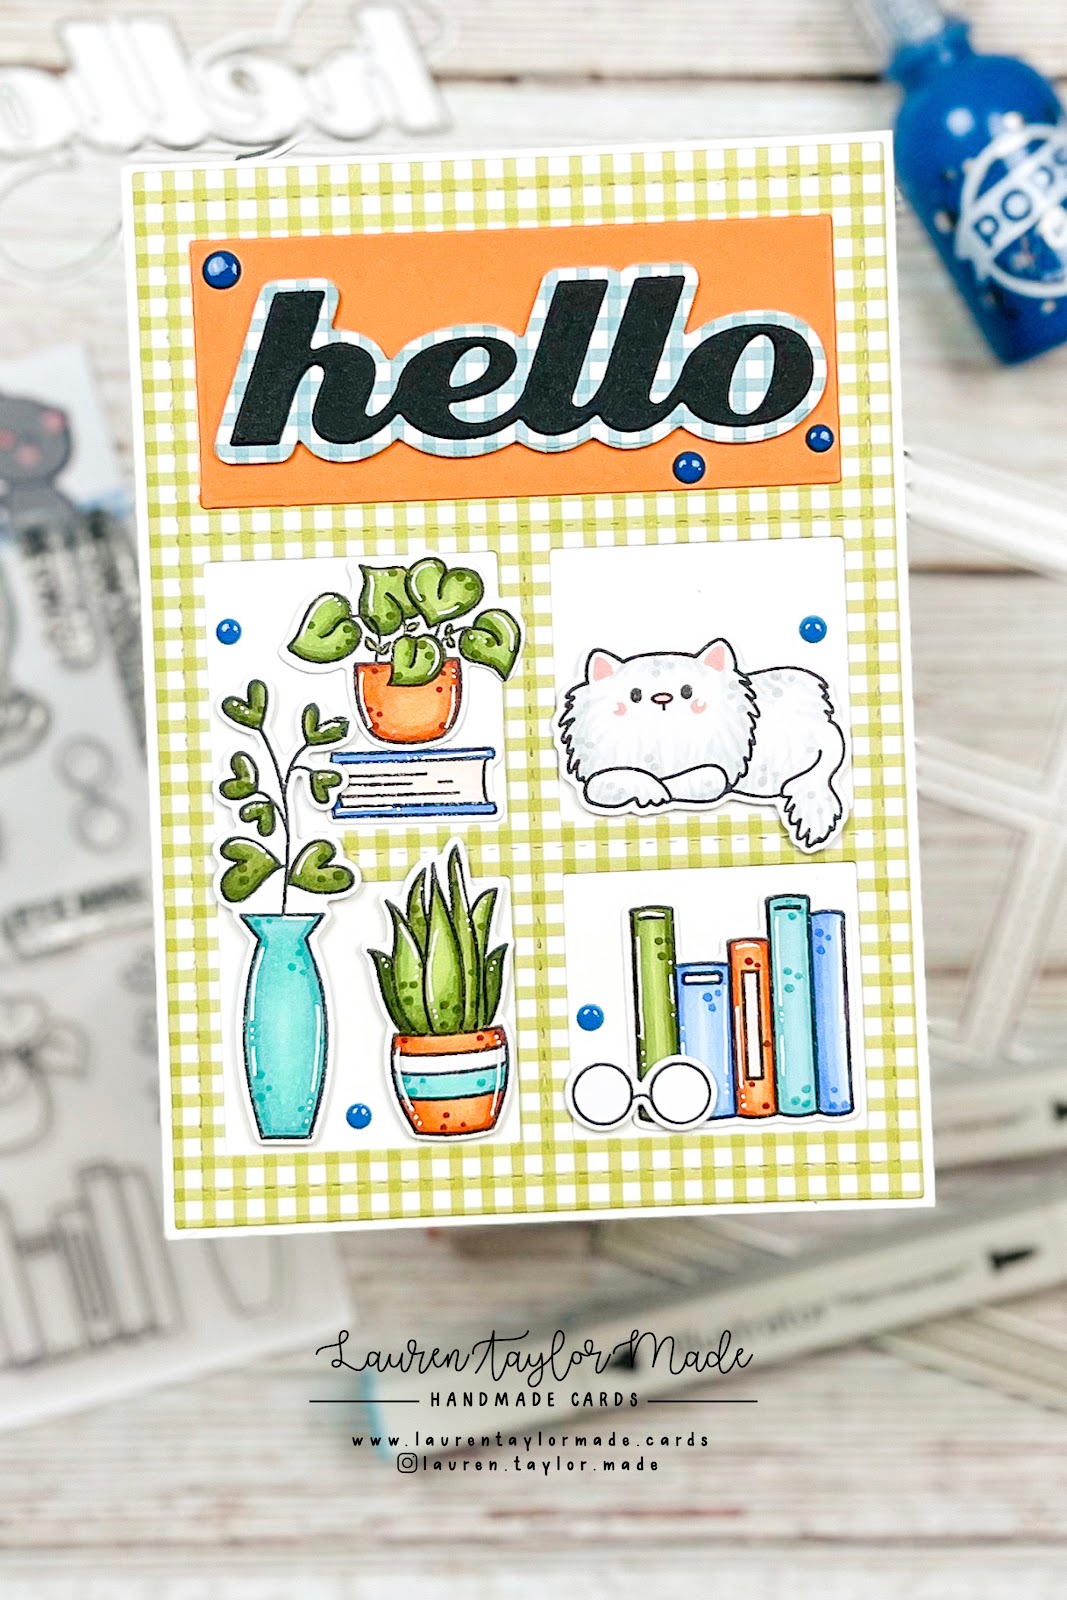
Today's card has a cozy color scheme and lots of plants from Time for Tea Designs! I am sharing my latest Design Team project - a hygge themed hello card. I used the Purrfect Day stamp set for all of my stamped images. I just love the different plants and books to create a cozy feeling... Especially with a cute, resting cat!

The frame and sentiment are die cuts also from Time For Tea Designs and made assembling this card together such a breeze with the windows. They are both cut from from gingham paper that tie all the colors together so well. I hope you'll check out the video tutorial below and let me know what you think of this card!

VIDEO TUTORIAL


PIN THIS
SUPPLY LIST

Read More

New Home Card using Time for Tea Designs

Monday, July 11, 2022

Do you know someone who has moved or bought a new home? Time for Tea Designs has adorable stamps and dies to create a card to congratulate them! I created my background using stencils and fun dies for the window, shelf and sentiment. The stamped images are colored with alcohol markers and I just love the mix of them with the dies like the window.

I mixed the adhesives - there are images glued down with wet glue, thin foam adhesives and regular foam adhesive to create dimension and perspective. I hope you enjoy this card and check out the cutie products from Time for Tea Designs! Don't forget to use my code T4TLAUREN10 to save you 10% off your next purchase.

PIN THIS
SUPPLY LIST

Read More

Lawn Fawn Fans Summer Hop: Messy Mice in the Craft Room Platform Pop Up

Friday, July 1, 2022

It's time for the Lawn Fawn Fans Summer video hop! For this hop, we are bringing you inspiration for the summer season and/or with products released from the Summer release. I had a hard time coming up with an idea this hop. I think the pressure to show off something *phenomenal* kind of gets to me so I just made something that I thought would be fun using some of the new release!

Using the Platform Pop-Up dies, I created a messy craft room. Just like when my daughter and I or my mom and I craft together - we make a mess and our supplies end up everywhere! I hope you'll join our video hop, just click on the video below. Make sure to read the description to learn how you can hop along and be entered to win a gift certificate!

VIDEO TUTORIAL


PIN THIS
SUPPLY LIST

Read More

Movie Night & Popcorn Card with Time for Tea Designs

Sunday, May 22, 2022

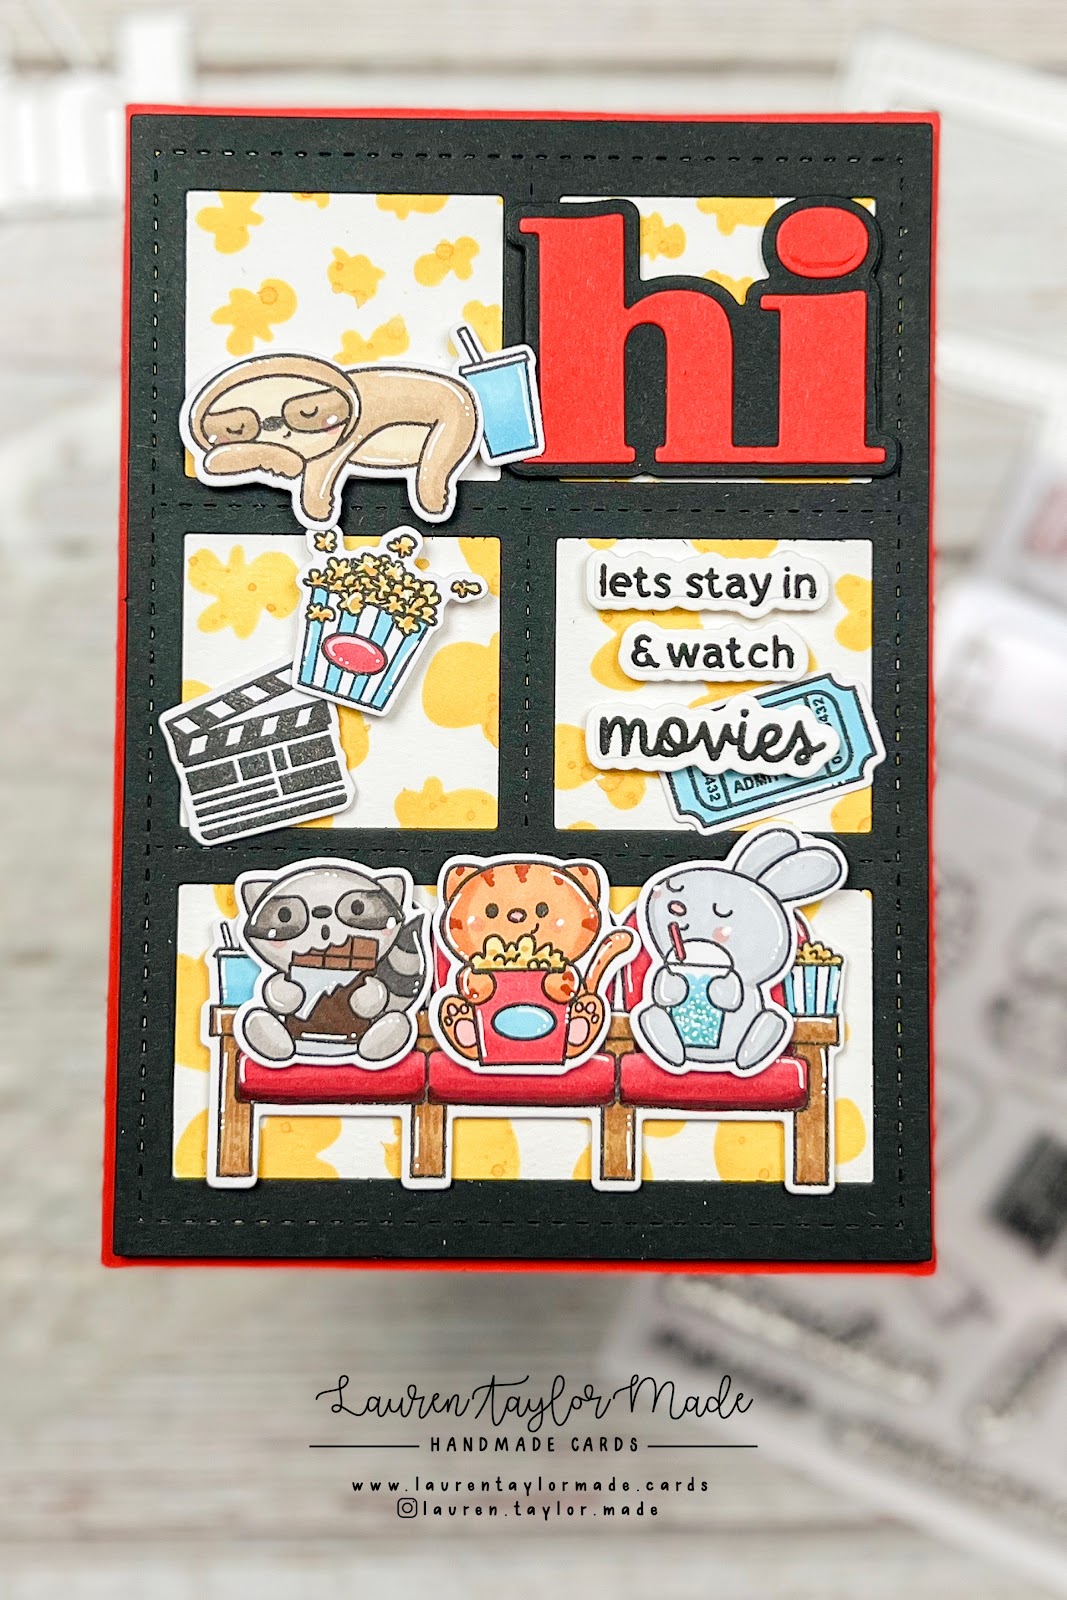
I'm back with another cute card using new Time for Tea Designs products! I'm using lots of new goodies from the new release. The Movie Night stamp set is my favorite from the release and I just love that all the images and sentiments have coordinating dies. Plus the Popping Popcorn Stencils make this card just pop! (Pun intended.)

In my video today, I share how I made my background, added my die cuts and layered my cute critters and sentiment on the card. You can check it out down below!

Don't forget... If you order any cute products from Time for Tea Designs, use my code T4TLARUEN10 at checkout for 10% off your order!

VIDEO TUTORIAL


PIN THIS
SUPPLY LIST

Read More

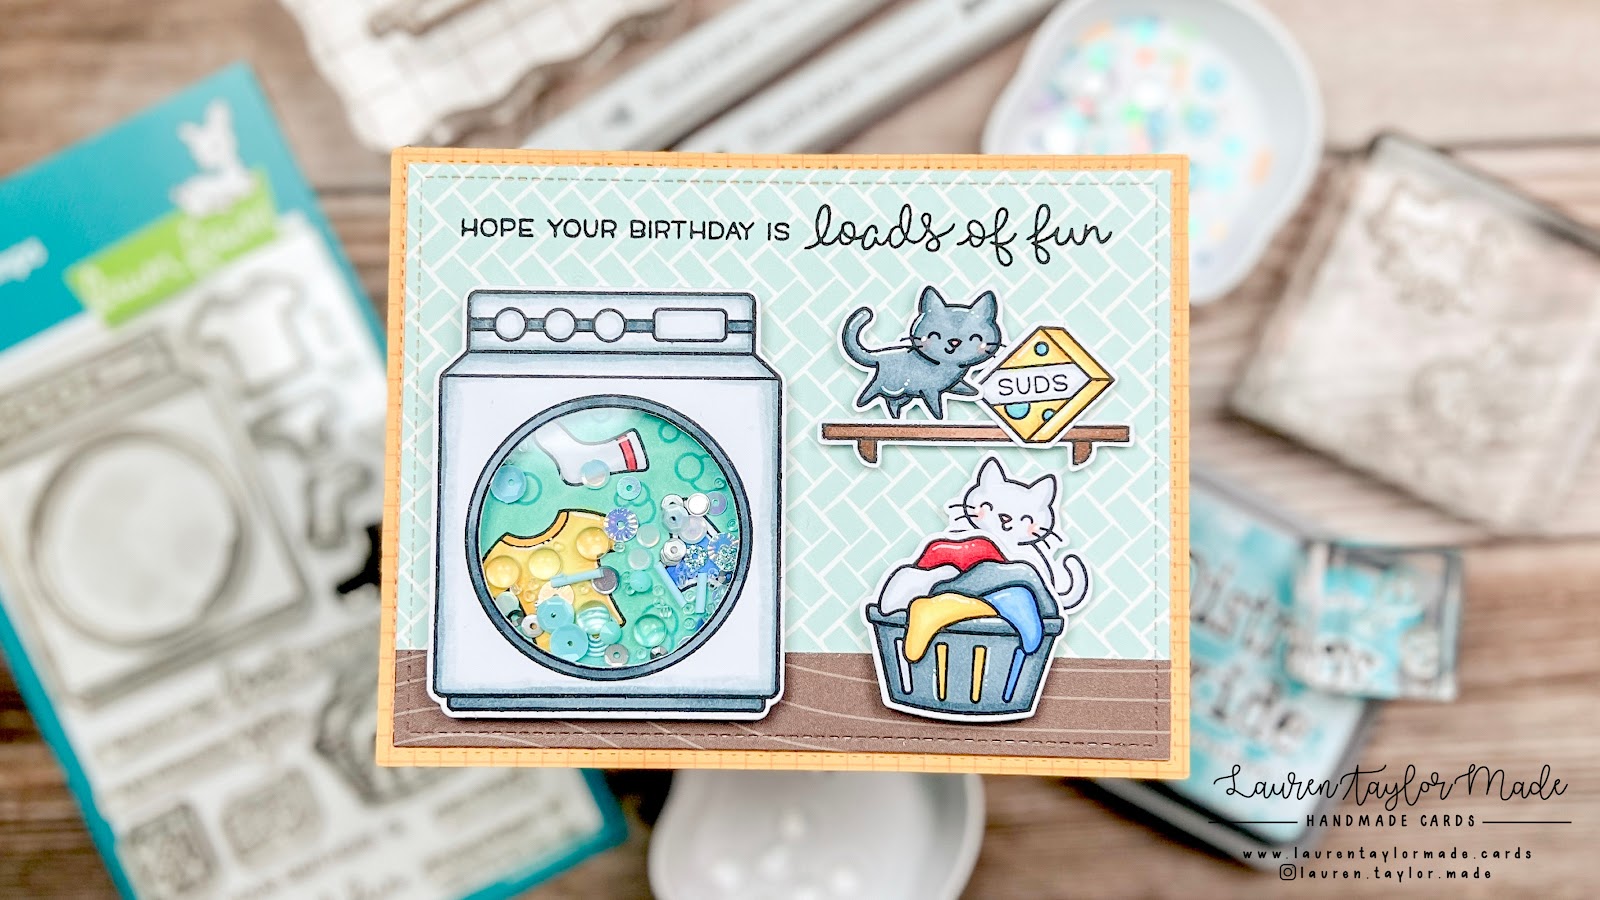
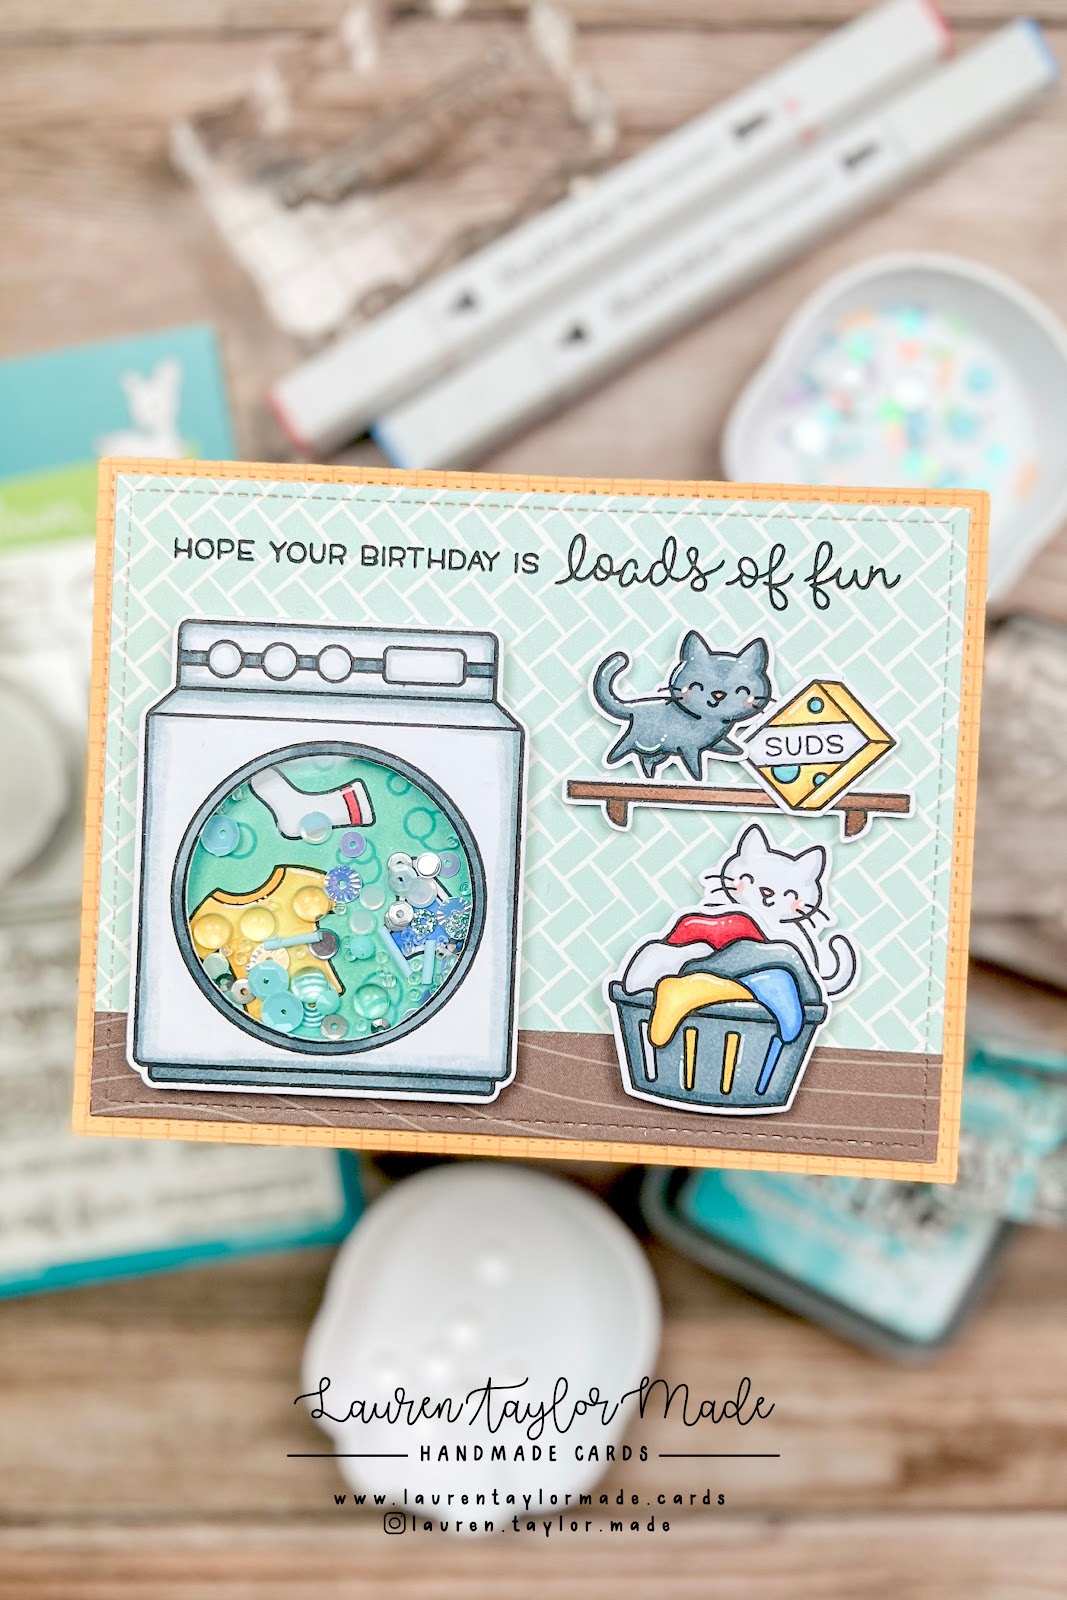
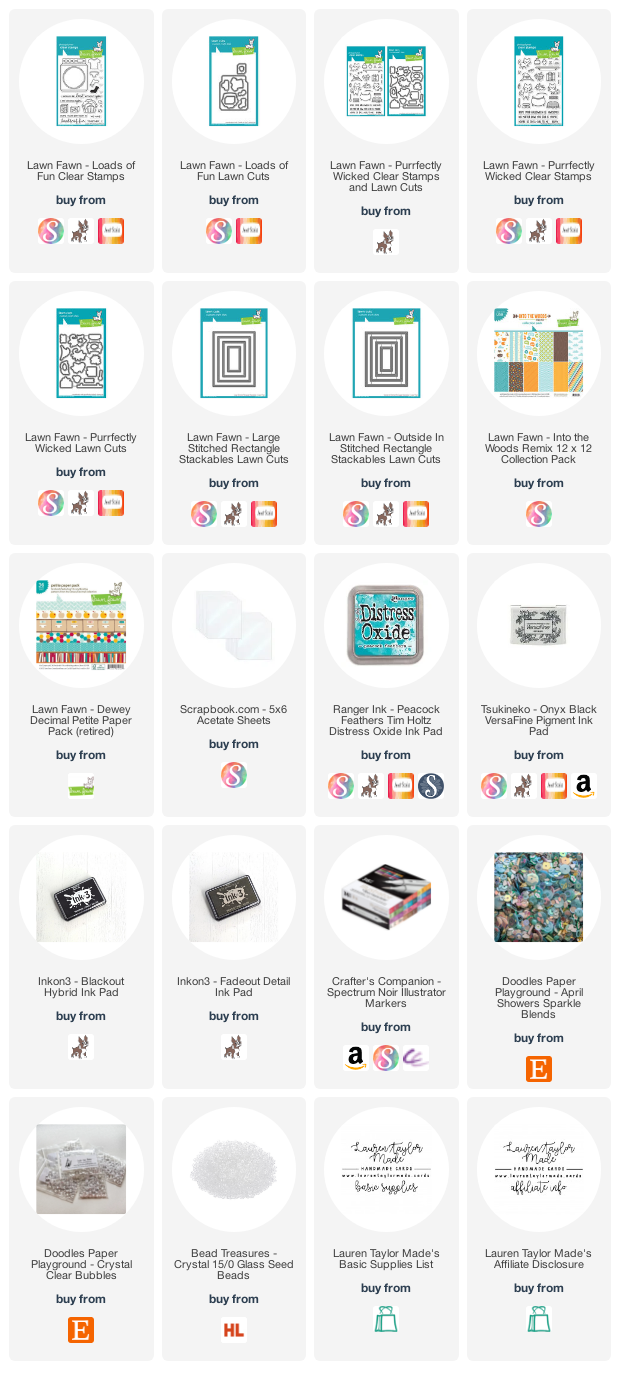
Loads of Fun Shaker Card with Lawn Fawn

Wednesday, January 12, 2022

I know I'm probably late on the - turn the washer into a shaker card - trend... But I really wanted to jump in to create a birthday card that wasn't too frilly and I thought this would be fun. I think it also goes well with the latest Lawn Fawnatics challenge.

Plus, I just love the little kittens getting into mischief - like the cat knocking over the laundry detergent!

If you'd like to try making this card yourself, I created a Swipetorial on Instagram - I took pictures at different stages at making this card and summarized each step. Check it out below and then save the post to make it later!

INSTAGRAM SWIPETORIAL


PIN THIS
SUPPLY LIST

Read More

Just My Type Valentine's Day Cards with Lawn Fawn

Tuesday, January 11, 2022

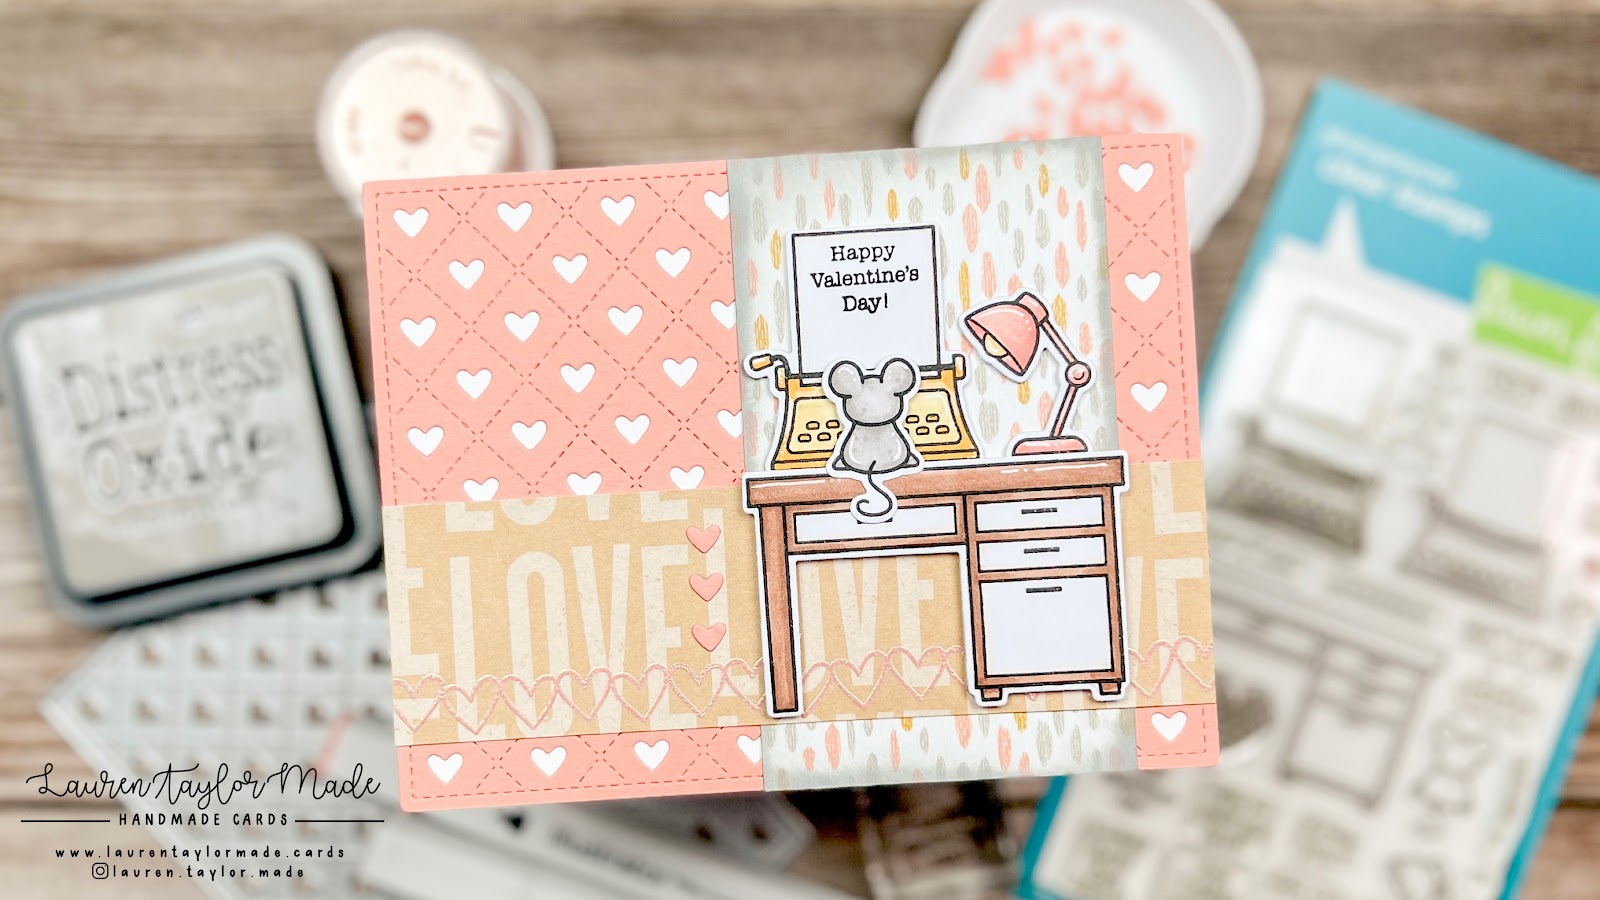
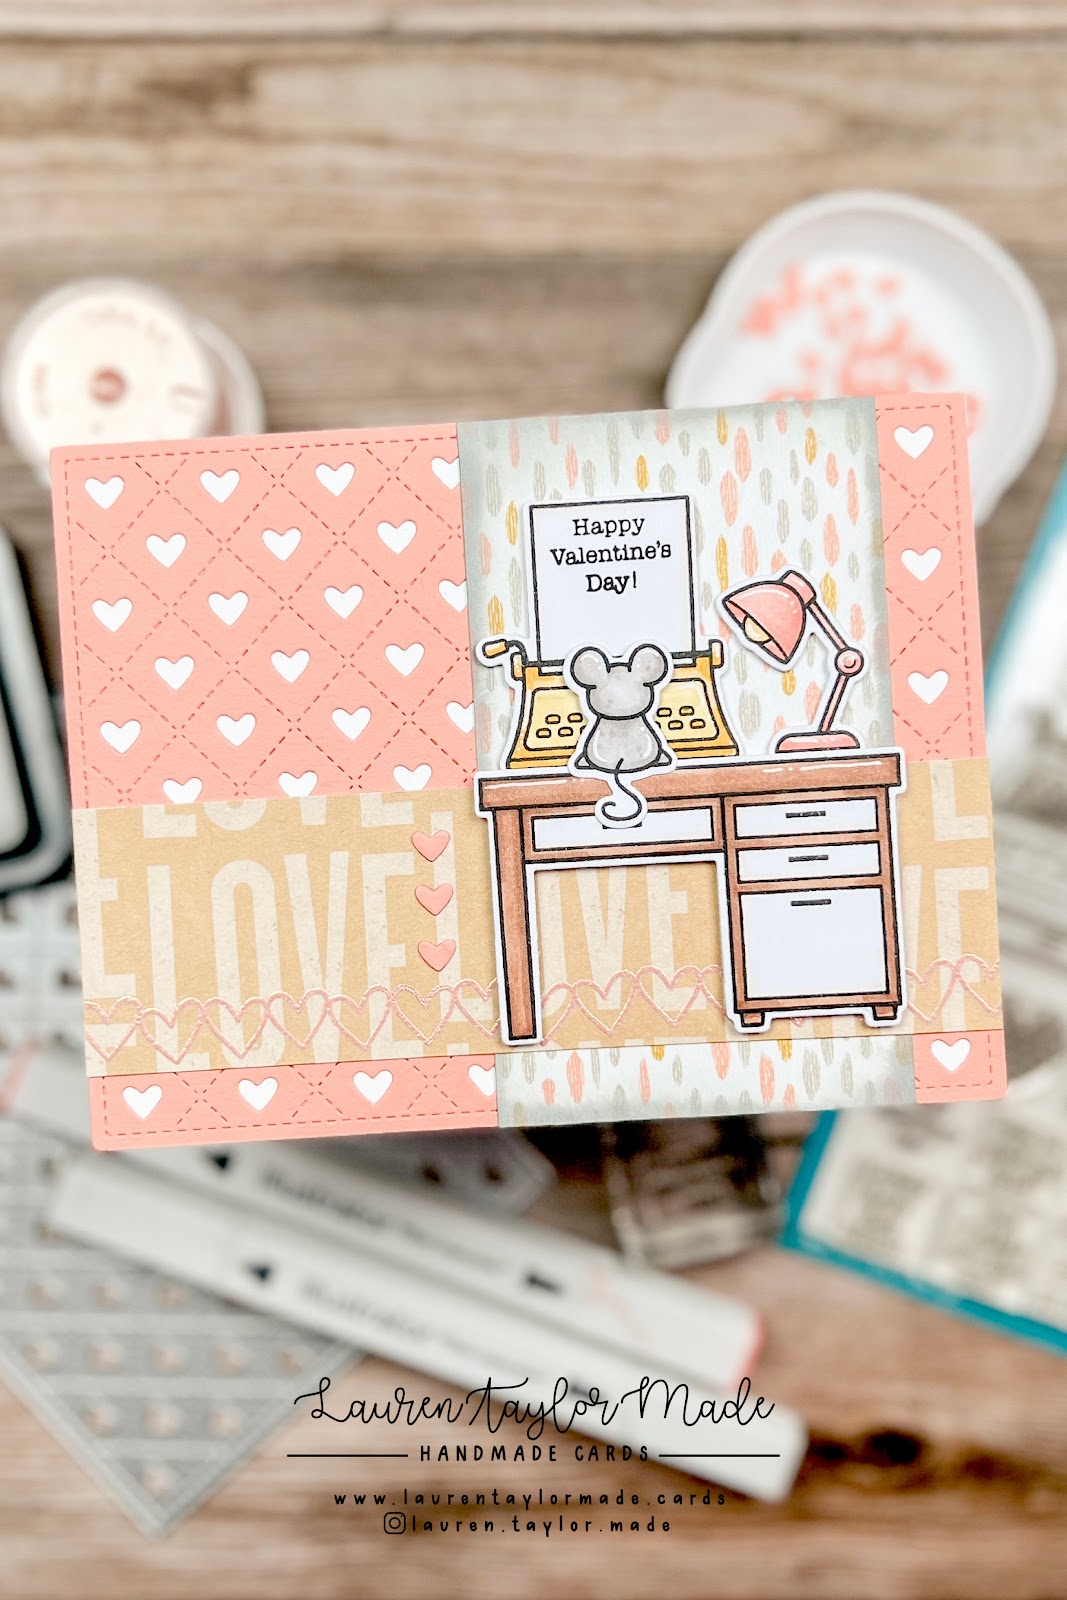
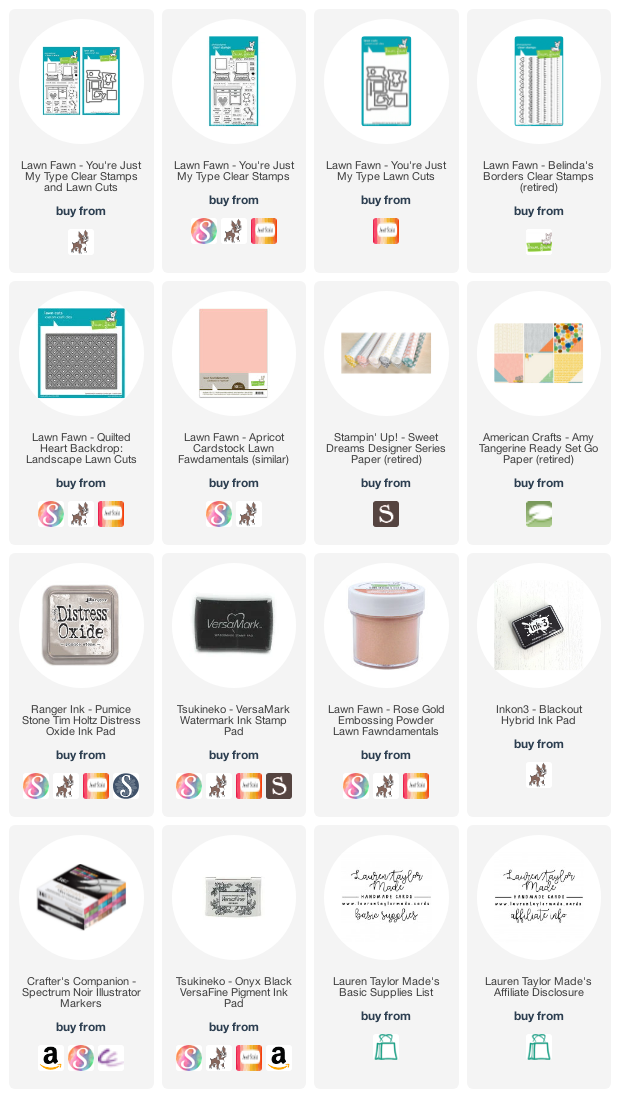
I am really trying to use up my patterned paper in my stash and found some old Stampin' Up! paper that had a cantaloupe, yellow and grey color scheme as well as an old Amy Tangerine kraft paper with "LOVE" all throughout that I thought looked so pretty together.

When digging through my stamps, I decided on the Lawn Fawn You're Just My Type stamp set along with the retired Belinda's Borders and the new Quilted Heart Backdrop: Landscape die.

These along with the latest Show Us Your Sheet Load sketch, I came up with this cute card - it's soft and I just really love the colors! I can't wait to finish making my set of cards to send out and also list for sale in my Facebook Shop.
VIDEO TUTORIAL


PIN THIS
SUPPLY LIST

Read More

Showtime Stage Bridge Card with Kindred Stamps

Monday, December 6, 2021

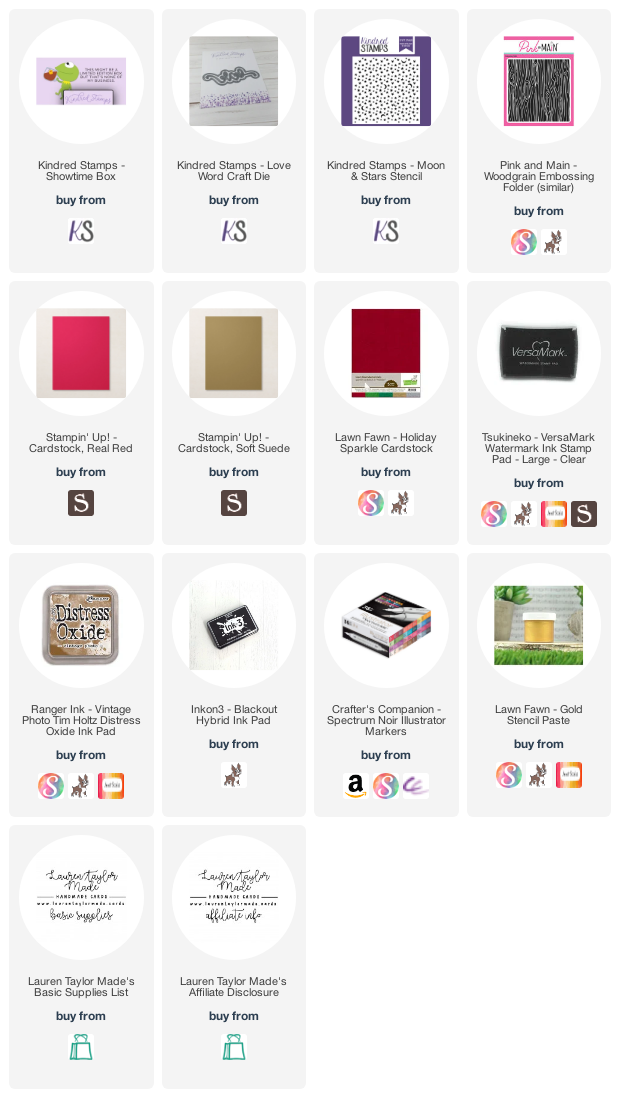
Were you lucky enough to grab a Showtime Box from Kindred Stamps? I just LOVE the cute stamps in this set and the amazing curtain die set! I used Craft Roulette Challenge #90 to inspire my layout. This week, the parameters were [1] a bridge card, [2] colors of pink, mint +2, [3] a large word and [4] to use a stencil.

I created a stage to meet the bridge card requirement used pink to color my pig character on the left and mint to color my frog character on the right. I also used those colors for my big love die cut that I added to the inside of my card - the Showtime Box came with awesome embossing powders so I inkedup some paper and embossed them, then used the die cut to cut out the sentiment.

The other colors were red for the stage curtains and blue which I used a starry stencil to add some stencil paste to make the background really stand out. I really wanted it to look like a stage performance, so I also embossed the bottom part of the bridge card with a woodgrain embossing folder.

Abigail made a card with me an dyou can see how she assembled her card down below, but also go leave her some love on her Instagram!

PIN THIS
SUPPLY LIST

Read More

Cubed Christmas Light Up Christmas Tree Slimline Card with Whimsy Stamps

Thursday, December 2, 2021

It's the last Whimsy Stamps video hop of the year - I can't believe it! We're using the Cubed Die Set with a Christmas twist so I thought the dies would make great packages under a Christmas tree. I used the Decorate a Tree Die Set to create my tree and the cute bows on top of the boxes. 

Make sure you head to my video down below on YouTube for all of the details of the hop and how you could win a $25 gift card to the Whimsy Stamps shop!

VIDEO TUTORIAL


PIN THIS
SUPPLY LIST

Read More

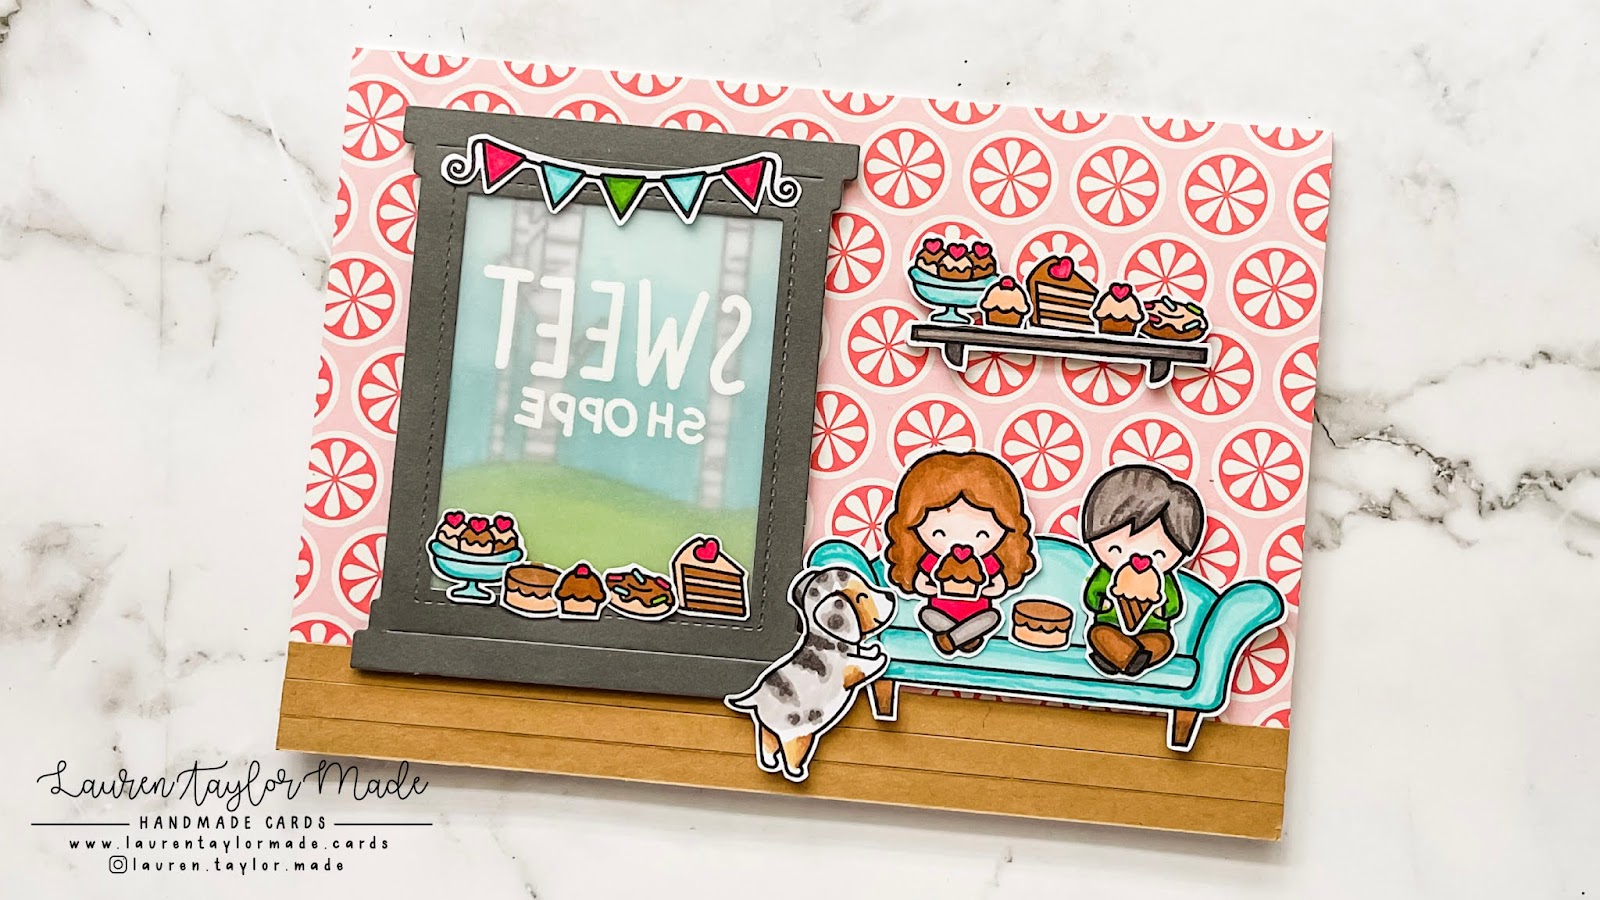
Inside the Cafe & Sweet Shoppe Cards with Lawn Fawn

Sunday, October 31, 2021

Abigail and I worked on some scene cards this weekend! We used the latest Craft Roulette challenge parameters to make our card: 5x7 landscape, green + 2 colors, shopping and paper strips.

For my card, I used purple and green and the paper strips are used for the flooring inside the cafe and book shop. The couple bought some coffee and are sitting inside enjoying the pretty green, teal and purple colors inside the cafe.

Abigail wanted her scene to be a sweet shoppe (we like to say it like, "shop-pay" to be silly)! So while she did sort of follow my layout, she made it her own by using green, teal and red with lots of sweets all over the shoppe.

She did a great job coloring her puppy - she liked the puppy from Lawn Fawn and colored it to look like an Australian Shepherd. 

They were big scenes/cards to make, but they turned out so cute and look more like decoration than a card! Plus, it finally gave me a chance to use some VERY old Lawn Fawn patterned paper that I cannot even reference in the supply list because it's retired many releases ago.

Did you participate in the challenge, too? 

PIN THIS
SUPPLY LIST

Read More