
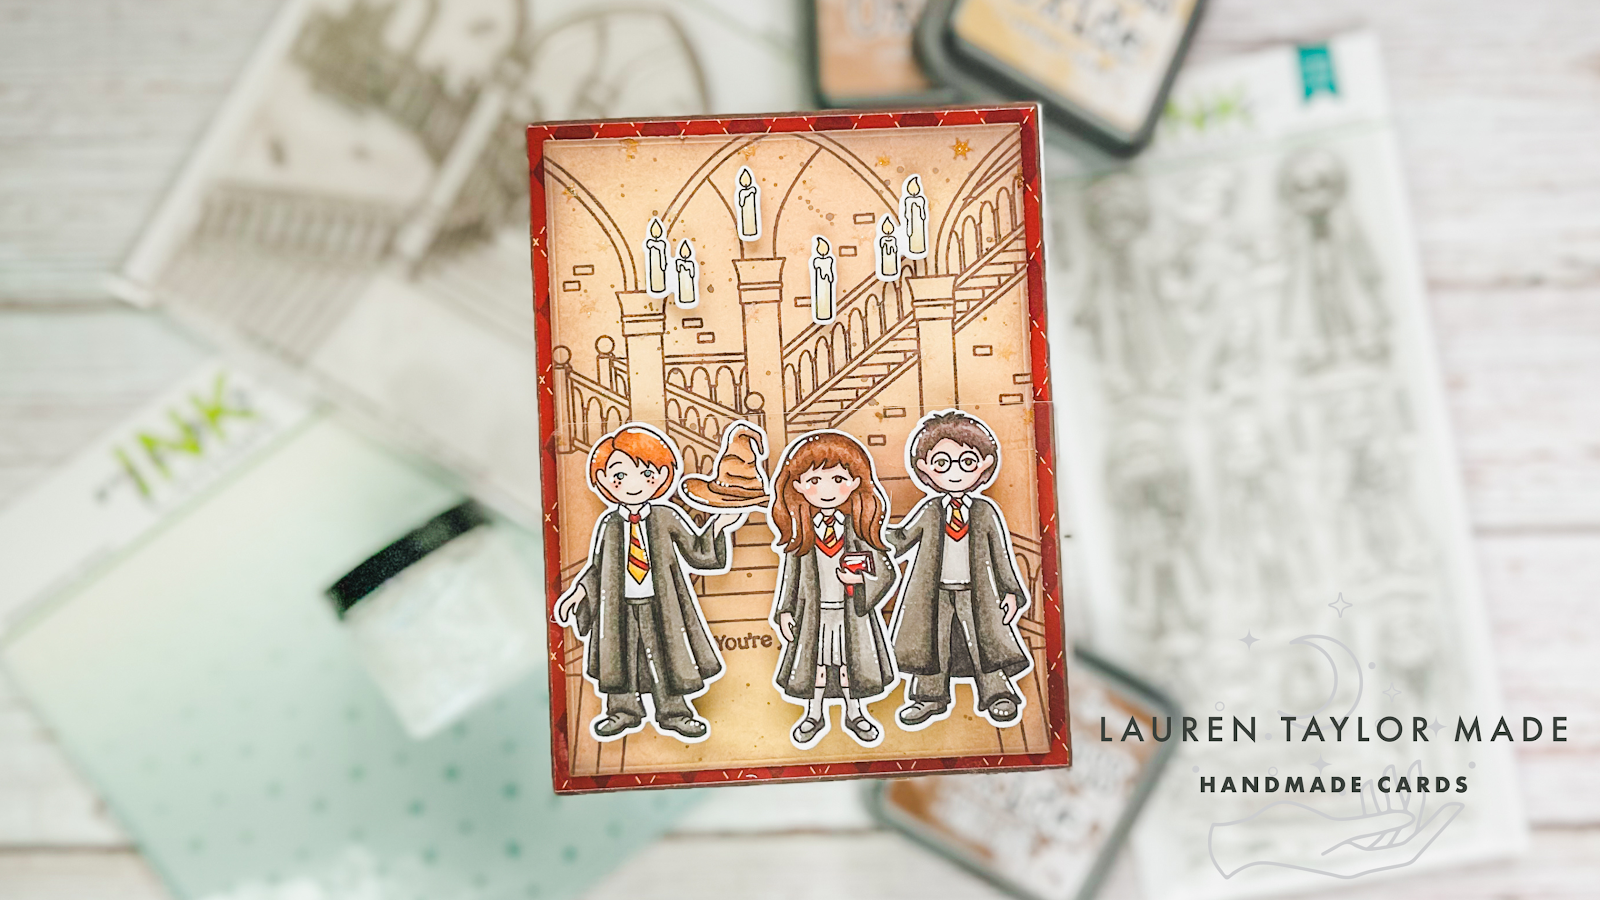
I was perusing Instagram a couple weeks ago and saw a card by the ever so talented Davina from PopsicleSticks and was introduced to Miss Ink Stamps! I bought pretty much the whole magical release and was so excited to use some of the products in my latest card for Craft Roulette. The parameters from Friday's episode were: dutch fold card, campfire colors, include a hat/cap and book page.
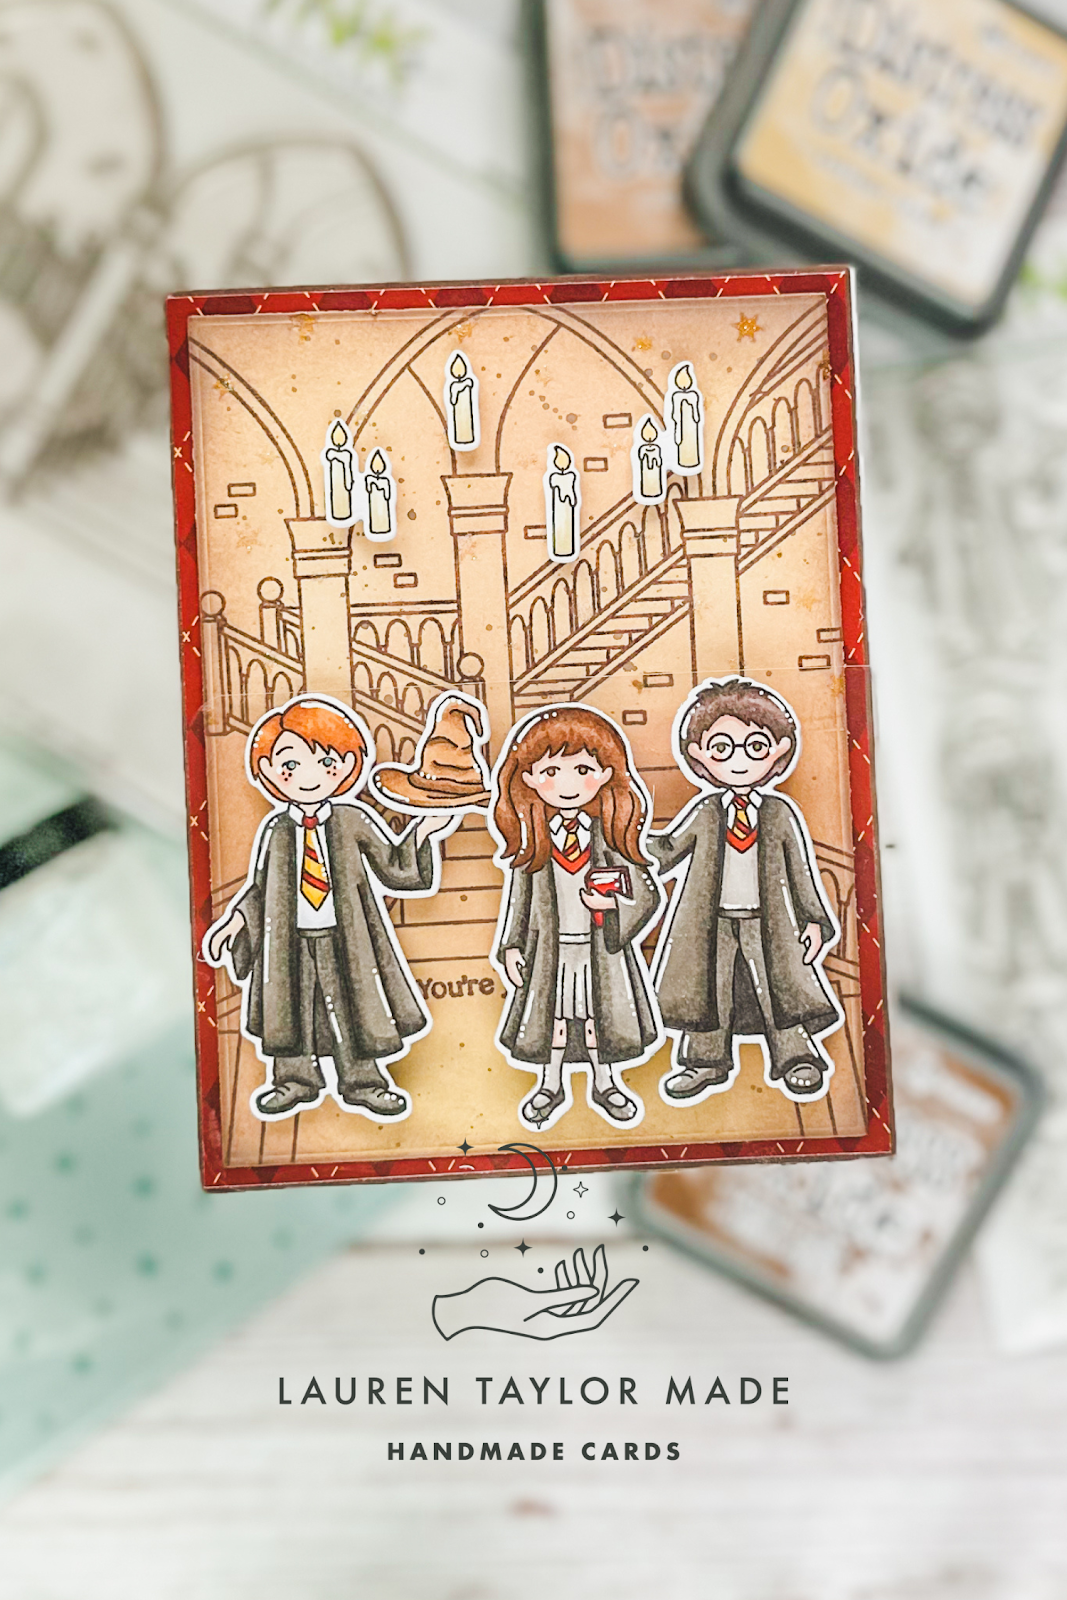
Starting with my background, I stamped the Ups and Downs background stamp as well as my sentiment with Acorn Versafine Clair ink and embossed it with copper embossing powder. I inked on Distress Oxides to give it a vintage paper feel. I wanted to give it a little more texture, so I used the Magic Stars Stencil and some clear Glitter Glaze on the top half of the background.
 |
 |
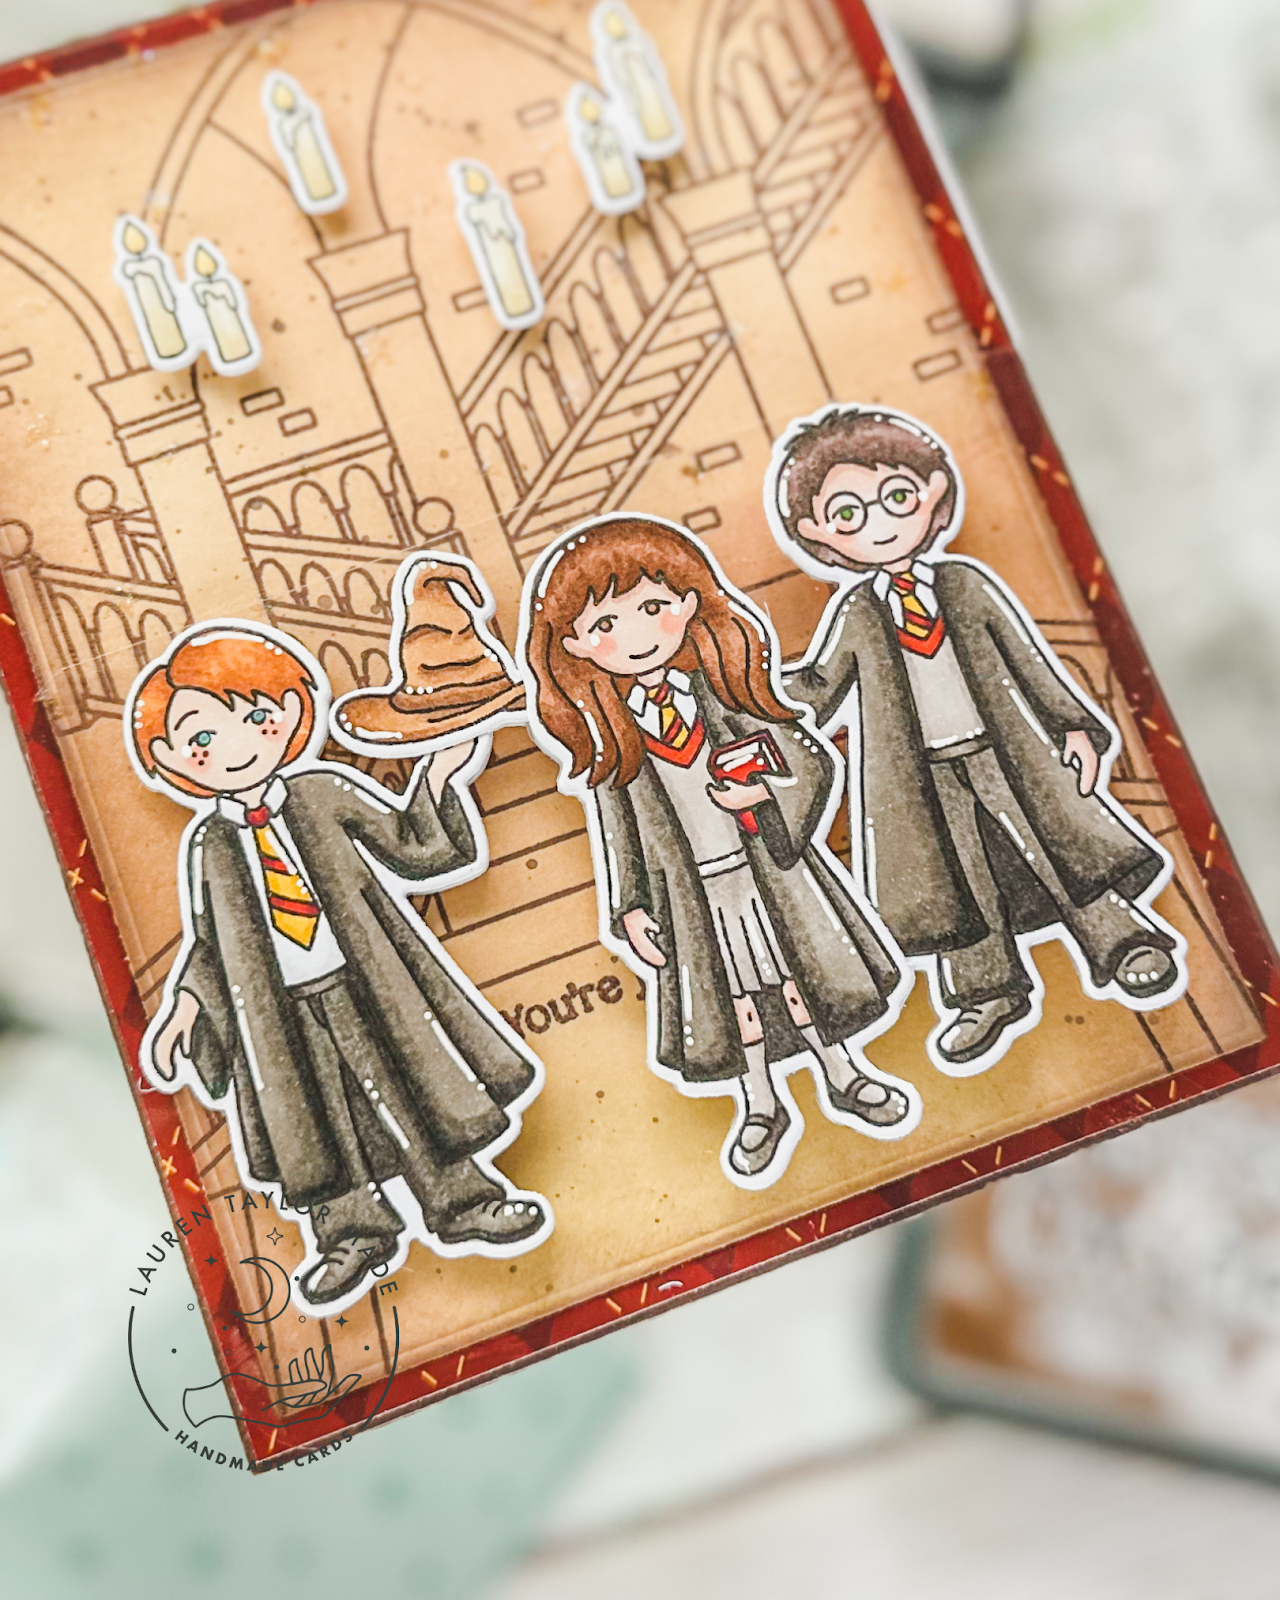
While the background dried, I got to stamping and coloring. I stamped my three magical students, an old hat and floating candles with alcohol friendly black ink and colored them with my Ohuhu Art and COPIC Markers. Using their coordinating dies made it super easy to cut them out and I also cut out a second set of students and hat with just white cardstock. Once my background was dry, I layered it with some red and gold argyle patterned paper onto an A2 piece of brown cardstock. I also tucked in a small magnet and glued it under the stamped background towards the bottom left.
I made my dutch fold with a piece of acetate that is cut to 3x4-3/4". I scored it at a 1/2" so that way the part that overlaps the front of my card is 4-1/4" which is the size of my A2 card base. I used a bone folder to really fold over the acetate as it's pretty heavy duty. I adhered the 1/2" of my acetate to the back of the brown cardstock (which has my layered background adhered to it) creating the dutch fold. I then glued the whole front of the card to a side folding A2 card base.
 |
 |
Next I figured where my other magnet needed to go on the clear acetate to help keep the card closed and glued it to the front of the acetate. Using thin foam adhesive squares, I adhered my red-headed student to the acetate so that he covers the magnet! I then glued the extra die cut of him to the back side of the acetate to hide the foam adhesive and magnet. I repeat this with the hat and two other students! I also used foam adhesive to add my floating candles to the top of the card.
I know the magnet part was probably difficult to picture since I didn't film myself making this card. So let me know in the comments if you'd like to see me use magnets in a future video! My crafty friend Carrie Rhoades has used them in her videos (here's one here) but I'll definitely incorporate them in future videos if you'd like to see them in action. Make sure to leave a comment letting me know what you think of my interpretation of the Craft Roulette parameters!
Post a Comment