
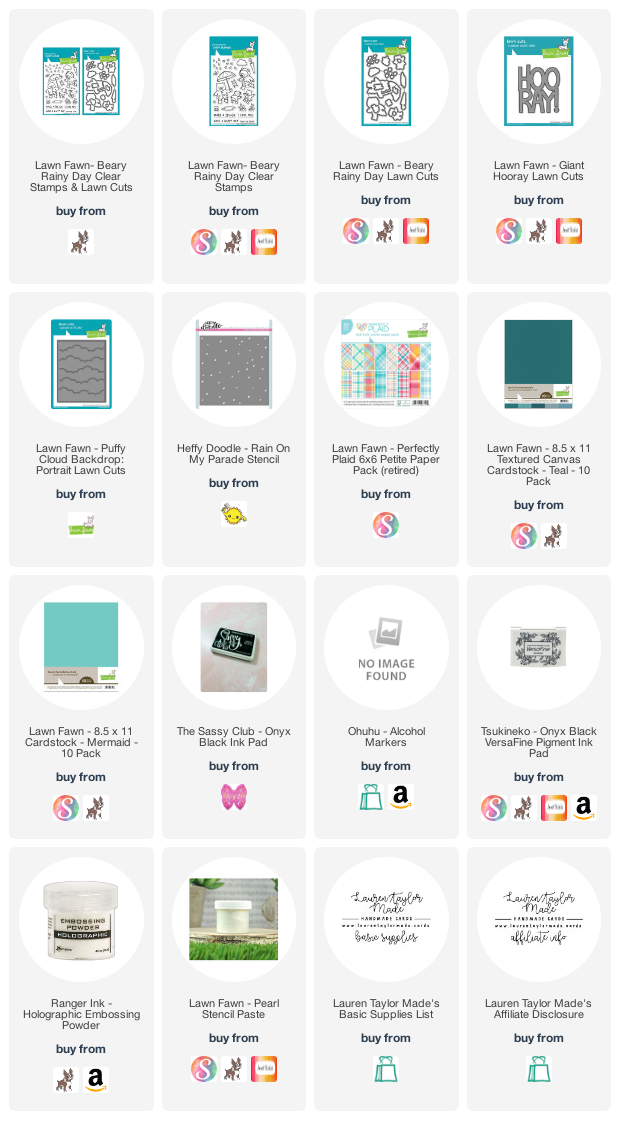
Color & Chat is finally back! I took a month off because December is always busy, plus I also got some new markers that I wanted to play around with before I made any coloring guides... Ohuhu Markers! I know a lot of folks out there are looking for markers that do not cost as much as some brands to collect them all and I'm on a budget myself so I took the plunge and got an Ohuhu Art Marker set. I am using mostly Honolulu Series B (brush + nib), but do have some pastel and skin tones in Series A (brush + chisel).
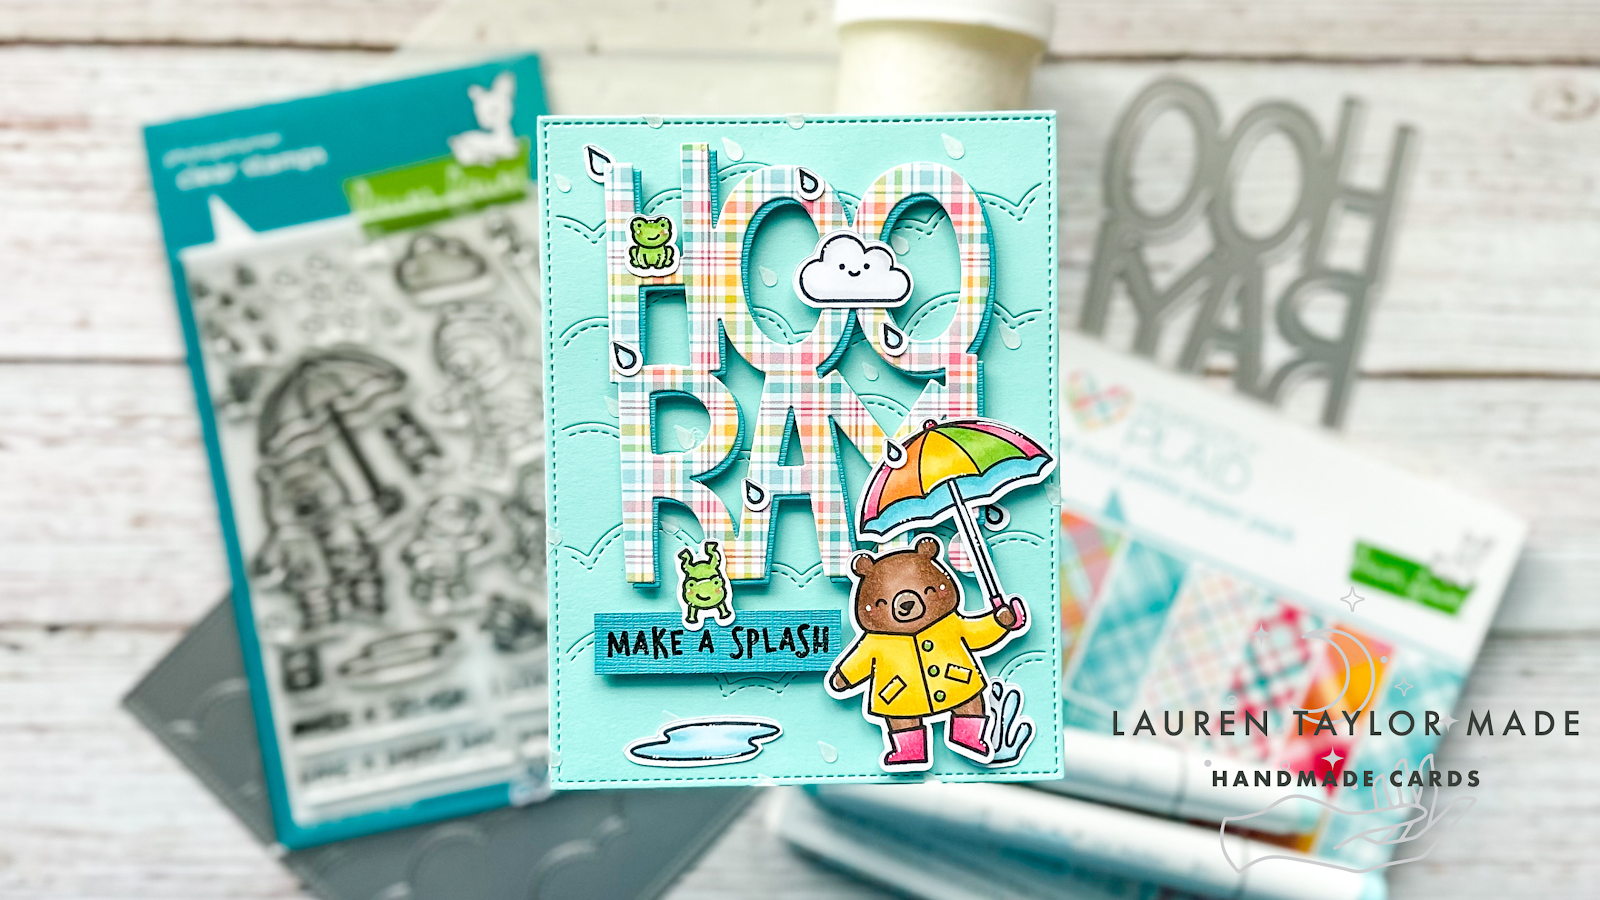
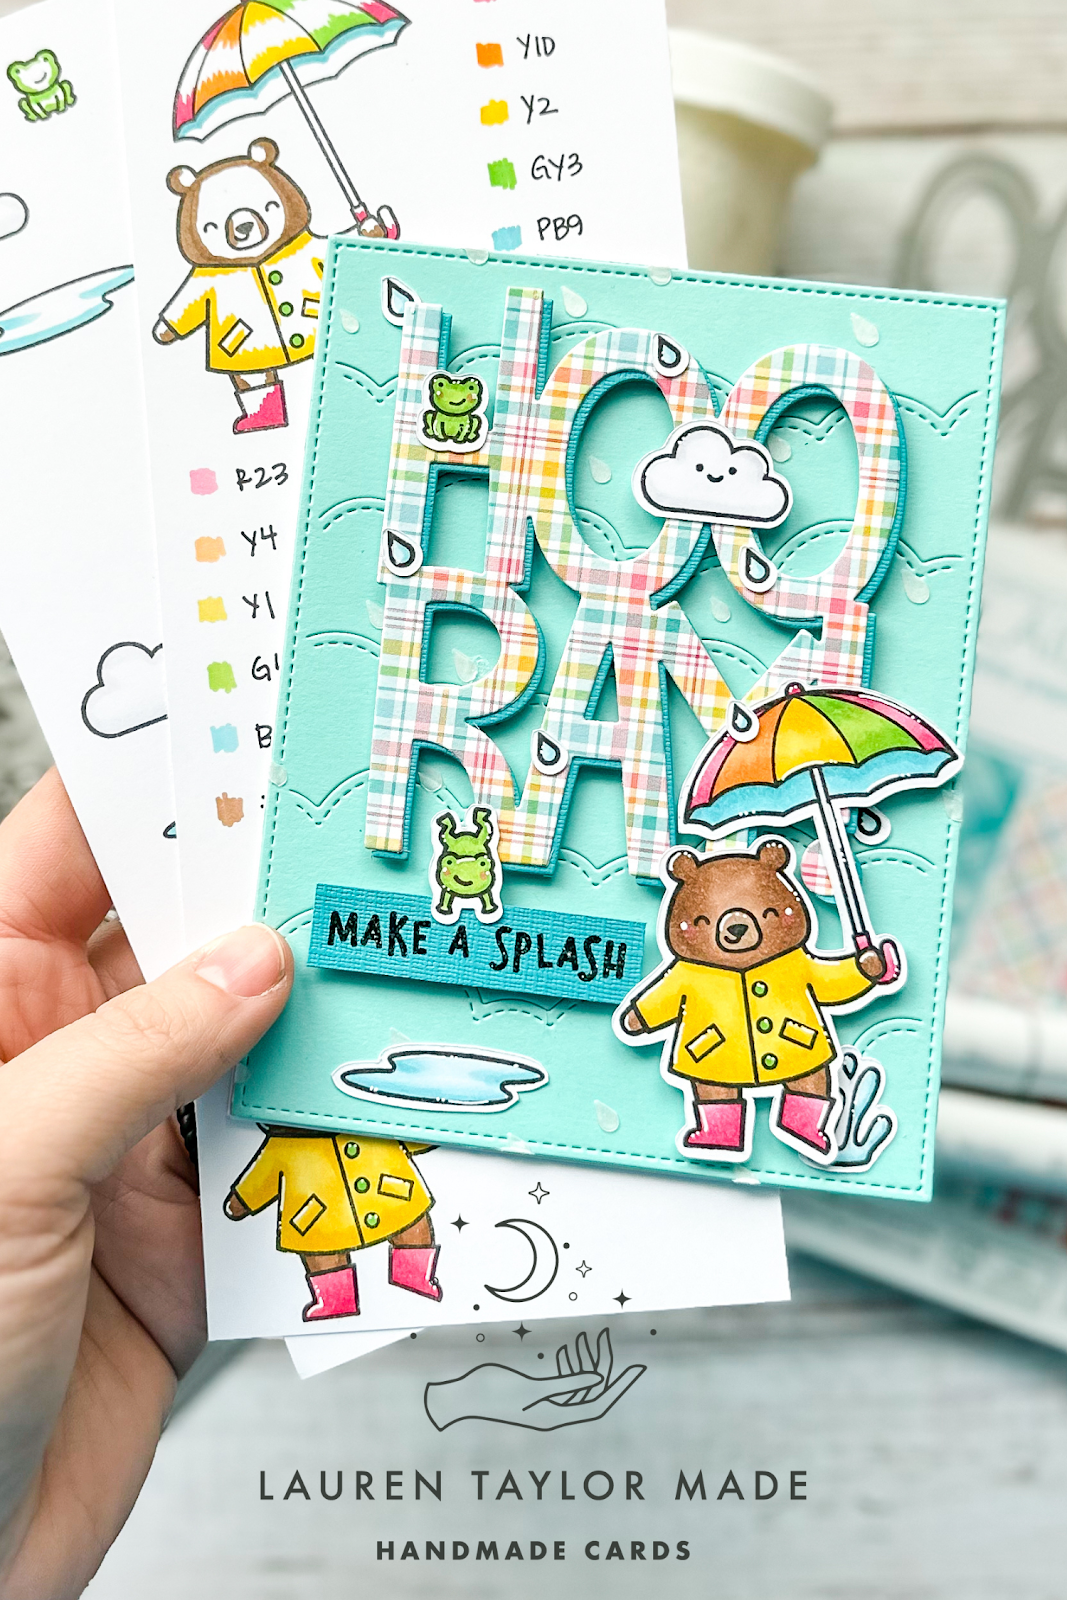
I'm starting off with sharing Lawn Fawn's Beary Rainy Day with a rainbow of colors (except Purple - sorry Team Purple!) for my umbrella that I colored to match Lawn Fawn's Perfectly Plaid paper pack. My cutie bear also has a yellow raincoat and red-ish pink boots! I also included a sample frog friend, my colors for the water and a cloud on my second guide. Check out my video below to see my coloring process in action as well as catching up from these past 2 months!
 |
 |
To create my sample card, I stamped and colored my images then used my Scan N Cut to cut them out (they do have coordinating dies, but I do not own them). I created my background using Mermaid cardstock and the Puffy Cloud Backdrop die, then stenciled on Pearl Stencil Paste with a raindrop stencil. This was glued to a top folding card base once it was dry. I die cut Hooray! out of a teal textured cardstock as well as the rainbow plaid paper that inspired my color choices and adhered them together to create a drop shadow. I popped it up on my background using foam adhesive strips - remember to take off the backing to curve your strips around the O's!
 |
 |
My stamped sentiment is on more textured cardstock and I used a holographic embossing powder to add some more shine. It is also popped up on the background to be on the same dimension level as my Hooray! die cut. I added my bear splashing in the water as best as I could - I didn't think about the umbrella covering most of the "Y!"... but I think it's still obvious what it says. 😅 I added in the rest of my images and scattered my raindrops around the card to be in the same direction as my stenciled drops. Anywhere a stamped image is overlapping a sentiment, I used wet glue and where it touches the background, foam adhesive.
I hope this new coloring guide is useful and let me know what other images you would like to see colored with Ohuhu Art Markers by leaving me a comment - either here or on YouTube. Just click on the video below to watch on YouTube!
Post a Comment