
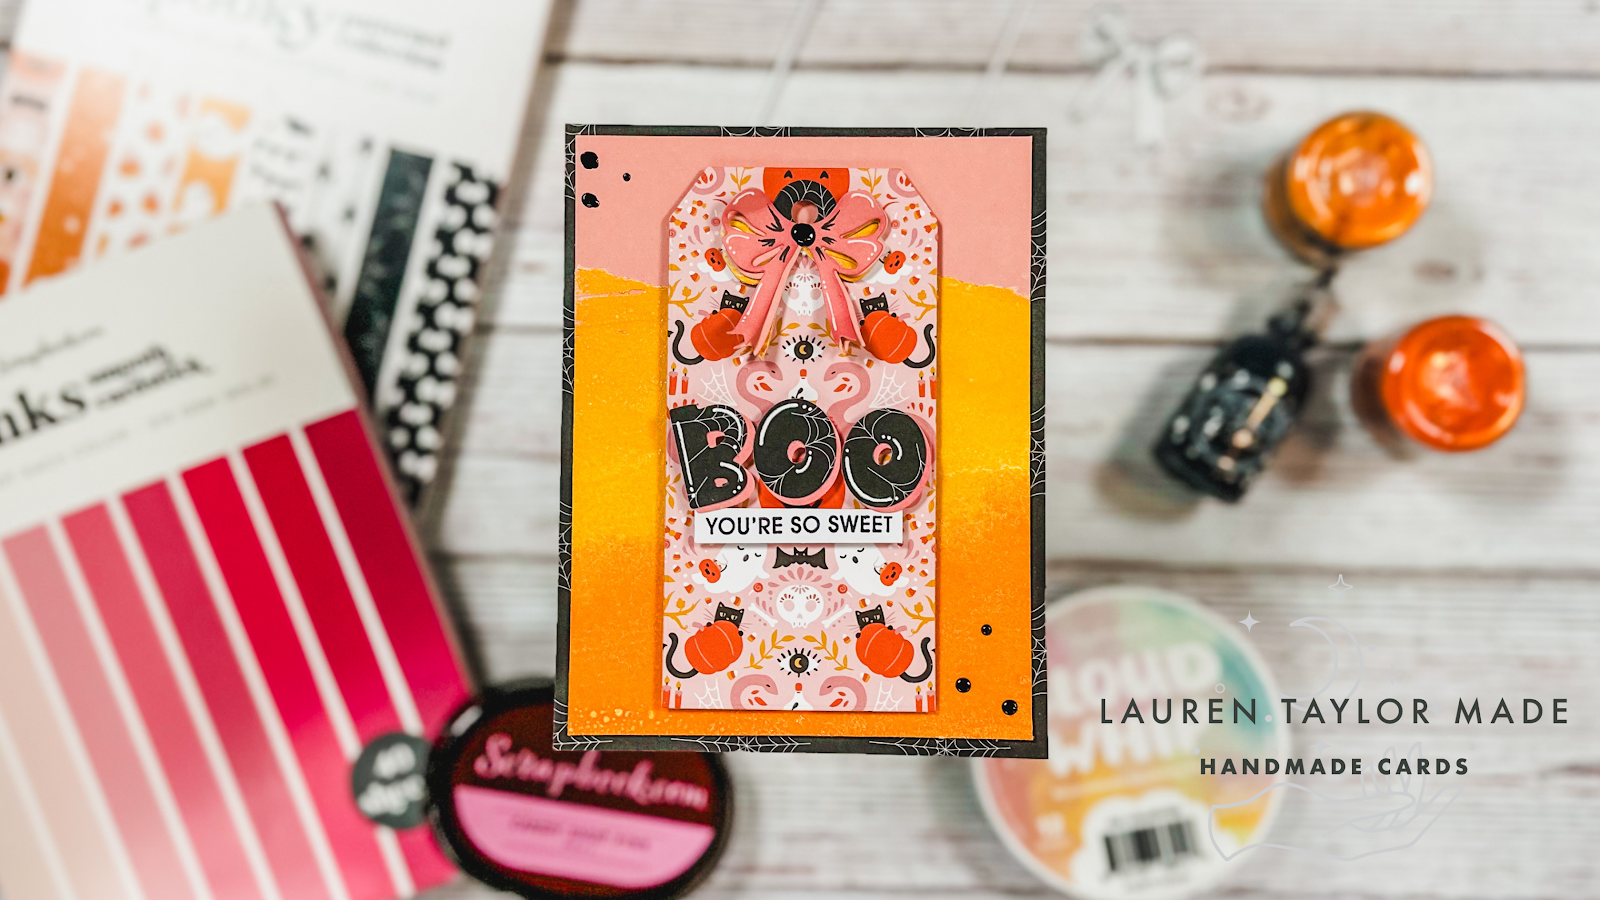
Have you played around with your Cloud Whip? I love all the different uses for it and today I finally tried it out with my Ranger Ink + Tim Holtz Embossing Glazes! I started with picking out a pink piece of cardstock from the Pinks 6x8" Paper Pad and using a palette knife, I spread some Cloud Whip across about half of the sheet.
Next I poured on some Embossing Glazes in Wild Honey and Spiced Marmalade, and used my heat gun to melt the embossing powder down using the Cloud Whip as the base. Now, the Cloud Whip does bubble up as it heats and the embossing glaze melts, so make sure if you try this technique, you move away from the area once the glaze is nice and shiny!
 |
 |
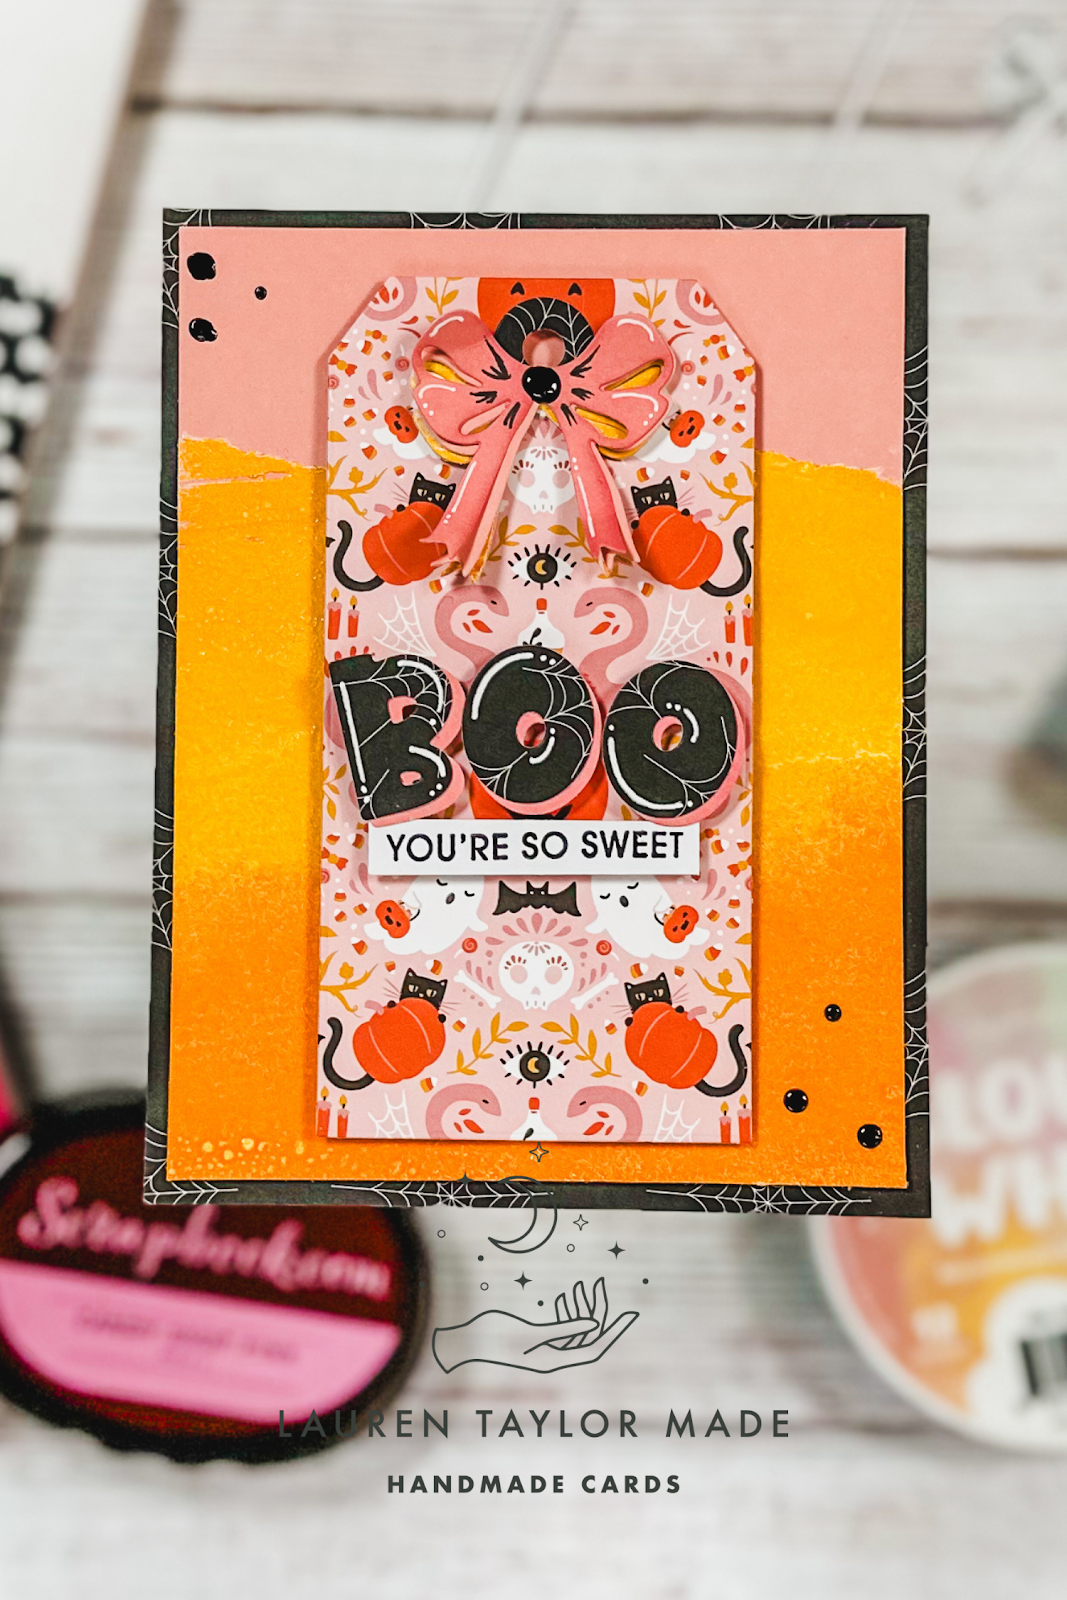
When it was cooled down, I trimmed it to 4x5.25" and layered it to a piece of spiderweb patterned paper from the Spooky 6x8" Paper Pad cut down to A2 in size (4.25x5.5"). I die cut my adorable tag from another pattern and added the reinforcement circle as well as some Pretty Petite Bows. I die cut the bows out of pink paper twice and added a pink ink to darken one of them; I also cut it out of extra embossing glaze paper and layered them all together. With some highlights with gel pens and Pops of Color in the center, the bow is just too cute!
I added my sentiment with dies and stamping to my tag and popped it up on the card base with foam adhesive. My sentiment is popped up on the tag with foam adhesive, too. I added a few more Pops of Color around the card and that finishes this card!

I hope you'll join us over on the Scrapbook.com Project Gallery to see all of the inspiration with Cloud Whip today and make sure to grab your Mini Jar for FREE along with all the other World Card Making Day freebies.
Post a Comment