

I hope you all had a wonderful World Card Making Day and thank you to everyone who joined me over on Craft Roulette for my little segment! I have a few blog posts today with each of the cards I made to help with details since my video tutorial is more about how I glued each part together rather than actual process of my cards.
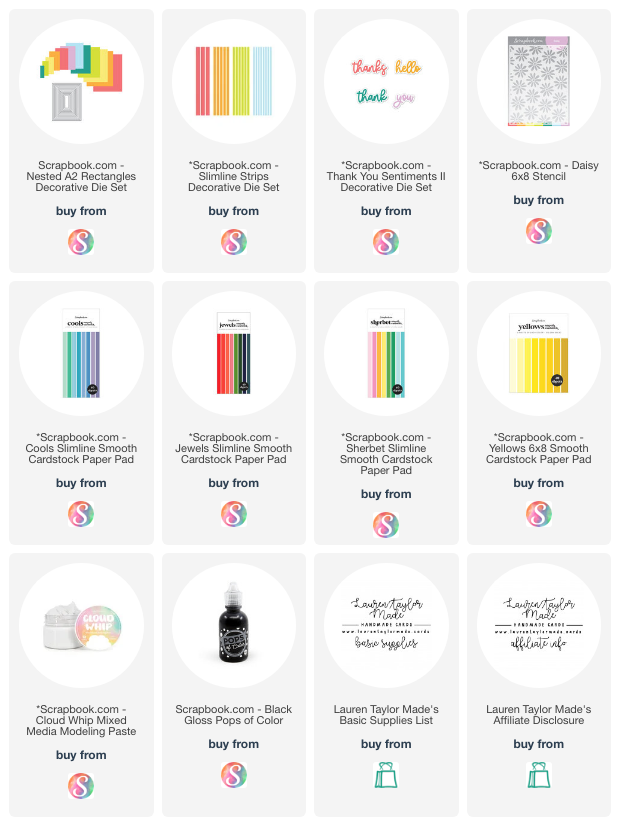
For my daisy thanks card, I started with stenciling the daisy background on yellow cardstock and Cloud Whip. I let that dry completely and used a nested A2 rectangle to cut out my panel. I also used a nested A2 rectangle to cut out a panel from white cardstock and attached an adhesive sheet and set it aside while I die cut lots of strips of paper from different colored yardsticks.
 |
 |
I peeled off the adhesive backing and then layered each of my strips on to create a rainbow of colors on my panel. This made such a beautiful background! I definitely need to do this with my scraps from my Your Paper Insider kits to finish off the lingering paper I have from each box... I adhered this panel to my card base and then using foam tape, I glued my daisy panel to the center.
My sentiment is die cut from black and white cardstock and I layered the sentiment on the shadow. I also popped this up and I centered it but it more towards the top of the yellow daisy panel. Finally, I added some Black Gloss Pops of Color to the centers of my daisies and that will satisfy each of the parameters for the special WCMD Craft Roulette event: A2 card, rainbow of colors, nature element and black dots.

Post a Comment