

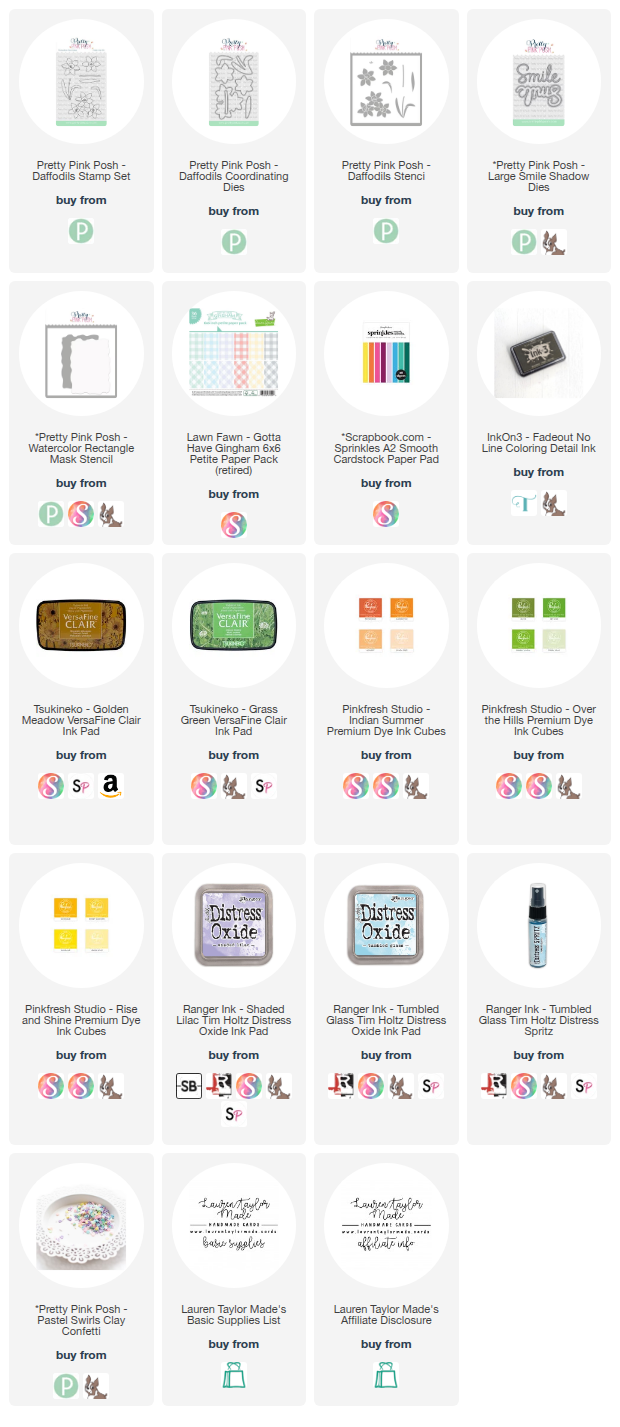
I've been so inspired by the trend of using stencils to add color to stamped images, and this project perfectly showcases how fun and effective this technique can be. Today, I'm highlighting the gorgeous Daffodils Stamp Set, its Coordinating Dies, and the coordinating Stencil – a trio that makes creating vibrant floral designs an absolute breeze from Pretty Pink Posh.
To bring these daffodils to life, I started by stamping the Daffodils Stamp Set images with a very light, no-line coloring ink. This acts as a guide for the stencils. Then came the magic of color! Using the Daffodil Stencil, I layered on two shades of green for the stems and leaves, followed by two sunny yellows for the delicate petals. A touch of orange in the centers added that perfect pop of realism. To keep my colors crisp and clean, I made sure to wipe off the stencil between each ink application. Once the coloring was complete, I restamped the images using Versafine Clair inks in Grass Green and Gold Meadow to really make those details pop. Thanks to my trusty MISTI, lining everything up was a cinch!
 |
 |
After stamping, it was time to die-cut all those beautiful daffodils using the Daffodils coordinating dies. While those were being cut, I moved on to creating a soft, watercolor-inspired background using the new Watercolor Rectangle Mask Stencil set. I chose the 6x6” stencil from the set and ink-blended Shaded Lilac and Tumbled Glass Distress Oxides onto a piece of watercolor cardstock. A spritz of water brought those Oxides to life, creating a lovely, textured effect. For an extra touch of shimmer, I used Distress Spritz in Tumbled Glass through the stencil. The reveal is always my favorite part! With the background complete, I adhered it to a patterned gingham cardstock layer that complemented the greens in my daffodils, and then onto an A2 card base.
Now for the fun part – arranging the die-cut daffodils into a sweet little bouquet! I used a mix of foam and liquid adhesive to give dimension and secure everything in place. To finish off the card, I cut the Large Smile Shadow Dies, using a shadow from gingham cardstock and the word itself from pink cardstock, adding a touch of Shaded Lilac ink for an ombre effect. A few pretty pastel purple clay confetti pieces from the Pastel Swirls Clay Confetti added the perfect final flourish. Want to see exactly how this card came together? Make sure to watch my video below for all the step-by-step details and tips!

Post a Comment