
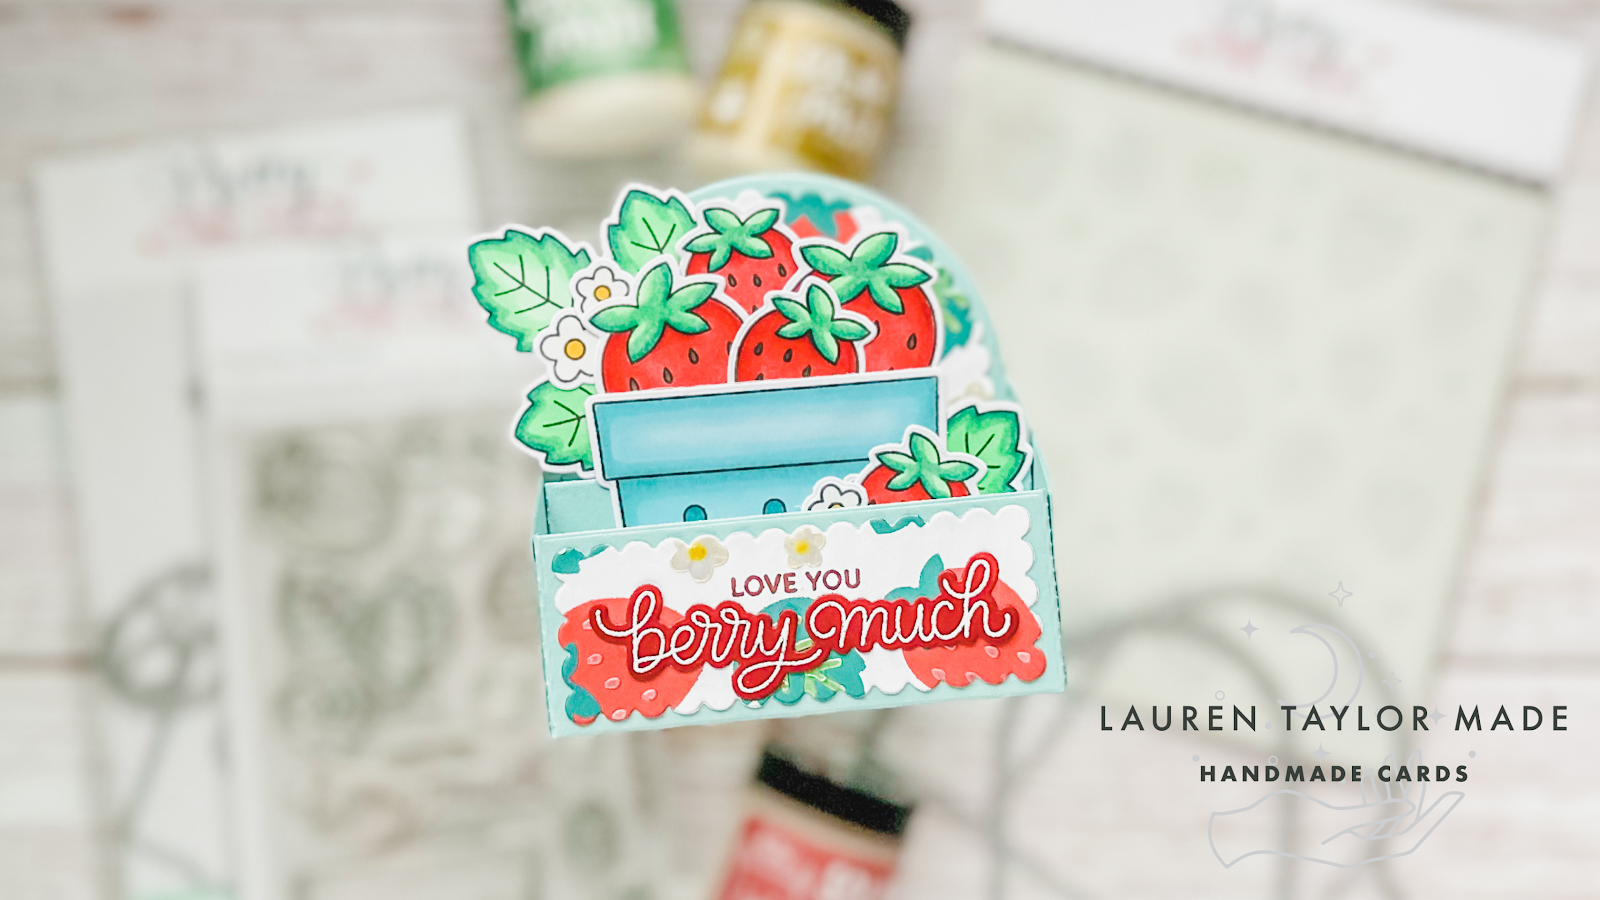
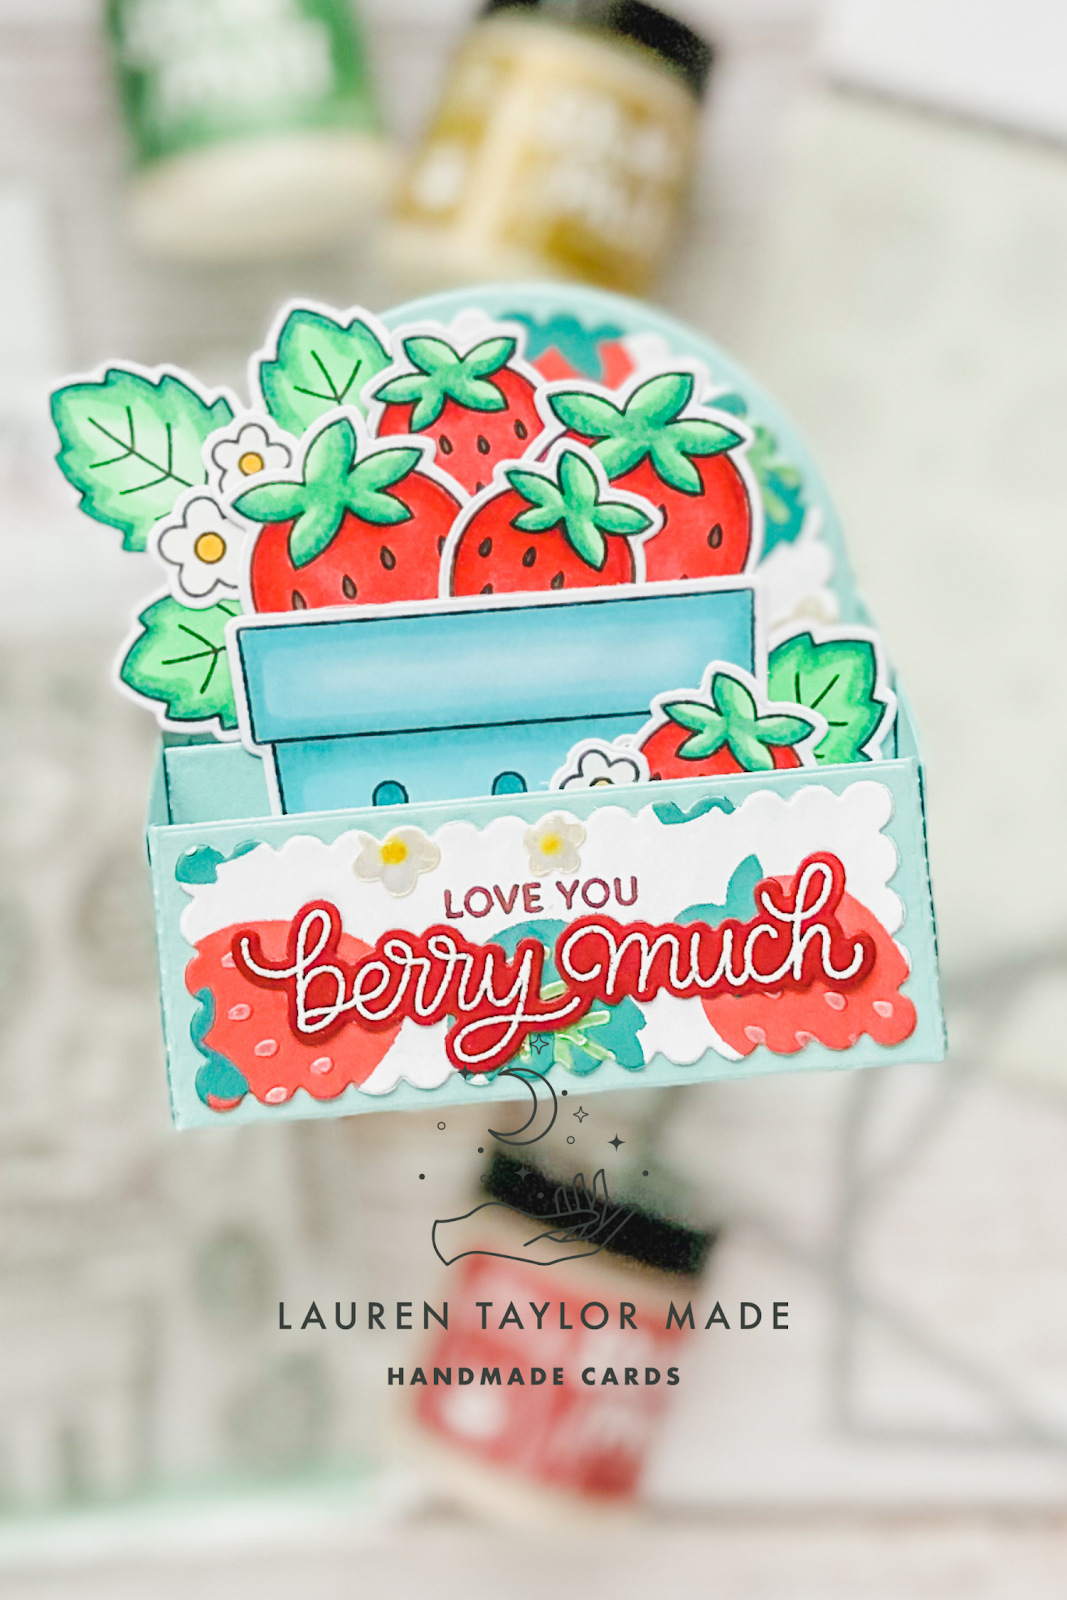
One of my favorite items in my craft room are my mint/teal berry baskets that I use for storage and when I saw the Fresh Berries Stamp Set and Coordinating Dies, I knew I had to color the basket stamp the same color! I will be using different stencil pastes in the video, so I will be jumping around just a little bit as I need some drying time when making my stenciled background. Starting with a 6x6” piece of white cardstock, I started with using the Layered Strawberries Stencils.
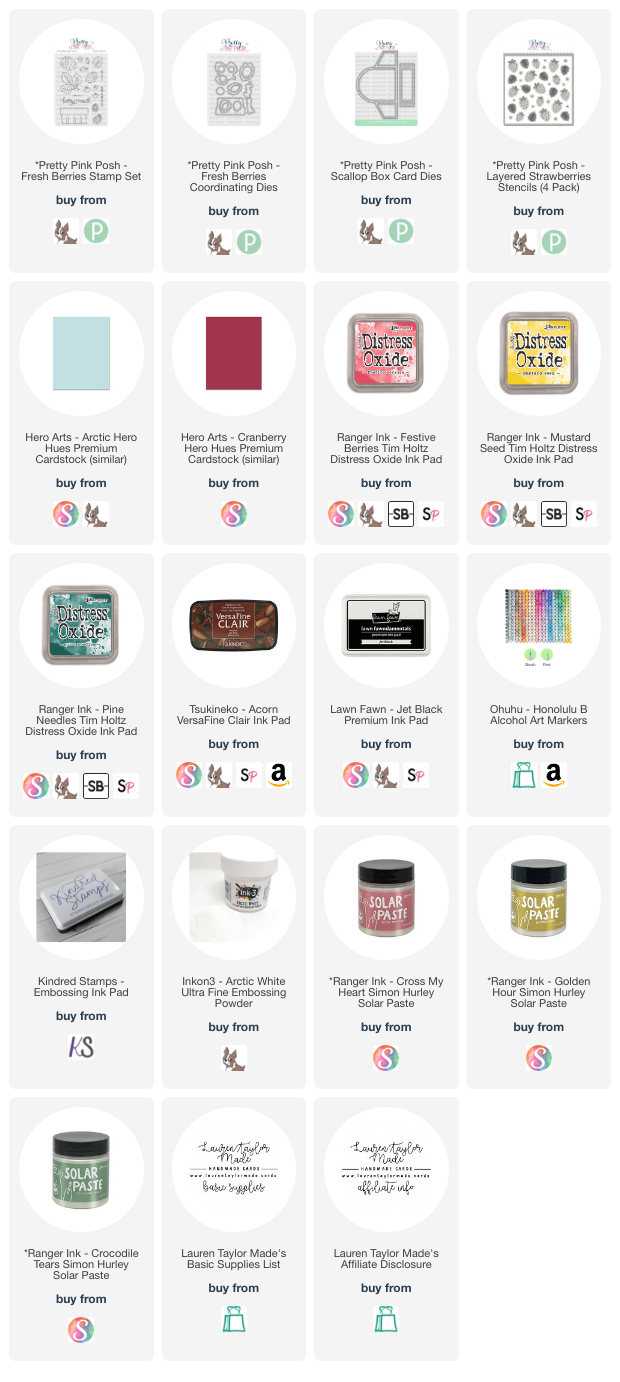
Using Festive Berries Distress Oxide, I added ink to the strawberries after masking the flowers with Stencil A. Next is Stencil B with Pine Needles Distress Oxide, followed by Mustard Seed Distress Oxide through the small circles in Stencil C; I used a small foam blender so I would just get ink through the circles. For the first stencil paste, I am using Golden Hour Solar Paste for the flowers in Stencil A and then set it aside to dry while I color. I stamped the Fresh Berries Stamp Set with an alcohol marker friendly black ink and colored them in with Ohuhu Art Honolulu Markers after die cutting them with their Coordinating Dies. In my video, I share the marker caps so you can follow along with the colors if you’d like!
 |
 |
When I finished coloring, my flowers were dry and I brought back Stencil C to add the strawberry seeds with Cross My Heart Solar Paste. Setting the backdrop to the side to dry, I moved on to die cutting the Scallop Box Card Dies out of some mint/teal-ish cardstock and assembling the die cut pieces with strong adhesive tape. Finally, I add my last layer of stencil paste using Stencil D with Crocodile Tears Solar Paste.
My Fresh Berries sentiment is embossed with white embossing powder with a berry colored cardstock and used the Coordinating Die. I assembled the berry box with the strawberries, leaves and flowers, then added it to the center of my box card. When my stenciled cardstock was dry, I used the scalloped details from the Scallop Box Card Dies and glued them to the assembled box card as well. After adding my sentiment, that will finish up my box card! I hope it brings a smile to your face and inspires you to create today!
Post a Comment