

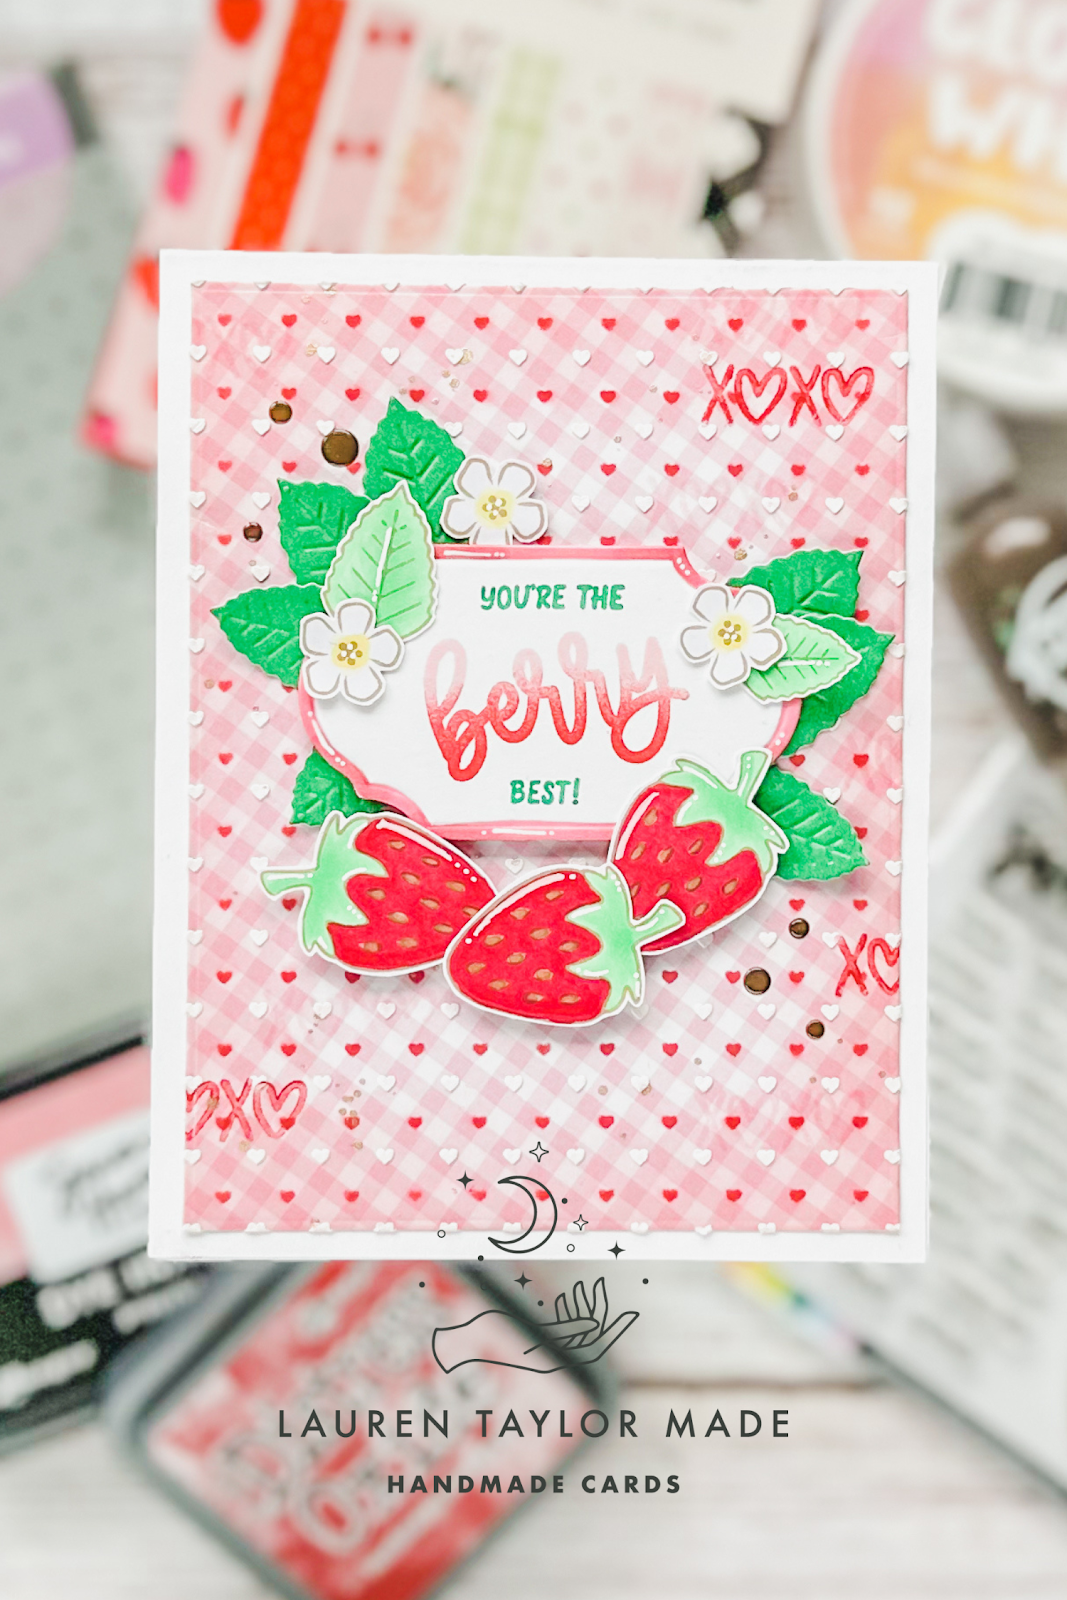
I have another sweet berry card using products from Scrapbook.com! I just love this collection of products and how well they coordinate with each other. I started with die cutting a background of pink gingham from the Berry Sweet A2 Patterned Paper Pad with my Nested A2 Rectangles. Using the Mini Hearts Stencil, I added some small hearts with Lumberjack Plaid Distress Oxide. I used a domed foam blender to add the soft Piggyback Simon Hurley Ink around the four edges, then shifted my stencil to add more hearts with Cloud Whip. I also splattered on some metallic watercolor to give it some subtle shine!
While my background was drying, I stamped my images from the Berry Sweet Stamp Set in an alcohol marker friendly brown ink and colored them in with my Ohuhu Art Markers. I fussy cut them out and then die cut the label and some leaves from the Berry Sweet Die Set. I used a few pink Ohuhu Art Markers to color the edge of my label and stamped my sentiment from the Berry Sweet Stamp Set. To get the ombre look of the "berry" part of the sentiment, I stamped it first in Piggyback, then using the same domed foam blender, I added Lumberjack Plaid just to the lower part of the stamp. Using a MISTI helps with making sure you get it lined up perfectly!
 |
 |
After my background was dry, I stayed the XOXO sentiment from Sweet Heart in both Piggyback and Lumberjack Plaid in different spots around the background. I glued it down to an A2 card base and started planning out my layout of the leaves, flowers and strawberries. Once I had a layout I liked I added the sentiment label to the card with foam adhesive. Then I added the leaves and flowers with wet glue. For the berries, I added them with foam adhesive and wet glue where they overlapped the label and each other.
For some final touches, I used a white gel pen to add highlights around my label and stamped images. I thought it gave them a nice, glossy look. I also added some Pops of Color in Chocolate Gloss to the upper left and lower right of the card. I think this would also be perfect to make chocolate dipped strawberries and I'm definitely going to try that next! I hope you enjoyed this berry-licious card!
Post a Comment