Showing posts with label lauren taylor made. Show all posts

Simple Floral Birthday Card with Emily Moore Designs

Wednesday, May 20, 2026

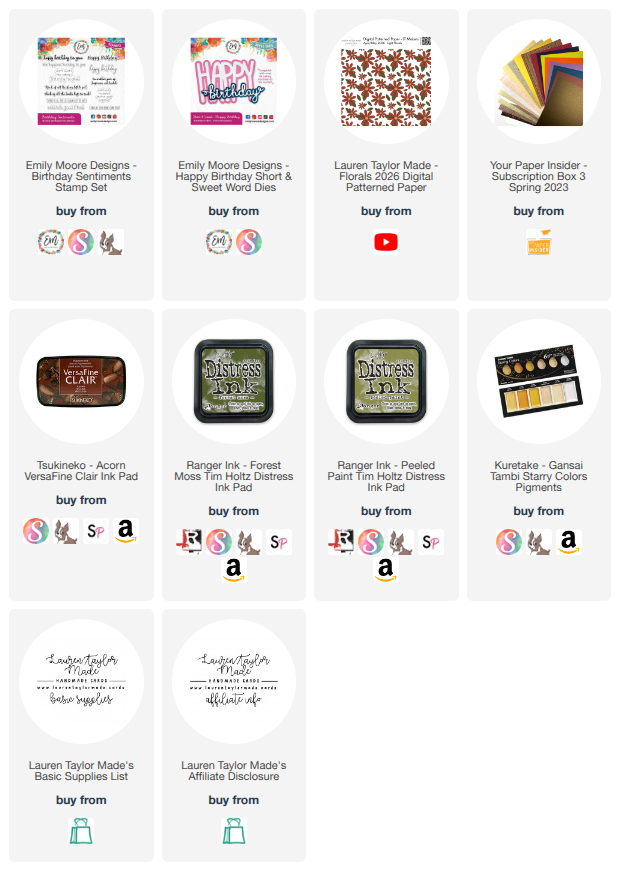
One of my favorite crafty days every month is the 20th because it means it is time for the Oh So Inspired Collaboration Hop! This month’s inspiration came from Lisa A and I immediately fell in love with the bold borders, rainbow florals, and centered happy birthday sentiment from her card design. I decided to take those same ideas and create my own version using one of my digital floral papers along with sentiment dies from Emily Moore Designs. I also used one of the floral digital papers that is available to my YouTube members, which made this project feel extra personal and fun to create. I wanted my card to keep that clean layered look from the inspiration piece while still bringing in some warmth and texture through color choices and splatter details.

For my card, I layered different versions of the same floral digital paper to create contrast between the background and focal layer. I originally planned to use a white card base, but once I noticed the difference between the warm white cardstock and the cooler white printable paper, I changed directions and used the brown floral pattern instead. I actually ended up loving the extra contrast because it gave the card more depth while still feeling coordinated. I die cut the “happy birthday” sentiment from cardstock that matched the florals, blended distress inks over the green shadow layer for extra richness, and added gold watercolor splatter for shine and texture. After trimming down the center panel to create larger borders inspired by Lisa’s card, I attached everything with a mix of liquid adhesive and thin foam adhesive strips for dimension. The finished card feels bright, layered, and cheerful while still having a polished clean design, and I had so much fun putting my own spin on this month’s inspiration!

VIDEO TUTORIAL


PIN THIS
SUPPLY LIST

Read More

Lucky Layers with the March 2026 SheetLoad

Monday, March 2, 2026

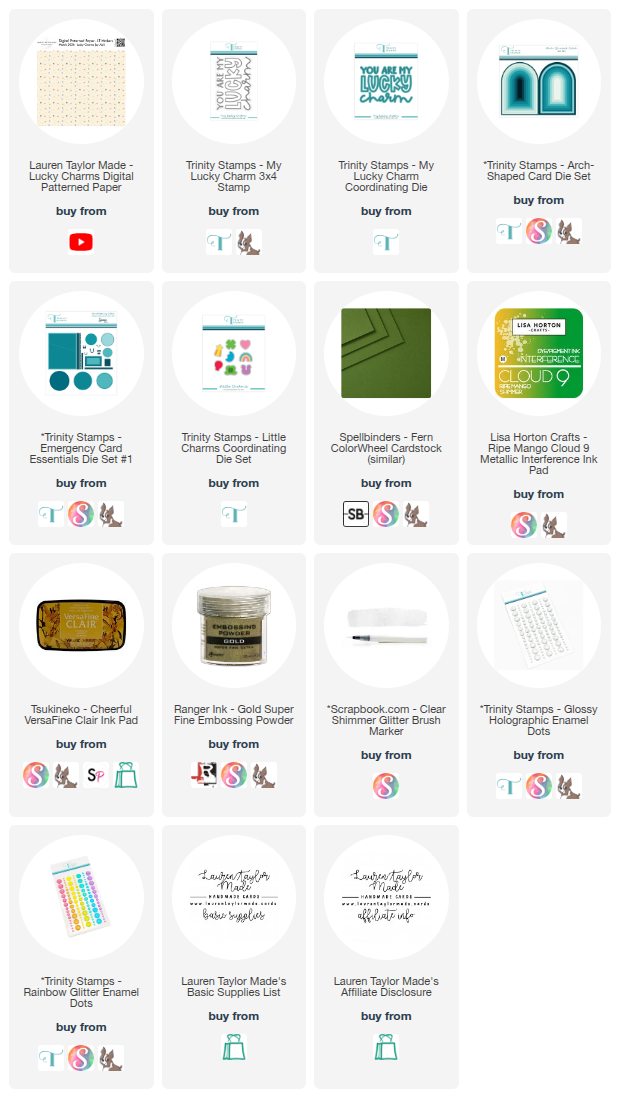
Hi friends! Today I am sharing my take on the March 2026 SheetLoad of Cards along with my brand new Lucky Charms digital paper collection designed by my daughter, Abi, for my YouTube Members. This month’s patterns include Lucky Charms, Leprechaun Plaid, and Good Luck Charms, and I printed them full size so I could really show them off. I followed the SheetLoad sketch to cut my panels and strips, using Leprechaun Plaid for the accent strips and alternating between the two charm patterns for the backgrounds. I die cut arches from Trinity Stamps and trimmed them to match the sketch measurements, then added a thin scalloped border along the bottom to hide where I shortened the die cut and to add a sweet little detail.

To give the green cardstock strips a special touch without using glitter paper, I brushed clear shimmer only along the edges that would peek out from behind the patterned strips. It gives the illusion that the whole strip is sparkly while keeping things simple. I also blended a soft gold sheen around the edges of the background using interference ink for a subtle glow. Once the strips were adhered, I popped the arch up with low profile foam adhesive and let it overlap slightly for dimension. I love that tiny bit of lift against the layered background.

For the focal point, I die cut clovers from the Little Charms die set and stamped the word lucky from the My Lucky Charm stamp set using a yellow pigment ink. When it stamped lighter than I expected, I sprinkled on super fine gold embossing powder and heat set it for a rich metallic finish. I layered the lucky die cut twice for thickness, angled it across the arch, and tucked clovers around the letters with a bit of curled dimension. A few enamel dots finished the design, and I mounted each panel onto an A2 card base. Be sure to watch the embedded video to see the full process and hop along with the rest of the creative team for even more March inspiration.

VIDEO TUTORIAL


PIN THIS
SUPPLY LIST

Read More

Hearts and Crafts Galentine Cards with My New Digital Paper

Thursday, February 5, 2026

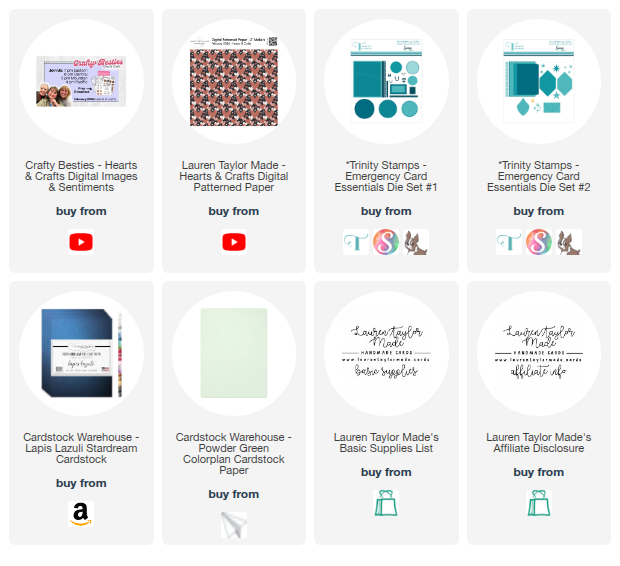
I am so excited to share today’s card because it features my newest digital patterned paper release called Hearts and Crafts. I designed all of these papers in Procreate, from the playful heart pattern to the pencil mark inspired paper and the kitchen tile style design. For this card, I wanted a clean and simple layout that really showed off the paper, so I used a diagonal die cut panel layered onto soft green cardstock and added three circular focal points across the center. The images are from our Crafty Besties Hearts and Crafts digital download, and I paired them with a custom sentiment for a fun Galentine vibe.

To build the card, I die cut my patterned paper to maximize each sheet and layered it onto an A2 card front. I added the circles using a T square ruler to keep everything straight and even, then popped the sentiment up with foam adhesive so it stood out. I adjusted the colors of one of the digital images slightly so it blended better with my paper, reprinted it, and layered it onto a white circle for extra contrast. Once everything was centered and adhered, I attached the panel to the card base and called it done. This design is simple, easy to reproduce, and perfect for highlighting digital paper.

VIDEO TUTORIAL


PIN THIS
SUPPLY LIST

Read More

New Year’s Cheers With My First Digital Paper Collection

Sunday, January 18, 2026

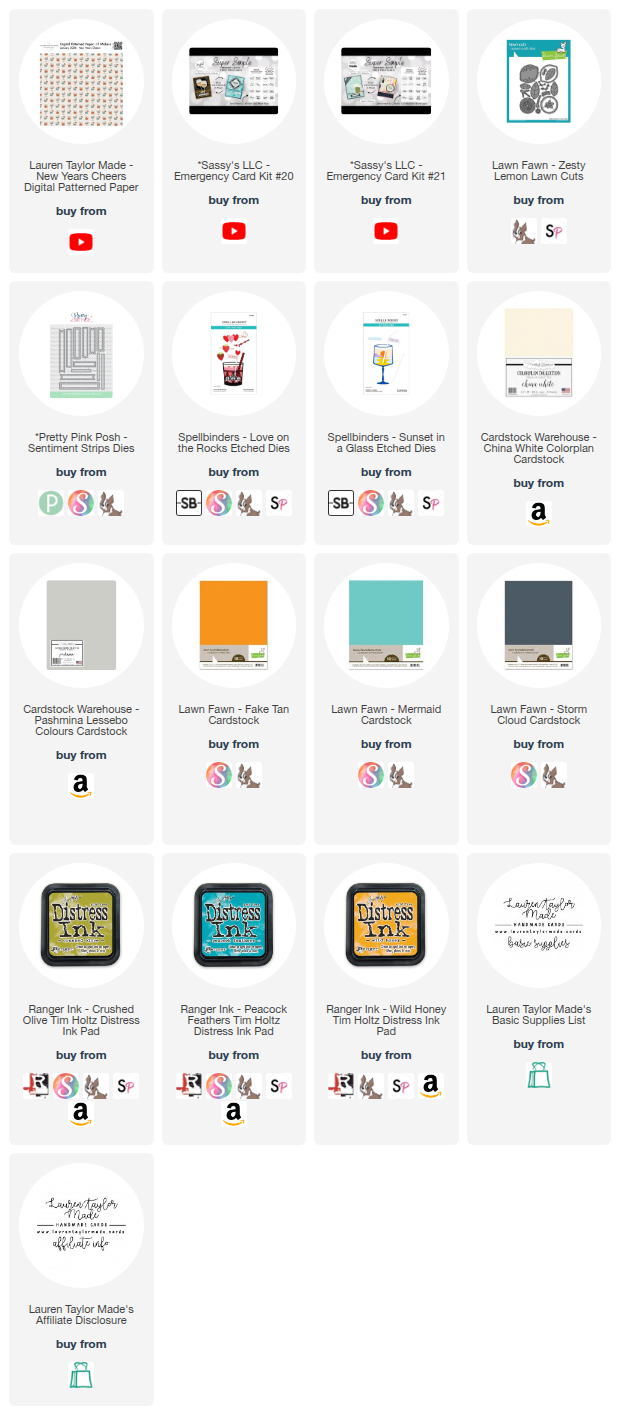
I am so excited to finally share a card made with my very first digital patterned paper collection called New Year’s Cheers. I drew all of the patterns in this set myself, including the cocktail glasses, the wavy line design, and the star pattern, and it was such a fun process bringing this idea to life. For today’s card, I followed a sketch from Sassy’s LLC Emergency Card Kit 21 and paired it with sentiments from Emergency Card Kit 20. I printed my patterned paper, trimmed it to fit the sketch layout, and layered the 4 inch square and coordinating strip onto a soft gray A2 panel to create a clean background.

To build the focal point, I die cut cocktail glasses from Spellbinders and ink blended the liquid portions to create a soft gradient inside each glass. I added a small citrus slice cut from white cardstock and lightly inked so it could read as either a lemon or a lime and balance the design. Once the drinks were assembled, I popped them up with foam adhesive and added a scalloped sentiment strip with a New Year’s greeting. I finished the card by adhering everything to an A2 card base and creating a small set of coordinating cards using both the star and wavy line patterns from the collection. The full process is shared in the video below, and I cannot wait to hear what you think of this new paper release.

VIDEO TUTORIAL


PIN THIS
SUPPLY LIST

Read More