Home for the Pawlidays Christmas Shutter Card with Lawn Fawn

Wednesday, September 13, 2023

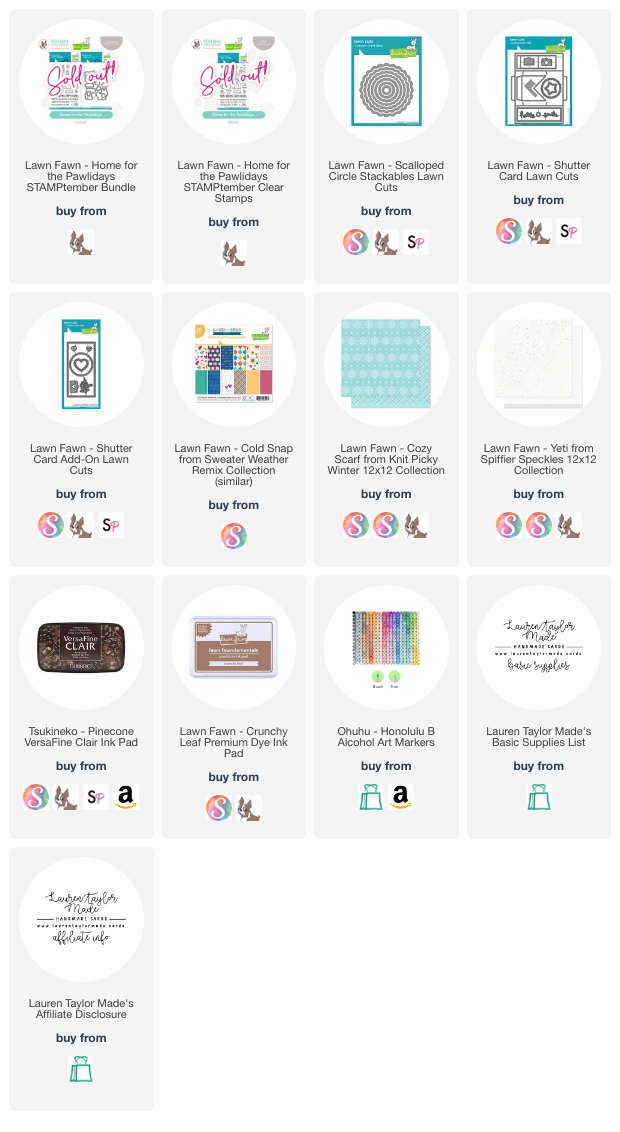
Were you able to snag the Lawn Fawn stamp set for Simon Says Stamp's STAMPtember? Abigail and I like all the dog stamps so I just had to get to it! I'm using it for the latest LawnFawnatics Challenge and it worked for last Friday's episode of Craft Roulette. As usual, I will bold the requirements for this last episode so you can see how I met the requirements.

I started with stamping and coloring all of my images inspired by a multicolored daisy garden with Ohuhu Art Makers, then used the coordinating dies to cut them out. Using a 12x12 sheet of Yeti Spiffier Speckles paper, I cut out the pieces to make a Shutter Card. The belly band was cut from freebie paper I've received in orders and the extra circle from the Shutter Card die cuts. I used a scallop circle to make a cute design around the white circle.

I followed the instructions to assemble the shutter card and added my Merry Christmas sentiment in the circular opening. I glued down my images to the inside of the card and stamped "bow-wow" near the dog on the left so it looks like he's barking as well as the tail wag lines because the dog on the right is such a good boy and has a treat! I assembled the belly band and glued the dog house directly to the circles with liquid adhesive. I did pop up the dog and their gift with foam adhesive.

Let me know what you think of my card and if I met the requirements for the challenge!

PIN THIS
SUPPLY LIST

Read More

Autumn Greetings with Pretty Pink Posh - New Fall Release!

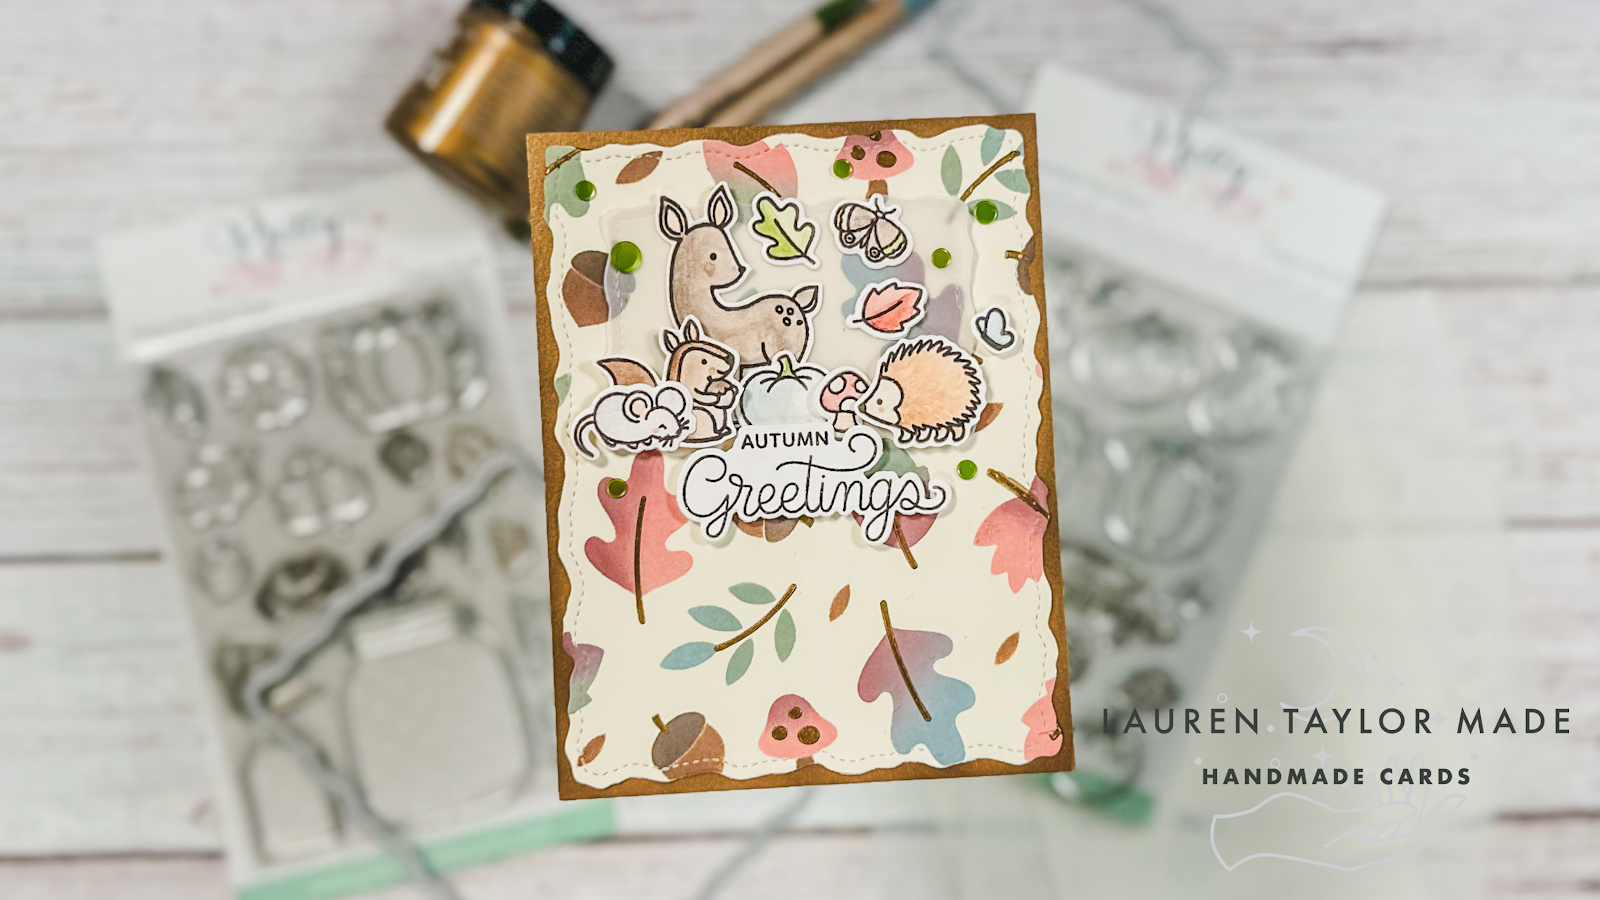
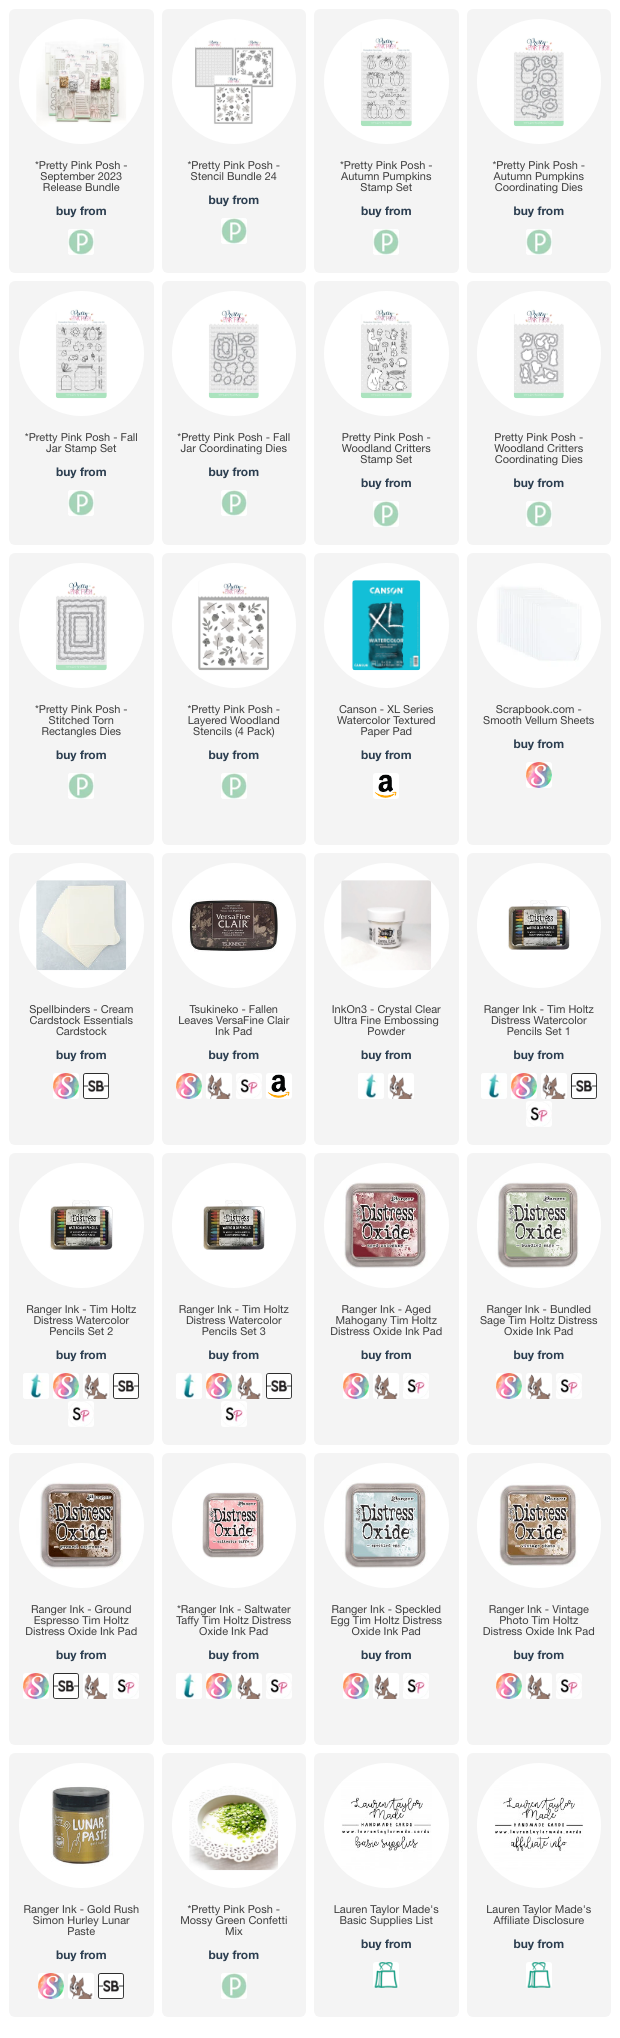
I am so excited to be celebrating the new Pretty Pink Posh release today! Fall is almost here and we're getting into the grateful spirit with the amazing new products! There are so many pretty new things, but I'm using new stamp sets, a layering stencil set, dies and sequins for this card. I've also mixed in an older critter set that just goes so well with these new products!

Below is my video sharing how I made the card, but I started with making my stenciled background so it had plenty of time to dry. Next I stamped my images from Autumn Pumpkins, Fall Jar and Woodland Critters and colored them in with watercolor. Using dies and fussy cutting, I cut out all my images as well as my stamped sentiment.

I also used the new Stitched Torn Rectangle Dies for my card - I love this new rip look of these dies! A great way to added some texture and they still have the cute stitched details. After I layer everything together, I added a few new sequins in Mossy Green around my card and my cute rabbit on the inside as he didn't quite fit on the front of the card. I hope you'll check out my video after today's hop because I just love how my stenciled leaves and fall images turned out!

Make sure to check out the rest of the Product Release Blog Hop for more inspiration using the new products from Pretty Pink Posh! There are three (3) $30 gift certificates up for grabs (one winner each day). Winners will be picked randomly along the blog hop. Comments must be left by 11:59 PM PST on 9/19/2023. Winners will be announced on the PPP blog!

BLOG HOP DAY 2 LINEUP

Pretty Pink Posh blog

Amy Rysavy

Wanda Guess

Laurie Willison

Leica Palma

Jeanne Jachna

Amy Tsuruta

Lauren Taylor (here now!)

VIDEO TUTORIAL


PIN THIS
SUPPLY LIST

Read More

Hi Boo! Spooky Cute Halloween Card with Scrapbook.com

Monday, September 11, 2023

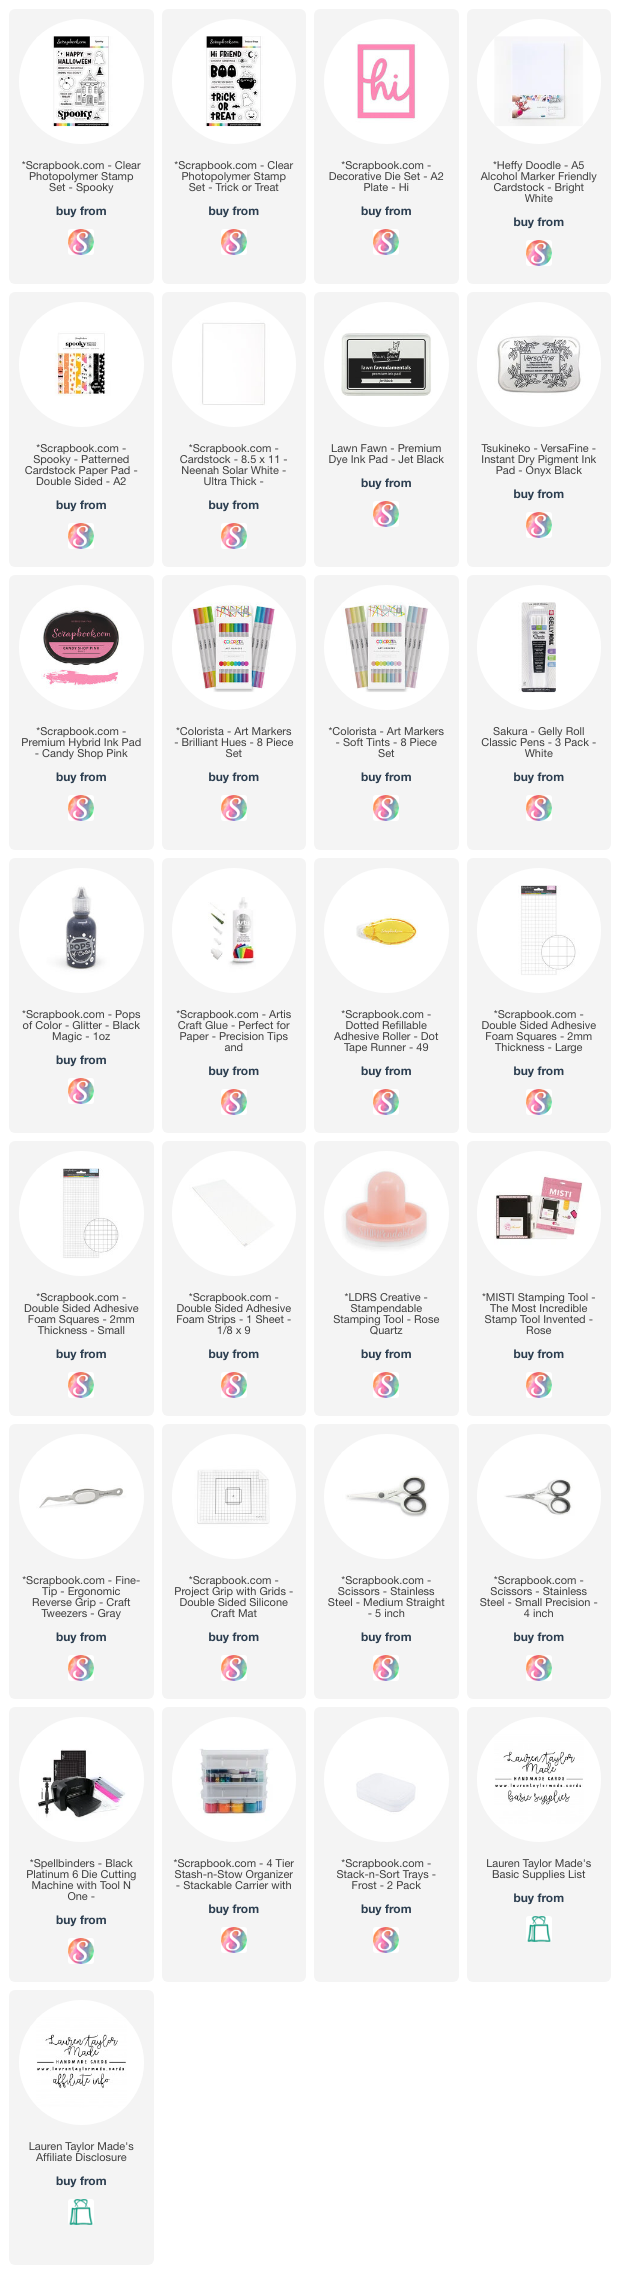
I am so excited to share that I am on the Scrapbook.com YouTube Channel today! I get so giddy when I have the honor of doing fun things like this and I hope you like the card I made for the channel today. If you're in my Make & Take Club Facebook Group, then you know how much I am loving pink for Halloween this year. Well, most years but I am leaning hard into it this year! When I saw the Spooky Paper Pad, I melted because it's perfect for the pink and orange theme.

Using the paper pad as inspiration, I stamped and colored my sentiment and images to this theme and I also share in today's video how I created my inner frame with the spooky eye black paper. I also share some quick coloring with Colorista Art Markers and adding in my images with a mix of foam and liquid adhesive. I hope you'll check out my videos their channel and leave a comment! Thank you for your support!

VIDEO TUTORIAL


PIN THIS
SUPPLY LIST

Read More

Hi Boo! Halloween Card with Scrapbook.com

Hi Boo! I have a new Halloween card to share with you today and it's so pink and pretty! I'm loving the pink and orange vibes for Halloween this year and the Spooky paper pack really bring it to life. I used a few of the sheets from the A2 pad to create this card along with other Scrapbook.com Exclusives. The Spooky and Trick or Treat sets work so well together and I colored my images in with Colorista alcohol markers.

I also had fun coming up with a personalized sentiment with the big die cut frame and stamping together. But what I think is most exciting is that my process video is actually on the Scrapbook.com YouTube Channel today! I get so nervous and excited when my projects are share on their Channel, so please be sure to head over and leave me a comment so they'll have me back!

VIDEO TUTORIAL


PIN THIS
SUPPLY LIST

Read More

Santa's Jersey Christmas Card with Spellbinders

Sunday, September 10, 2023

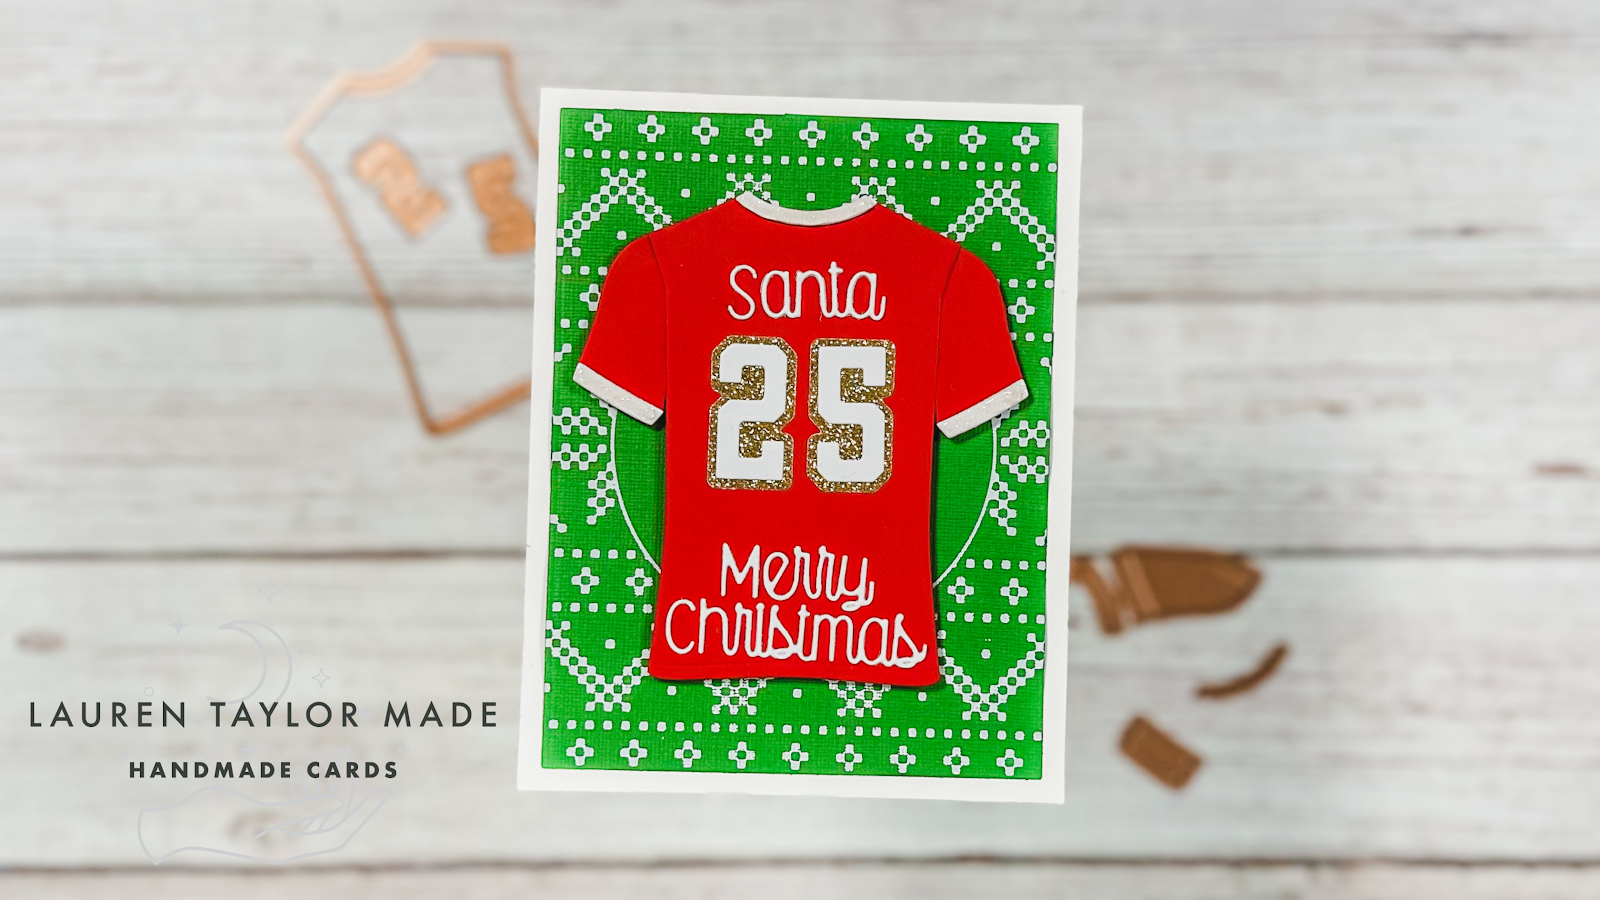
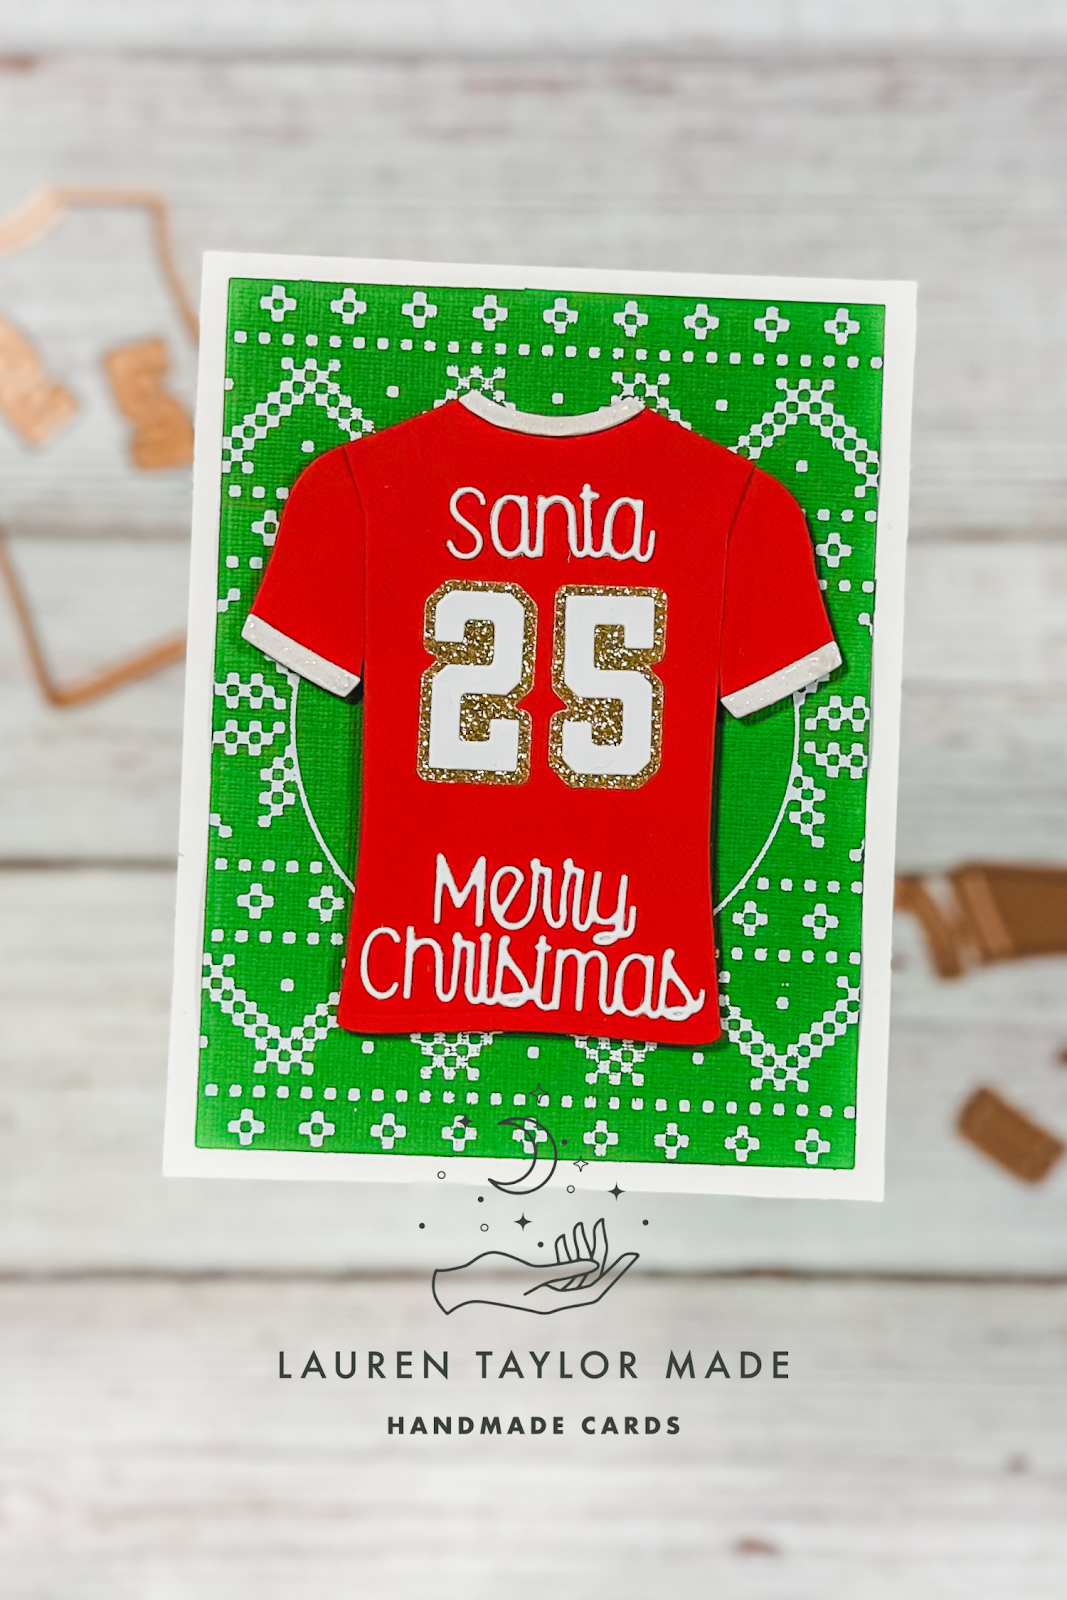
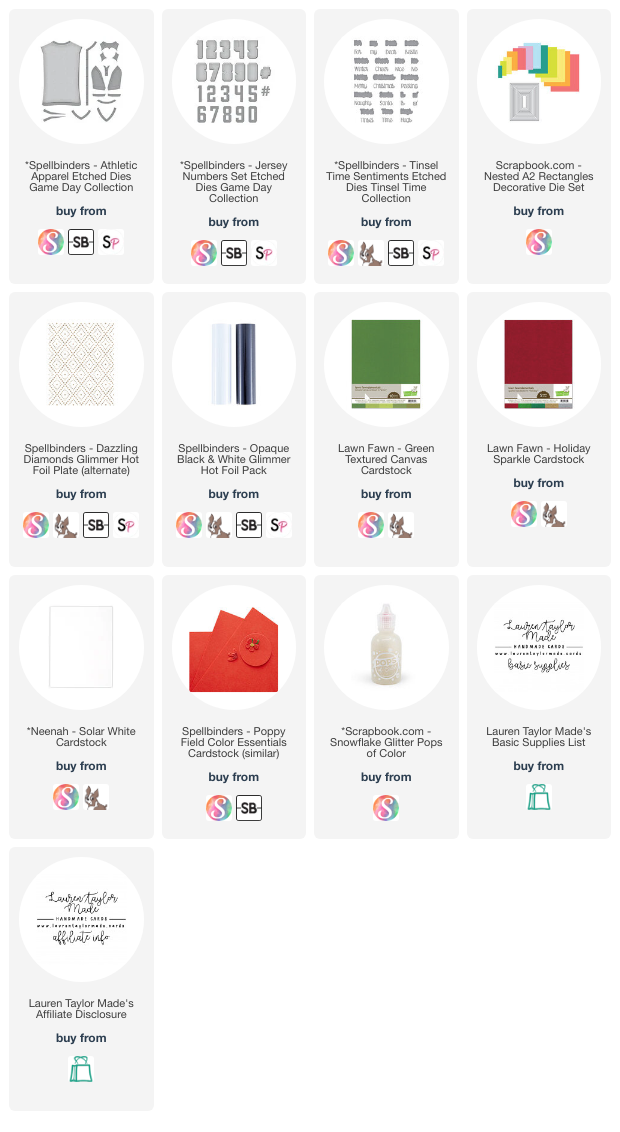
Today is a good day because new releases from Spellbinders is here! I received a couple new die sets from the Game Day Collection from Spellbinders - Athletic Apparel and Jersey Numbers Etched Dies. I used them to create a fun jersey that I could Santa wearing! I hot foiled a sweater background in white foil on textured green cardstock. Then I did my die cutting in red, white and sparkly gold cardstocks.

I assembled my jersey together and added some Christmas sentiments from the Tinsel Time die set - Santa and Merry Christmas. This was popped up onto my foiled background and onto a card base. It's a quick card, but I think a fun way to use the new dies. I definitely need to get the other die set called Sporting Goods so I can add in some fun sports equipment!

Make sure to check out my video down below on the YouTube site so you can also get information about how you can hop along with my other crafty friends with new Spellbinders products! We hope to inspire you as you wait for your goodies to arrive, or maybe help you find a product you didn't know was released. Have fun and thanks for stopping by! 

VIDEO TUTORIAL


PIN THIS
SUPPLY LIST

Read More

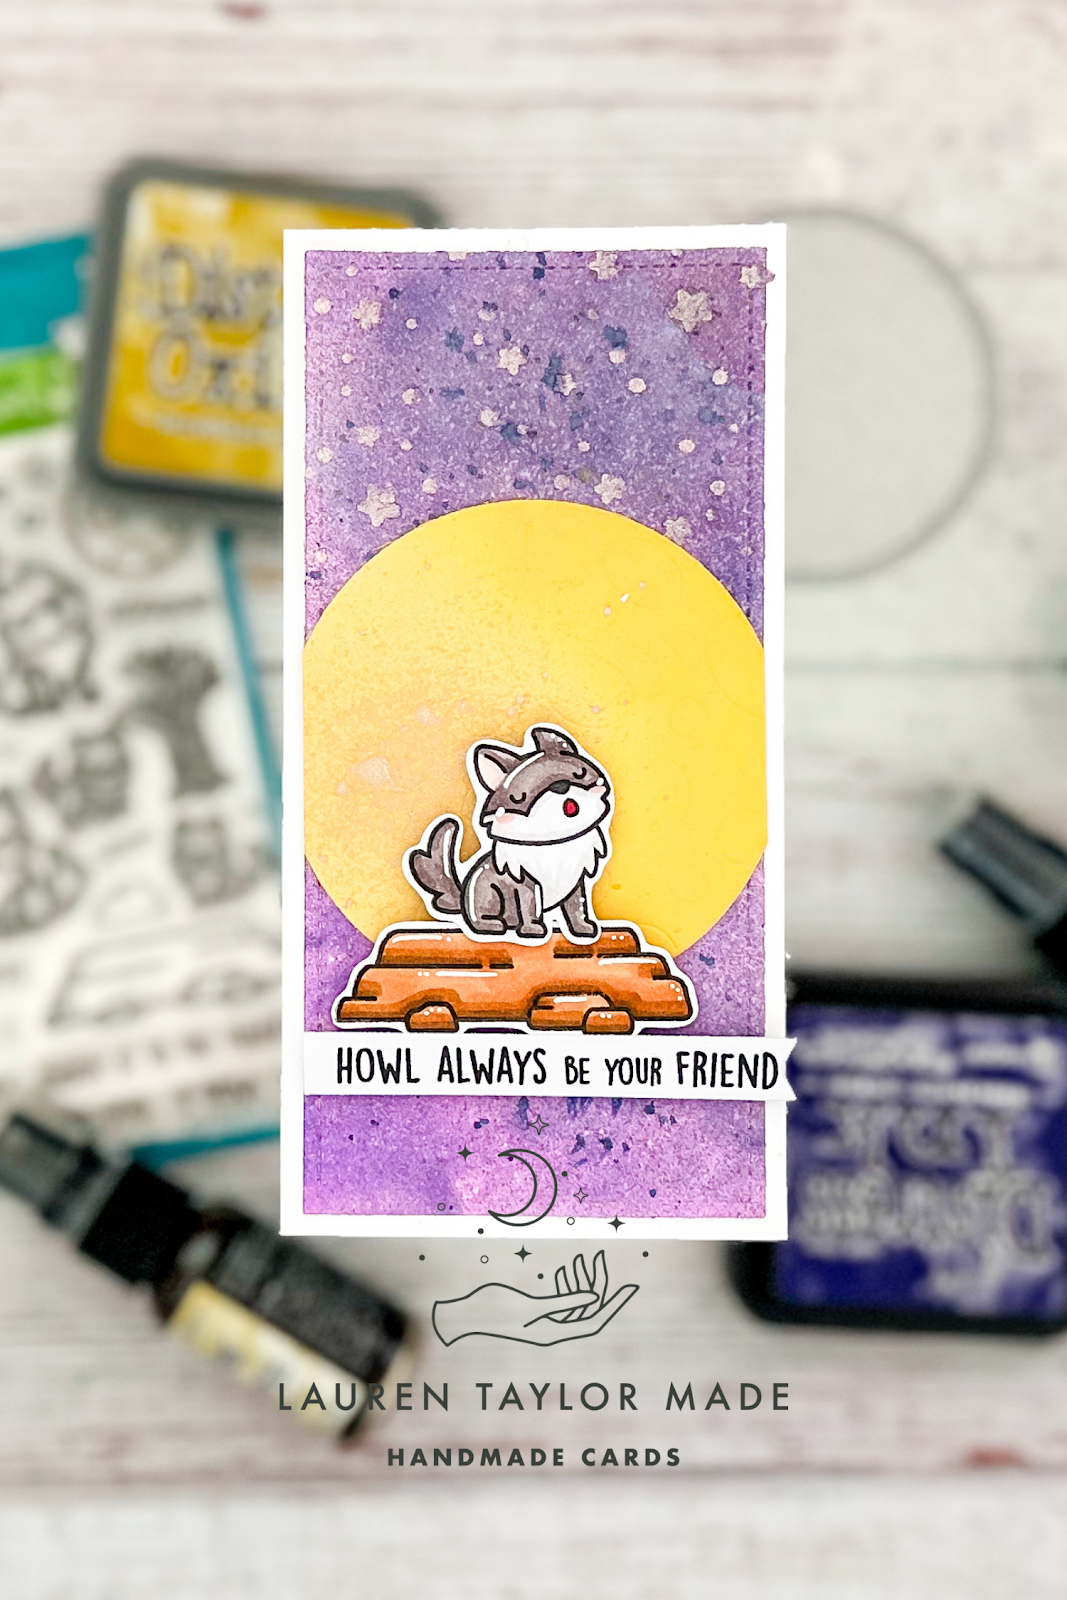
Howl Always Be Your Friend Lawn Fawn Swaps!

Saturday, September 9, 2023

So, I totally waited to the last minute to make my swaps for the Lawn Fawn even this weekend in Southern California. But I really wanted to participate so I made some mini slimline cards without too many elements so I could get them done... I literally was gluing them together just hours before the event started. Sheesh!

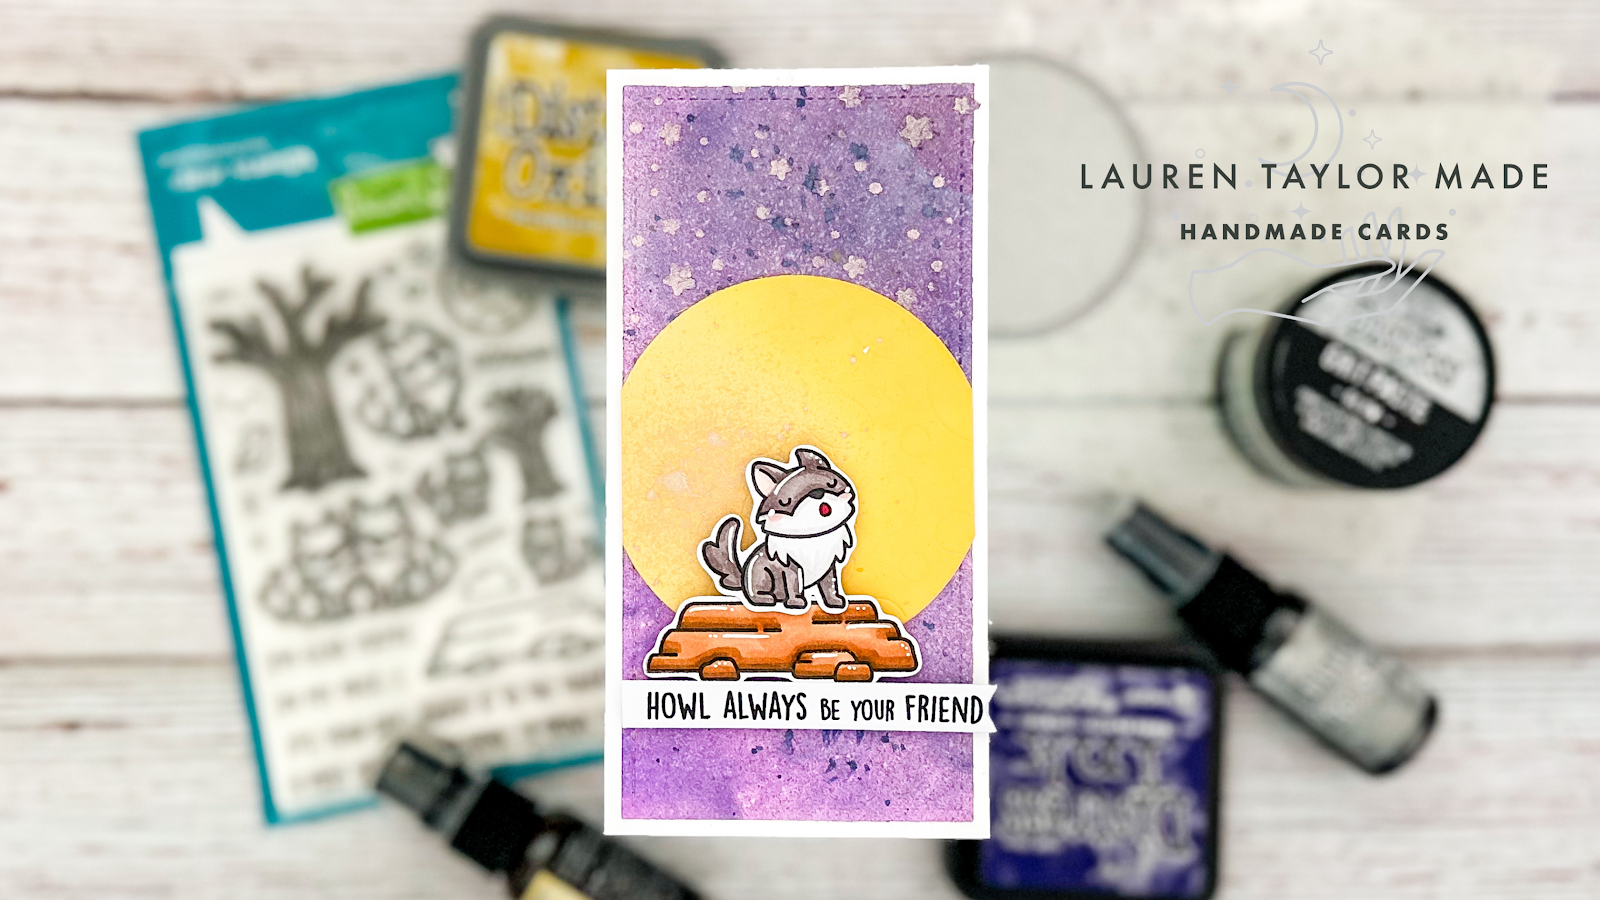
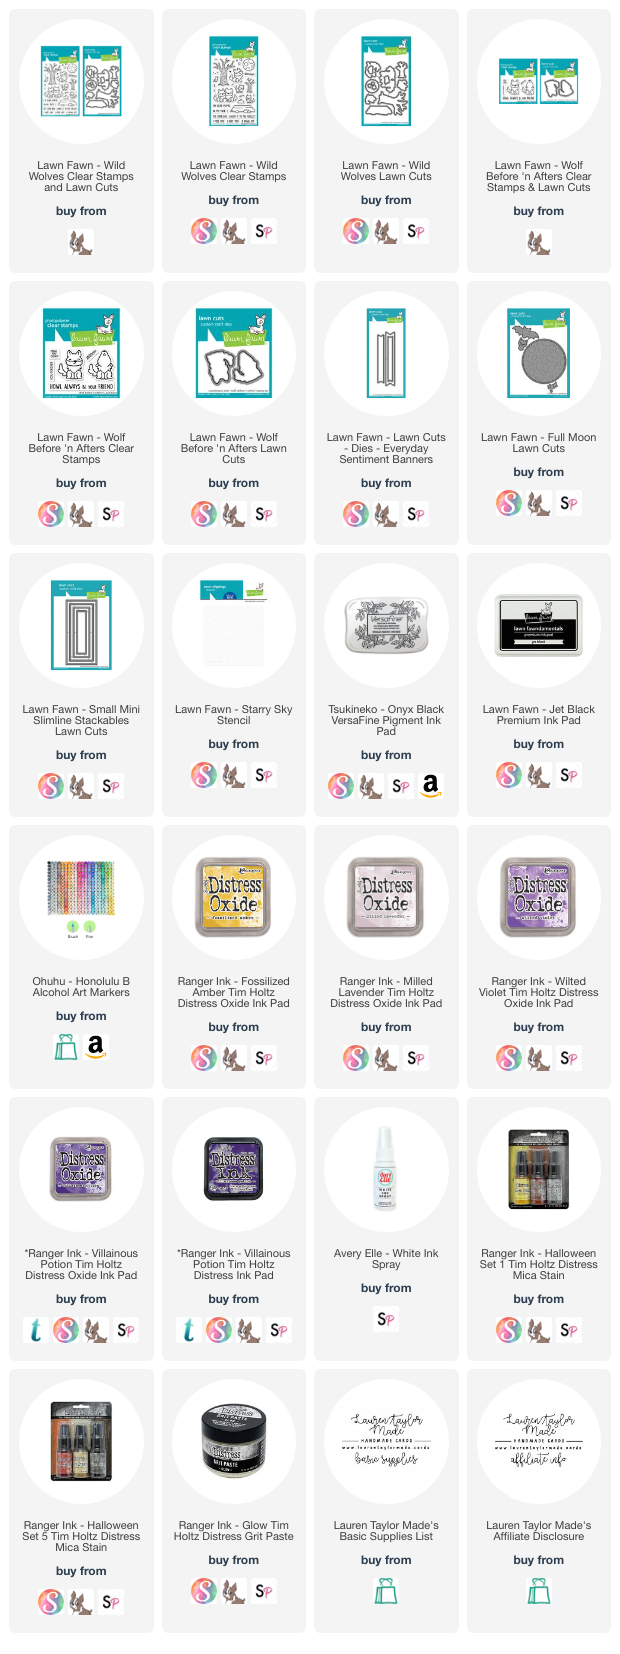
I started with making my backgrounds and squished ink onto my glass mat in Villainous Potion, Wilted Violet and Milled Lavender Distress Oxides with water and made my purple sky. I splattered on Villainous Potion Distress Ink as well as spraying some Distress Mica in Iron Gate. I also stenciled on some Glow Grit Paste with the Starry Sky Stencil. When it was dry, I cut my background with the largest of the small mini slimline dies.

Next I cut my moons out of yellow cardstock and added some Fossilized Amber Distress Oxide to one side of the moon. I also misted on some Mica Spray in Unravelled! I stamped my images and colored them in with my Ohuhu Art Markers and because I stamped so many, I used my Scan N Cut to cut them all out, but there are coordinating dies for these sets.

The last step was cutting out the banners and stamping my sentiment. I glued the moon to my background as well as the sentiment banner with foam strips. I trimmed the moon where it hung over the edges as well as the banner on the left side. I glued this to my card base and then popped up my rocks and wolf. They were kind of quick and easy, but I think they're still super cute and I hope those who got it in the swap loved them, too.

PIN THIS
SUPPLY LIST

Read More

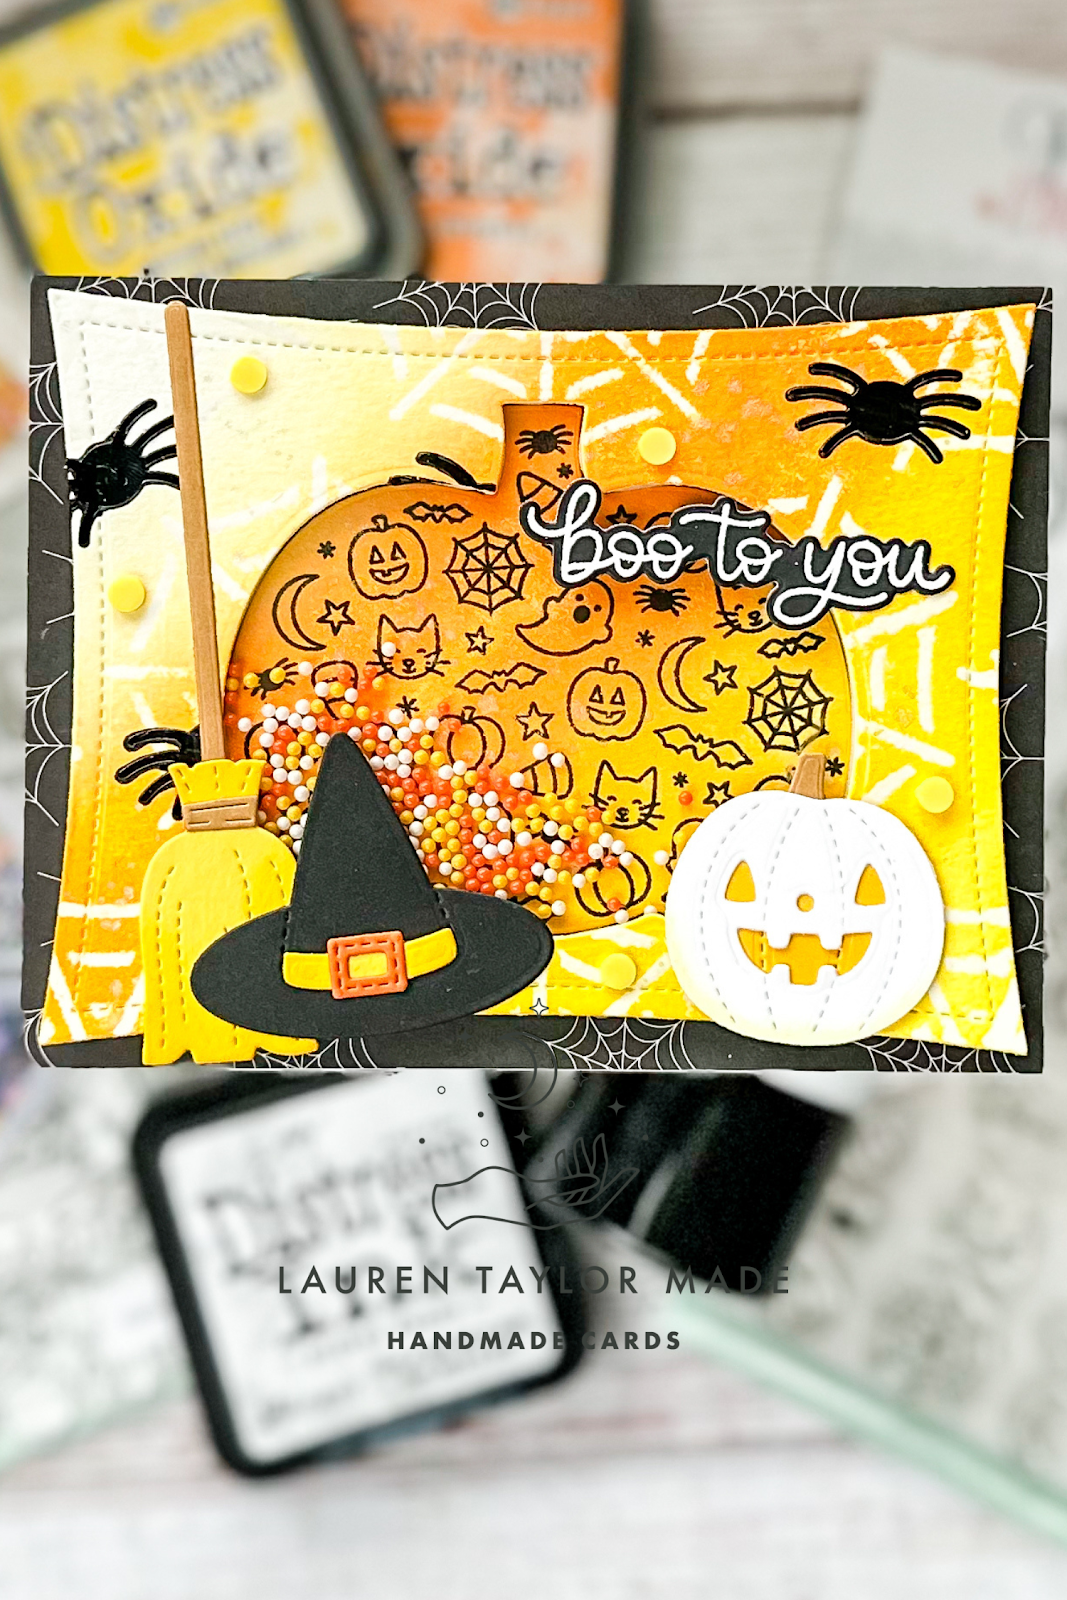
Boo to You Candy Corn Inspired Shaker Card with Pretty Pink Posh

Thursday, September 7, 2023

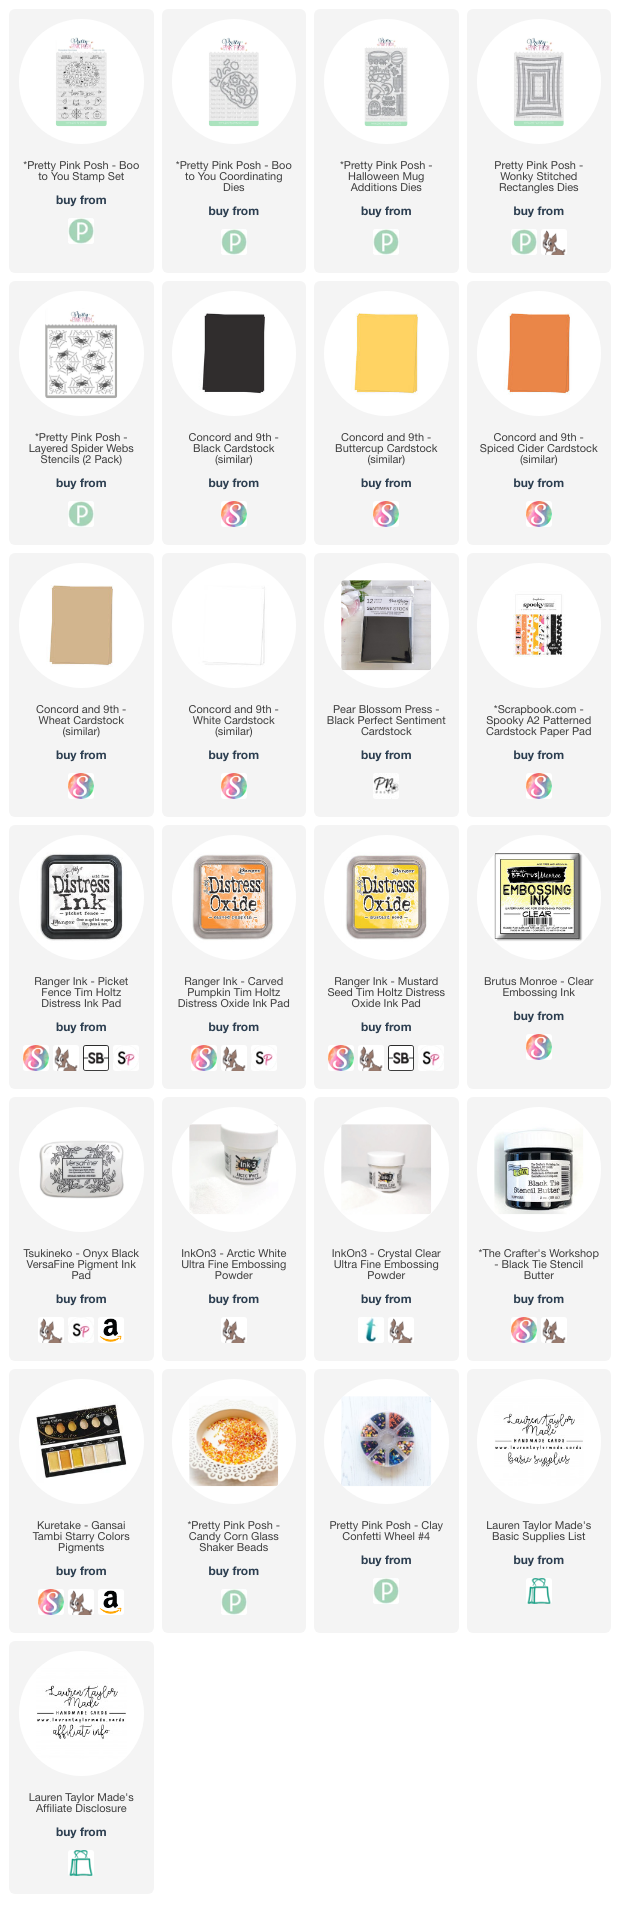
I am back with a new video using Pretty Pink Posh Halloween products to create a shaker card inspired by the Candy Corn Glass Shaker Beads! I think the orange, yellow and white (with some black) are the iconic Halloween colors and I wanted to use some of my favorite images from the latest release on this card, too. I started with die cutting my background with the largest Wonky Stitched Rectangle Die and the pumpkin from the Boo To You Coordinating Dies to create my shaker window.

To use the emboss resist technique, I stenciled on my spider web layer of the Layered Spider Webs Stencils with embossing ink and used clear embossing powder on the wonky rectangle. I also added the pumpkin stamp from the Boo To You Stamp Set with black ink and clear embossing powder to the pumpkin cut out. Now that the embossing is done, I added inks in the color scheme of a candy corn! I started with Mustard Seed Distress Oxide on the bottom right, then blended into Carved Pumpkin Distress Oxide and finally a little touch of Picket Fence Distress Ink.

I buffed off the ink from the embossing powder and then added a little bit white gold metallic watercolor splatter. The final touch of stenciling is adding in the spiders to my wonky rectangle with the second stencil from the Layered Spider Webs Stencils with a black stencil paste.

While my spiders are drying, I moved on to die cutting some of my favorite images from the Halloween Mug Additions Dies out of scrap cardstock in kraft, yellow, orange, white and black. I added a little ink to my white pumpkin and yellow hat belt, but I assembled them together with such ease and they are so cute! I also stamped my Boo To You Stamp Set sentiment with embossing ink and white embossing powder onto black cardstock.

Once my background was dry, I assembled my shaker together and added the Candy Corn Glass Shaker Beads and you can see each detailed step in my video today. The pumpkin was adhered to a spider web patterned paper, I created my well around the pumpkin, added the Candy Corn Glass Shaker Beads and closed it with the spider web wonky rectangle panel that also has acetate. Next I added my die cut images and sentiment around the shaker window as well as some yellow clay confetti circles from the Clay Confetti Wheel #4 for some little, final touches. I hope you enjoy this shaker card and you’re having so much fun with the latest release!

VIDEO TUTORIAL


PIN THIS
SUPPLY LIST

Read More