Stay Fierce Jungle Tiger Card with Simon Hurley create.

Friday, August 22, 2025

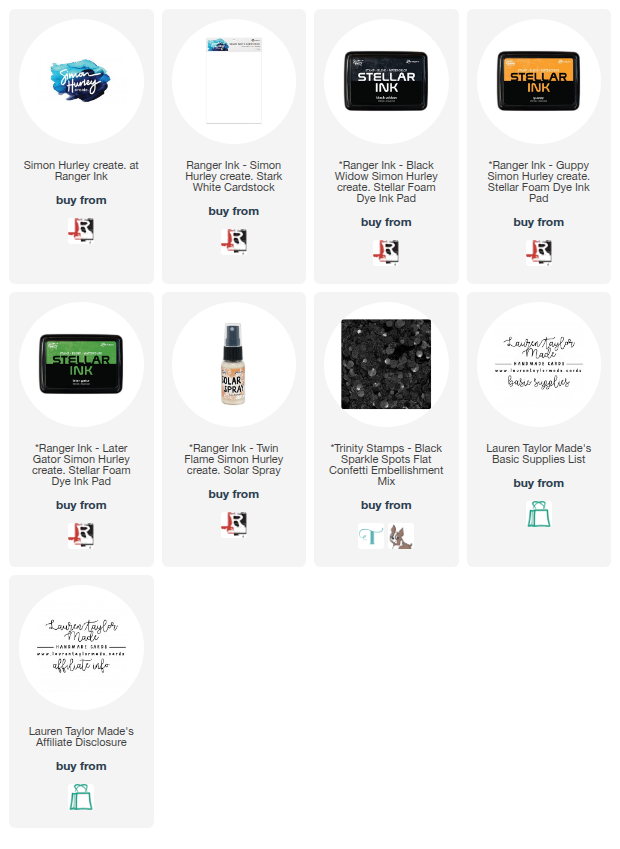
For today’s card, I’m featuring the brand-new release from Simon Hurley create. and Ranger Ink, and I had so much fun mixing inks, sprays, and pastes to build a bold focal panel. I started with an A2 piece of Stark White Cardstock and masked off a diagonal strip. Using my Simon Hurley blending brush, I blended Later Gator Stellar Ink over the open area, then misted it lightly with Twin Flame Solar Spray for shimmer. Once that was dry, I laid down the Intertwined Stencil and spread Jaded Neon Lunar Paste across it, creating a bold textured pattern. With the stenciling complete, I carefully removed the masking tape and set the panel aside to dry fully.

Next, I stamped and fussy cut a few leaves from the Tropical Flora Peel Apart Rubber Background Stamp in Later Gator Stellar Ink to coordinate with my background. For my focal point, I stamped the layered tiger from Wild About You: first with Guppy Stellar Ink for the base, then with Black Widow Stellar Ink for the stripes. I die cut the tiger, then arranged the stamped leaves across the diagonal section of the panel, trimming any overhang. I adhered the tiger with foam adhesive so it pops off the card, stamped the sentiment “Stay Fierce” in Black Widow Stellar Ink, and finished with some black glittery embellishments from my stash. The mix of texture, shine, and dimension really makes this wild design come to life!

VIDEO TUTORIAL


PIN THIS
SUPPLY LIST

Read More

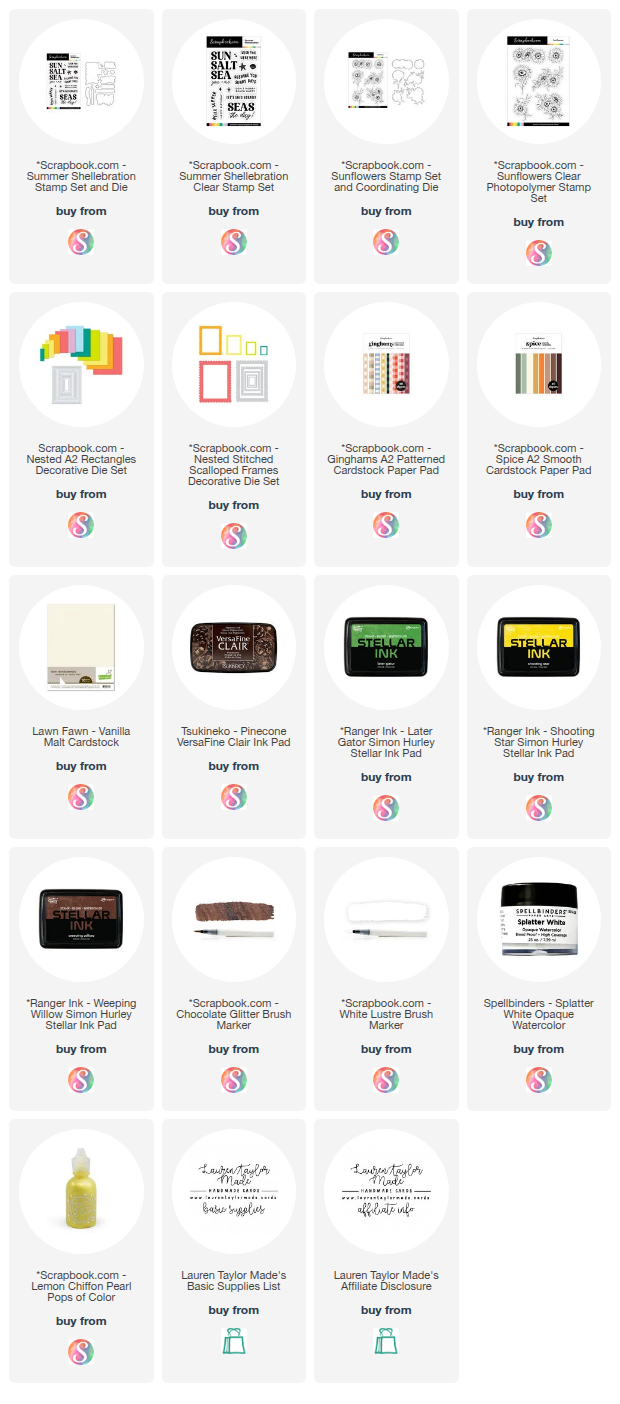
Wishing You Sunny Days Floral Card with Scrapbook.com

Thursday, August 21, 2025

Today I’m sharing a sunflower-inspired floral card using some beautiful exclusive products from Scrapbook.com. I wanted to capture that transition between summer and fall, so I pulled out the Ginghams A2 patterned paper pad and combined it with the new Sunflowers stamp set. The mustard yellow and warm brown gingham patterns created the perfect cozy backdrop. I stamped and watercolored a sunflower floral cluster on vanilla cardstock, then carefully fussy cut the image since I don’t yet have the coordinating dies. For extra depth, I layered a scalloped frame, added soft ink blending at the bottom of the back panel, and finished it with splatters of white and chocolate shimmer for a mixed-media touch.

To complete the design, I stamped the sentiment “Wishing You Sunny Days” and popped up the scalloped frame with foam adhesive for dimension. The sunflowers sit toward the top of the frame, bringing all the warm colors together, and I finished the card with pops of Lemon Chiffon for a final burst of yellow. The end result feels like a cheerful nod to late summer turning into early fall, full of golden tones and a cozy handmade charm. Be sure to check out the process video below for a closer look at how everything came together!

VIDEO TUTORIAL


PIN THIS
SUPPLY LIST

Read More

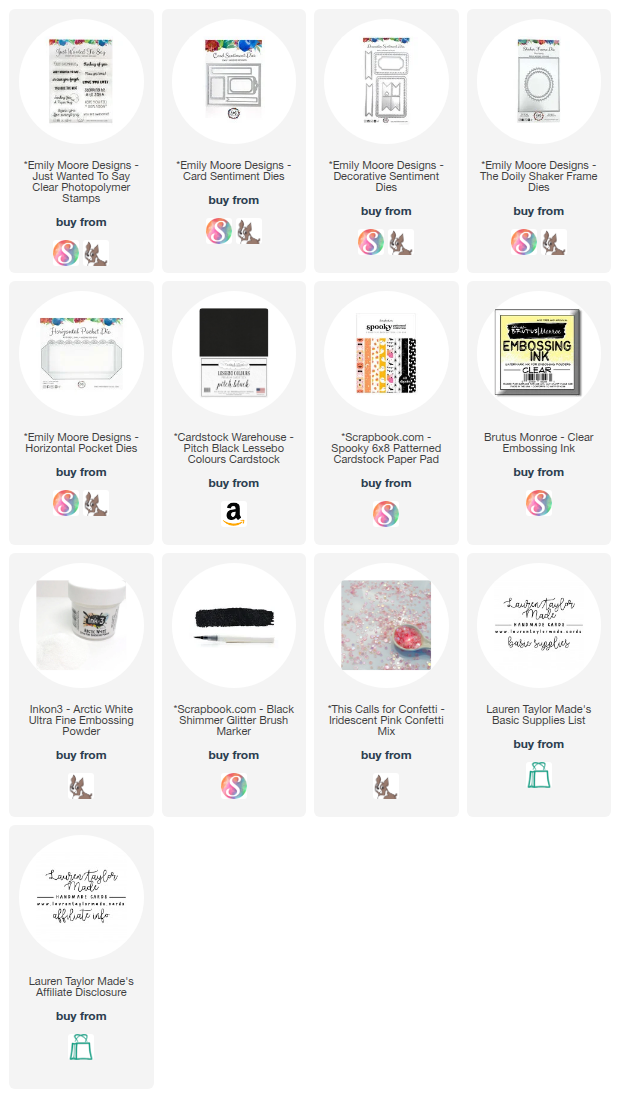
You Are The Best Halloween Card with Emily Moore Designs

Wednesday, August 20, 2025

It’s time for another Oh So Inspired Collaboration hop, and this month we’re taking inspiration from Linh at LV Handcrafted! I was drawn to a project she made featuring a ribbon-style design that looked like a ribbon award. I loved the layered banners and circle detail, so I used products from Emily Moore Designs along with some patterned paper to create my own take on her beautiful project. The result is a playful layered design full of dimension, color, and a touch of shimmer.

For my version, I combined die cuts, patterned papers, and a stamped sentiment to form the ribbon shape as my focal point. I built up the background with a mix of layers, then added banners, an oval frame, and fussy-cut images to complete the look. The final touches included embossing my sentiment, splattering some shimmer across one of the layers, and finishing with sequins for extra sparkle. You can watch the full process in the video below and be sure to check out the hop playlist to see how all my crafty friends were inspired, too!

VIDEO TUTORIAL


PIN THIS
SUPPLY LIST

Read More

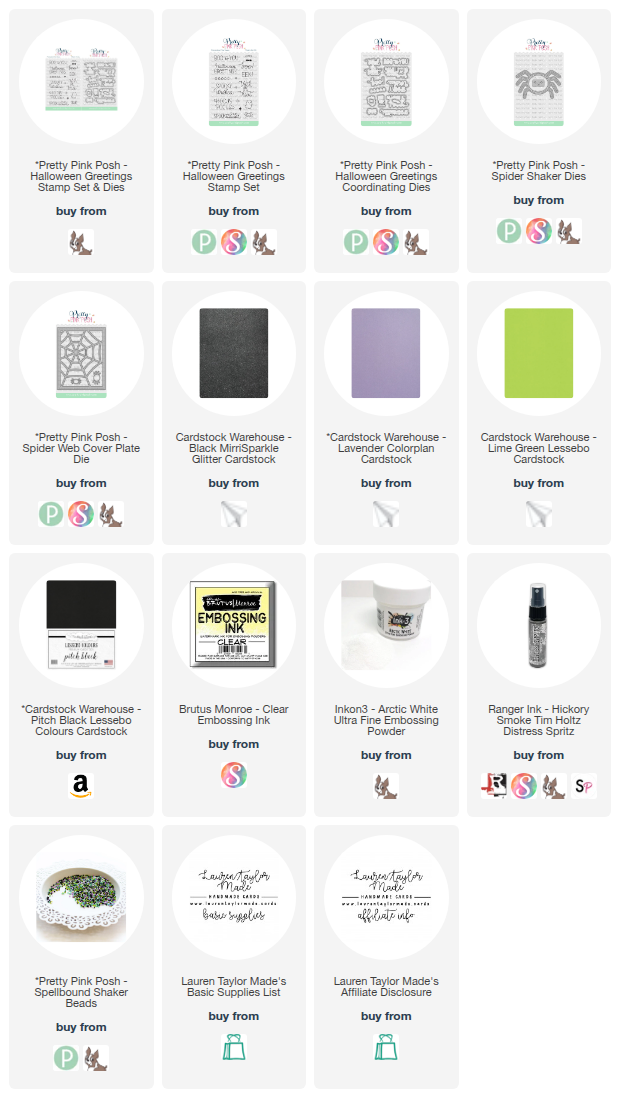
Spooky Wishes Shaker Card with Pretty Pink Posh

Tuesday, August 19, 2025

Today I’m sharing a spooky-fun Halloween shaker card using products from Pretty Pink Posh! I started with an A2 lavender panel and splattered it with Hickory Smoke Distress Spritz for texture. Over the top, I layered a black spiderweb die cut to give it a bold, spooky background and adhered it to a card base. For the sentiment, I stamped and embossed “Spooky Wishes” in white on black cardstock, then die cut two more layers from scraps. Stacking all three together gave me a sturdy, chipboard-like piece that I attached to the bottom right corner of the card.

The star of the card is the shaker spider! I die cut the spider once from plain black cardstock, then again from black glitter cardstock with the inner frame cut to create the shaker window. Behind the window, I added a piece of acetate cut into an oval shape to fit perfectly. I built up the shaker with 3mm black foam adhesive, filled it with Spellbound shaker beads, and sealed it all together. For a fun pop of color, I cut the spider’s face from lime green cardstock and glued it on before adhering the shaker spider to the card front. The combination of sparkle, dimension, and creepy-cute details makes this card perfect for Halloween!

PIN THIS
SUPPLY LIST

Read More

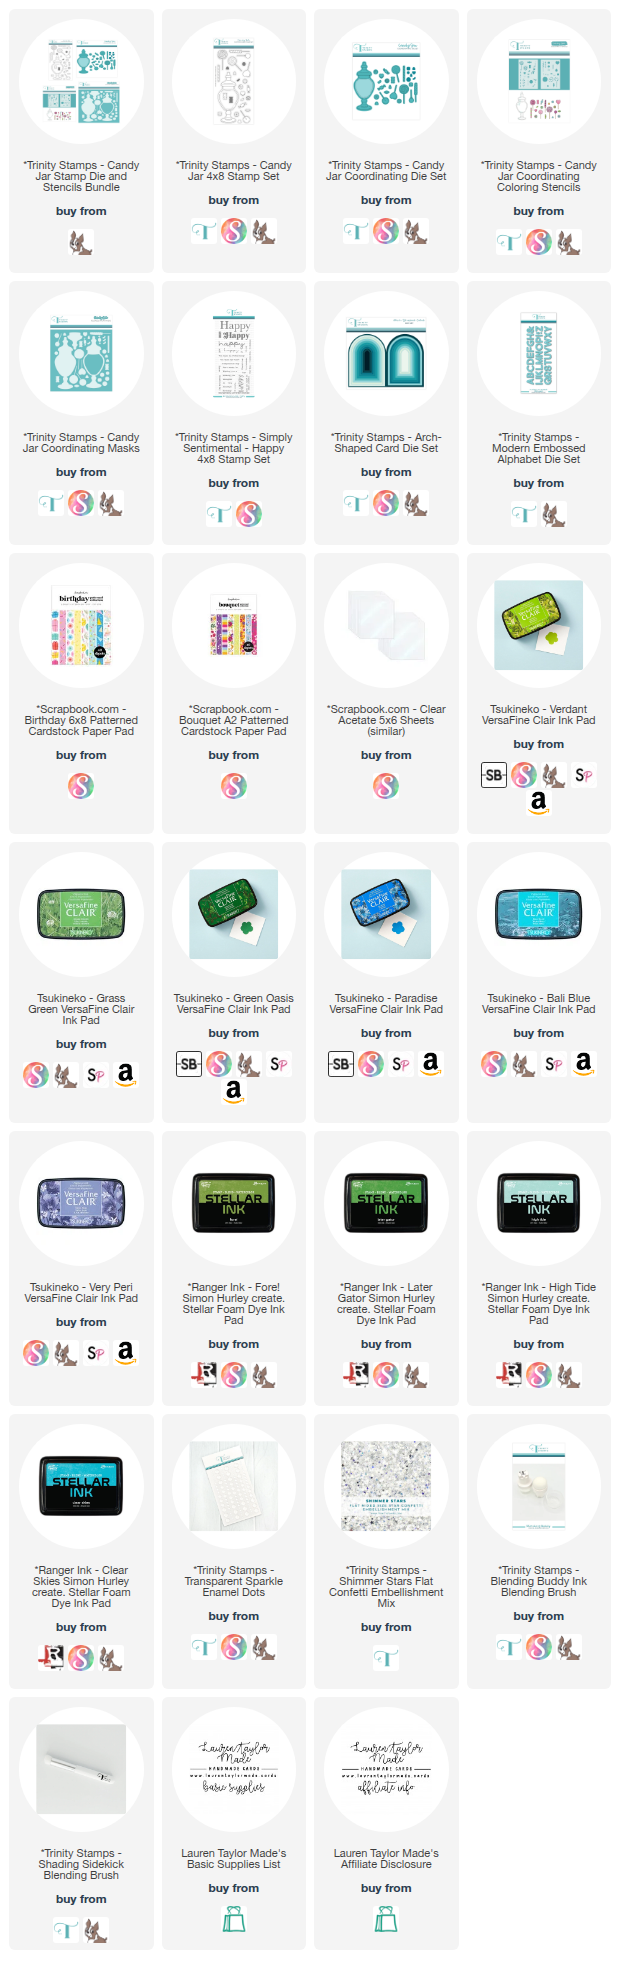
Sending You Sweet Thoughts with Trinity Stamps

Sunday, August 17, 2025

For today's card, I created a fun and sweet shaker card for Trinity Stamps that also fits the prompts from Craft Roulette Episode 280. I started by cutting my card base using the Trinity Stamps Arch Shaped Card Die Set. From there, I layered three arch panels: a blue piece, a teal piece, and a yellow star-patterned piece, all from Scrapbook.com’s Birthday 6x8 Paper Pad. For the focal point, I stamped the candy jar from the Candy Jar stamp set twice with Bali Blue ink, along with several little candies in a mix of bright ink colors in greens and blue. Using the coordinating coloring stencils, I blended Stellar Inks, giving depth and detail to both jars and the candies. After die cutting, I turned the jars into a shaker using acetate, foam strips, and the Shimmer Stars confetti mix from Trinity Stamps, along with the die-cut candy pieces glued inside for extra detail.

To complete the card, I die cut the word “sweet” using the Modern Embossed Alphabet die set. At first, I layered teal letters on the base of the card, but to make the sentiment pop, I added another layer cut from green star-patterned paper with a slight ink-blended shadow. I then stamped and fussy cut “sending you” and “thoughts,” arranging them around the candy jar so the card reads “Sending you sweet thoughts.” Finally, I adhered all the layers to my shaped card base and finished with a few transparent sparkle enamel dots to add shine. The end result is a bright and cheerful 5x7 card featuring a playful shaker element that’s full of sweetness and fun.

VIDEO TUTORIAL


PIN THIS
SUPPLY LIST

Read More

Sip Sip Hooray Mini Slimline Card with The Sassy Club

Saturday, August 16, 2025

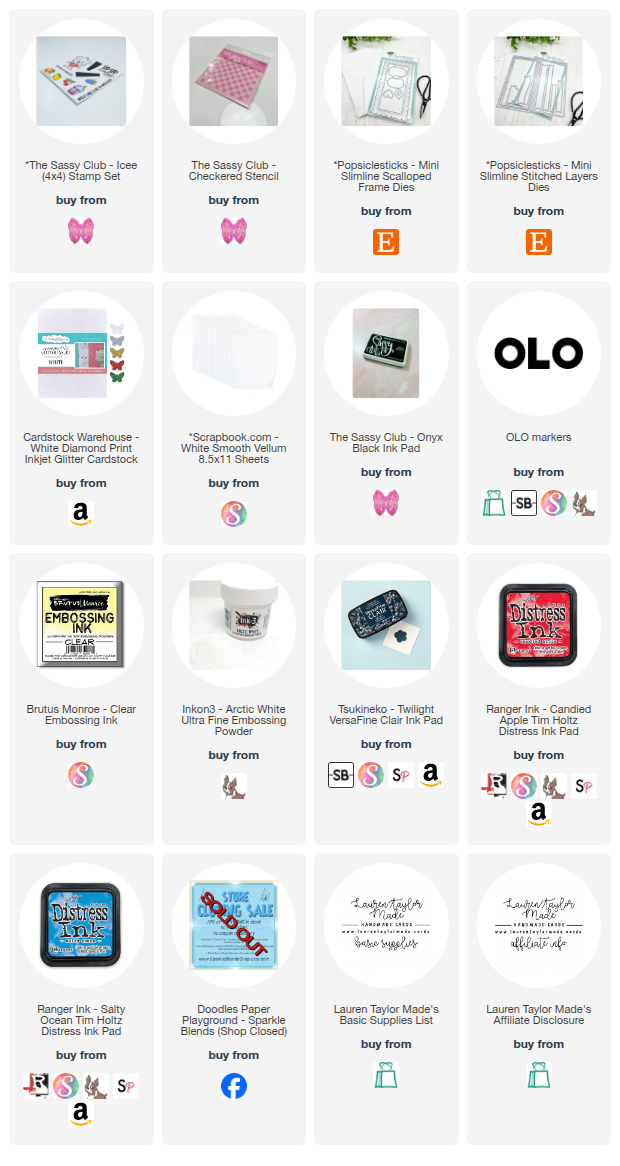
For today’s Sassy Saturday card, I had a blast playing with The Sassy Club’s ICEE stamp set and their checkered stencil. I began by stenciling the checkered pattern on white cardstock using Candied Apple and Salty Ocean Distress Inks. Since the stencil is smaller than a mini slimline card, I had to stencil twice to cover my panel. Once finished, I die cut the panel with the largest mini slimline stitched layer die from Popsiclesticks and adhered it to my 3 ½" x 6 ½" card base. For my shaker element, I cut the mini slimline scalloped frame from white glitter cardstock and layered vellum behind it before turning it into a shaker filled with red, white, blue, and iridescent sequins from my stash. The vellum softens the sequins beautifully, giving them a frosted effect.

Next, I stamped the block stamps with Candied Apple and Salty Ocean inks again, masking to layer them together. Then I tried to make a fun drop-shadow effect using Twilight VersaFine Clair ink and heating embossing the sentiment again but in white embossing powder, then fussy cut it out. For my images, I stamped the Sassy Club ICEE bear mascot, his drink, two raspberries, and two cherries in alcohol-marker friendly black ink and colored them in with markers before fussy cutting. I arranged all of the stamped images and sentiment across the shaker panel, popping some up with foam tape for dimension. To finish, I added a few extra sequins on the card front for sparkle. This colorful shaker makes such a fun summer card and was the perfect project for Sassy Saturday!

PIN THIS
SUPPLY LIST

Read More

Sweet Halloween Popsicle Card with Scrapbook.com

Friday, August 15, 2025

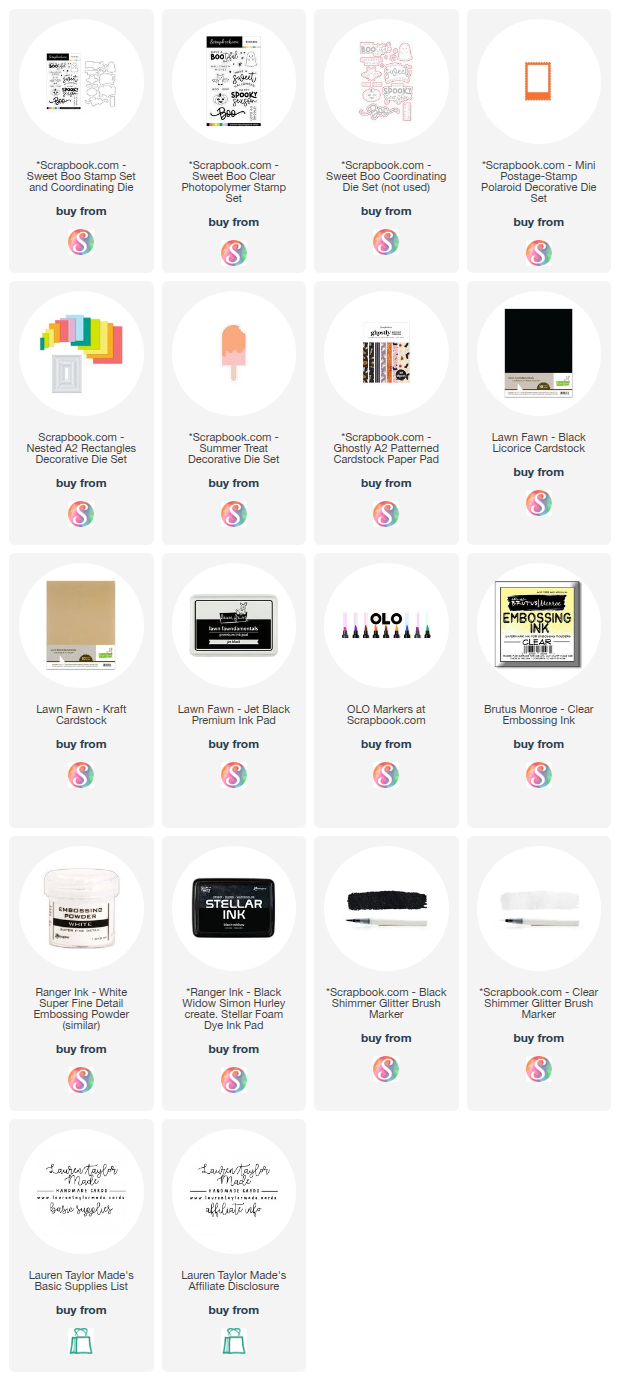
For Craft Roulette Episode 279, I had so much fun creating this spooky-cute Halloween card with products from Scrapbook.com. I started by die cutting patterned paper from the Ghostly A2 Paper Pad using my nested A2 dies. The bat print became my card base, layered with a grid pattern paper that I inked around the edges with Simon Hurley’s Black Widow ink and a blending brush, then glued to a ghost patterned paper. These were adhered to the center and popped up with foam adhesive for dimension. I heat embossed the “Have a Sweet Halloween” sentiment from the Sweet Boo stamp set with white embossing powder on Lawn Fawn Black Licorice cardstock, fussy cut it, and added it to the top center of my card with thin foam strips.

For the focal point, I die cut the Mini Postage Stamp Polaroid die four times from black cardstock. Using one of the center cutouts as a template, I sketched small rectangles and stamped the ghost and bat from the Sweet Boo stamp set in Lawn Fawn Black Licorice ink. I colored them and their backgrounds with OLO markers, then trimmed the panels and layered them between two postage stamp die cuts for a dimensional frame. To finish, I added a purple and pink popsicle from the Summer Treats die set, with shimmer highlights and white gel pen details. A few splatters from a black shimmer brush gave the background extra texture—being careful not to cover the bat or ghost too much.

PIN THIS
SUPPLY LIST

Read More