Hello Daffodils with Pretty Pink Posh - Instagram Birthday Hop

Tuesday, February 13, 2024

Have you been enjoying the new release from Pretty Pink Posh? I'm excited to be hopping over on Instagram today to continue the celebration Pretty Pink Posh's 10th birthday! I am using the freebies that you can receive when you spend over $125 (Potted Daffodils Stamps & Dies) or $150 (+ Dot Circles Stencil). I started with die cutting my eyelet rectangle out of yellow cardstock and stenciled the Dot Circles in two shades of yellow ink. I off centered the stencil for the second color to create a random background.

Next I stamped my daffodils and colored them in with alcohol markers. I used the coordinating die to cut them out. I also stamped my sentiment on a green cardstock and embossed it with white embossing powder. Using the coordinating die for "hello," I cut the sentiment out as well as the Sentiment Strips for layering my "miss you lots" sentiment.

I adhered the rectangle to a white card base in the center and then popped up my flowers and sentiments to the card. For a few final touches, I added a few Mint Shimmer Sequins. I love the subtle shine they add to the card! Make sure to click the photo down below to head over to Instagram to hop along with us (there's prizes!) or click the photo on the right to head over and get to shopping.

PIN THIS
SUPPLY LIST

Read More

Shaped Easter Card - New Release from Trinity Stamps!

It's a new release day from Trinity Stamps! We're celebrating with an Instagram and YouTube hop where you can see lots of amazing inspiration and have a chance to win some gift card money. I hope you'll join us and see the adorable new items for Spring and the Easter holiday. I have a video down below where I walk through my shaped mini slimline card, but make sure to click to watch it on YouTube so you get the hop details.

I started with cutting my card base from a pale pink cardstock and added some inky details with a circle stencil. I stamped my cute rabbit and colored him in with Copic and Ohuhu Art Markers; there is a coordinating die set for the rabbits and sentiments! My sentiment is tamped in brown ink and a deeper pink cardstock. I put the image and sentiment on my card, but I knew it needed a little more. So I brought out some cute clay bits and added flowers around my images!

Let me know down below what your favorite new product is from the release! I just love this die set to make mini slimline squishy bunny cards!

VIDEO TUTORIAL


PIN THIS
SUPPLY LIST

Read More

Floral Cards with Spellbinders February 2024 Clubs

Sunday, February 11, 2024

I received more of my February Clubs in the mail this week! I didn't get my stencil yet, but I wanted to get out all of the different mediums. I didn't really combine too many of the clubs together, but I have four cards to share with you. First is my BetterPress card (you can see another one here) that I impressed with a brown ink and colored my images in with Distress Watercolor Pencils. I used the coordinating die for the hummingbird and added a few spots of Pops of Color.

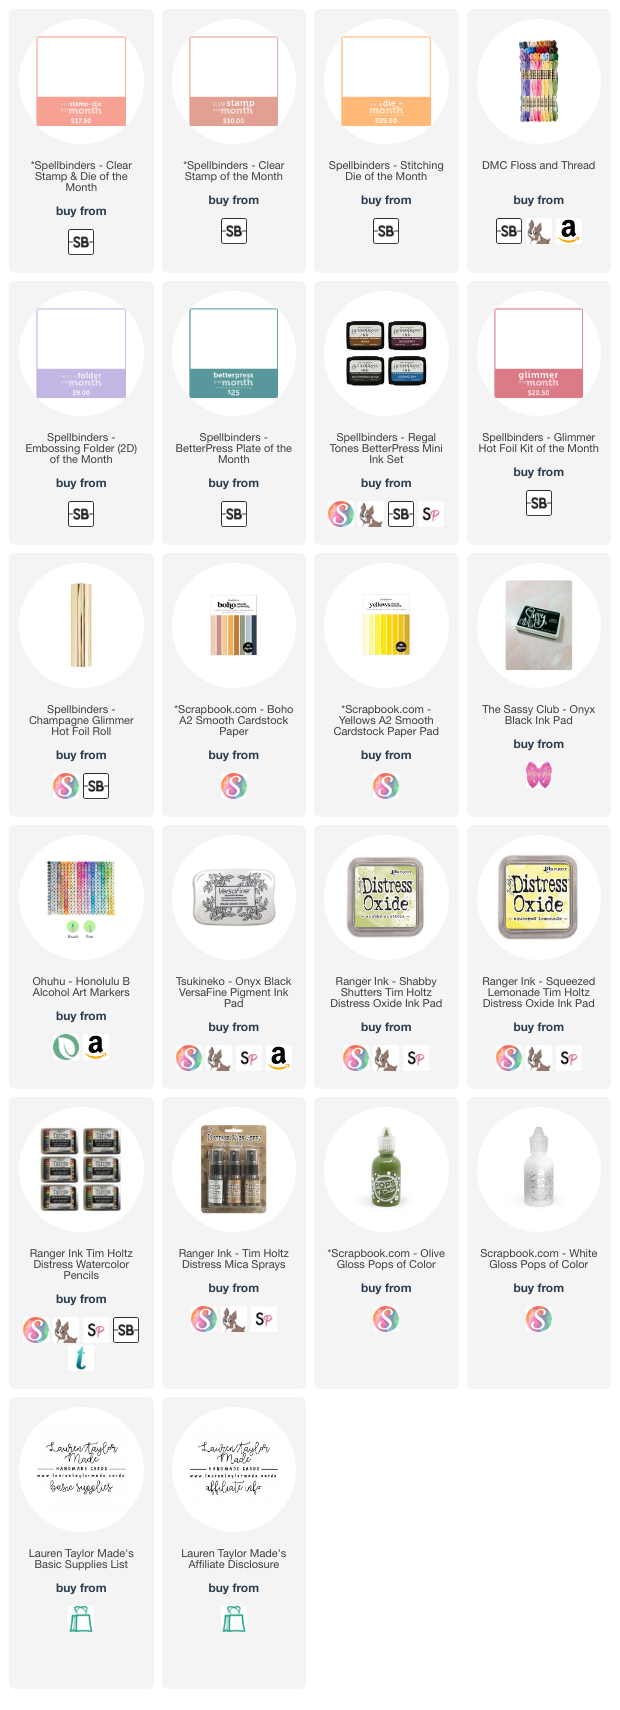
My hot foiled card is actually pretty quick and easy! I used the Champagne foil I received with my plates and added Distress Oxides along the bottom half of the paper. I splattered on some mica spray that I thought matched the hot foil and popped up my sentiment. After I moved on to my Stitching Dies and thought I would do a white on white look with colored floss. I think it turned out so cool and I just love the bold colors on white!

My last card uses two Clubs together - the Clear Stamp & Die Set and the Embossing Folder. I stamped and colored my image with alcohol markers. I embossed the folder on white cardstock and it's peeking out through the die cut floral image! I just love the subtle background behind the bold flowers. I used a light yellowish green cardsotck around the arched image and a few white pops of colors to add a few final touches.

Which Club is your favorite this month? It's hard to narrow down but I think I really enjoyed the Stitching Die the most this month! Let me know yours in the comments!

PIN THIS
SUPPLY LIST

Read More

Be Mine Valentine's Day Shaker Card with This Calls for Confetti

Saturday, February 10, 2024

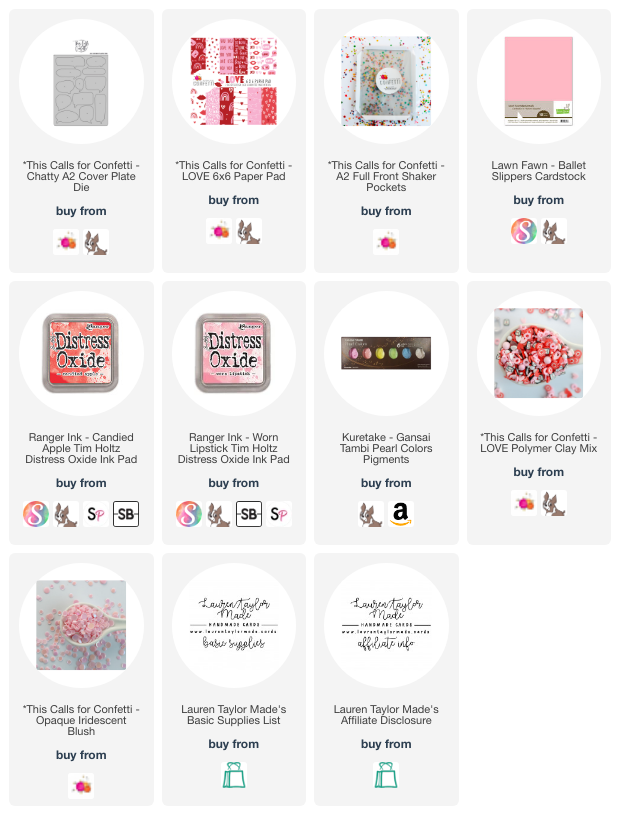
Did you see my last Valentine's Day card with This Calls for Confetti? I am using the speech bubbles that were the negatives of my Chatty A2 Die for the first card to make the background of today's shaker card. Check out the video on the post to see how I made the ink blended background while today's video shows how I made my background of the full panel shaker.

I made my own mix of shaker bits with the LOVE Polymer Clay Mix and Blush Opaque Iridescent Confetti. I thought they matched best with the colors of my card. Which card do you like best out of the two? I think they're both great but I think I might like this one more. I used a sentiment from a digital sentiment set from TCFC that comes with the Chatty A2 Die!

VIDEO TUTORIAL


PIN THIS
SUPPLY LIST

Read More

Donut Party Walrus Shaped Card with Trinity Stamps

Friday, February 9, 2024

I love when I can mix products from a company from a new release with an older release! Trinity Stamps has an amazing die set that makes the cutest circle cards and I wanted to make a donut to be partnered with the donut loving walrus from last year. I started with coloring my walrus with alcohol markers and I cut it out with its coordinating die. The sentiment for my card is from the same set and also has a die! I just love when my sentiments can be die cut, too.

You can following along in my short video (linked down below) of how I die cut my donut card base, stamped and embossed my frosting drizzle, added sprinkles and my stamped image and sentiment. What kind of donut is your go to? I know I made a very pink donut, but I'm a chocolate bar girl all the way!

VIDEO TUTORIAL


PIN THIS
SUPPLY LIST

Read More

Happy Birthday, Pretty Pink Posh! Celebration Blog Hop

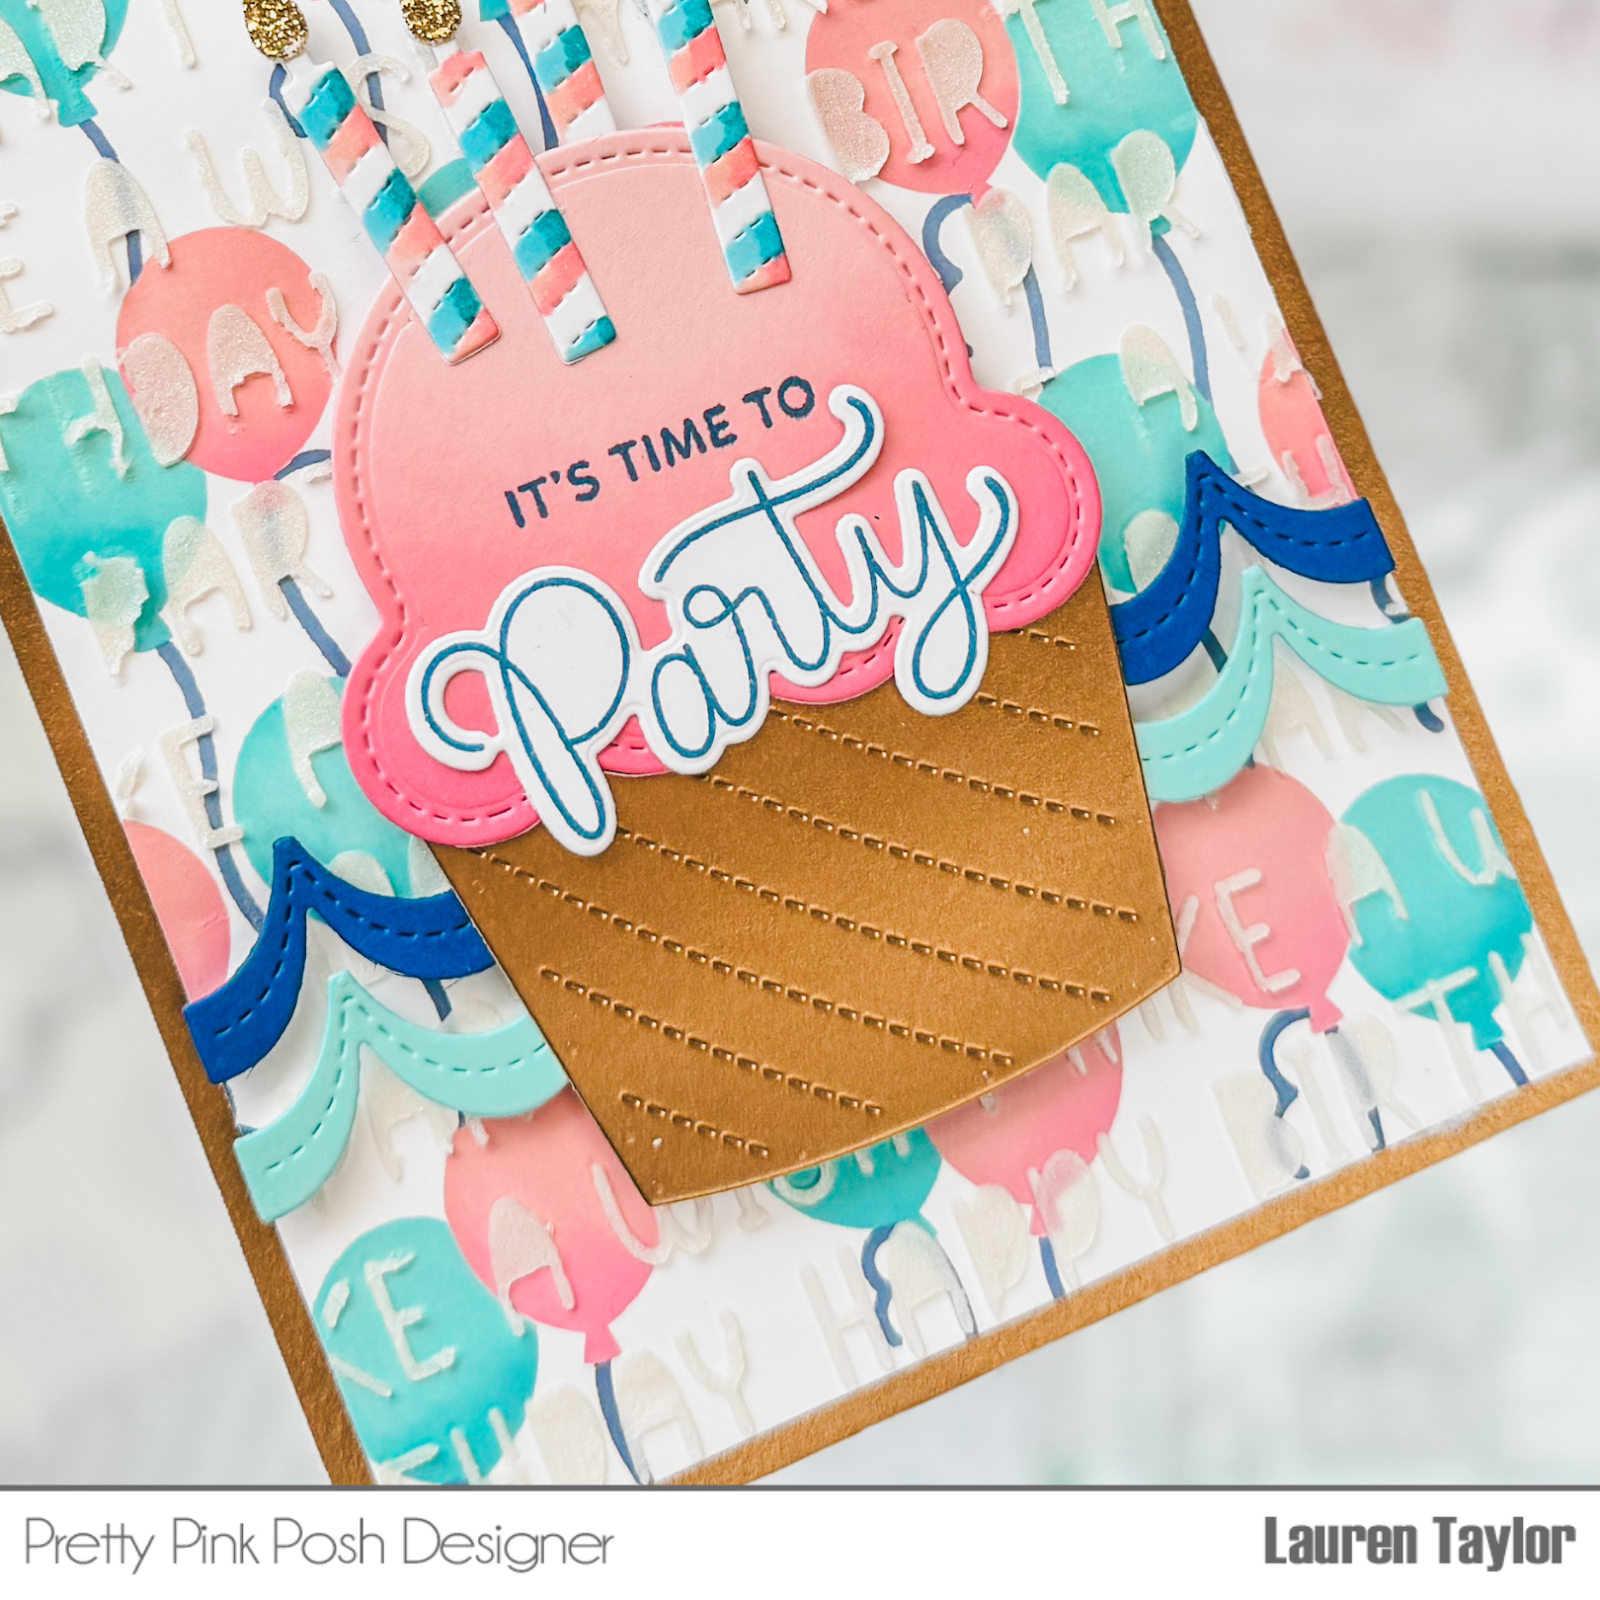
I am so excited to be celebrating Pretty Pink Posh's birthday release today! I'm so excited to be a part of the 10th birthday celebration (my kiddo just celebrated her 10th birthday so it's so fitting)! There are so many amazing new things - stamp sets, dies, interactive dies, hot foil plates, embellishments... I just love all the celebratory products. My card today is even inspired by the Pretty Pink Posh logo!

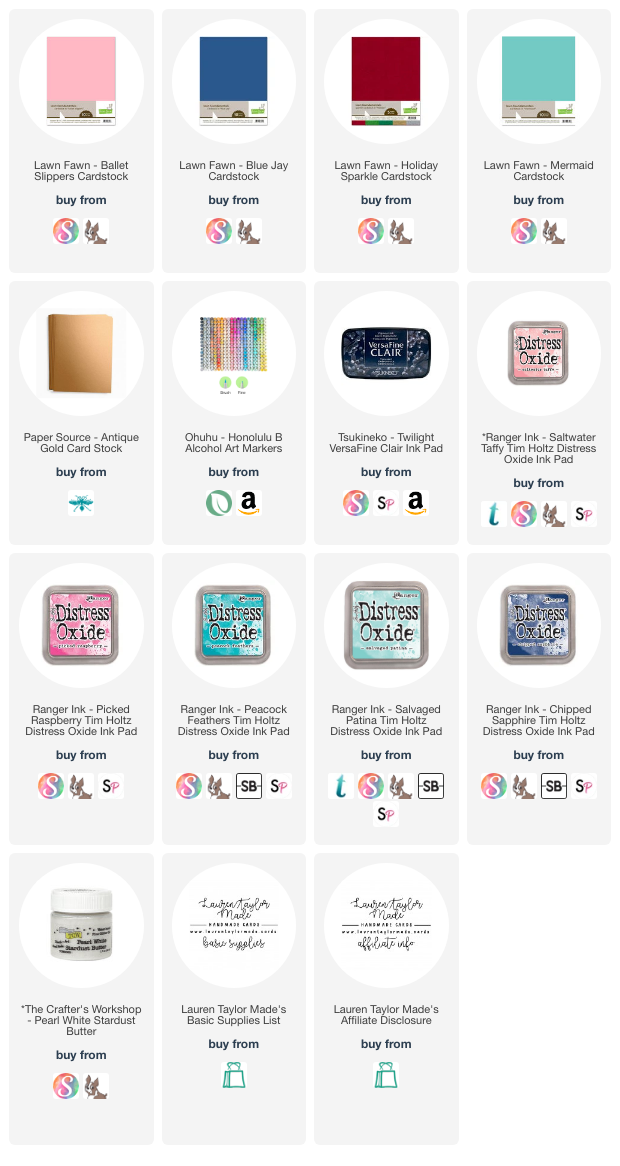
My background has layered stencils - I used Distress Oxides with the Layered Balloons Stencils and Stencil Paste with the Birthday Words Stencil. My cupcake uses some of the new dies - I have the cupcake from Big Birthday Cupcake and candles and banners from Interactive Cake. Finally, the sentiment is from Party Time and I used the coordinating die for "Party." I can't wait to see how other creators used the new release and I'd love to know what your favorite new product is from the release!

Make sure to check out the rest of the Product Release Blog Hop for more inspiration using the new products from Pretty Pink Posh! There are five (5) $30 gift certificates up for grabs (one winner each day). Winners will be picked randomly along the blog hop. Comments must be left by 11:59 PM PST on 2/16/2024. Winners will be announced on the PPP blog!

BLOG HOP DAY 3 LINEUP

Pretty Pink Posh blog

Laura Bassen

Carissa Wiley

Raquel Arribas

Lauren Taylor (here now!)

Sindhu Prajay

Dana Kirby

PIN THIS
SUPPLY LIST

Read More

Birthday Wreath Card with Pretty Pink Posh

Thursday, February 8, 2024

Are you loving the new release from Pretty Pink Posh?! I was so excited to make a sneak peek project for this last release and I couldn’t figure out the color scheme I wanted to use to stencil the Layered Birthday Wreath Stencils, so I just used all of them! For all three layers of the stencil, I used pinks, oranges, yellow, greens and blues of Distress Oxides.

I used small brushes for the tinier details and masked when I needed to to get all the details colored in. I really could not bear to cut any part of this stenciled wreath away, so I made a big card! My card base measures 5-1/2x5-1/2” and I used a 1/4" corner rounder. I layered on a piece of blue cardstock with the same dimensions, before adding my stenciled panel. I trimmed it down to 5-1/4x5-1/4" and used the same corner rounder.

Using coordinating colored cardstock, I cut out Birthday Candles and layered them together onto the card with foam adhesive. I also hot foiled the Happy Birthday Hot Foil Plates with gold foil and used the coordinating Happy Birthday Shadow Dies to cut the sentiment out. The sentiment was also popped up with foam adhesive under the candles.

I recreated this card in an A2 size with dye based inks for Scrapbook.com; did you see my video over on their YouTube channel? If not, watch it here and leave me some love in a comment! I have a short little video sharing my stenciling in case you're curious of how I did my masking and layering down below.

VIDEO TUTORIAL


PIN THIS
SUPPLY LIST

Read More