A Sweet & Spooky Birthday Bouquet with Scrapbook.com

Wednesday, October 8, 2025

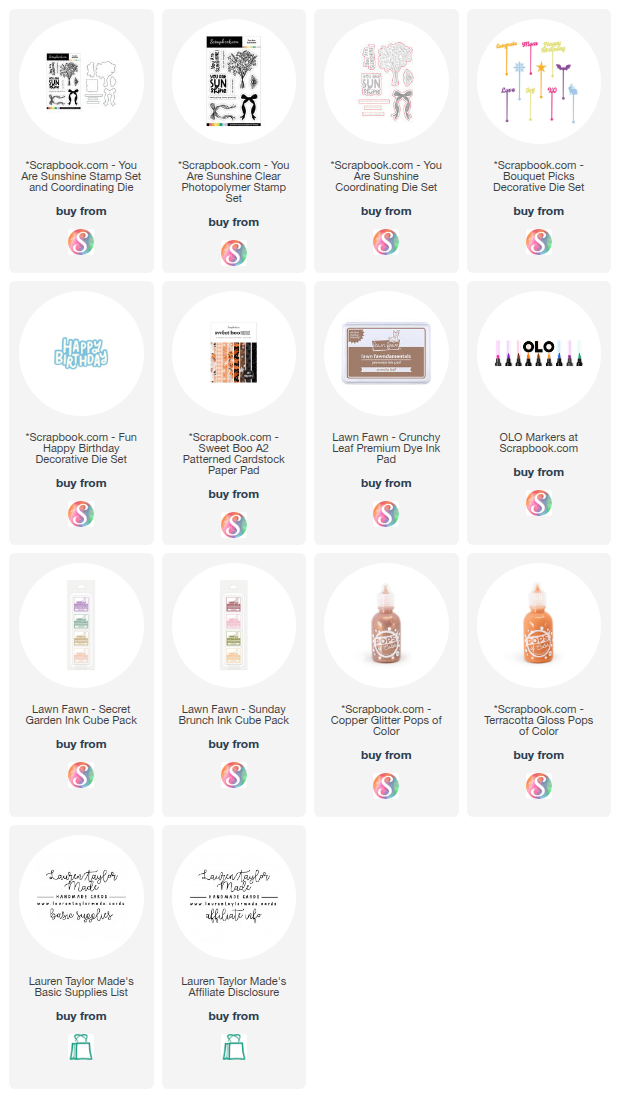
I’m mixing sweet florals with spooky vibes in today’s card featuring exclusive products from Scrapbook.com! I started with patterned papers from the Sweet Boo paper pad and used them to die cut a bat bouquet pick and a “happy birthday” sentiment. From the leftover patterned pieces, I layered up my background—first a black polka dot panel covering the A2 card base, then a peach panel slightly larger than 3¾" x 5", and finally a floral panel trimmed to 3¾" x 5". I glued the floral and peach layers together, popped them up on foam adhesive for dimension, and adhered everything to the card base.

For the focal point, I stamped the bouquet and bow from the You Are Sunshine stamp set. I used a brown alcohol marker–friendly ink for the bouquet and colored it in with OLO markers. The bow was stamped in two shades of pink from Lawn Fawn and fussy cut—since I didn’t have the coordinating die set on hand! I glued the bow onto the bouquet and tucked the bat bouquet pick behind it for a fun Halloween mix. The sentiment was layered onto its shadow and popped up alongside the bouquet. To finish it off, I added Copper Pops of Color along the bottom half of the “happy birthday” letters and scattered Terracotta Pops of Color around the card for extra sparkle and glossy shine.

PIN THIS
SUPPLY LIST

Read More

A Pink Twist on Halloween with Cardstock Warehouse

Tuesday, October 7, 2025

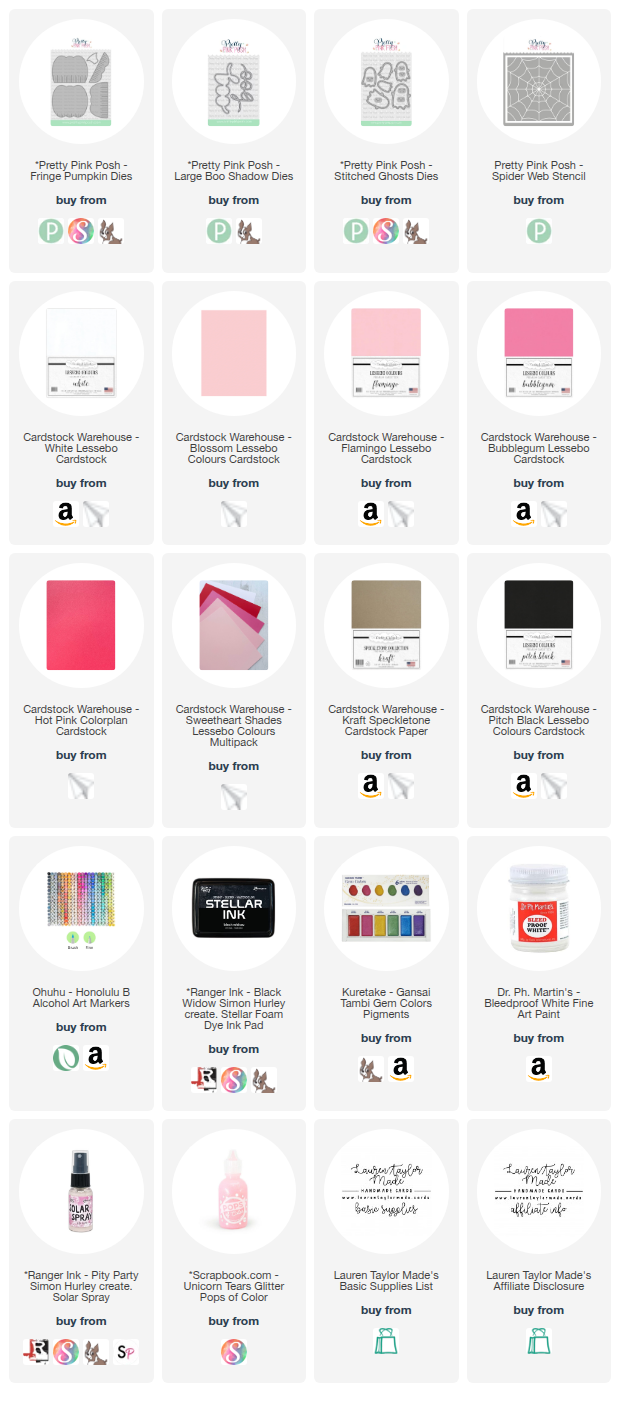
I thought it would be fun to shake things up this Halloween season and make an ombre pink pumpkin card! I die cut my pumpkin using the Fringed Pumpkin Die from Pretty Pink Posh with Blossom, Flamingo, Bubble Gum, and Hot Pink Cardstock Warehouse papers. For the stem, I used Kraft, then layered the pieces together and splattered on pink shimmer watercolor and white paint for extra detail. My sentiment was made by stacking three die cuts of “boo” from Pitch Black cardstock, and I created two little ghosts from White cardstock with their faces cut from Pitch Black. To finish them off, I added rosy cheeks with a pink marker.

For the background, I cut a panel of White cardstock to 4" x 5 1/4" and stenciled on a spiderweb with black ink. I sprayed on some Solar Spray for a subtle sparkle, then attached the panel to a top-folding A2 card base. I layered on my pumpkin, ghosts, and sentiment, and added some glittery embellishment details around the pumpkin to bring the whole design together. I love how the nontraditional pinks make this Halloween card both spooky and sweet!

PIN THIS
SUPPLY LIST

Read More

Fun Fold Dreamy Scene with the October 2025 SheetLoad of Cards

Thursday, October 2, 2025

It’s the second of the month, which means it’s time for the October 2025 SheetLoad of Cards hop with the creative team. If you’re new to SheetLoad, make sure to head over to Call Me Crafty Al’s channel to see her video and grab your copy of this month’s sketch. I always love seeing how everyone puts their own spin on the design, and I couldn’t wait to play along.

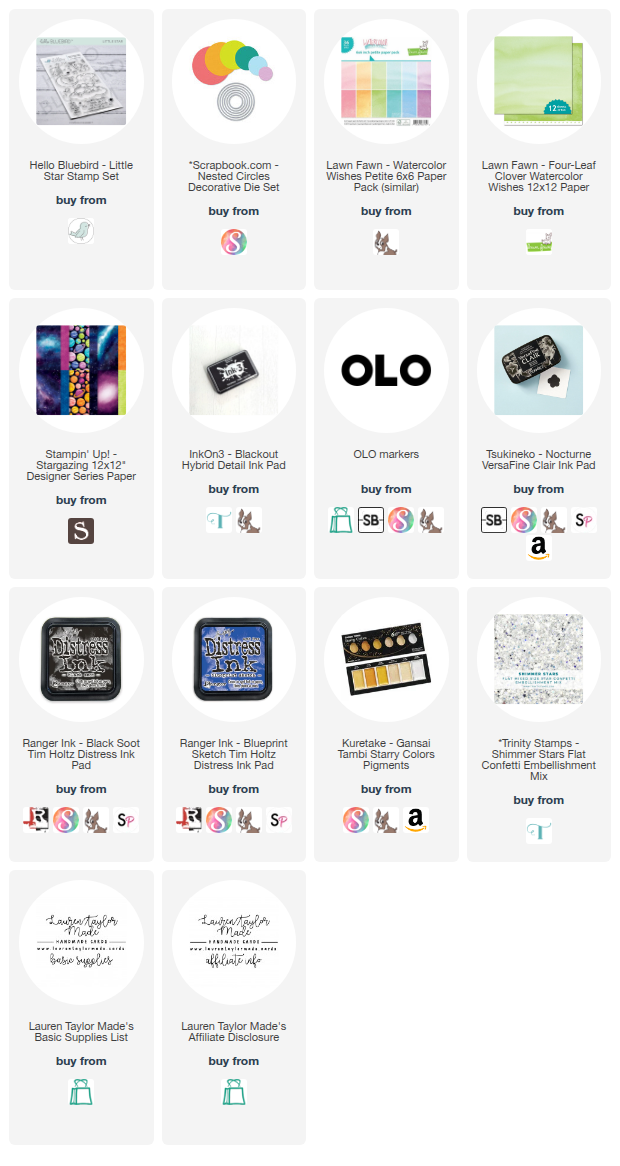
For my take, I created the fun fold card base that really lets the patterned paper shine. I used a galaxy print for the center panel and paired it with green watercolor cardstock on the sides. The fold itself is simple but creates such a striking front panel where I added my stamped and colored images. I followed the sketch inspiration but shifted things slightly to build a little night-sky scene with a moon, critters on a cloud, and an adorable bluebird.

To finish things off, I splattered my panels with Distress Ink and added gold watercolor for some sparkle. I made one baby card version with a sweet “Welcome Little One” sentiment and kept the rest more versatile so they can work for encouragement, hello, or just because. You can see the full process in my video below, plus a look at the whole set once they were all finished.

VIDEO TUTORIAL


PIN THIS
SUPPLY LIST

Read More

A Glittery Wreath for Trinity Stamps’ Holiday Release

Tuesday, September 30, 2025

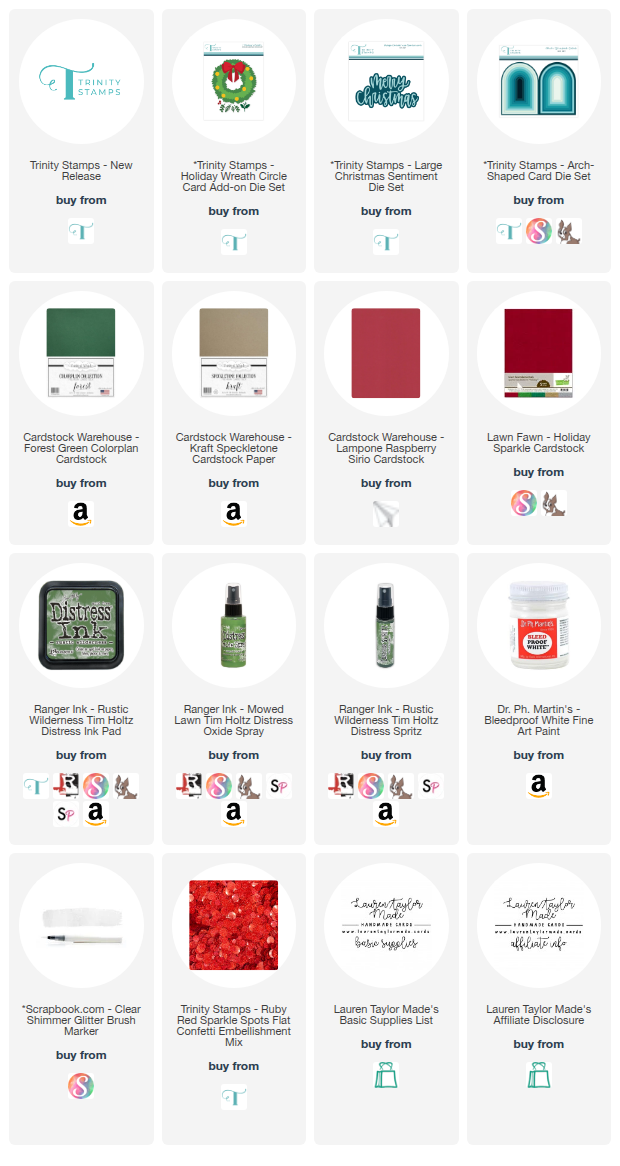
I’m so excited you’re here because Trinity Stamps has officially released their Holiday 2025 collection! For today’s project, I’m sharing a festive wreath card I created with the brand new Holiday Wreath Circle Card Add-On die set and the Large Christmas Sentiment die. These are gorgeous dies that pair beautifully together, and I couldn’t wait to play with them. I had so much fun inking, splattering, and layering to bring my wreath to life. I kept to a traditional red-and-green palette but added in plenty of shimmer, shine, and sparkle for that holiday magic.

If you’d like to see the full process, I’ve got a process video embedded below where I walk through exactly how I put this card together. The main steps include inking and splattering the wreath layers, adding a big glittery bow, and finishing with a bold die cut sentiment. I popped everything up on an arched card base to make it look like a wreath hanging on a door, and added Trinity’s Sparkle Spots for the perfect finishing touch. Scroll down to watch the video and check out the full supply list if you want to recreate this design for your own holiday crafting!

VIDEO TUTORIAL


PIN THIS
SUPPLY LIST

Read More

Spooky Splatter Halloween Card with Tim Holtz

Monday, September 29, 2025

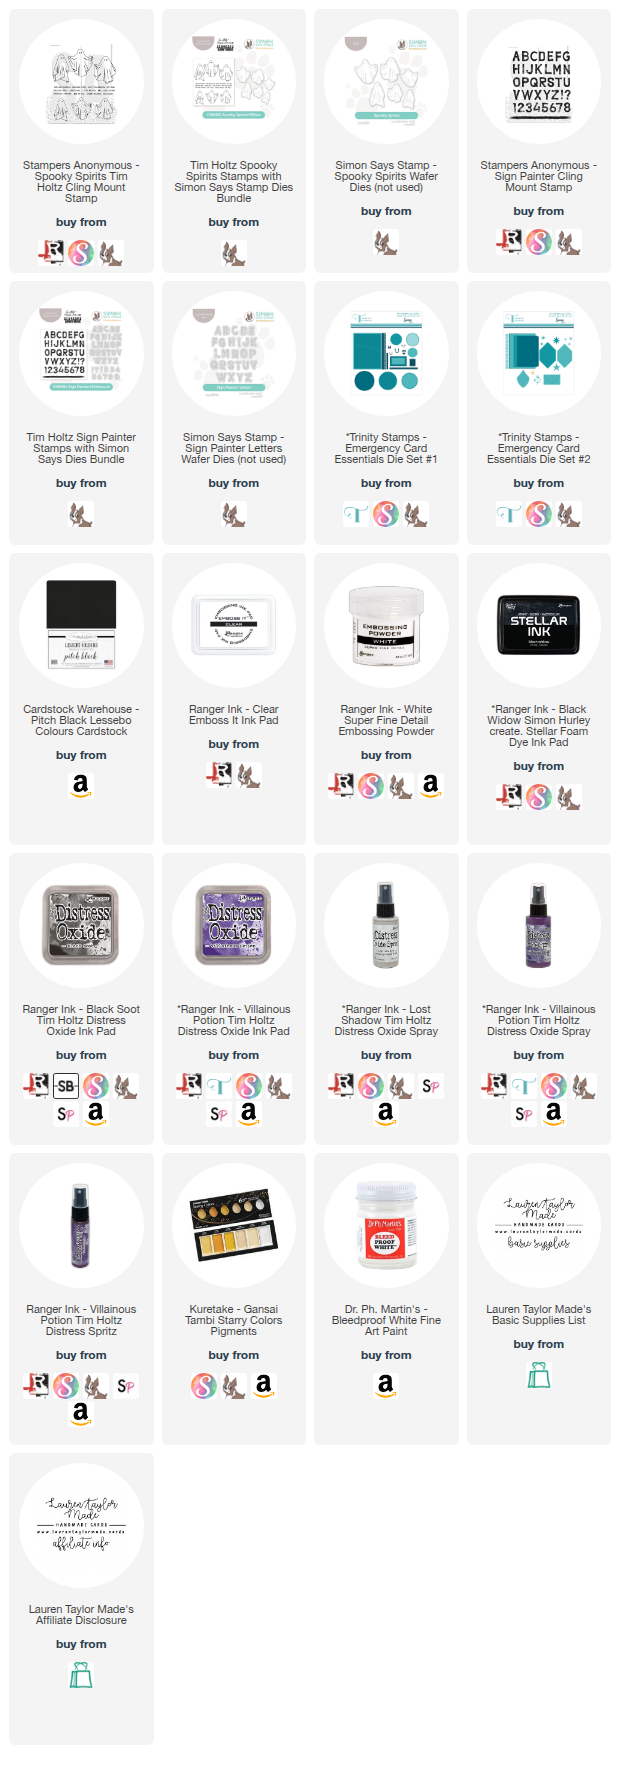
Thanks for joining me in my craft room for today’s Halloween card. I’m sharing this a day early because of a special release tomorrow, but I didn't want to miss sharing a spooky project. For this card, I created a bold and splattered background using Distress Oxides, Sprays, Spritz, and watercolors—all layered together for a moody purple and black backdrop that shines when it hits the light.

Once my background was dry, I stamped and heat-embossed some ghostly images and sentiments, then fussy cut them before layering everything onto a die cut panel of black cardstock from Cardstock Warehouse. Foam adhesive helped give my ghost and “BOO” sentiment a little extra dimension, and I finished it off with a top-folding A2 card base. You can see all the inky splatter details in my video tutorial below!

VIDEO TUTORIAL


PIN THIS
SUPPLY LIST

Read More

Emergency Card Kit Fun: Here for the Boos

Sunday, September 28, 2025

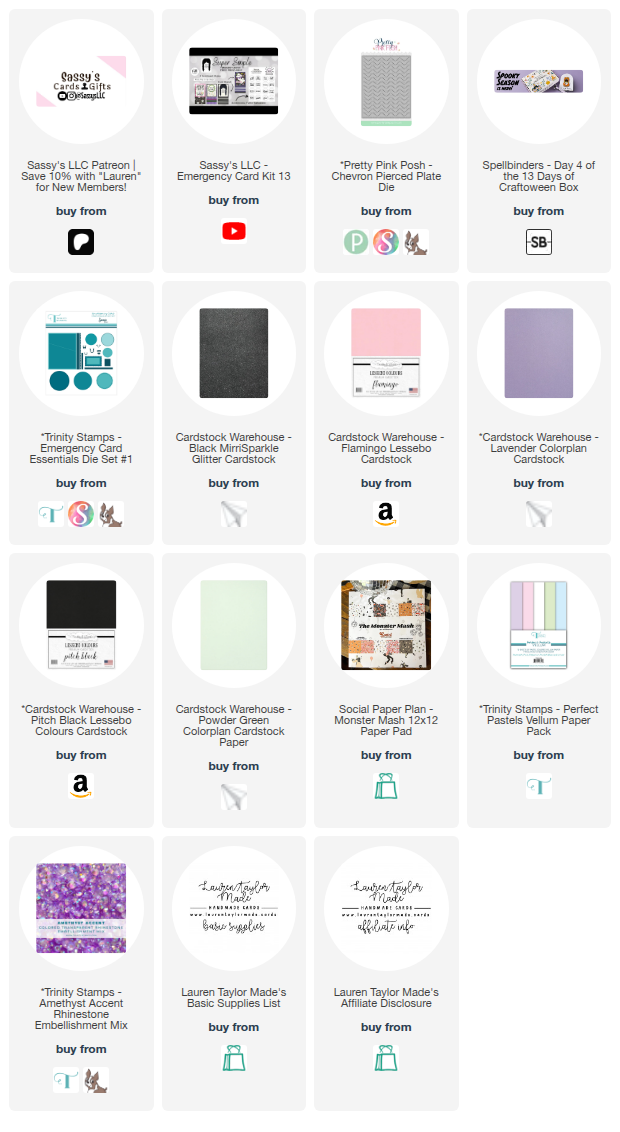
Today I’m sharing a playful Halloween card I created using one of the printables from Sassy’s LLC Emergency Card Kit 13. I started by die cutting the Chevron Pierced Plate die from Pretty Pink Posh out of black cardstock and attaching it to my A2 card base. For the panel, I layered lavender cardstock with black sparkle strips topped with Monster Mash patterned paper from Social Paper Plan. I did my best to line everything up evenly before attaching the panel to the front of my card base.

To finish the design, I brought in a mix of fun die cuts. I used the Trinity Stamps Emergency Card Essentials set to cut a scalloped border and a stitched circle, then layered on a sweet little ghost from Spellbinders’ Craftoween box (with a pink pearlescent vellum shadow for extra shine!). I printed the “I’m here for the boos!” sentiment from the Emergency Card Kit, punched it into a circle, and placed it in the center of my green die cut. Everything got layered together, and I finished it off with a few amethyst rhinestones for a little sparkle. This card was such a blast to make—and it’s the perfect mix of spooky and sassy!

PIN THIS
SUPPLY LIST

Read More

Sassy Saturday: Nuts About You Box Card

Saturday, September 27, 2025

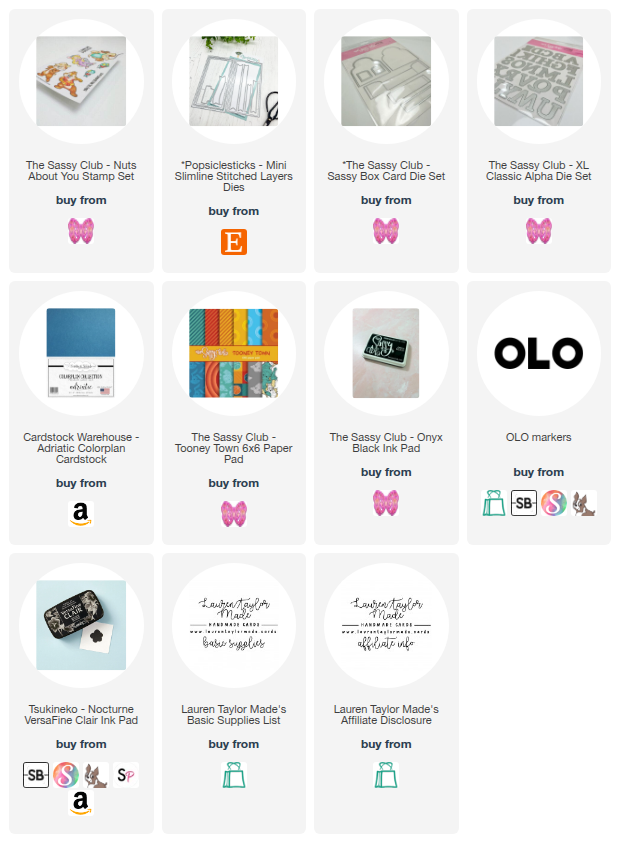
Hi friends, it’s Lauren! Welcome back to another Sassy Saturday here on the blog. Today I’m sharing a fun box card I created with The Sassy Club’s Nuts About You stamp set and their Sassy Box Card die. I started by stamping my characters in Onyx Black ink and coloring them with OLO markers before fussy cutting them out. For the box itself, I die cut the base from dark blue cardstock and layered in the stitched panels with a bold red-and-yellow striped pattern from the Tooney Town paper pad. After assembling the box, I added my characters so they look like they’re springing right into action.

To finish things off, I die cut two “R” letters with the XL Classic Alpha dies and popped them up on the back with thin foam adhesive. On the front, I stamped the sentiment “You’re my favorite nut” on a banner cut from the Mini Slimline Stitched Layers dies and attached it front and center. For the back, I added a white stitched panel stamped with the sentiment “I’ll always come to your rescue.” I love how this little box card turned out—it totally gives me nostalgic vibes of a team always ready to swoop in and save the day.

PIN THIS
SUPPLY LIST

Read More