Get ready for liftoff, crafty friends! I'm thrilled to share a peek at my latest card creation featuring the super fun new space-themed release from Trinity Stamps, including the adorable "We've Come For Cake" stamp set and the mesmerizing Starfield Letterpress Die. This release is truly stellar, and I couldn't wait to create a birthday scene with little aliens beaming up a cake! To see exactly how this card came together, and to join in on a fantastic release hop with tons of inspiring projects from other creators (plus a chance to win!), make sure you head over to my YouTube video linked below.
In the video, you'll see how I used the cute stamped, colored, and die-cut alien images and then used the Starfield Letterpress Die with shimmering Prism foil for a cosmic background. I also crafted a translucent beam of light using vellum and the coordinating dies. The scene was then assembled on an A2 card base, adding dimension with foam adhesive, and finished with the punny sentiments, "We've come for the cake" on the front and "This is an close encounter of the getting older kind" inside. Don't miss the hop playlist and supply list in my video description for even more inspiration and your chance to win! Plus, check out Instagram for more out-of-this-world projects from the Trinity Stamps team. Happy hopping!
Hello, crafty friends! Welcome back to my "Christmas on the 25th" series, where I bring you a touch of holiday cheer every month, even in April! I'm so excited to share this festive handmade gift card holder with you. Make sure you watch the video below to see all the steps in action! I'm especially thrilled because this project features products from a wonderful new-to-me company, Emily Moore Designs. I had the pleasure of meeting Emily at Creativation, and she generously gifted me some of her beautiful dies and stencils.
In today's video, I'm focusing on the ingenious Ornament Gift Card die set and the charming oval die from the Doily Shaker dies. My vision was to create a gift card holder that's not only functional but also a keepsake – something that can be reused or even hung on the Christmas tree as an ornament! I started by die-cutting the ornament base from patterned paper and white cardstock, layering them for stability, being careful to leave the gift card slot notches unglued.
For a touch of elegance, I added a sparkly champagne gold ornament topper. Then, using the scalloped oval die, I created a space for a stamped "Merry Christmas" sentiment. To complete the look, I even crafted my own metallic-looking charms using white cardstock and Simon Hurley's Lunar Paste – a fantastic technique Emily herself shared! This little ornament gift card holder truly elevates the act of giving, adding a personal and handmade touch to your presents. Don't forget to check my links below for a special discount code from Emily Moore Designs – you won't want to miss it!
Oh my crafting friends, prepare to be utterly delighted! The latest release from Miss Ink Stamps has landed, and let me tell you, it's out of this world! I couldn't wait to dive in and create something truly special, and the result is this super fun, tech-inspired card that's buzzing with personality. Think whirring gears, cute little chirps, and a whole lot of charm packed into one little handmade greeting.
To create this card, I started by bringing a metallic friend to life using the new Robot Head Stencil. Layering Distress Inks in shades of grey and vibrant blue created a fantastic dimensional base. Then, for some extra texture and shine, I incorporated the Bee Sting Lunar Paste and the cool Frostbite Astro Paste through different layers of the stencil. Once dry, I fussy cut this central element.
For the background, the Magic Stars Stencil and Silver Lining Astro Paste on black cardstock gave it a celestial feel. I die cut a couple of quirky Space Icons and added a touch of inky shading for depth. The "Beep Boop" sentiment was created using the Need Input Stencil and alphabet dies, adding a playful touch with a layered, shadowed effect. Finally, I assembled everything onto a card base, popping up the robot head for dimension and adding the icons as fun accents. Trust me, this new release is bursting with creative possibilities – you absolutely need to get your hands on it!
Oh, hello there, my dears! Welcome back to my humble abode... I mean, my craft room! It is I, your favorite paper-obsessed influencer, Lauren Taylor, here for another thrilling installment of Fandom Friday! And wouldn't you just know it, the magnificent folks over at Kindred Stamps have just unleashed a new release, and this one has me positively batty! I am, of course, talking about the Immortals stamp set! Just look at these delightfully spooky images and wickedly fun sentiments!
In today's YouTube video, which you absolutely must sink your teeth into (link below!), I'm showcasing one of the three cards I've conjured up using this incredible set. For this particular creation, I've brought to life my absolute favorite duo from this shadowy realm – the charmingly ancient husband and wife. You'll see in the video how I used the celestial stencil with some black cardstock and lunar paste to create a dreamy read background. Then, I layered on a die-cut graveyard scene and a spiderweb for an extra touch of eerie elegance. These two delightful immortals take center stage, popped up with foam adhesive for dimension, and the sentiment "our love is immortal" is heat-embossed in white for a striking contrast. It's a card that truly captures their timeless and slightly dramatic romance!
But fear not, my curious crafters, for I wouldn't leave you hanging in the darkness! For the second card, featuring the rather traditional vampire and his… familiar, I started by adhering a purple panel to my card base. Then, I distressed a die-cut green stitched circle with Twisted Citron and Seedless Preserves Distress Oxides, adding a splatter of Twisted Citron Distress Spray for good measure. After gluing this to the card, I stamped a sentiment in purple ink on a green die-cut strip and popped both the sentiment and the two characters onto the card with foam adhesive, finishing it off with some bewitching purple enamel dots.
Finally, for the third card, I embraced the more… unconventional vampire. I used a brown checkered patterned paper as my base and layered a blue striped piece with a circle cut out. A stitched circle frame highlighted the opening, and a halo light was cleverly placed behind it to give our glowing-eyed friend a bit of extra oomph. This panel was popped up with foam tape, the final vampire was added, and the word "push" was stamped near the light's activation. The sentiment "I love your energy" was embossed in white on kraft paper to complete this electrifying design. So, grab your craft supplies, embrace the night, and let's get creating with these immortal stamps! Don't forget to watch the video for the full tutorial on the first card, and happy crafting!
Hello fellow paper crafting dreamers! Today, I'm bursting with creative energy after playing with the absolutely enchanting new release from Miss Ink Stamps! Inspired by a certain whimsical purple friend who encourages us all to let our imaginations soar, I crafted a card that's just brimming with possibility. I started by bringing the adorable characters from the "Imagine a Dragon" set to life with vibrant alcohol marker colors, then used the coordinating dies to cut them out. For the background, I reached for a light blue cardstock and the "Alice Background Stencil", creating a delightful hexagon pattern using Tumbled Glass Distress Ink applied with a blending brush and a bit of masking tape. A touch of distressed mica spray added a magical shimmer before I set it aside to dry.
Next, I grounded my fantastical scene by stenciling the "Perspective Floor Stencil" onto kraft cardstock using Tea Dye Distress Ink. Once the blue panel was dry, I adhered this "ground" and trimmed it to fit perfectly. Then came the fun part – arranging and popping up all those charming stamped images onto the card front! A little liquid adhesive secured most of them, but the light bulb, dragon, and the painted rainbow got extra dimension with foam adhesive, just like the "Set Your Imagination Free" sentiment stamped on lovely pastel lavender cardstock. Want to see all the colorful details and get step-by-step instructions? Be sure to watch my latest video tutorial for the full creative journey! Trust me, this new Miss Ink Stamps release is pure magic, and you won't want to miss it!
Today I'm sharing a cheerful Spring or Easter-themed card featuring a delightful mix of Pretty Pink Posh products. I used the new Easter Greetings Stamp Set and Coordinating Dies alongside the adorable Bunny Friends Stamp Set and Coordinating Dies, Easter Basket Dies, and Eyelet Rectangle Dies. To add a touch of spring floral details, I incorporated the Springtime Borders Stencils. I began by die-cutting my Easter basket and creating a pastel stenciled background using Distress Inks in soft, springy hues.
The layering stencils were key to creating the charming floral and carrot border. I used Spun Sugar, Shaded Lilac, Dried Marigold, Squeezed Lemonade, and Shabby Shutters Distress Inks to bring the designs to life.
I then assembled my Easter basket with patterned paper accents. The Bunny Friends were stamped, colored with alcohol markers, and paper-pieced with pastel patterned paper for their eggs, adding a fun touch to mix in coloring and patterned paper. After arranging the bunnies and basket, I stamped "Happy Spring" from the Easter Greetings set onto lilac cardstock. I then adhered all the elements to an A2 card base, using a mix of foam and liquid adhesive for dimension. To finish, I added Rainbow Shimmer Confetti sequins for a touch of sparkle. I'm absolutely delighted with how this card turned out and how well all the Pretty Pink Posh products work together! Be sure to watch the YouTube video below for a detailed step-by-step tutorial. Happy crafting!
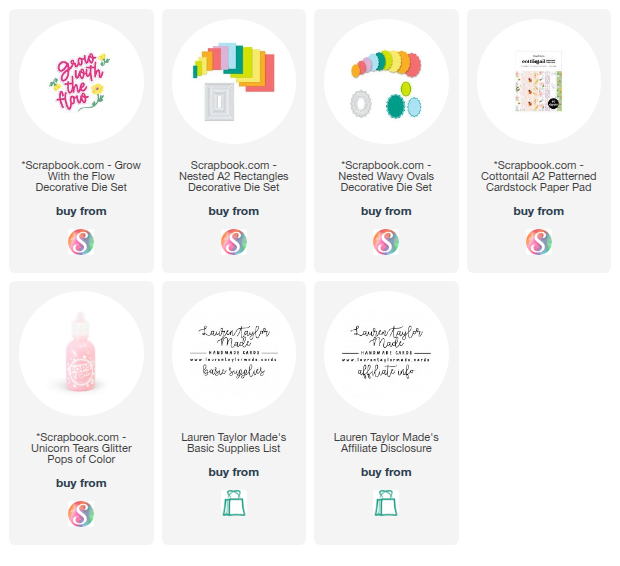
Hello, my creative friends! Spring is in the air, and what better way to celebrate than with a brand new handmade card bursting with floral charm? Today, I'm thrilled to showcase a project made with the oh-so-lovely Scrapbook.com Exclusive Cottontail A2 Paper Pad and the incredibly useful Nested Wavy Oval Dies. The whimsical rabbit pattern from the Cottontail pad became my delightful starting point. I cut it out using the second largest A2 nested rectangle die and adhered it to the center of an A2 card base.
To build upon this sweet foundation, I reached for more gorgeous patterns from the same Cottontail pad. I die-cut a charming gingham, pretty floral, and a lovely green pattern using three of the Nested Wavy Oval dies. Then, with a fourth oval, I created a frame from the green paper. I layered the frame onto the floral oval, then on top of the gingham one, adding dimension with foam adhesive, and then adhered the entire piece to the center of the card base.
For a final touch of magic, I used the "Grow With The Flow" decorative die and some more patterned paper to create a layered sentiment and delicate floral accents. A few strategically placed pastel pink drops of the Unicorn Tears Glitter Pops of Color added the perfect touch of spring sparkle. Trust me, these exclusive Scrapbook.com products are an absolute dream to work with and will infuse your projects with the joy of the season!
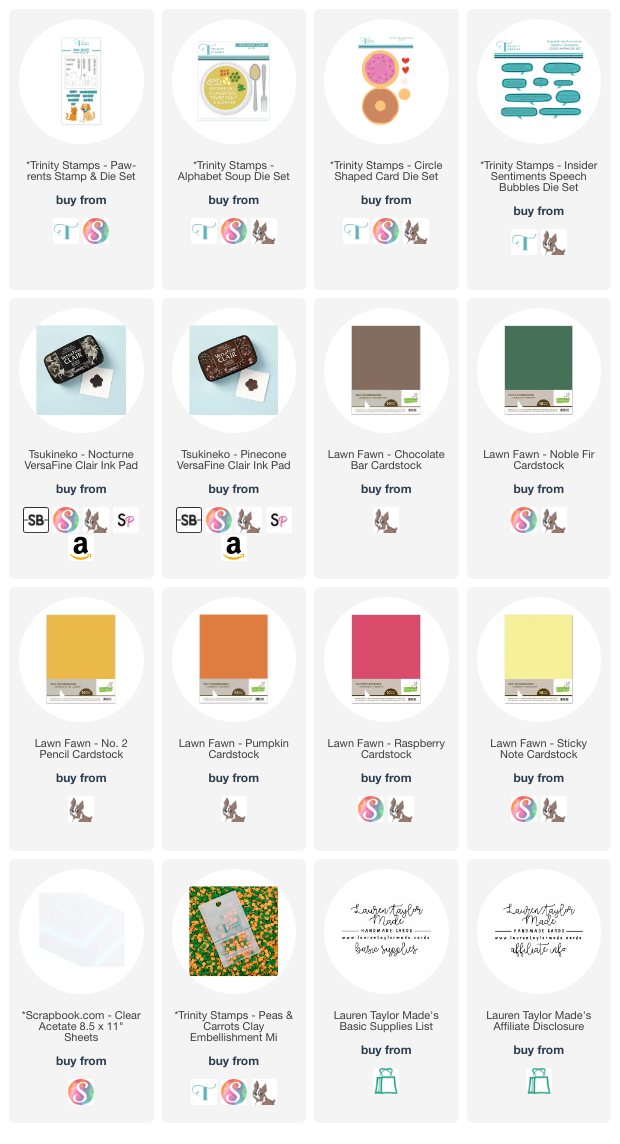
Hello crafty friends! Today I'm sharing a card inspired by one of my favorite children's books, "Martha Speaks"! Just like Martha loves to gobble up alphabet soup and gain the power of speech, this card features a fun, interactive shaker element that brings a playful touch to any occasion. I used a wonderful array of products from Trinity Stamps to bring this literary-inspired design to life.
To create this card, I started by die-cutting a bowl shape from green and red cardstock, as well as a piece of acetate, using the Alphabet Soup Die Set. I then die-cut the smaller circle from the center of the green bowl to create the opening for my shaker. After assembling the shaker with a mix of yellow die-cut letters from the same set and adorable Peas & Carrots Clay Embellishments, I adhered it to a circular card base cut using the Circle Shaped Card Die Set.
For a nod to Martha's talking abilities, I die-cut a speech bubble from red cardstock using the Insider Sentiments Speech Bubbles Die Set and spelled out "Martha Speaks" using individual letters. To complete the scene, I die-cut the cutest little dog from the Paw-rents Stamp & Die Set using yellow and brown cardstock, adding stamped details in brown and black inks, and a sweet red collar with a tiny yellow tag. Finally, I stamped the "you're the best" sentiment in black ink, die-cut it with its coordinating die, and adhered both the sentiments and the adorable dog to the card front. This card is sure to bring a smile to anyone's face, reminding them that just like Martha, they are truly the best!
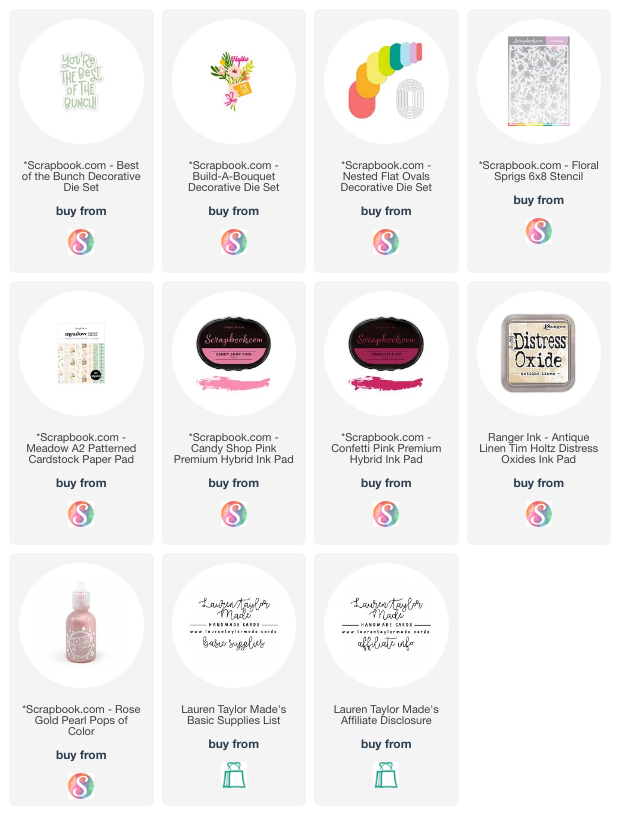
Get ready to create something truly special with the help of Scrapbook.com's incredible exclusive products! I recently crafted a stunningly formal yet sweetly pastel greeting card that I just have to share with you all. Starting with a soft A2 Meadow patterned paper as my base, the gentle hues immediately set a floral tone. To add dimension and a focal point, I used the Nested Flat Oval Decorative Dies to cut out two more coordinating patterned papers. The smaller oval became the perfect canvas for a delicate touch, which I achieved using the Floral Sprigs 6x8 Stencil and Antique Linen Distress Oxide ink for a subtle, vintage feel. Layering these two ovals with foam adhesive created beautiful depth that really draws the eye in.
The details truly elevate this card! I die-cut the charming sentiment, "Best of the Bunch," from more of the Meadow patterned paper, layering pink and green die-cuts to create a lovely drop shadow effect. For a touch of floral elegance, I used the Build-A-Bouquet Decorative Die Set with Candy Shop Pink and Confetti Pink ink pads to add subtle shading to the individual flower pieces before assembling a sweet little bouquet, tied off with a delicate paper bow. Arranging the sentiment and the bouquet onto the layered ovals and adhering them with liquid adhesive brought all the elements together beautifully. Finally, a scattering of Rose Gold Pearl Pops of Color added just the right amount of shine to complete this elegant pastel creation. Trust me, Scrapbook.com's exclusive range makes achieving this level of detail and coordination an absolute dream!
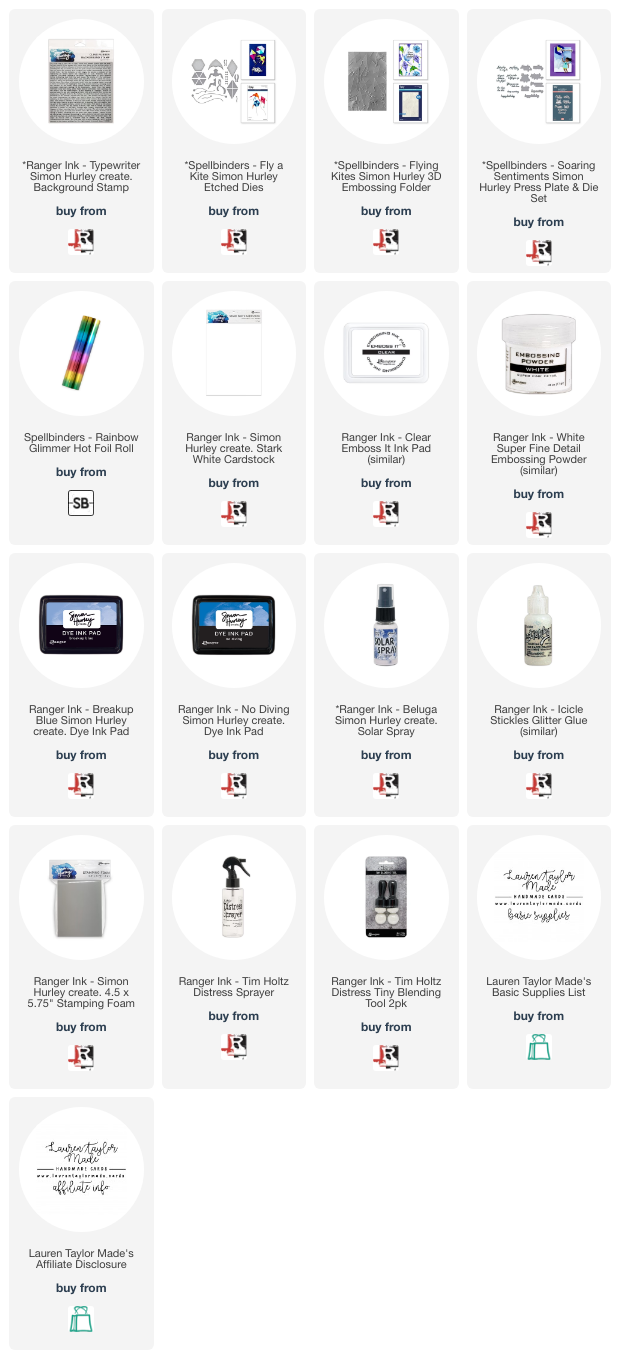
Hello fellow paper crafters! Today, I'm excited to share a card that truly captures the joy of a breezy day, all thanks to the incredible synergy of Simon Hurley create. and Ranger Ink products! Get ready to be inspired because this kite card is not only fun to make but also showcases some must-have supplies for your craft room. The magic starts by embossing a subtle "Typewriter" background for texture. Then, we'll dive into creating a stunning, blended background using Simon Hurley's vibrant "Break Up Blue" and "No Diving" inks applied to heated Stamping Foam pressed into the "Flying Kites" embossing folder – trust me, this technique creates a dreamy, watercolor-like effect! A spritz of water and Ranger's shimmering Beluga Solar Spray adds an extra touch of wonder.
To bring our scene to life, we'll die-cut a whimsical kite from colorful cardstock and assemble it. For a touch of elegance, we'll foil a sentiment with dazzling rainbow foil and cut it out with its coordinating die. These elements are then popped up on the textured background using foam adhesive for dimension. And because every card deserves a little sparkle, we'll finish it off with a touch of Ranger's Stickles for that perfect hint of shine. If you're looking to elevate your card making with innovative techniques and high-quality supplies, you absolutely need to explore the world of Simon Hurley create. and Ranger Ink – the possibilities are endless, and the results are always breathtaking!