A Glittery Wreath for Trinity Stamps’ Holiday Release

Tuesday, September 30, 2025

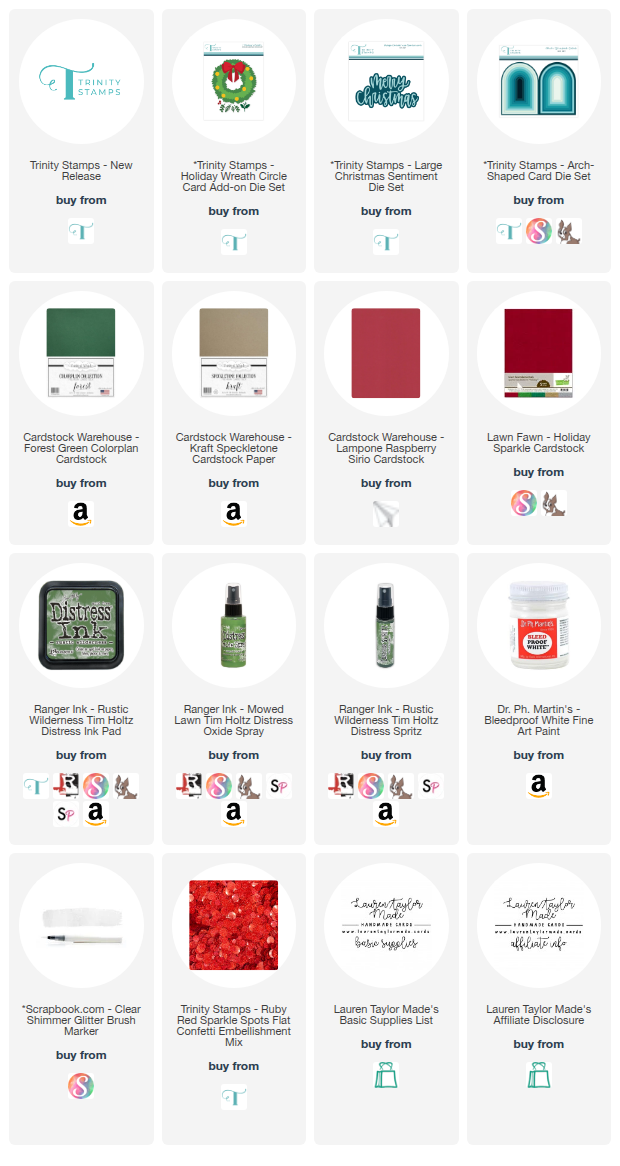
I’m so excited you’re here because Trinity Stamps has officially released their Holiday 2025 collection! For today’s project, I’m sharing a festive wreath card I created with the brand new Holiday Wreath Circle Card Add-On die set and the Large Christmas Sentiment die. These are gorgeous dies that pair beautifully together, and I couldn’t wait to play with them. I had so much fun inking, splattering, and layering to bring my wreath to life. I kept to a traditional red-and-green palette but added in plenty of shimmer, shine, and sparkle for that holiday magic.

If you’d like to see the full process, I’ve got a process video embedded below where I walk through exactly how I put this card together. The main steps include inking and splattering the wreath layers, adding a big glittery bow, and finishing with a bold die cut sentiment. I popped everything up on an arched card base to make it look like a wreath hanging on a door, and added Trinity’s Sparkle Spots for the perfect finishing touch. Scroll down to watch the video and check out the full supply list if you want to recreate this design for your own holiday crafting!

VIDEO TUTORIAL


PIN THIS
SUPPLY LIST

Read More

Spooky Splatter Halloween Card with Tim Holtz

Monday, September 29, 2025

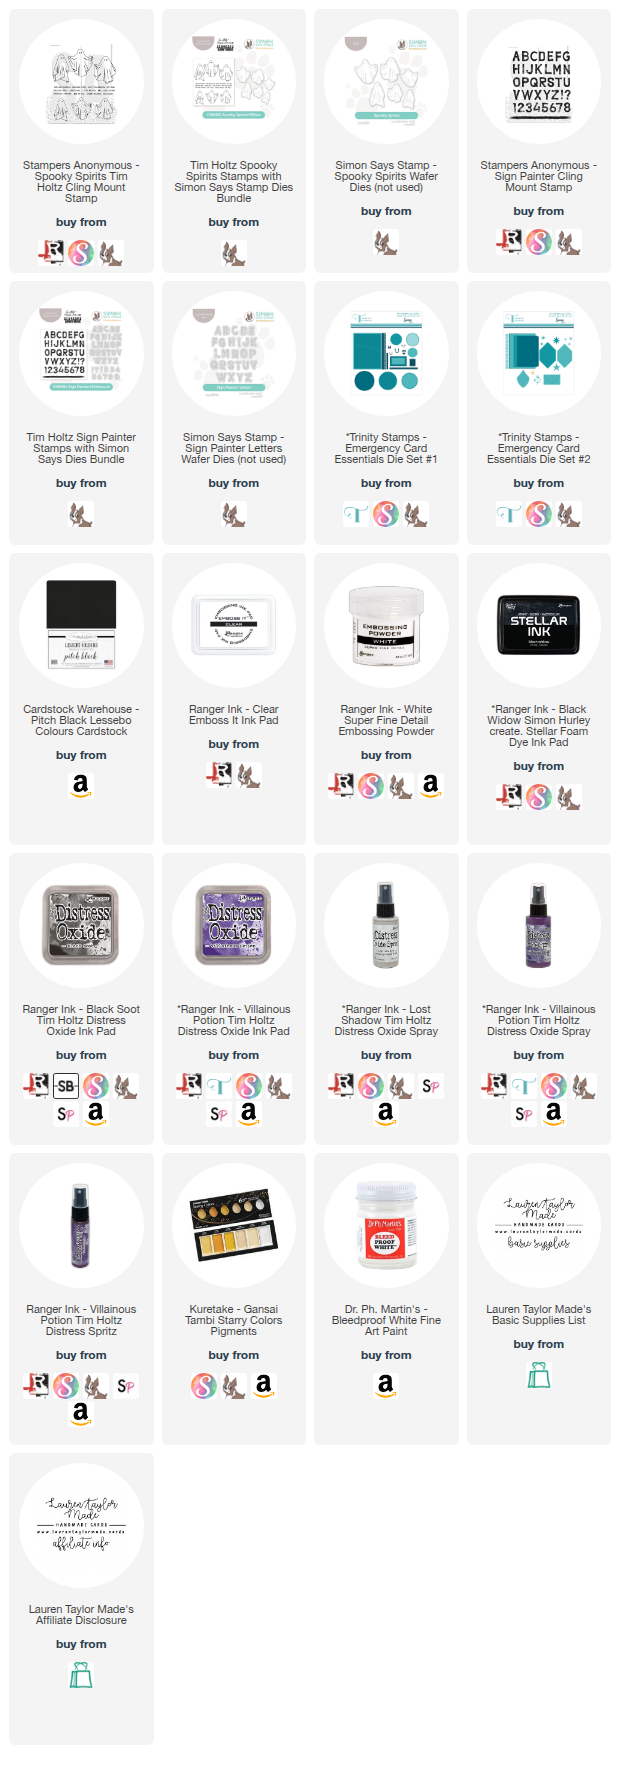
Thanks for joining me in my craft room for today’s Halloween card. I’m sharing this a day early because of a special release tomorrow, but I didn't want to miss sharing a spooky project. For this card, I created a bold and splattered background using Distress Oxides, Sprays, Spritz, and watercolors—all layered together for a moody purple and black backdrop that shines when it hits the light.

Once my background was dry, I stamped and heat-embossed some ghostly images and sentiments, then fussy cut them before layering everything onto a die cut panel of black cardstock from Cardstock Warehouse. Foam adhesive helped give my ghost and “BOO” sentiment a little extra dimension, and I finished it off with a top-folding A2 card base. You can see all the inky splatter details in my video tutorial below!
VIDEO TUTORIAL


PIN THIS
SUPPLY LIST

Read More

Emergency Card Kit Fun: Here for the Boos

Sunday, September 28, 2025

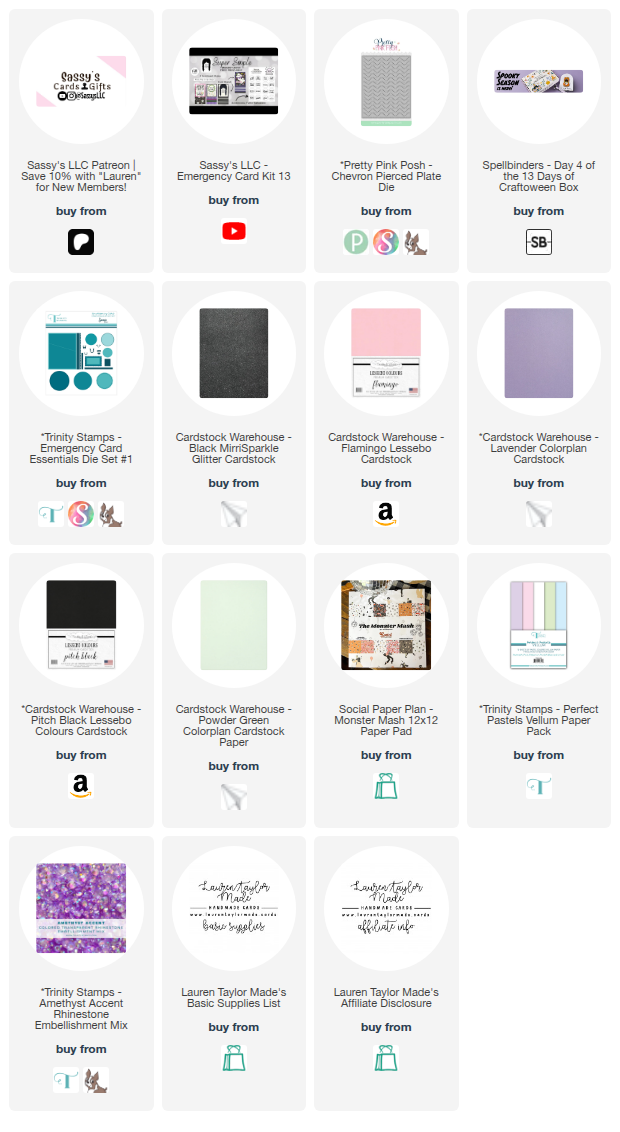
Today I’m sharing a playful Halloween card I created using one of the printables from Sassy’s LLC Emergency Card Kit 13. I started by die cutting the Chevron Pierced Plate die from Pretty Pink Posh out of black cardstock and attaching it to my A2 card base. For the panel, I layered lavender cardstock with black sparkle strips topped with Monster Mash patterned paper from Social Paper Plan. I did my best to line everything up evenly before attaching the panel to the front of my card base.

To finish the design, I brought in a mix of fun die cuts. I used the Trinity Stamps Emergency Card Essentials set to cut a scalloped border and a stitched circle, then layered on a sweet little ghost from Spellbinders’ Craftoween box (with a pink pearlescent vellum shadow for extra shine!). I printed the “I’m here for the boos!” sentiment from the Emergency Card Kit, punched it into a circle, and placed it in the center of my green die cut. Everything got layered together, and I finished it off with a few amethyst rhinestones for a little sparkle. This card was such a blast to make—and it’s the perfect mix of spooky and sassy!

PIN THIS
SUPPLY LIST

Read More

Sassy Saturday: Nuts About You Box Card

Saturday, September 27, 2025

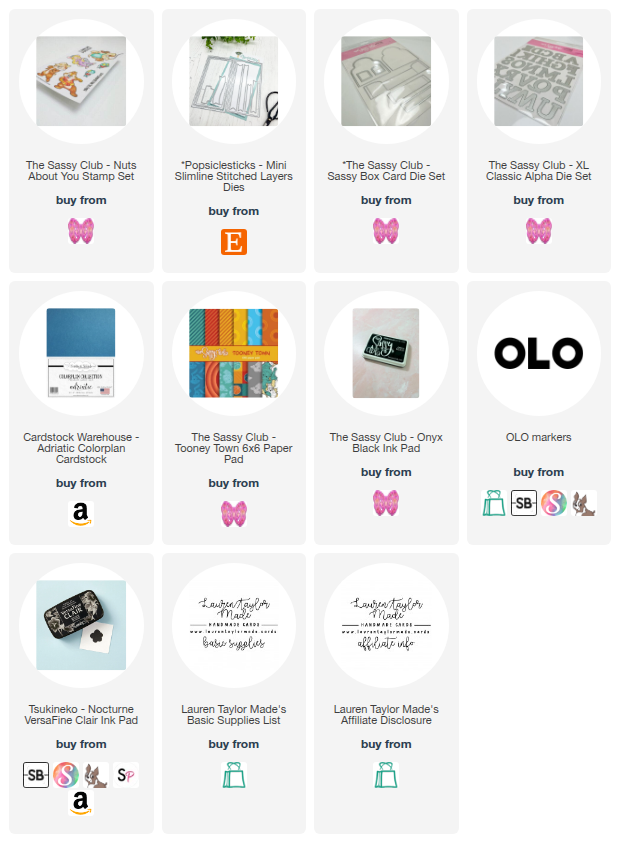
Hi friends, it’s Lauren! Welcome back to another Sassy Saturday here on the blog. Today I’m sharing a fun box card I created with The Sassy Club’s Nuts About You stamp set and their Sassy Box Card die. I started by stamping my characters in Onyx Black ink and coloring them with OLO markers before fussy cutting them out. For the box itself, I die cut the base from dark blue cardstock and layered in the stitched panels with a bold red-and-yellow striped pattern from the Tooney Town paper pad. After assembling the box, I added my characters so they look like they’re springing right into action.

To finish things off, I die cut two “R” letters with the XL Classic Alpha dies and popped them up on the back with thin foam adhesive. On the front, I stamped the sentiment “You’re my favorite nut” on a banner cut from the Mini Slimline Stitched Layers dies and attached it front and center. For the back, I added a white stitched panel stamped with the sentiment “I’ll always come to your rescue.” I love how this little box card turned out—it totally gives me nostalgic vibes of a team always ready to swoop in and save the day.

PIN THIS
SUPPLY LIST

Read More

Because You Matter - A New Release from Miss Ink Stamps

Today I’m sharing a brand new release from Miss Ink Stamps, and I had so much fun making this card inspired by Albert Einstein. For this design, I paired the Math Class background with the It’s All Relative stamp set. I heat embossed the sentiment “Because you matter” on the chalkboard, added a messy little scientist’s desk, and layered everything over stamped cardstock panels for extra texture.

I love how these images come together to create a playful, science-inspired card. In my video, I walk you through coloring, embossing, and layering the background so everything pops. Be sure to check it out below for the full process and a closer look at this fun new release from Miss Ink Stamps.

VIDEO TUTORIAL


PIN THIS
SUPPLY LIST

Read More

Eww! No Boys Allowed! Fandom Card with Miss Ink Stamps

Friday, September 26, 2025

For today’s project, I created a playful card using some of my favorite stamps and dies from the Miss Ink Stamps Magical Collection. I combined the large troll image with the little witch to capture a scene that feels both whimsical and just a little chaotic. To start, I stamped a newspaper-style background in sand ink onto kraft cardstock and then blended the edges with Distress Ink for a rustic look. I added splatters of darker brown and white ink for extra texture and finished the background with golden lightning bolts sprayed through a stencil for a subtle shimmer. I then layered a double-cut scalloped frame from vanilla cardstock for dimension before moving on to the details.

For the sentiment, I die cut the word “Eww!” with alphabet dies, layering multiple cuts for stability, then stamped “No boys allowed!” directly onto the card panel. After coloring the troll and witch with markers and die cutting them, I popped them up with foam adhesive on opposite corners of the frame. A few highlights with a white gel pen brought everything to life, especially on the troll’s textured skin. Finally, I mounted the finished panel onto an A2 base, creating a scene full of humor, sparkle, and just the right amount of magical mischief.

VIDEO TUTORIAL


PIN THIS
SUPPLY LIST

Read More

Joy of the Season Berry Branch Holiday Card with Cardstock Warehouse

Thursday, September 25, 2025

For today’s project with Cardstock Warehouse, I wanted to create a holiday card with rich, jewel tone colors and layered textures. I started with Aubergine cardstock, trimming it down to A2 size and adhering it to a top-folding card base. To add depth, I die cut the Pinkfresh Studio Modern Mosaic cover plate from the same Aubergine cardstock and layered it on top for a subtle tone-on-tone design. Next, I reached for Clay Materica cardstock and die cut it twice with the Notched Corner Frame die to create a smaller square-style panel. I stamped the sentiment “Joy of the Season” from Pinkfresh Studio’s Berry Branch stamp set in Nocturne VersaFine Clair ink, giving it a bold contrast against the Clay background.

For the focal point, I stamped the berry branch image onto more Clay Materica cardstock and used the coordinating stencils to bring it to life. The berries are shaded in Hydrangea and Opulence inks for a festive purple tone, while the leaves are blended with Eucalyptus and Spruce Tips for soft greenery. After die cutting the branch, I adhered it to the center of the card with foam adhesive. I then popped up the sentiment panel in the bottom right corner and finished everything off with a scattering of Graphite gems from Spellbinders for a little holiday sparkle. I love how the deep purples and greens paired with the warm clay cardstock make this feel both elegant and festive!

PIN THIS
SUPPLY LIST

Read More

SheetLoad Rewind: September 2022 with Scrapbook.com

I’m so excited to be part of this month’s SheetLoad Rewind hop, and for September 2022’s sketch I reached for some of my new exclusive products from Scrapbook.com. I followed the sketch to trim and layer patterned paper from the Darling 6x8 Paper Pad, building out a mini slimline base that’s full of sweet baby-themed details. To bring the design together, I added die cuts from the Mini Flowers and Welcome Baby Decorative Die Sets—like a tiny ruffled onesie, flowers, leaves, and a hanger—that made decorating this card so much fun.

Once my die cuts were ready, I stamped a sentiment onto a layered oval panel and built my cluster with flowers and leaves tucked behind the onesie. Foam adhesive gave everything dimension, while rose gold pearl Pops of Color added that last little shine. I finished the card with a few embellishment dots to follow the sketch layout, and I love how soft and sweet this design turned out. Don’t forget to check out the playlist for the full hop—you’ll find so many creative spins on this rewind sketch!

VIDEO TUTORIAL


PIN THIS
SUPPLY LIST

Read More

Christmas on the 24th: Stenciled Ornament Cards with Emily Moore Designs

Wednesday, September 24, 2025

It’s the 24th of the month, which means it’s time for another project in my holiday card series Christmas on the 24th! This month, I’m featuring products from Emily Moore Designs, and I had so much fun creating a coordinating set of ornament cards with different layering stencils. I love making holiday cards in non-traditional colors, and this trio definitely shows off some of my favorite combinations.

For each card, I started by stenciling a background onto different colors of cardstock using Emily’s layered stencil sets. I played with cool blues, festive reds, and classic greens, then added a touch of shimmer with glitter sprays to seal in the ink and make the details pop. Once the backgrounds were dry, I die cut ornaments using the Ornament Nested Die Set, pairing them with metallic ornament toppers to add extra shine.

To build my cards, I layered patterned papers with die-cut panels to give each design a strong focal point. I popped up the ornaments with foam adhesive for dimension, added in a stamped banner sentiment, and finished with twine bows that coordinate with the metallic touches. I love the mix of texture and sparkle—it makes the ornaments feel like they could really hang from the card front!

In the end, I created three different cards with the same layout but very different looks. Between the rainbow stenciled ornaments, the poinsettia-inspired florals, and the cozy sweater background, I can’t decide which one I love most. That’s the beauty of these dies and stencils—you can create endless variations to suit your holiday style. Don’t forget to check out Emily Moore Designs for all the fun crafty supplies I used today!

VIDEO TUTORIAL


PIN THIS
SUPPLY LIST

Read More

Happy Haunting Portrait Gallery with Hero Arts

Tuesday, September 23, 2025

I had so much fun creating today’s card using the Hero Arts Hero Studio August 2025 Kit and coordinating monthly products! To start, I stamped the In the Valley background cling stamp in Nocturne Black ink on white cardstock, trimmed it down to 5" x 5", and attached it to a square card base. For the focal panel, I used the layering stencils with green, purple, and orange inks, then trimmed that piece to 4 ½" x 4 ½". I matted it with a light mint cardstock, about ⅛" larger, and adhered it to the center of my stamped background. Using the dies from the kit, I cut out frames, images, and a few black bats, then layered them onto my card base for a spooky scene full of color and texture.

Next, I stamped the male and female images from the monthly stamp set using the same inks as the stenciled background for a cohesive look. I heat embossed a spiderweb and my sentiment in white onto black cardstock, die cut them out, and added them into my frame cluster with the characters. To tie everything together, I included some of the extra stenciled background I had cut with a small hexagon die for the inside of the card—this also helped me meet the Craft Roulette Episode 285 parameters! I love how all the Hero Arts kit elements worked together to create a layered, dimensional, and colorful Halloween card.

PIN THIS
SUPPLY LIST

Read More